


《代码里的世界》 —UI篇
用文字札记描绘自己 android学习之路
转载请保留出处 by Qiao
http://blog.csdn.net/qiaoidea/article/details/45568653
【导航】
- 单行文本水平触摸滑动效果 通过EditText实现TextView单行长文本水平滑动效果
- 多行文本折叠展开 自定义布局View实现多行文本折叠和展开
1.概述
经常在APP中能看到有引用文章或大段博文的内容,他们的展示样式也有点儿意思,默认是折叠的,当你点击文章之后它会自动展开。再次点击他又会缩回去。
网上有找到部分效果,感觉不是很满意。最后自己尝试用 自定义布局layout 写了个demo。比较简陋,不过可以用了。有这方面需求的朋友可以稍加改造下。如有更好的创意,也不妨分享一下。
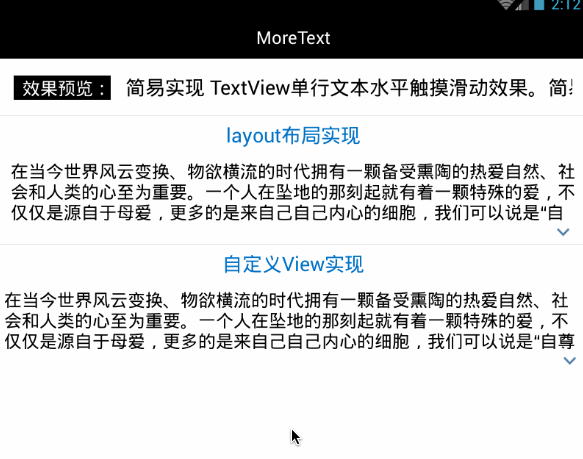
效果图:
2.具体实现
但从实现效果方面来看,只用简单定义必要view即可,后变为了方便扩展使用和挪用,又对整个布局进行封装,方便直接使用。
2.1 通过多个布局组合实现
第一想法当然是用多个View组合来实现。那么久定义一个LinearLayout布局分别嵌套TextView和ImageView来做。
大概步骤:
- 定义布局,垂直的线性LinearLayout布局、TextView和ImageView。 在layout中定义基本组件。
- 设置TextView的高度为指定行数*行高。 不使用maxLine的原因是maxLine会控制显示文本的行数,不方便后边使用动画展开全部内容。因此这里TextView的高度也因该为wrap_content。
- 给整个布局添加点击事件,绑定动画。 点击时,若TextView未展开则展开至其实际高度,imageView 旋转;否则回缩至 指定行数*行高 , imageView 旋转缩回。
开始编写代码:
1.在xml中定义布局:
    <LinearLayout
        android:id="@+id/description_layout"
        android:layout_width="match_parent"
        android:layout_height="wrap_content"
        android:orientation="vertical"
        android:paddingLeft="12dip"
        android:paddingRight="12dip"
        android:paddingTop="5dip" >

        <TextView
            android:id="@+id/description_view"
            android:layout_width="match_parent"
            android:layout_height="wrap_content"
            android:textColor="@android:color/black"
            android:textSize="18dip" >
        </TextView>

        <ImageView
            android:id="@+id/expand_view"
            android:layout_width="wrap_content"
            android:layout_height="wrap_content"
            android:layout_gravity="right"
            android:paddingBottom="5dip"
            android:paddingLeft="5dip"
            android:paddingRight="5dip"
            android:paddingTop="5dip"
            android:src="@drawable/text_ic_expand"
            android:visibility="gone" />
    </LinearLayout>
2.首先在activity中定义并初始化这些view:
public class MainActivity extends Activity {

    TextView descriptionView;
    View layoutView ,expandView;
最低0.47元/天 解锁文章


 58
58


 被折叠的 条评论
为什么被折叠?
被折叠的 条评论
为什么被折叠?
 到【灌水乐园】发言


