


参考:
https://blog.csdn.net/weixin_45646006/article/details/105021237
https://www.jianshu.com/p/33e7a96e5809
文章目录
前言
环境准备
vscode
centos7
gcc4.8
g++
ssh安装(安装git就行)
Win10端
SSH安装
VSCode安装
CentOs7端
安装C/C++
yum install gcc gcc-c++
查看gcc版本
gcc --version
Ubuntu18
【gcc老是找不到Libc6等库 无法使用stdio等问题 暂未解决。】
开始配置VSCode
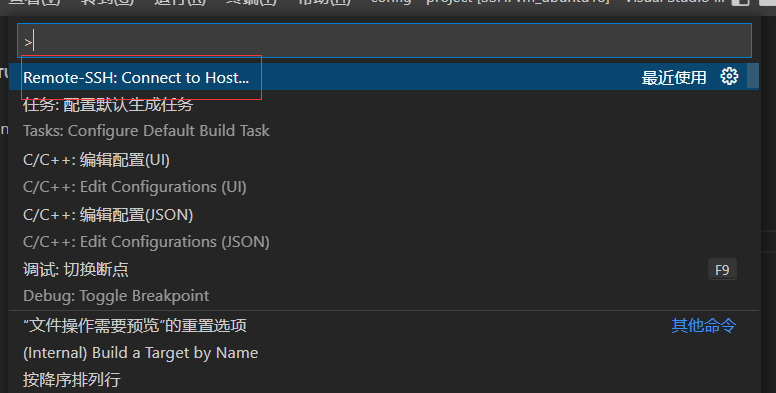
ctrl+shift+P
输入ssh
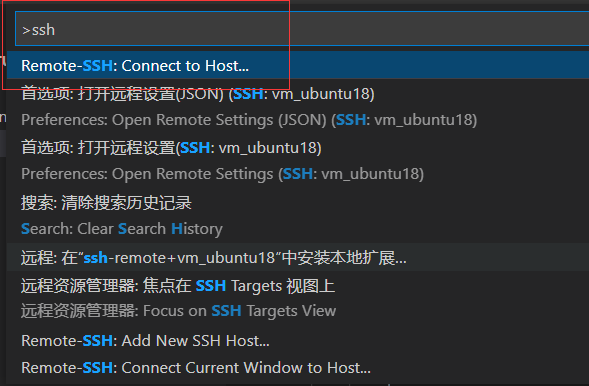
选择
Remote-SSH:Connect to Host
然后选择Configure SSH Hosts
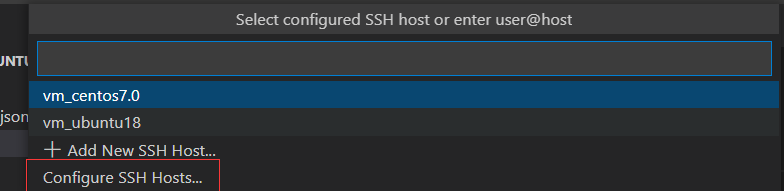
选择一个你的ssh配置文件 来存ssh信息

config 添加信息
Host host_name(自定义)
    HostName 目标linux IP
    User 目标Linux用户名(例如root)
    Port 22(端口 默认22)
例如
Host vm_centos7.0
    HostName 192.168.1.30
    User root
    Port 22

Host vm_ubuntu18
    HostName 192.168.1.28
    User shiver
    Port 22
    PasswordAuthentication yes
连接linux
选择连接的LINUX

连接中
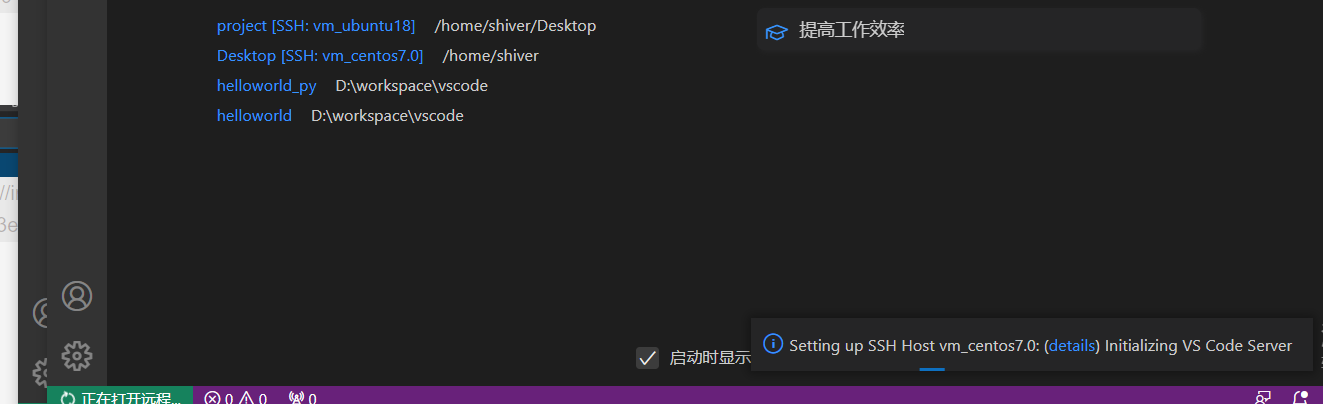
然后输入密码

打开文件夹
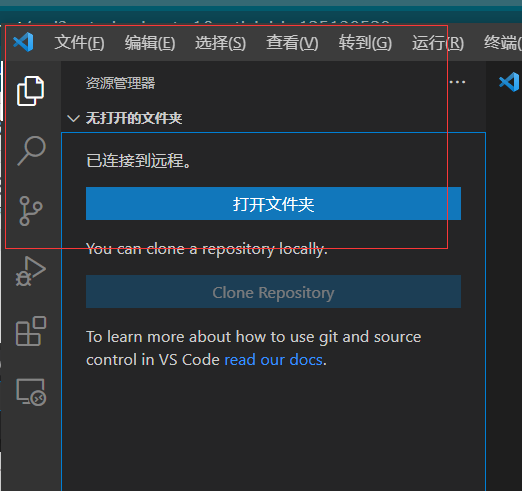
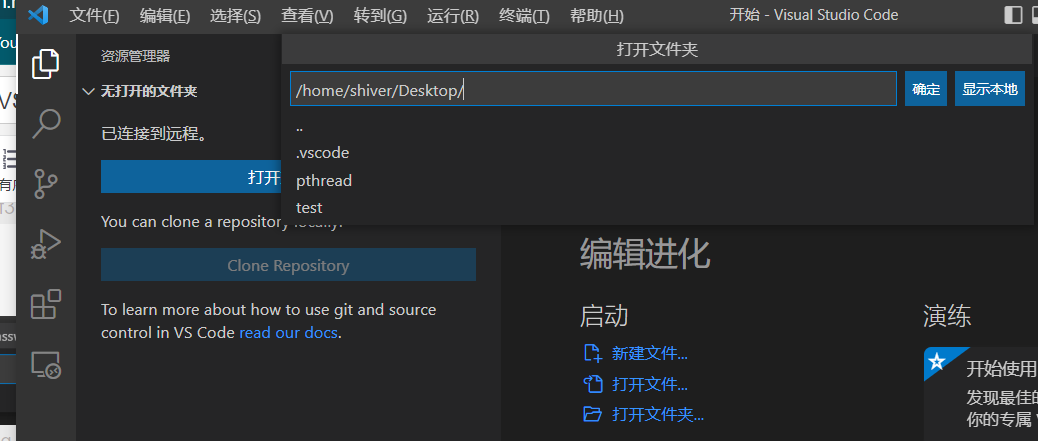
然后类似 这是我自己已有的文件夹
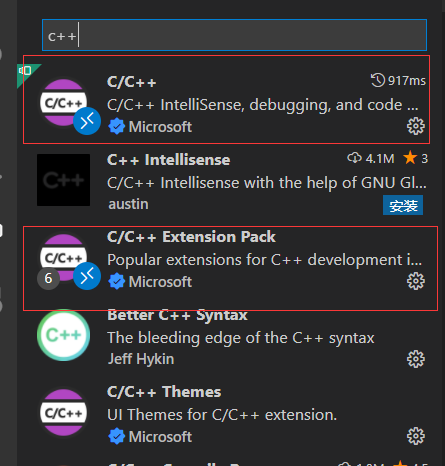
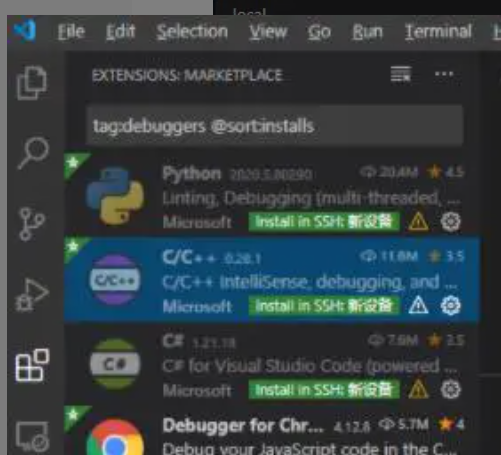
VSCode添加插件 c/c++
选择插件选项
搜索C++(注意这是我已经安装到了linux情况,未安装情况如后图有个install in sshxxxx啥的)
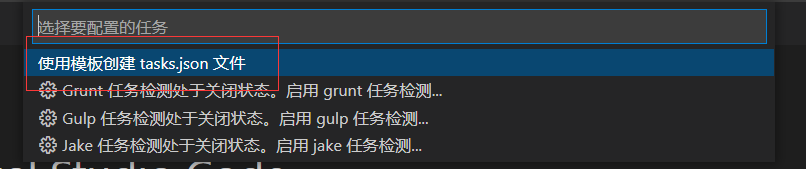
添加tasks.json配置和launch.json配置
ctrl+shift+P 选择配置任务

复制以下内容进去:
我用的gcc 运行c++的话 你可以把gcc改为g++
{
    "version": "2.0.0",
    "tasks": [{
            "label": "compile",
            "command": "gcc",
            "args": [
                "-g",
                "${file}",
                "-o",
                "${fileDirname}/${fileBasenameNoExtension}"
            ],
            "problemMatcher": {
                "owner": "cpp",
                "fileLocation": [
                    "relative",
                    "${workspaceRoot}"
                ],
                "pattern": {
                    "regexp": "^(.*):(\\d+):(\\d+):\\s+(warning|error):\\s+(.*)$",
                    "file": 1,
                    "line": 2,
                    "column": 3,
                    "severity": 4,
                    "message": 5
                }
            },
            "group": {
                "kind": "build",
                "isDefault": true
            }
        }
    ]
}
然后在.vscode内容内添加launch.json文件
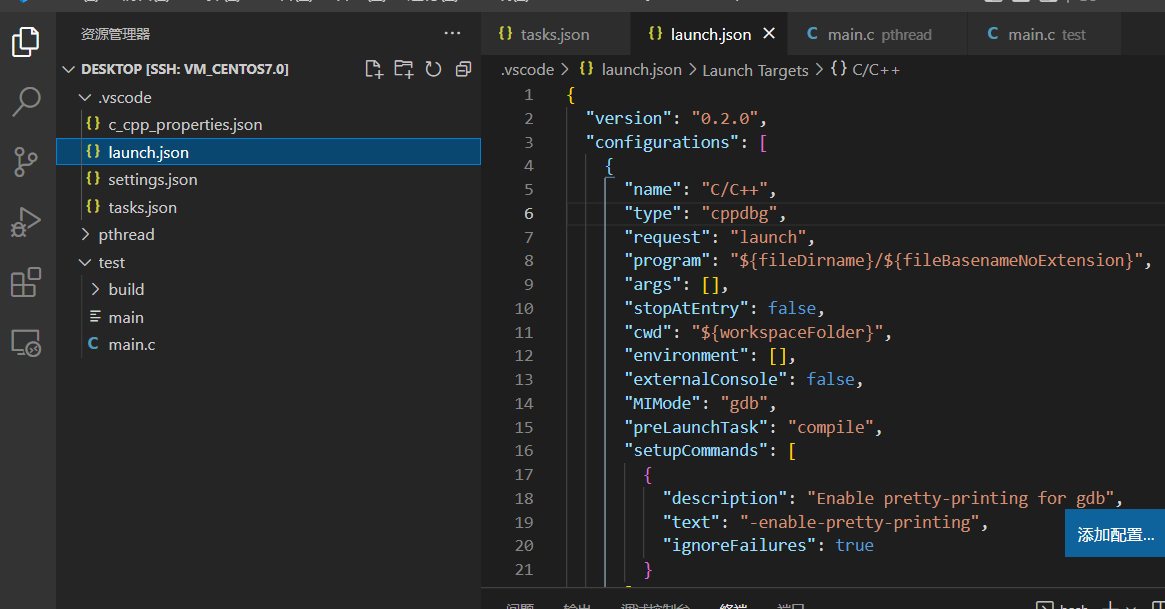
复制以下内容进去:
{
  "version": "0.2.0",
  "configurations": [
    {
      "name": "C/C++",
      "type": "cppdbg",
      "request": "launch",
      "program": "${fileDirname}/${fileBasenameNoExtension}",
      "args": [],
      "stopAtEntry": false,
      "cwd": "${workspaceFolder}",
      "environment": [],
      "externalConsole": false,
      "MIMode": "gdb",
      "preLaunchTask": "compile",
      "setupCommands": [
        {
          "description": "Enable pretty-printing for gdb",
          "text": "-enable-pretty-printing",
          "ignoreFailures": true
        }
      ]
    },
    {
      "name": "C/C++ Runner: Debug Session",
      "type": "cppdbg",
      "request": "launch",
      "args": [],
      "stopAtEntry": false,
      "externalConsole": false,
      "cwd": "/home/shiver/Desktop/test",
      "program": "/home/shiver/Desktop/test/build/Debug/outDebug",
      "MIMode": "gdb",
      "miDebuggerPath": "/usr/bin/gdb",
      "setupCommands": [
        {
          "description": "Enable pretty-printing for gdb",
          "text": "-enable-pretty-printing",
          "ignoreFailures": true
        }
      ]
    }
  ]
}
注意此处:
program填写编译生成的路径
cwd填写工作目录
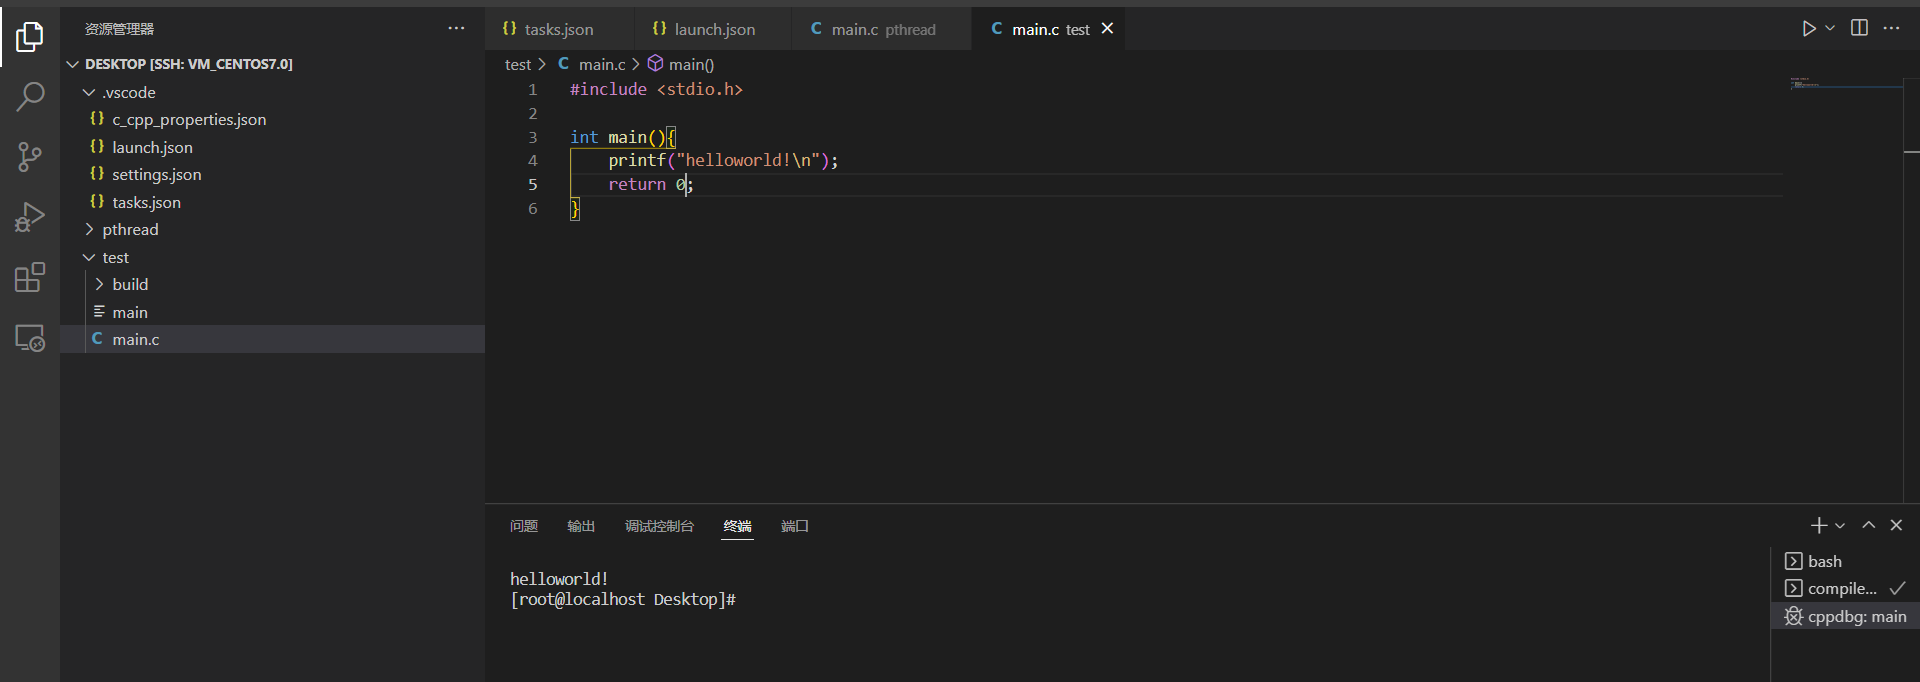
配置gcc编译生成exe
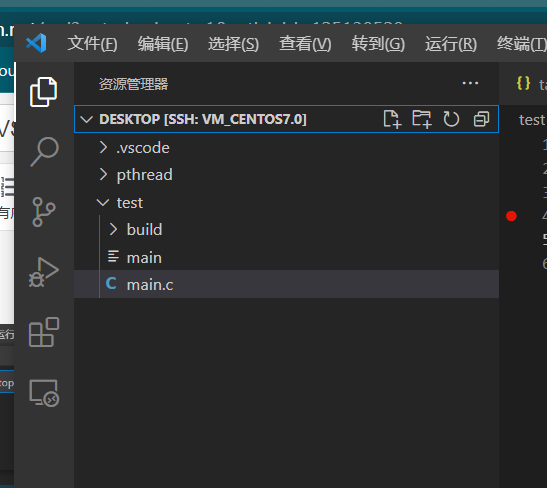
然后创建main.c文件
#include <stdio.h>

int main(){
    printf("helloworld!\n");
    return 0;
}
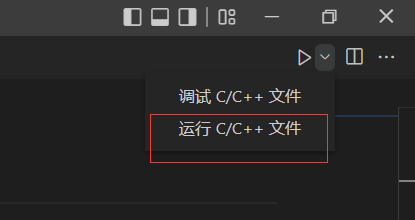
右上角选择运行
添加断点
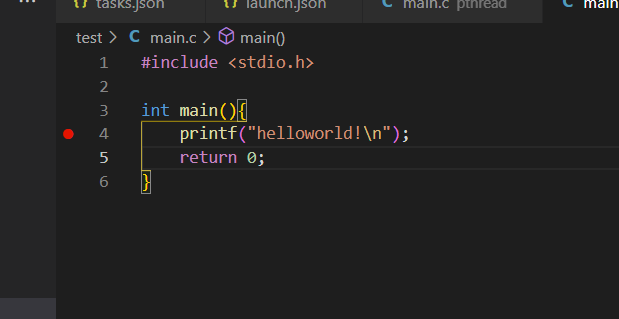
右上角选择调试

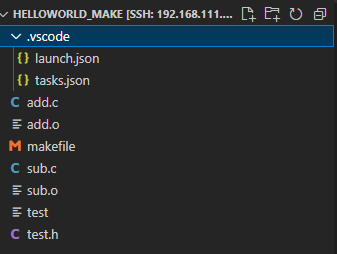
makefile构建
目录结构:
– 
代码内容:
可参考 https://blog.csdn.net/z896435317/article/details/77948086
主要修改
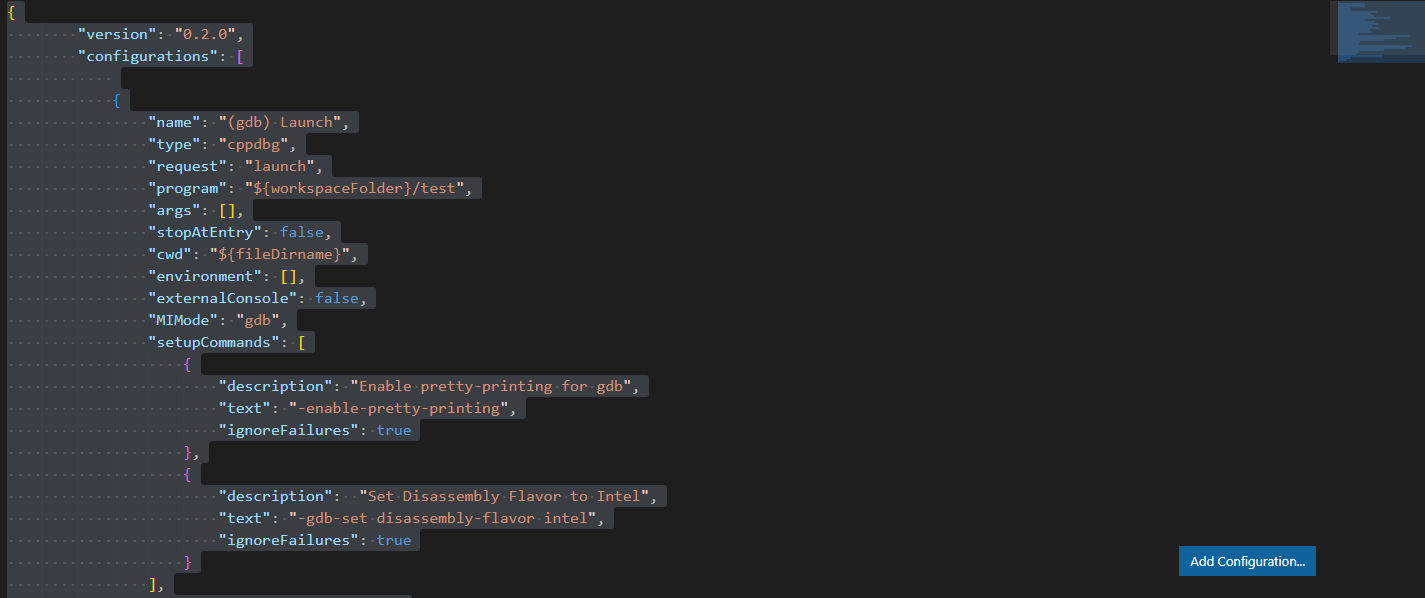
launch.json
{
        "version": "0.2.0",
        "configurations": [

            {
                "name": "(gdb) Launch",
                "type": "cppdbg",
                "request": "launch",
                "program": "${workspaceFolder}/test",
                "args": [],
                "stopAtEntry": false,
                "cwd": "${fileDirname}",
                "environment": [],
                "externalConsole": false,
                "MIMode": "gdb",
                "setupCommands": [
                    {
                        "description": "Enable pretty-printing for gdb",
                        "text": "-enable-pretty-printing",
                        "ignoreFailures": true
                    },
                    {
                        "description":  "Set Disassembly Flavor to Intel",
                        "text": "-gdb-set disassembly-flavor intel",
                        "ignoreFailures": true
                    }
                ],
                "preLaunchTask": "make_build"
            }
        ]
}
task.json:
{
        "version": "2.0.0",
        "tasks": [
            {
                "label": "make_clean", // 任务名称,与launch.json的preLaunchTask相对应
                "type":"shell",
                "command": "make", // 在shell中使用命令,如需加参数,可再添加args属性
                "args":[
                    "clean"
                ],
            },
            {
                "label": "make_build", // 任务名称,与launch.json的preLaunchTask相对应
                "type":"shell",
                "command": "make", // 在shell中使用命令,如需加参数,可再添加args属性
                "args":[

                ],
                "dependsOn":"make_clean"
            }
        ]
}
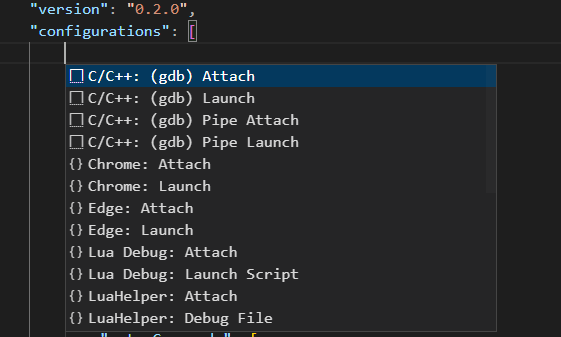
注意:也可以在配置文件launch.json右下角 添加配置-》选择gcc launch


 1288
1288


 被折叠的 条评论
为什么被折叠?
被折叠的 条评论
为什么被折叠?
 到【灌水乐园】发言


