


1.下载vscode
wget https://vscode.cdn.azure.cn/stable/0f3794b38477eea13fb47fbe15a42798e6129338/code-1.36.0-1562161214.el7.x86_64.rpm
可以在官网上找自己想要的版本
2.安装
sudo yum install code-1.36.0-1562161214.el7.x86_64.rpm
默认安装包在当前目录下
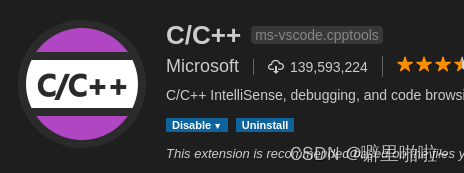
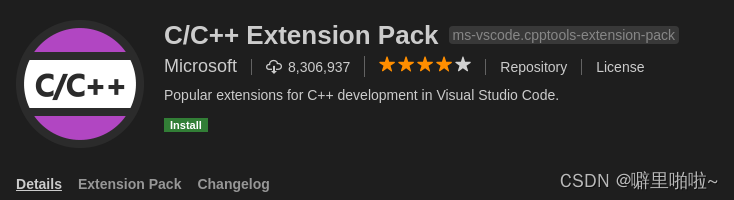
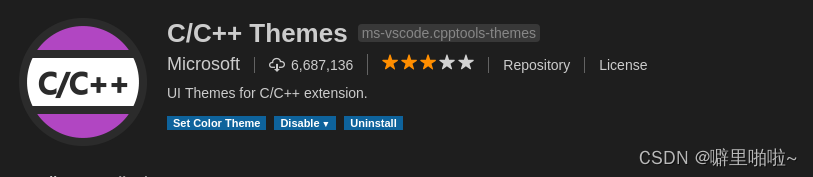
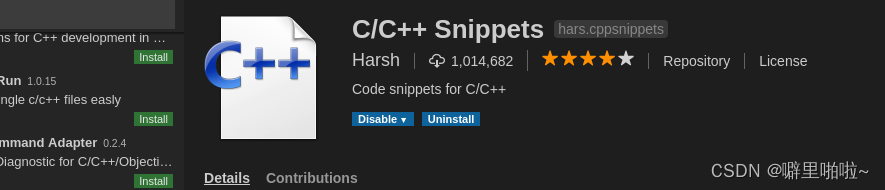
3. 安装扩展包
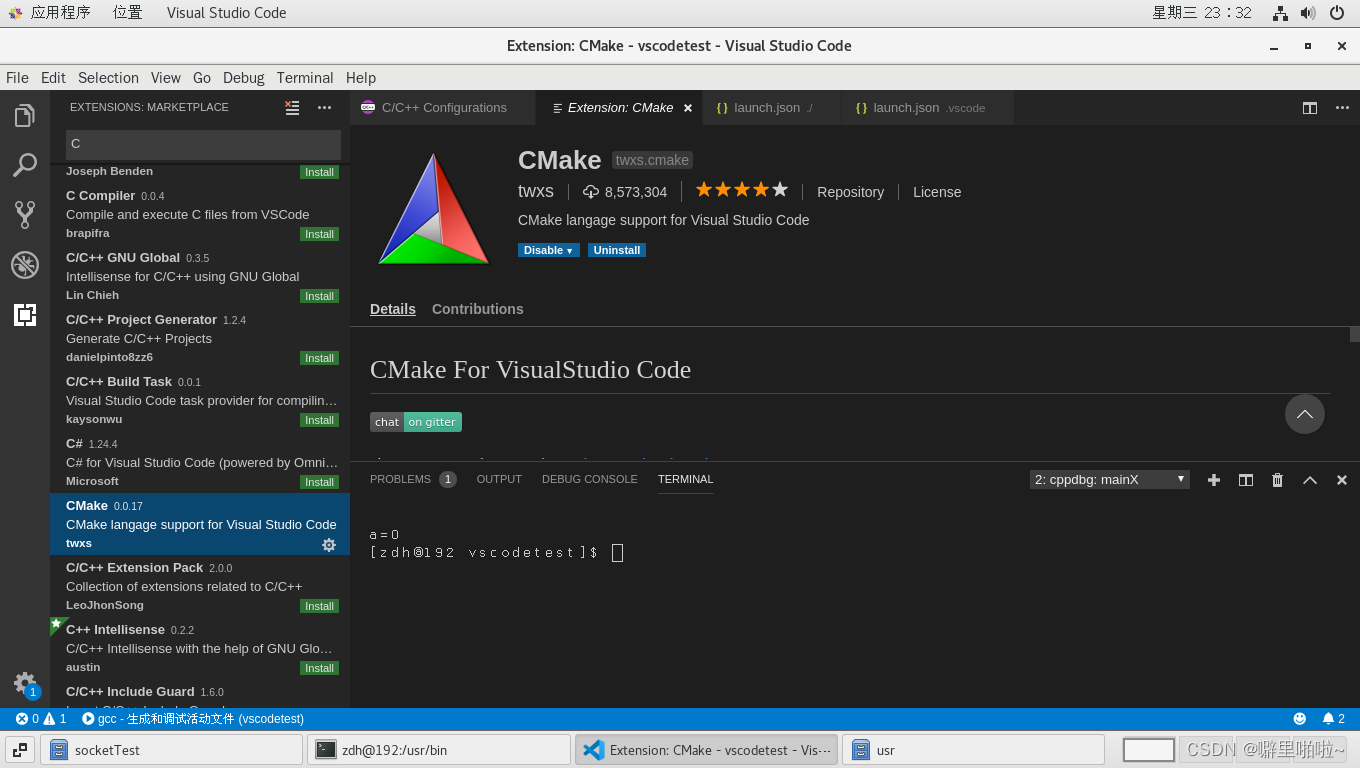
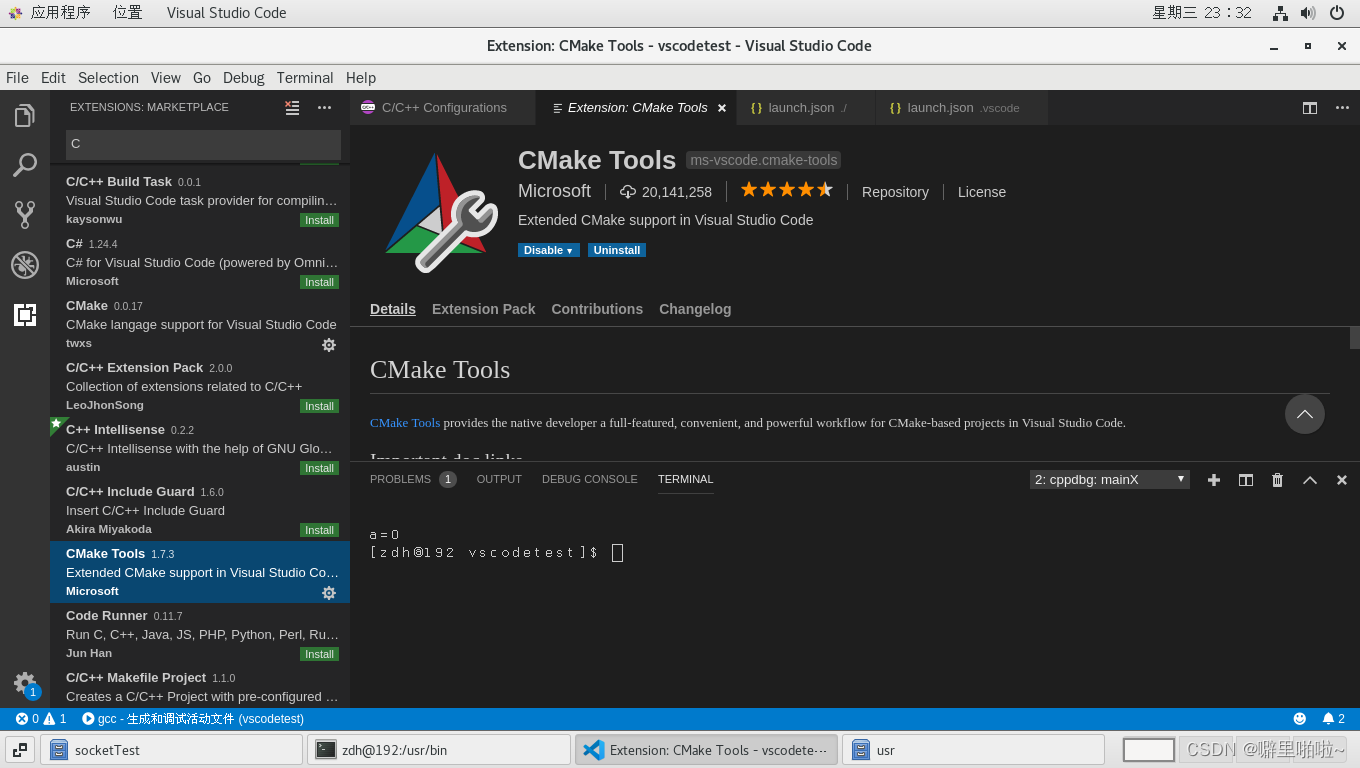
code命令打开vscode,ctrl+shift+x打开扩展包的搜索界面,下载如下插件
4.修改配置文件
创建一个文件夹,添加.c文件,按下F5,选择顶部的C++(GDB/LLDB),系统会自动生成.vscode文件夹launch.json,task.json,c_cpp_properties.json文件
launch.json内容
{
 最低0.47元/天 解锁文章


 1362
1362

 被折叠的 条评论
为什么被折叠?
被折叠的 条评论
为什么被折叠?
 到【灌水乐园】发言


