


文章目录
学习链接
Security OAuth2 授权 & JWT - 自己总结
SpringSecurity(十七)—OAuth2的运行机制(下)-实现一个简单的单点登录应用程序
【OAuth2.0 Client 总结】对接github第三方登录以及其他第三方登录总结
Spring oauth2 authorization server示例项目
Spring Authorization Server - 专栏
Spring Boot+OAuth2,一个注解搞定单点登录! - 已下载pdf到笔记文件夹,有时间就看看,包括代码已fork到gitee
SpringSecurity(十四)—实现过滤器(下)整合短信认证
环境准备
1. 搭建基本web应用
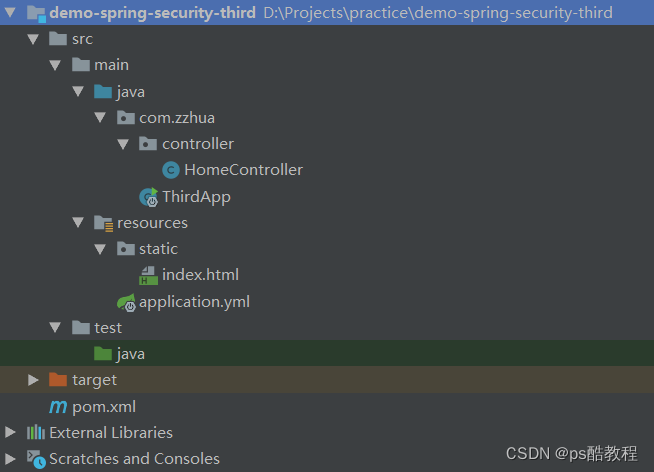
目录结构如下
引入依赖
暂时只引入spring-boot-starter-web启动器
<?xml version="1.0" encoding="UTF-8"?>
<project xmlns="http://maven.apache.org/POM/4.0.0"
         xmlns:xsi="http://www.w3.org/2001/XMLSchema-instance"
         xsi:schemaLocation="http://maven.apache.org/POM/4.0.0 http://maven.apache.org/xsd/maven-4.0.0.xsd">
    <modelVersion>4.0.0</modelVersion>

    <groupId>com.zzhua</groupId>
    <artifactId>demo-spring-security-third</artifactId>
    <version>1.0-SNAPSHOT</version>

    <properties>
        <maven.compiler.source>1.8</maven.compiler.source>
        <maven.compiler.target>1.8</maven.compiler.target>
        <java.version>1.8</java.version>
        <spring-boot-version>2.3.3.RELEASE</spring-boot-version>
        <spring-cloud-version>Greenwich.RELEASE</spring-cloud-version>
    </properties>

    <dependencies>

        <dependency>
            <groupId>org.springframework.boot</groupId>
            <artifactId>spring-boot-starter-web</artifactId>
        </dependency>

    </dependencies>

    <dependencyManagement>
        <dependencies>
            <dependency>
                <groupId>org.springframework.boot</groupId>
                <artifactId>spring-boot-dependencies</artifactId>
                <version>${spring-boot-version}</version>
                <type>pom</type>
                <scope>import</scope>
            </dependency>
            <dependency>
                <groupId>org.springframework.cloud</groupId>
                <artifactId>spring-cloud-dependencies</artifactId>
                <version>${spring-cloud-version}</version>
                <type>pom</type>
                <scope>import</scope>
            </dependency>
            <dependency>
                <groupId>javax.servlet</groupId>
                <artifactId>javax.servlet-api</artifactId>
                <version>3.1.0</version>
            </dependency>
            <dependency>
                <groupId>javax.interceptor</groupId>
                <artifactId>javax.interceptor-api</artifactId>
                <version>1.2</version>
            </dependency>
            <dependency>
                <groupId>com.alibaba</groupId>
                <artifactId>fastjson</artifactId>
                <version>1.2.47</version>
            </dependency>
            <dependency>
                <groupId>mysql</groupId>
                <artifactId>mysql-connector-java</artifactId>
                <version>5.1.47</version>
            </dependency>
            <dependency>
                <groupId>org.springframework.security</groupId>
                <artifactId>spring-security-jwt</artifactId>
                <version>1.1.1.RELEASE</version>
            </dependency>
            <dependency>
                <groupId>org.springframework.security.oauth.boot</groupId>
                <artifactId>spring-security-oauth2-autoconfigure
                </artifactId>
                <version>2.1.2.RELEASE</version>
            </dependency>
        </dependencies>
    </dependencyManagement>

    <build>
        <plugins>
            <plugin>
                <groupId>org.springframework.boot</groupId>
                <artifactId>spring-boot-maven-plugin</artifactId>
                <version>${spring-boot-version}</version>
                <configuration>
                    <!--<mainClass>com.tuling.springbootsecurity.SpringBootSecurityApplication</mainClass>-->
                </configuration>
                <executions>
                    <execution>
                        <goals>
                            <goal>repackage</goal>
                        </goals>
                    </execution>
                </executions>
            </plugin>
            <plugin>
                <artifactId>maven-compiler-plugin</artifactId>
                <configuration>
                    <source>1.8</source>
                    <target>1.8</target>
                </configuration>
            </plugin>
        </plugins>
    </build>

</project>
ThirdApp启动类
@SpringBootApplication
public class ThirdApp {

    public static void main(String[] args) {
        SpringApplication.run(ThirdApp.class, args);
    }

}
创建index页面
在resources/static目录下,创建index.html,内容如下:
<!DOCTYPE html>
<html lang="en">
<head>
    <meta charset="UTF-8">
    <title>Title</title>
</head>
<body>
<h1>Welcome</h1>
</body>
</html>
application.yml配置
server:
  port: 9090
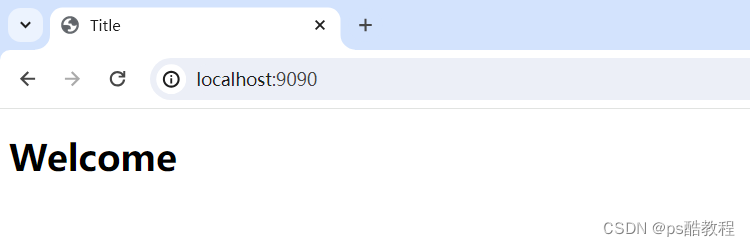
访问测试
能访问到如下页面,就算成功
2. 引入security
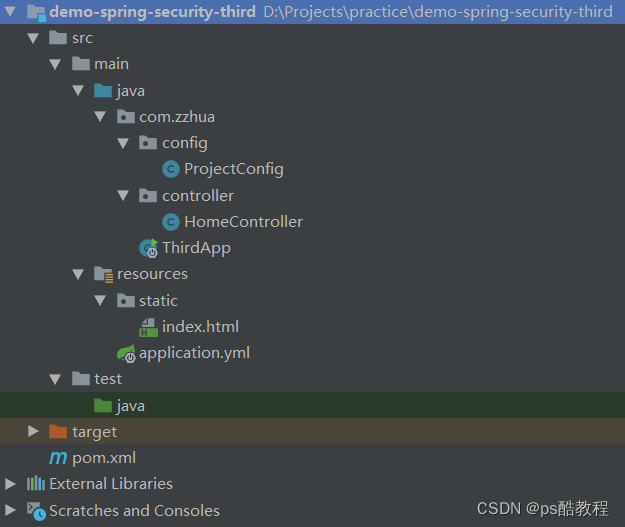
页面结构如下
引入依赖
在上面的基础上,添加security依赖,如下:
<?xml version="1.0" encoding="UTF-8"?>
<project xmlns="http://maven.apache.org/POM/4.0.0"
         xmlns:xsi="http://www.w3.org/2001/XMLSchema-instance"
         xsi:schemaLocation="http://maven.apache.org/POM/4.0.0 http://maven.apache.org/xsd/maven-4.0.0.xsd">
    <modelVersion>4.0.0</modelVersion>

    <groupId>com.zzhua</groupId>
    <artifactId>demo-spring-security-third</artifactId>
    <version>1.0-SNAPSHOT</version>

    <properties>
        <maven.compiler.source>1.8</maven.compiler.source>
        <maven.compiler.target>1.8</maven.compiler.target>
        <java.version>1.8</java.version>
        <spring-boot-version>2.3.3.RELEASE</spring-boot-version>
        <spring-cloud-version>Greenwich.RELEASE</spring-cloud-version>
    </properties>

    <dependencies>

        <dependency>
            <groupId>org.springframework.boot</groupId>
            <artifactId>spring-boot-starter-web</artifactId>
        </dependency>

        <dependency>
            <groupId>org.springframework.cloud</groupId>
            <artifactId>spring-cloud-starter-security</artifactId>
        </dependency>

    </dependencies>

    <dependencyManagement>
        <dependencies>
            <dependency>
                <groupId>org.springframework.boot</groupId>
                <artifactId>spring-boot-dependencies</artifactId>
                <version>${spring-boot-version}</version>
                <type>pom</type>
                <scope>import</scope>
            </dependency>
            <dependency>
                <groupId>org.springframework.cloud</groupId>
                <artifactId>spring-cloud-dependencies</artifactId>
                <version>${spring-cloud-version}</version>
                <type>pom</type>
                <scope>import</scope>
            </dependency>
            <dependency>
                <groupId>javax.servlet</groupId>
                <artifactId>javax.servlet-api</artifactId>
                <version>3.1.0</version>
            </dependency>
            <dependency>
                <groupId>javax.interceptor</groupId>
                <artifactId>javax.interceptor-api</artifactId>
                <version>1.2</version>
            </dependency>
            <dependency>
                <groupId>com.alibaba</groupId>
                <artifactId>fastjson</artifactId>
                <version>1.2.47</version>
            </dependency>
            <dependency>
                <groupId>mysql</groupId>
                <artifactId>mysql-connector-java</artifactId>
                <version>5.1.47</version>
            </dependency>
            <dependency>
                <groupId>org.springframework.security</groupId>
                <artifactId>spring-security-jwt</artifactId>
                <version>1.1.1.RELEASE</version>
            </dependency>
            <dependency>
                <groupId>org.springframework.security.oauth.boot</groupId>
                <artifactId>spring-security-oauth2-autoconfigure
                </artifactId>
                <version>2.1.2.RELEASE</version>
            </dependency>
        </dependencies>
    </dependencyManagement>

    <build>
        <plugins>
            <plugin>
                <groupId>org.springframework.boot</groupId>
                <artifactId>spring-boot-maven-plugin</artifactId>
                <version>${spring-boot-version}</version>
                <configuration>
                    <!--<mainClass>com.tuling.springbootsecurity.SpringBootSecurityApplication</mainClass>-->
                </configuration>
                <executions>
                    <execution>
                        <goals>
                            <goal>repackage</goal>
                        </goals>
                    </execution>
                </executions>
            </plugin>
            <plugin>
                <artifactId>maven-compiler-plugin</artifactId>
                <configuration>
                    <source>1.8</source>
                    <target>1.8</target>
                </configuration>
            </plugin>
        </plugins>
    </build>

</project>
ProjectConfig
@Configuration
@EnableWebSecurity
public class ProjectConfig extends WebSecurityConfigurerAdapter {

    @Override
    protected void configure(HttpSecurity http) throws Exception {

    	/* 配置表单登录 */
    	/* 1. 如果不添加上表单登录, 那么直接访问:localhost:9090 会显示403的白页,
    	      这是因为ExceptionTranslationFilter此时用的authenticationEntryPoint的类型是: Http403ForbiddenEntryPoint

           2. 如果添加上表单登录, 那么直接访问:localhost:9090, 就会重定向到登录表单页,
    	      这是因为在AbstractAuthenticationFilterConfigurer中, 会使用LoginUrlAuthenticationEntryPoint,
    	      然后设置给ExceptionTranslationFilter的authenticationEntryPoint属性 。

			  同时, FormLoginConfigurer也会影响到DefaultLoginPageGeneratingFilter的配置,
			       在FormLoginConfigurer的initDefaultLoginFilter中会把DefaultLoginPageGeneratingFilter的formEnabled属性设置为true, 而开启登录页

           3. 如果添加上表单登录, security会自动给http.authorizeRequests()对: 登录页、登录请求处理、登录失败这些路径 放开, 全部允许它们被访问。
		      这在AbstractAuthenticationFilterConfigurer的init方法中调用updateAccessDefaults有体现,
		      同时再参考下: ExpressionUrlAuthorizationConfigurer类种的REGISTRY属性、
		                  ExpressionUrlAuthorizationConfigurer的createMetadataSource方法
              就能明白了。

           4. 我觉得security难就难在这些地方,
              通过不同配置器添加不同的过滤器, 配置器又能获取到其它配置器的属性或共享属性来更改过滤器的配置,
              反正就是各种都能改, 你也不知道它默认的行为会怎么改,
              你还得知道它的配置器的执行顺序, 虽然过滤器的顺序是早已固定的定义在FilterComparator中,
              这样的话, 如果不看源码, 只是看它的文档介绍怎么使用, 就很难办。
              不过, 这样也会让它变得很灵活, 反正就是可以各种自定义, 各种配置都可以按自己的来实现,
 	    */
        http.formLogin();

		/* 访问任何资源都需要认证 */
        http.authorizeRequests().anyRequest().authenticated();
    }

    @Bean
    public PasswordEncoder passwordEncoder() {
        HashMap<String, PasswordEncoder> encoders = new HashMap<>();

        encoders.put("bcrypt", new BCryptPasswordEncoder());

        return new DelegatingPasswordEncoder("bcrypt", encoders);
    }

    @Bean
    public UserDetailsService userDetailsService() {
        return username -> {
            if ("zzhua".equals(username)) {
                return new User("zzhua", passwordEncoder().encode("zzhua"), AuthorityUtils.createAuthorityList("admin"));
            }
            return null;
        };
    }
}
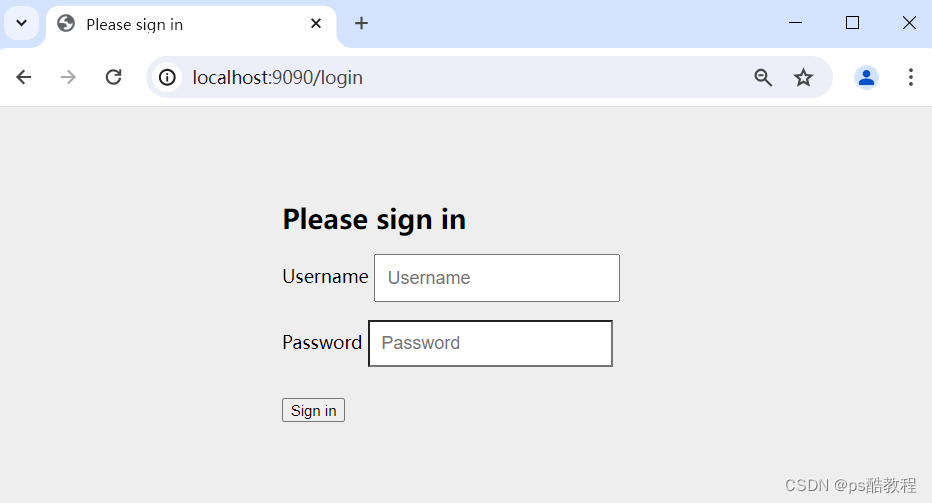
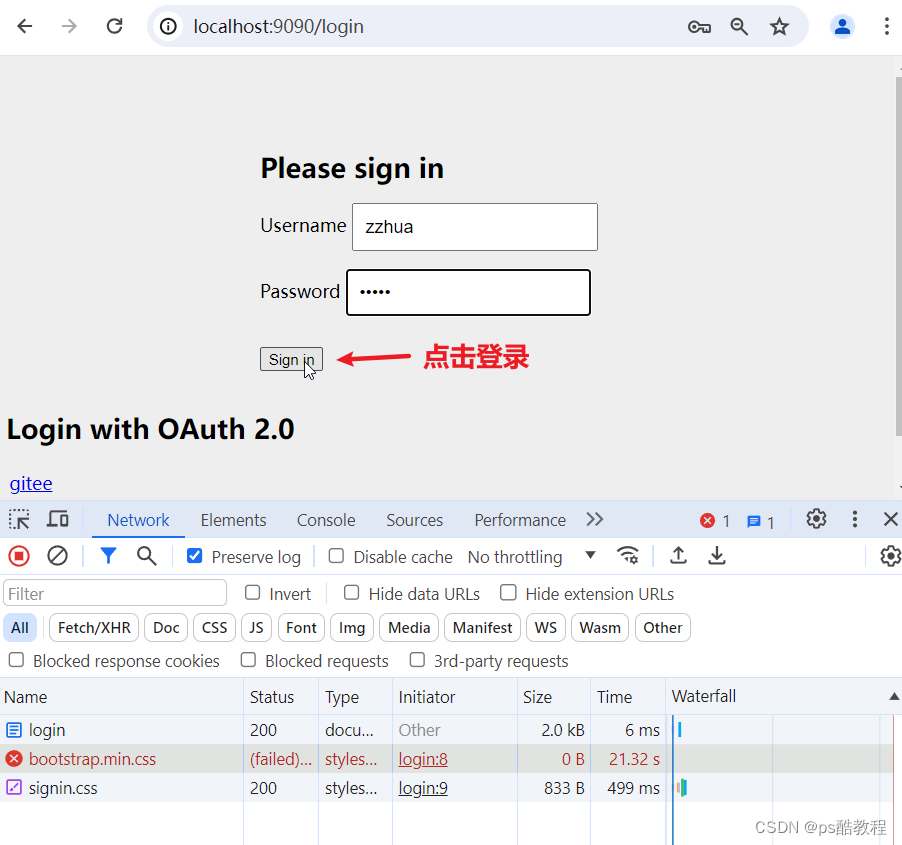
访问测试
-
访问:
localhost:9090时,会被重定向到:http://localhost:9090/login表单登录界面
-
在表单登录界面输入用户名和密码,点击登录,跳转到主页:
http://localhost:9090/

第三方认证
简介
当前我们系统是有自己的一套用户体系的,在前面通过security搭建了1个非常简单的登录示例。可是,用户要登录我们的系统,需要先注册账号,然后填写一大堆表单,包括:用户名、密码、验证码、性别、年龄、上传头像、绑定邮箱、绑定手机号等等一大堆,这就增加了用户使用我们系统的成本。
因此可以使用比较可靠的第三方系统的用户身份登录我们的系统,但用户仍然是第三方系统的用户,只是用户可以授权他在第三方系统的权限给我们系统,让我们系统可以访问这个用户在第三方系统中的用户信息、用户资源等。
这样用户只需要授权他在第三方用户系统中的资源给我们系统即可,而不需要填写或以后再填写其它信息的登录方式,降低用户注册的成本,就是第三方登录。
当然,拿到用户在第三方系统中的用户身份信息之后,我们可以自己生成这个用户的账号,然后使用这个用户的账号绑定 这个用户在第三方系统中的唯一id,等到用户他下次再使用第三方系统登录我们系统的时候,就可以查询到他之前是否已经使用第三方系统账号登录我们系统了,如果登陆过,则把这个账号查出来,继续使用。如果没查询出来,则生成1个账号,并绑定第三方系统用户唯一id,并且也可以设置默认密码,或当用户设置密码时,才允许使用账号、密码 登录我们系统
注册gitee客户端
首先,需要明白:是gitee的用户 向 gitee认证服务器 请求授权给 我们系统 访问 该gitee用户在gitee中的用户资源。这里面用的是授权码模式。
我们系统对于gitee来说,属于客户端。gitee需要知道用户请求授权给的系统的身份。假设gitee知道我们系统是个黑网站,gitee就肯定就直接拉黑我们系统了,肯定就不允许gitee的用户授权给我们系统了,因此,gitee会对需要接入它的用户的客户端进行管理。因此,我们需要在gitee上注册为客户端。

实现1
引入依赖
<?xml version="1.0" encoding="UTF-8"?>
<project xmlns="http://maven.apache.org/POM/4.0.0"
         xmlns:xsi="http://www.w3.org/2001/XMLSchema-instance"
         xsi:schemaLocation="http://maven.apache.org/POM/4.0.0 http://maven.apache.org/xsd/maven-4.0.0.xsd">
    <modelVersion>4.0.0</modelVersion>

    <groupId>com.zzhua</groupId>
    <artifactId>demo-spring-security-third</artifactId>
    <version>1.0-SNAPSHOT</version>

    <properties>
        <maven.compiler.source>1.8</maven.compiler.source>
        <maven.compiler.target>1.8</maven.compiler.target>
        <java.version>1.8</java.version>
        <spring-boot-version>2.3.3.RELEASE</spring-boot-version>
        <spring-cloud-version>Greenwich.RELEASE</spring-cloud-version>
    </properties>

    <dependencies>

        <dependency>
            <groupId>org.springframework.boot</groupId>
            <artifactId>spring-boot-starter-web</artifactId>
        </dependency>

        <dependency>
            <groupId>org.springframework.cloud</groupId>
            <artifactId>spring-cloud-starter-security</artifactId>
        </dependency>

        <dependency>
            <groupId>org.springframework.boot</groupId>
            <artifactId>spring-boot-starter-oauth2-client</artifactId>
        </dependency>

    </dependencies>

    <dependencyManagement>
        <dependencies>
            <dependency>
                <groupId>org.springframework.boot</groupId>
                <artifactId>spring-boot-dependencies</artifactId>
                <version>${spring-boot-version}</version>
                <type>pom</type>
                <scope>import</scope>
            </dependency>
            <dependency>
                <groupId>org.springframework.cloud</groupId>
                <artifactId>spring-cloud-dependencies</artifactId>
                <version>${spring-cloud-version}</version>
                <type>pom</type>
                <scope>import</scope>
            </dependency>
            <dependency>
                <groupId>javax.servlet</groupId>
                <artifactId>javax.servlet-api</artifactId>
                <version>3.1.0</version>
            </dependency>
            <dependency>
                <groupId>javax.interceptor</groupId>
                <artifactId>javax.interceptor-api</artifactId>
                <version>1.2</version>
            </dependency>
            <dependency>
                <groupId>com.alibaba</groupId>
                <artifactId>fastjson</artifactId>
                <version>1.2.47</version>
            </dependency>
            <dependency>
                <groupId>mysql</groupId>
                <artifactId>mysql-connector-java</artifactId>
                <version>5.1.47</version>
            </dependency>
            <dependency>
                <groupId>org.springframework.security</groupId>
                <artifactId>spring-security-jwt</artifactId>
                <version>1.1.1.RELEASE</version>
            </dependency>
            <dependency>
                <groupId>org.springframework.security.oauth.boot</groupId>
                <artifactId>spring-security-oauth2-autoconfigure
                </artifactId>
                <version>2.1.2.RELEASE</version>
            </dependency>
        </dependencies>
    </dependencyManagement>

    <build>
        <plugins>
            <plugin>
                <groupId>org.springframework.boot</groupId>
                <artifactId>spring-boot-maven-plugin</artifactId>
                <version>${spring-boot-version}</version>
                <configuration>
                    <!--<mainClass>com.tuling.springbootsecurity.SpringBootSecurityApplication</mainClass>-->
                </configuration>
                <executions>
                    <execution>
                        <goals>
                            <goal>repackage</goal>
                        </goals>
                    </execution>
                </executions>
            </plugin>
            <plugin>
                <artifactId>maven-compiler-plugin</artifactId>
                <configuration>
                    <source>1.8</source>
                    <target>1.8</target>
                </configuration>
            </plugin>
        </plugins>
    </build>

</project>
application.yml配置文件
server:
  port: 9090
创建index.html页面
<!DOCTYPE html>
<html lang="en">
<head>
    <meta charset="UTF-8">
    <title>Title</title>
</head>
<body>
<h1>Welcome</h1>
</body>
</html>
启动类
@SpringBootApplication
public class ThirdApp {

    public static void main(String[] args) {
        SpringApplication.run(ThirdApp.class, args);
    }

}
InfoController
@RestController
public class InfoController {

    /* 只能使用第三方登录的用户, 才能访问此接口, 否则会由于参数类型不对绑定不上去而报错 */
    @GetMapping("info")
    public String info(OAuth2AuthenticationToken token) {
        System.out.println(token.getPrincipal());
        return "ok";
    }

}
ProjectConfig
@Configuration
@EnableWebSecurity
public class ProjectConfig extends WebSecurityConfigurerAdapter {

    @Autowired
    private GiteeClient giteeClient;

    @Override
    protected void configure(HttpSecurity http) throws Exception {

        http.oauth2Login(c->c.clientRegistrationRepository(clientRegistrationRepository()));

        http.formLogin();
        http.authorizeRequests().anyRequest().authenticated();
    }

    private ClientRegistrationRepository clientRegistrationRepository(){
        return new InMemoryClientRegistrationRepository(giteeClient.clientRegistration());
    }

    @Bean
    public PasswordEncoder passwordEncoder() {
        HashMap<String, PasswordEncoder> encoders = new HashMap<>();
        encoders.put("bcrypt", new BCryptPasswordEncoder());
        return new DelegatingPasswordEncoder("bcrypt", encoders);
    }

    @Bean
    public UserDetailsService userDetailsService() {
        return username -> {
            if ("zzhua".equals(username)) {
                return new User("zzhua", passwordEncoder().encode("zzhua"), AuthorityUtils.createAuthorityList("admin"));
            }
            return null;
        };
    }
}
GiteeClient
@Component
public class GiteeClient {

	public ClientRegistration clientRegistration(){
		return ClientRegistration.withRegistrationId("gitee")  //起个名字,代表client,如clientId和clientSecret
				.clientId("XXX")  //此处要换成你在gitee上创建应用得到的
				.clientSecret("YYY") //此处要换成你在gitee上创建应用得到的
				.scope(new String[]{"user_info"})    //读取用户权限,参见你gitee上创建应用时的授权勾选
				.authorizationUri("https://gitee.com/oauth/authorize")   //这要看gitee的api,是user认证以及client认证获取授权码的地址
				.tokenUri("https://gitee.com/oauth/token") //这要看gitee的api,是client得到授权码后去换token的gitee地址
				.userInfoUri("https://gitee.com/api/v5/user") //资源服务器api地址-也是client用access-token去获取用户user详情的“用户详情资源服务器地址”-这里也是gitee】】
				.userNameAttributeName("id")
				.clientName("gitee")  //为我们的应用client起了个名字
				.authorizationGrantType(AuthorizationGrantType.AUTHORIZATION_CODE)  //注是授权码模式
				.redirectUriTemplate("{baseUrl}/{action}/oauth2/code/{registrationId}")  //本应用配置的gitee发回授权码的地址
				.build();
	}
}
访问测试
-
访问:
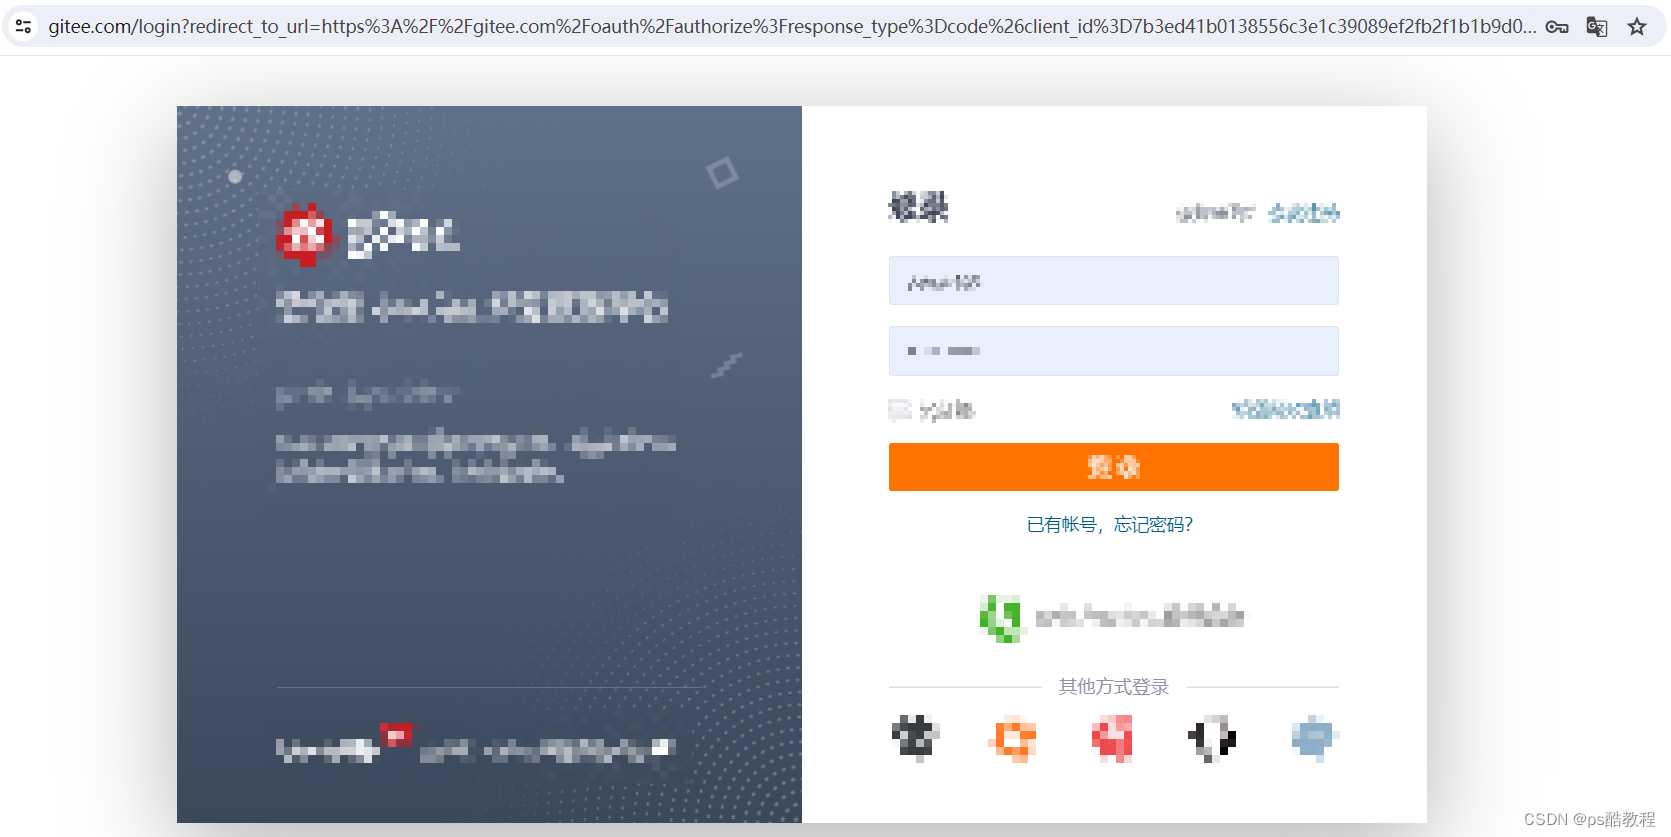
localhost:9090后,被重定向到http://localhost:9090/oauth2/authorization/gitee这个地址,然后这个地址又自动被重定向到:https://gitee.com/oauth/authorize?response_type=code&client_id=7b3ed41b0138556c3e1c39089ef2fb2f1b1b9d06ecc65002472348c9fc9b9e95&scope=user_info&state=aHG4a0a1nCi3jOVQm2aLoGbrLVl8V-zRffgDmXgvj4M%3D&redirect_uri=http://localhost:9090/login/oauth2/code/gitee这个gitee的授权页面,
但是,由于我没有登录,所以又被重定向到https://gitee.com/login?redirect_to_url=https%3A%2F%2Fgitee.com%2Foauth%2Fauthorize%3Fresponse_type%3Dcode%26client_id%3D7b3ed41b0138556c3e1c39089ef2fb2f1b1b9d06ecc65002472348c9fc9b9e95%26scope%3Duser_info%26state%3DaHG4a0a1nCi3jOVQm2aLoGbrLVl8V-zRffgDmXgvj4M%253D%26redirect_uri%3Dhttp%3A%2F%2Flocalhost%3A9090%2Flogin%2Foauth2%2Fcode%2Fgitee这个gitee的登录地址,登录页面如下:
-
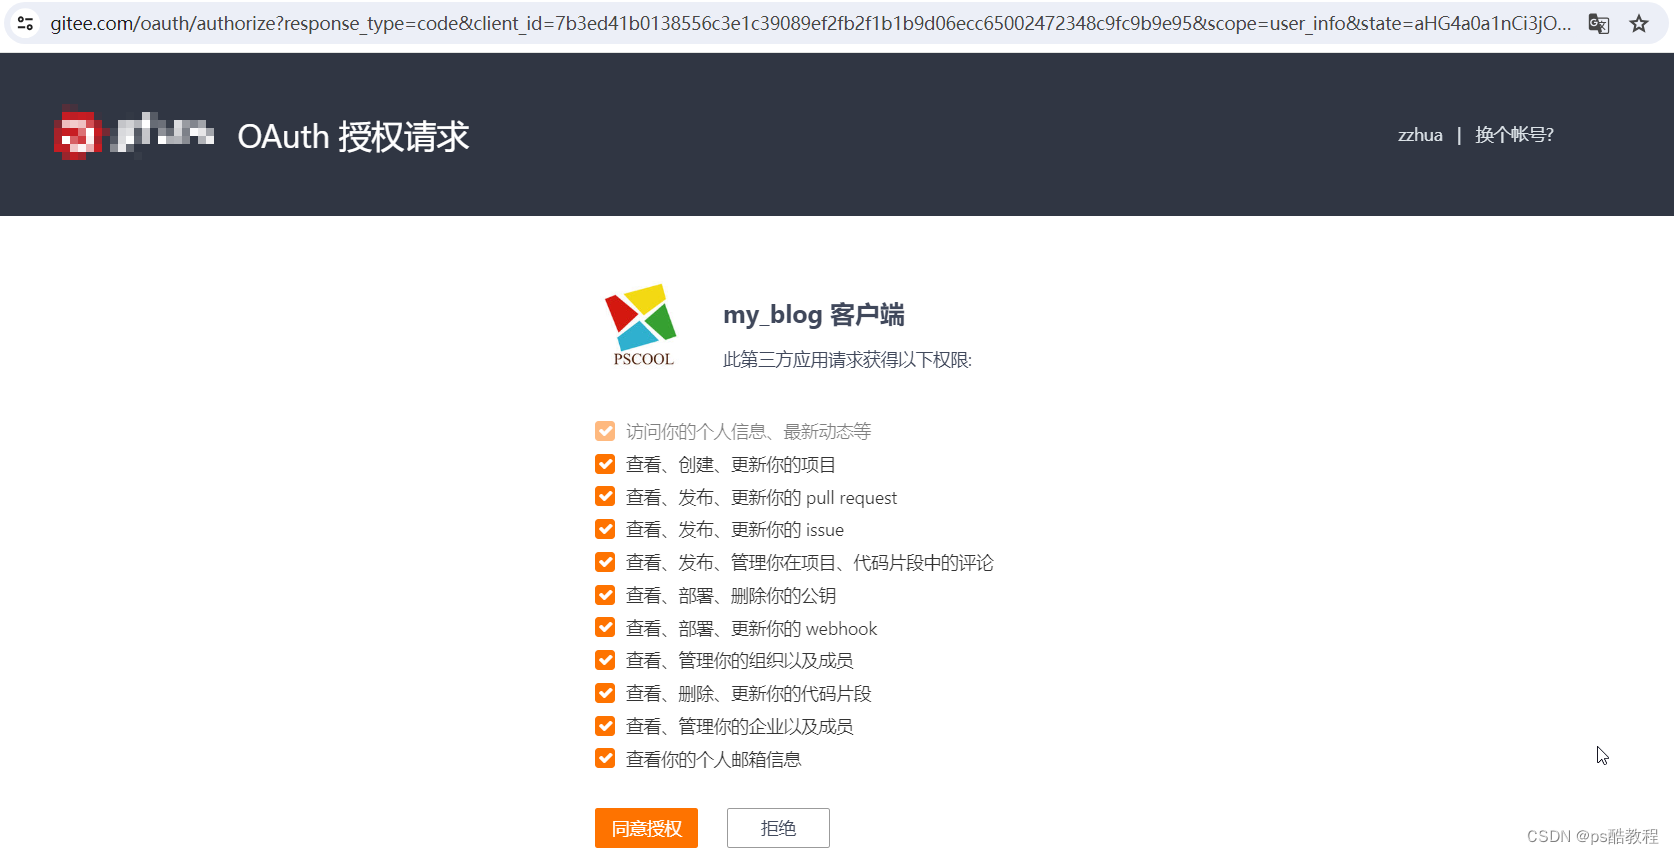
填入gitee的用户名和密码,点击登录,它会把表单数据发送到登录请求接口:
https://gitee.com/login,并携带用户名和密码。如果登录成功,则会重定向到:https://gitee.com/oauth/authorize?response_type=code&client_id=7b3ed41b0138556c3e1c39089ef2fb2f1b1b9d06ecc65002472348c9fc9b9e95&scope=user_info&state=aHG4a0a1nCi3jOVQm2aLoGbrLVl8V-zRffgDmXgvj4M%3D&redirect_uri=http://localhost:9090/login/oauth2/code/gitee授权页面,请求用户授权
-
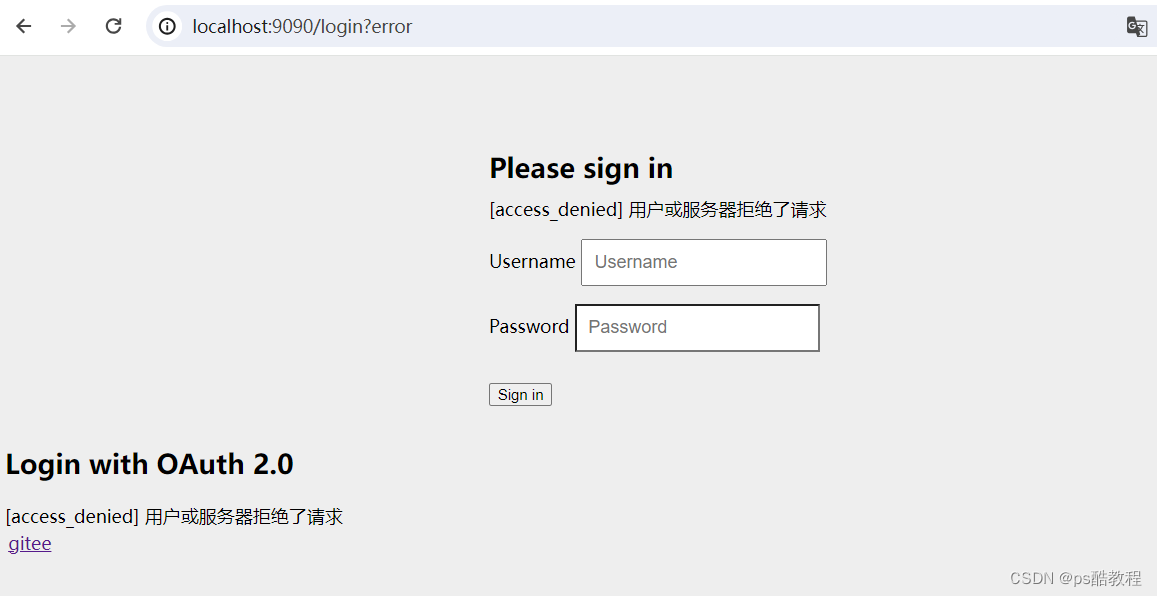
如果用户点击拒绝,会对gitee的授权接口发起请求:
https://gitee.com/oauth/authorize,并携带表单数据。然后gitee服务器发现当前用户拒绝授权给我们系统,就会让浏览器重定向到:http://localhost:9090/login/oauth2/code/gitee?error=access_denied&error_description=%E7%94%A8%E6%88%B7%E6%88%96%E6%9C%8D%E5%8A%A1%E5%99%A8%E6%8B%92%E7%BB%9D%E4%BA%86%E8%AF%B7%E6%B1%82&state=aHG4a0a1nCi3jOVQm2aLoGbrLVl8V-zRffgDmXgvj4M%3D,然后又自动重定向到:http://localhost:9090/login?error了,此时,页面如下:
-
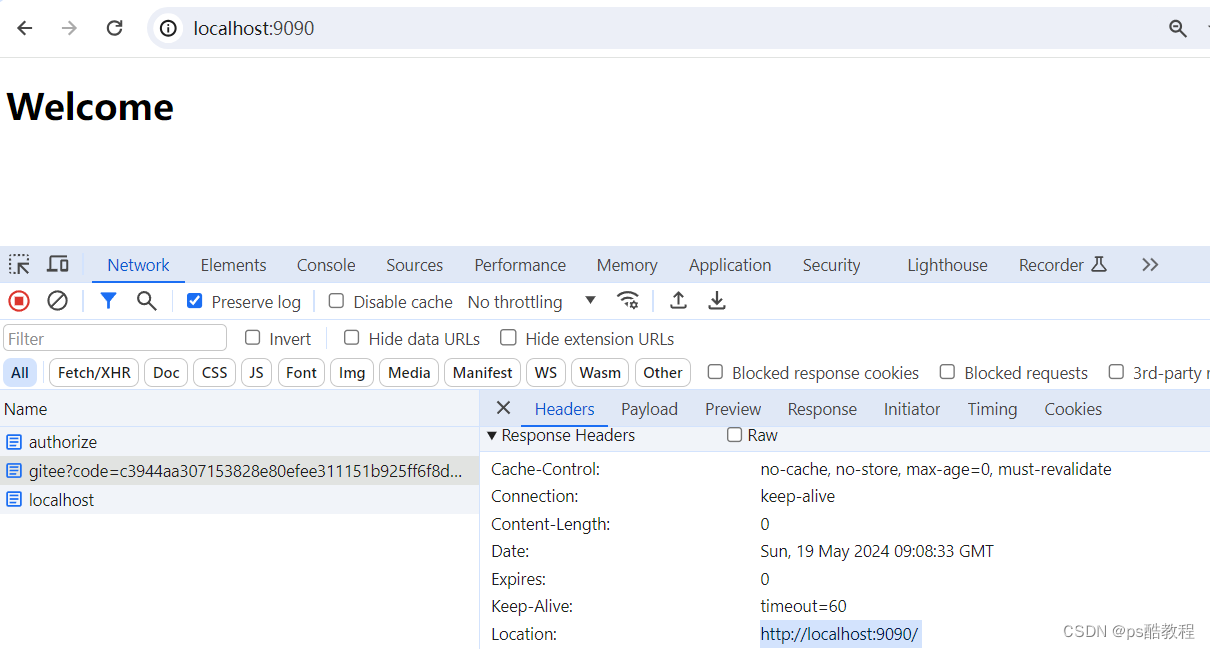
如果用户点击同意,会对gitee的授权接口发起请求:
https://gitee.com/oauth/authorize,并携带表单数据。然后gitee服务器发现当前用户同意授权给我们系统,就会让浏览器重定向到:http://localhost:9090/login/oauth2/code/gitee?code=c3944aa307153828e80efee311151b925ff6f8d4e6c35850ed2ebe4e665f6f1f&state=b1X4XuCXNF50zmbY3HiXInh0inHsPXhGgH2pOZ9xliE%3D,看里面是携带了code授权码和state的,然后又自动重定向到:http://localhost:9090/了,此时,页面如下:
-
访问:
http://localhost:9090/info,此时页面如下:
控制台打印的数据如下:Name: [5029907], Granted Authorities: [[ROLE_USER, SCOPE_emails, SCOPE_enterprises, SCOPE_gists, SCOPE_groups, SCOPE_hook, SCOPE_issues, SCOPE_keys, SCOPE_notes, SCOPE_projects, SCOPE_pull_requests, SCOPE_user_info]], User Attributes: [ {id=5029907, login=zzhua195, name=zzhua, avatar_url=https://gitee.com/assets/no_portrait.png, url=https://gitee.com/api/v5/users/zzhua195, html_url=https://gitee.com/zzhua195, remark=, followers_url=https://gitee.com/api/v5/users/zzhua195/followers, following_url=https://gitee.com/api/v5/users/zzhua195/following_url{/other_user}, gists_url=https://gitee.com/api/v5/users/zzhua195/gists{/gist_id}, starred_url=https://gitee.com/api/v5/users/zzhua195/starred{/owner}{/repo}, subscriptions_url=https://gitee.com/api/v5/users/zzhua195/subscriptions, organizations_url=https://gitee.com/api/v5/users/zzhua195/orgs, repos_url=https://gitee.com/api/v5/users/zzhua195/repos, events_url=https://gitee.com/api/v5/users/zzhua195/events{/privacy}, received_events_url=https://gitee.com/api/v5/users/zzhua195/received_events, type=User, blog=null, weibo=null, bio=null, public_repos=301, public_gists=0, followers=4, following=17, stared=133, watched=415, created_at=2019-05-23T10:19:09+08:00, updated_at=2024-05-19T16:59:39+08:00, email=null} ] -
清空浏览器的所有缓存,访问:
http://localhost:9090/login,会来到我们系统自己的登录页,输入用户凭据后,点击登录

此时,再去访问:http://localhost:9090/info,会返回500的错误页面,因为当前用户类型并不是通过第三方gitee来登录的。
实现2
只是将代码配置改成配置文件配置
引入依赖
与上面一致
<?xml version="1.0" encoding="UTF-8"?>
<project xmlns="http://maven.apache.org/POM/4.0.0"
         xmlns:xsi="http://www.w3.org/2001/XMLSchema-instance"
         xsi:schemaLocation="http://maven.apache.org/POM/4.0.0 http://maven.apache.org/xsd/maven-4.0.0.xsd">
    <modelVersion>4.0.0</modelVersion>

    <groupId>com.zzhua</groupId>
    <artifactId>demo-spring-security-third</artifactId>
    <version>1.0-SNAPSHOT</version>

    <properties>
        <maven.compiler.source>1.8</maven.compiler.source>
        <maven.compiler.target>1.8</maven.compiler.target>
        <java.version>1.8</java.version>
        <spring-boot-version>2.3.3.RELEASE</spring-boot-version>
        <spring-cloud-version>Greenwich.RELEASE</spring-cloud-version>
    </properties>

    <dependencies>

        <dependency>
            <groupId>org.springframework.boot</groupId>
            <artifactId>spring-boot-starter-web</artifactId>
        </dependency>

        <dependency>
            <groupId>org.springframework.cloud</groupId>
            <artifactId>spring-cloud-starter-security</artifactId>
        </dependency>

        <dependency>
            <groupId>org.springframework.boot</groupId>
            <artifactId>spring-boot-starter-oauth2-client</artifactId>
        </dependency>

    </dependencies>

    <dependencyManagement>
        <dependencies>
            <dependency>
                <groupId>org.springframework.boot</groupId>
                <artifactId>spring-boot-dependencies</artifactId>
                <version>${spring-boot-version}</version>
                <type>pom</type>
                <scope>import</scope>
            </dependency>
            <dependency>
                <groupId>org.springframework.cloud</groupId>
                <artifactId>spring-cloud-dependencies</artifactId>
                <version>${spring-cloud-version}</version>
                <type>pom</type>
                <scope>import</scope>
            </dependency>
            <dependency>
                <groupId>javax.servlet</groupId>
                <artifactId>javax.servlet-api</artifactId>
                <version>3.1.0</version>
            </dependency>
            <dependency>
                <groupId>javax.interceptor</groupId>
                <artifactId>javax.interceptor-api</artifactId>
                <version>1.2</version>
            </dependency>
            <dependency>
                <groupId>com.alibaba</groupId>
                <artifactId>fastjson</artifactId>
                <version>1.2.47</version>
            </dependency>
            <dependency>
                <groupId>mysql</groupId>
                <artifactId>mysql-connector-java</artifactId>
                <version>5.1.47</version>
            </dependency>
            <dependency>
                <groupId>org.springframework.security</groupId>
                <artifactId>spring-security-jwt</artifactId>
                <version>1.1.1.RELEASE</version>
            </dependency>
            <dependency>
                <groupId>org.springframework.security.oauth.boot</groupId>
                <artifactId>spring-security-oauth2-autoconfigure
                </artifactId>
                <version>2.1.2.RELEASE</version>
            </dependency>
        </dependencies>
    </dependencyManagement>

    <build>
        <plugins>
            <plugin>
                <groupId>org.springframework.boot</groupId>
                <artifactId>spring-boot-maven-plugin</artifactId>
                <version>${spring-boot-version}</version>
                <configuration>
                    <!--<mainClass>com.tuling.springbootsecurity.SpringBootSecurityApplication</mainClass>-->
                </configuration>
                <executions>
                    <execution>
                        <goals>
                            <goal>repackage</goal>
                        </goals>
                    </execution>
                </executions>
            </plugin>
            <plugin>
                <artifactId>maven-compiler-plugin</artifactId>
                <configuration>
                    <source>1.8</source>
                    <target>1.8</target>
                </configuration>
            </plugin>
        </plugins>
    </build>

</project>
application.yml配置文件
server:
  port: 9090
spring:
  security:
    oauth2:
      client:
        registration:
          gitee:
            client-id: YOUR_ID
            client-secret: YOUR_SECRET
            authorization-grant-type: authorization_code
            redirect-uri: '{baseUrl}/{action}/oauth2/code/{registrationId}'
            client-name: gitee
            provider: gitee
            scope:
              - user_info
        provider:
          gitee:
            authorization-uri: https://gitee.com/oauth/authorize
            token-uri: https://gitee.com/oauth/token
            user-info-uri: https://gitee.com/api/v5/user
            user-name-attribute: id
创建index.html页面
与上面一致
<!DOCTYPE html>
<html lang="en">
<head>
    <meta charset="UTF-8">
    <title>Title</title>
</head>
<body>
<h1>Welcome</h1>
</body>
</html>
启动类
与上面一致
@SpringBootApplication
public class ThirdApp {

    public static void main(String[] args) {
        SpringApplication.run(ThirdApp.class, args);
    }

}
InfoController
与上面一致
@RestController
public class InfoController {

    /* 只能使用第三方登录的用户, 才能访问此接口, 否则会由于参数类型不对绑定不上去而报错 */
    @GetMapping("info")
    public String info(OAuth2AuthenticationToken token) {
        System.out.println(token.getPrincipal());
        return "ok";
    }

}
ProjectConfig
@Configuration
@EnableWebSecurity
public class ProjectConfig extends WebSecurityConfigurerAdapter {

    @Override
    protected void configure(HttpSecurity http) throws Exception {

        http.oauth2Login();

        http.formLogin();
        http.authorizeRequests().anyRequest().authenticated();
    }

    @Bean
    public PasswordEncoder passwordEncoder() {
        HashMap<String, PasswordEncoder> encoders = new HashMap<>();
        encoders.put("bcrypt", new BCryptPasswordEncoder());
        return new DelegatingPasswordEncoder("bcrypt", encoders);
    }

    @Bean
    public UserDetailsService userDetailsService() {
        return username -> {
            if ("zzhua".equals(username)) {
                return new User("zzhua", passwordEncoder().encode("zzhua"), AuthorityUtils.createAuthorityList("admin"));
            }
            return null;
        };
    }
}


 3227
3227

 被折叠的 条评论
为什么被折叠?
被折叠的 条评论
为什么被折叠?
 到【灌水乐园】发言


