


Canvas - 实现动画、放大模糊,处理图片的原理
-
requestAnimationFrame实现动画- 它是在
canvas中实现动画的关键,不同于setTimeout和setInterval,它不需要设置时间间隔,显示器为60hz,则每秒重绘60次。因此最平滑的动画最佳间隔就是16.6ms,requestAnimationFrame采用系统时间间隔。 requestAnimationFrame会把每帧中所有dom操作集中起来在一次重绘或回流中完成,更加高效,是浏览器专门为动画提供的api- 实现动画的原理:
- 在第一次绘画完成后清空画布,在
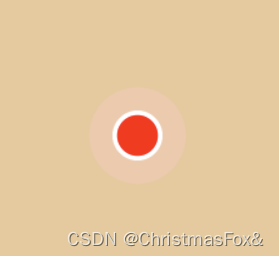
requestAnimationFrame的回调中第二次绘画 - 每次绘画都记录本次绘图的系统时间,并与上一次求差,得出两次绘图的间隔(持续时间):
duration - 定义速度变量,通过
速度*时间=距离的公式得出第二次绘画相比于第一次所需的移动距离 - 处理好边界情况完成绘图
- 在第一次绘画完成后清空画布,在
- 示例
const cvs: any = document.querySelector('canvas')
cvs.width = 300
cvs.height = 300
const ctx: any = cvs?.getContext('2d')

class OutPoint {
  x: number
  y: number
  r: number
  t: number
  outR: number
  lastTime: any
  constructor() {
    this.x = cvs.width / 2
    this.y = cvs.height / 2
    this.r = 10
    this.outR = 20
    this.t = 0
    this.lastTime = null
  }

  draw() {
    if (this.lastTime) {
      const speed = 10
      const duration = (performance.now() - this.lastTime) / 1000 // 间隔`duration`秒
      const distance = duration * speed

      this.t += distance / 10 // 随时间变化 外圈透明度降低
      this.r += distance
      this.outR += distance * 3 // 外圈移动距离为内圈3倍

      // 处理边界情况 当外圈透明度降为0 初始化
      if (1 - this.t <= 0) {
        this.t = 0
        this.r = 10
        this.outR = 20
      }
    }

    // out
    ctx.beginPath()
    ctx.arc(cvs.width / 2, cvs.height / 2, this.outR, 0, 2 * Math.PI)
    ctx.fillStyle = `rgba(255, 200, 200, ${1 - this.t})`
    ctx.fill()

    // white
    ctx.beginPath()
    ctx.arc(cvs.width / 2, cvs.height / 2, 20, 0, 2 * Math.PI)
    ctx.fillStyle = 'white'
    ctx.fill()

    // inner
    ctx.beginPath()
    ctx.arc(cvs.width / 2, cvs.height / 2, this.r, 0, 2 * Math.PI)
    ctx.fillStyle = 'red'
    ctx.fill()
    this.lastTime = performance.now()
  }
}

class Graph {
  outPoint: any
  constructor() {
    this.outPoint = new OutPoint()
  }
  draw() {
    // requestAnimationFrame
    requestAnimationFrame(() => {
      this.draw()
    })
    ctx.clearRect(0, 0, cvs.width, cvs.height) // 清空画布
    this.outPoint.draw()
  }
}

// 调用
const g = new Graph()
g.draw()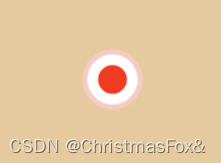
- 它是在
-
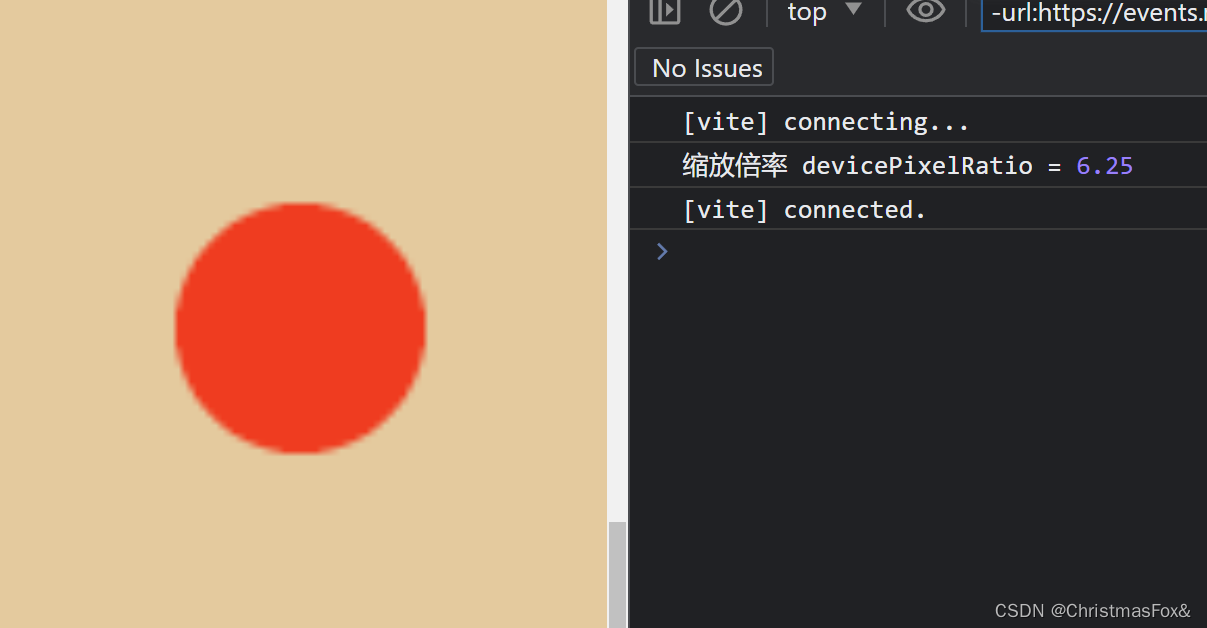
canvas放大不清晰的原理及解决办法- canvas本质上可以理解为图片,而图片属于位图,只要保持
原始尺寸=样式尺寸*缩放倍率等式成立,图片就能保持清晰
// 例如 定义canvas的宽高,即为canvas的原始尺寸 // 给canvas设置样式style的宽高即为样式尺寸 // img 标签同理 const cvs: any = document.querySelector('canvas') cvs.width = 300 // 原始尺寸 cvs.height = 300 // 原始尺寸 cvs.style.width = '300px' // 样式尺寸 cvs.style.height = '300px' // 样式尺寸 const devicePixelRatio = window.devicePixelRatio // 缩放倍率- 在
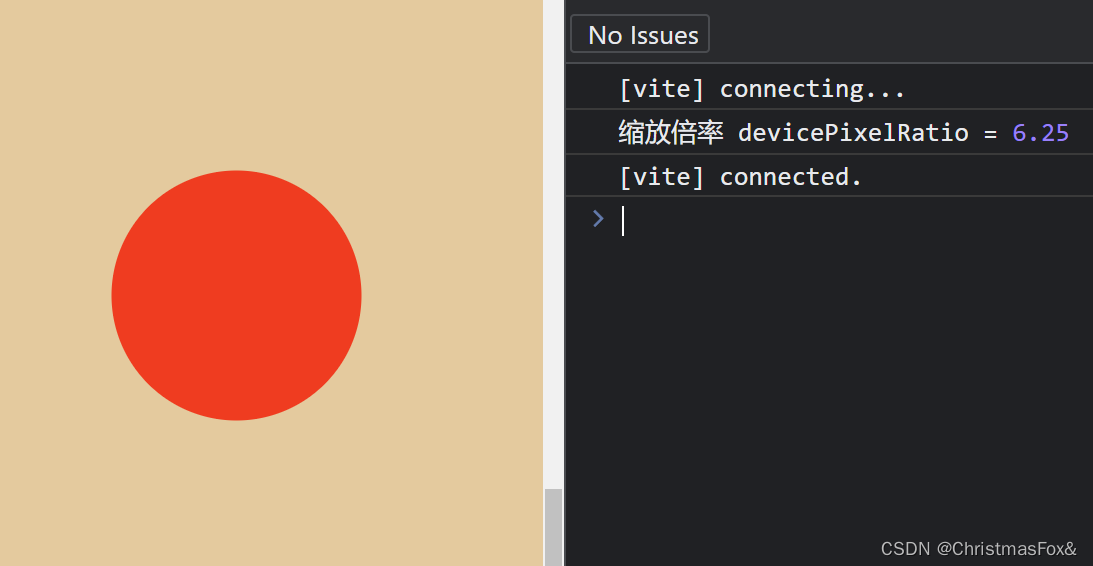
js中获取window.devicePixelRatio即可得到当前浏览器的缩放倍率,接下来只需要保持等式成立即可
const cvs: any = document.querySelector('canvas')
cvs.width = 300 * devicePixelRatio // 原始尺寸 * 缩放倍率
cvs.height = 300 * devicePixelRatio
cvs.style.width = '300px' // 样式尺寸不变
cvs.style.height = '300px'
const ctx: any = cvs?.getContext('2d')

ctx.beginPath()
ctx.arc(
  cvs.width / 2,
  cvs.height / 2,
  20 * devicePixelRatio, // 半径 * 缩放倍率
  0,
  2 * Math.PI
)
ctx.fillStyle = 'red'
ctx.fill()
处理前后对比
- canvas本质上可以理解为图片,而图片属于位图,只要保持
-
用
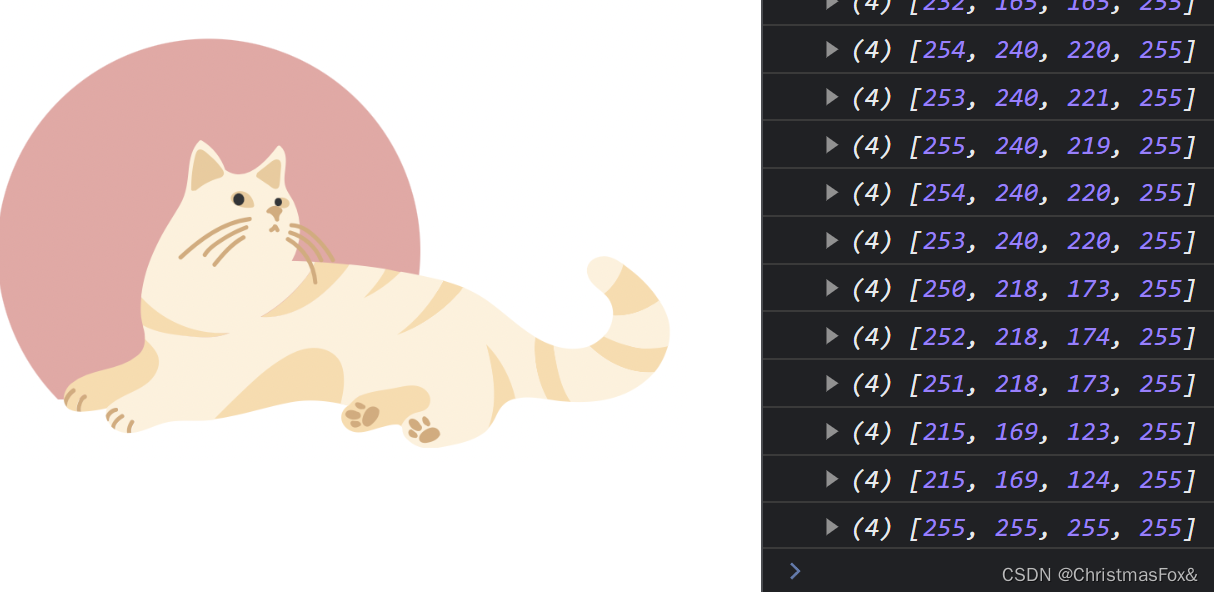
canvas处理图片- 通过
index = (y * width + x) * 4可以得到点击位置(x,y)在上下文对象获取的图片像素数组中的rgba的R的下标
const cvs: any = document.querySelector('canvas') const ctx: any = cvs?.getContext('2d') const img = new Image() img.src = '../picture.png' img.onload = () => { // 将画布宽高设置为图片宽高 cvs.width = img.width cvs.height = img.height ctx.drawImage(img, 0, 0) } // 通过监听或vue获取画布的点击事件 function canvasClick(e) { // 得到点击位置的坐标 (x,y) const x = e.offsetX const y = e.offsetY // canvas上下文能够获得图片上每一个像素点的颜色值 const imgData = ctx.getImageData(0, 0, cvs.width, cvs.height) const colorClicked = getRgbaFromImgData(x, y, cvs.width, imgData) console.log(colorClicked) // [251, 217, 173, 255] 即 r、g、b、a } // 工具函数 function getRgbaFromImgData(x, y, width, imgData) { const index = (y * width + x) * 4 // 获取点击位置在imgData中的下标的公式 return [ imgData.data[index], // R imgData.data[index + 1], // G imgData.data[index + 2], // B imgData.data[index + 3] // A ] }- 接下来只需要根据需求修改点击位置甚至附近的像素点颜色即可,即修改
imgData.data[index] - 修改完成后用
ctx.putImageData应用修改
const greenColor = [0, 255, 0, 255]
imgData.data.set(greenColor, index)
ctx.putImageData(imgData, 0, 0)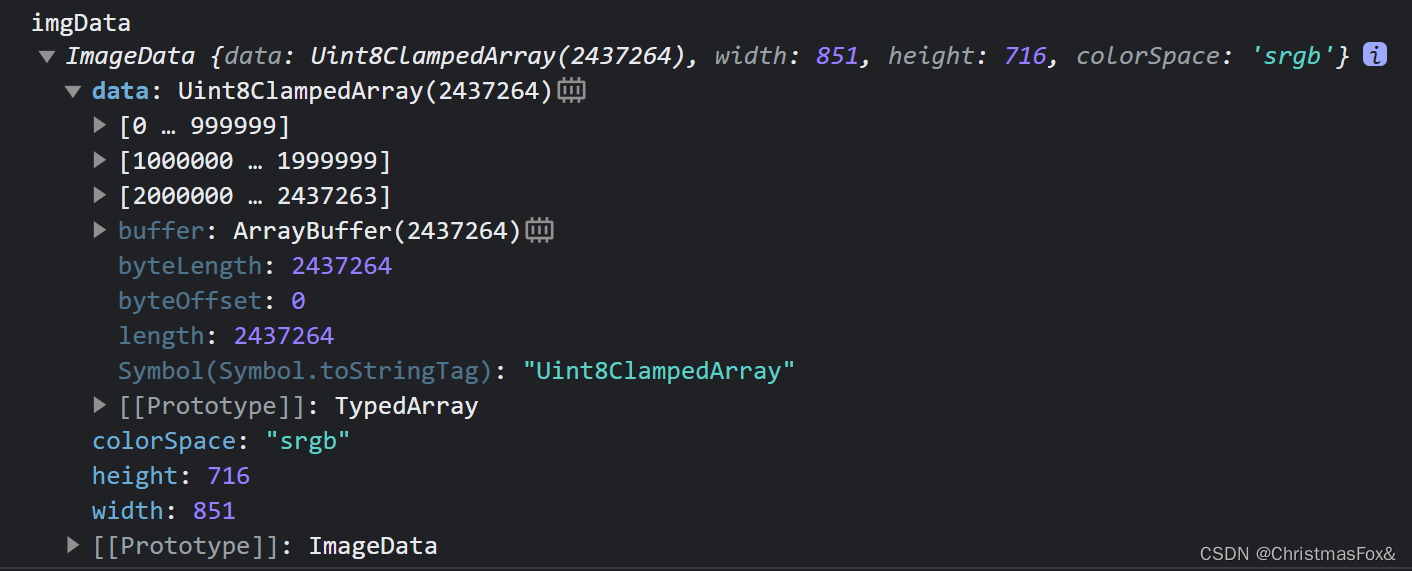
- 通过


 124
124

 被折叠的 条评论
为什么被折叠?
被折叠的 条评论
为什么被折叠?
 到【灌水乐园】发言


