


1. 环境准备
备注:必须先安装好Docker Desktop
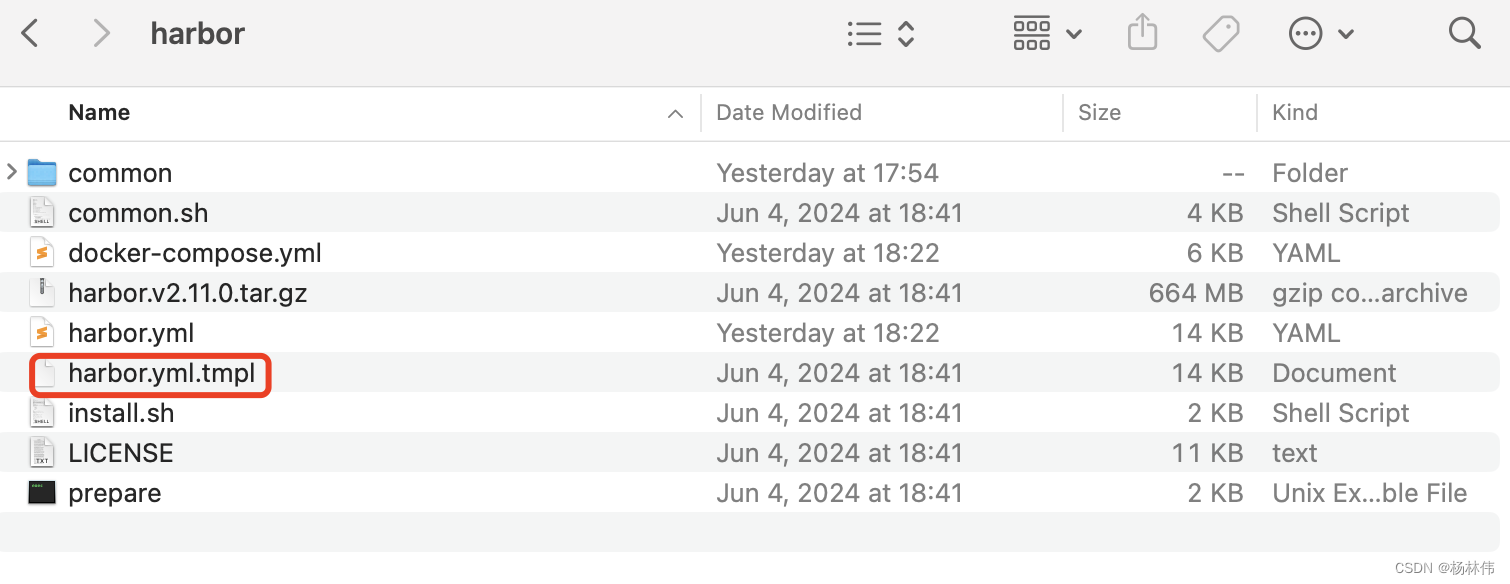
Step1 :下载harbor-offline-installer-v2.11.0.tgz,下载地址为 https://github.com/goharbor/harbor/releases
Step2:解压,复制 harbor.yaml.tmpl为 harbor.yml:
Step3:在 /usr/local 目录下新建harbor文件夹,并赋予所有权限:
cd /usr/local
sudo mkdir harbor
sudo chmod +x harbor
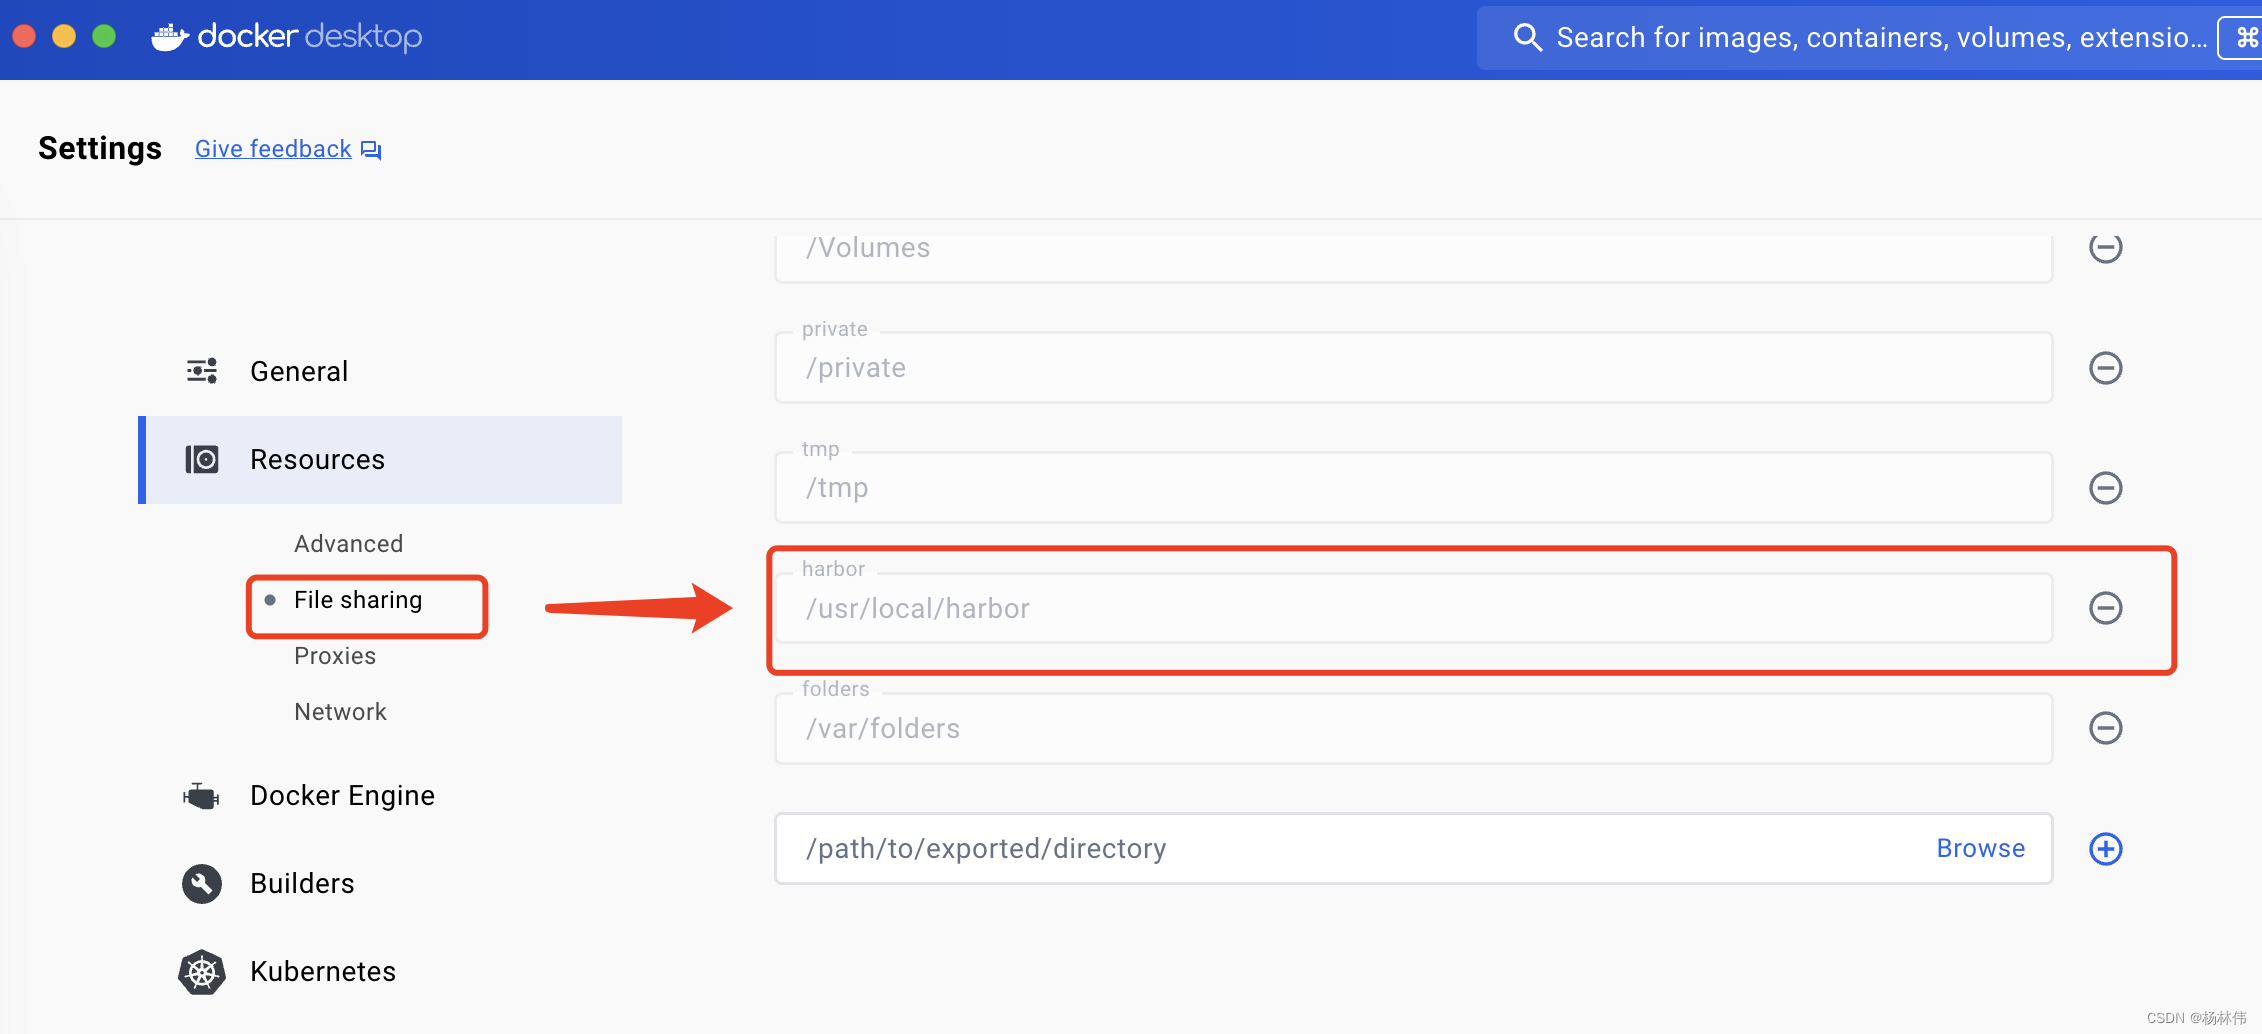
Step4:Docker Desktop也需要在Resource→FIle Sharing添加harbor目录,然后重启。
2. 配置
Step1:修改harbor.yml文件,主要修改几个部分的内容(分别为:域名、注释https、数据存储目录、日志存储目录):
......
hostname: reg.xxx.com ## harbor域名地址,一般格式为reg.xxx.com

# 把https相关的配置注释掉
#https:
  # https port for harbor, default is 443
  #port: 443
  # The path of cert and key files for nginx
  #certificate: /your/certificate/path
  #private_key: /your/private/key/path
  # enable strong ssl ciphers (default: false)
  # strong_ssl_ciphers: false


# The default data volume
data_volume: /usr/local/harbor/data


# 日志相关配置
log:
  # options are debug, info, warning, error, fatal
  level: info
  # configs for logs in local storage
  local:
    # Log files are rotated log_rotate_count times before being removed. If count is 0, old versions are removed rather than rotated.
    rotate_count: 50
    # Log files are rotated only if they grow bigger than log_rotate_size bytes. If size is followed by k, the size is assumed to be in kilobytes.
    # If the M is used, the size is in megabytes, and if G is used, the size is in gigabytes. So size 100, size 100k, size 100M and size 100G
    # are all valid.
    rotate_size: 200M
    # The directory on your host that store log
    location: /usr/local/harbor/data/log/harbor
Step2:hosts文件添加第四步骤的域名
127.0.0.1 host对应的域名
3. 安装
Step1:启动,执行install脚本
./install.sh
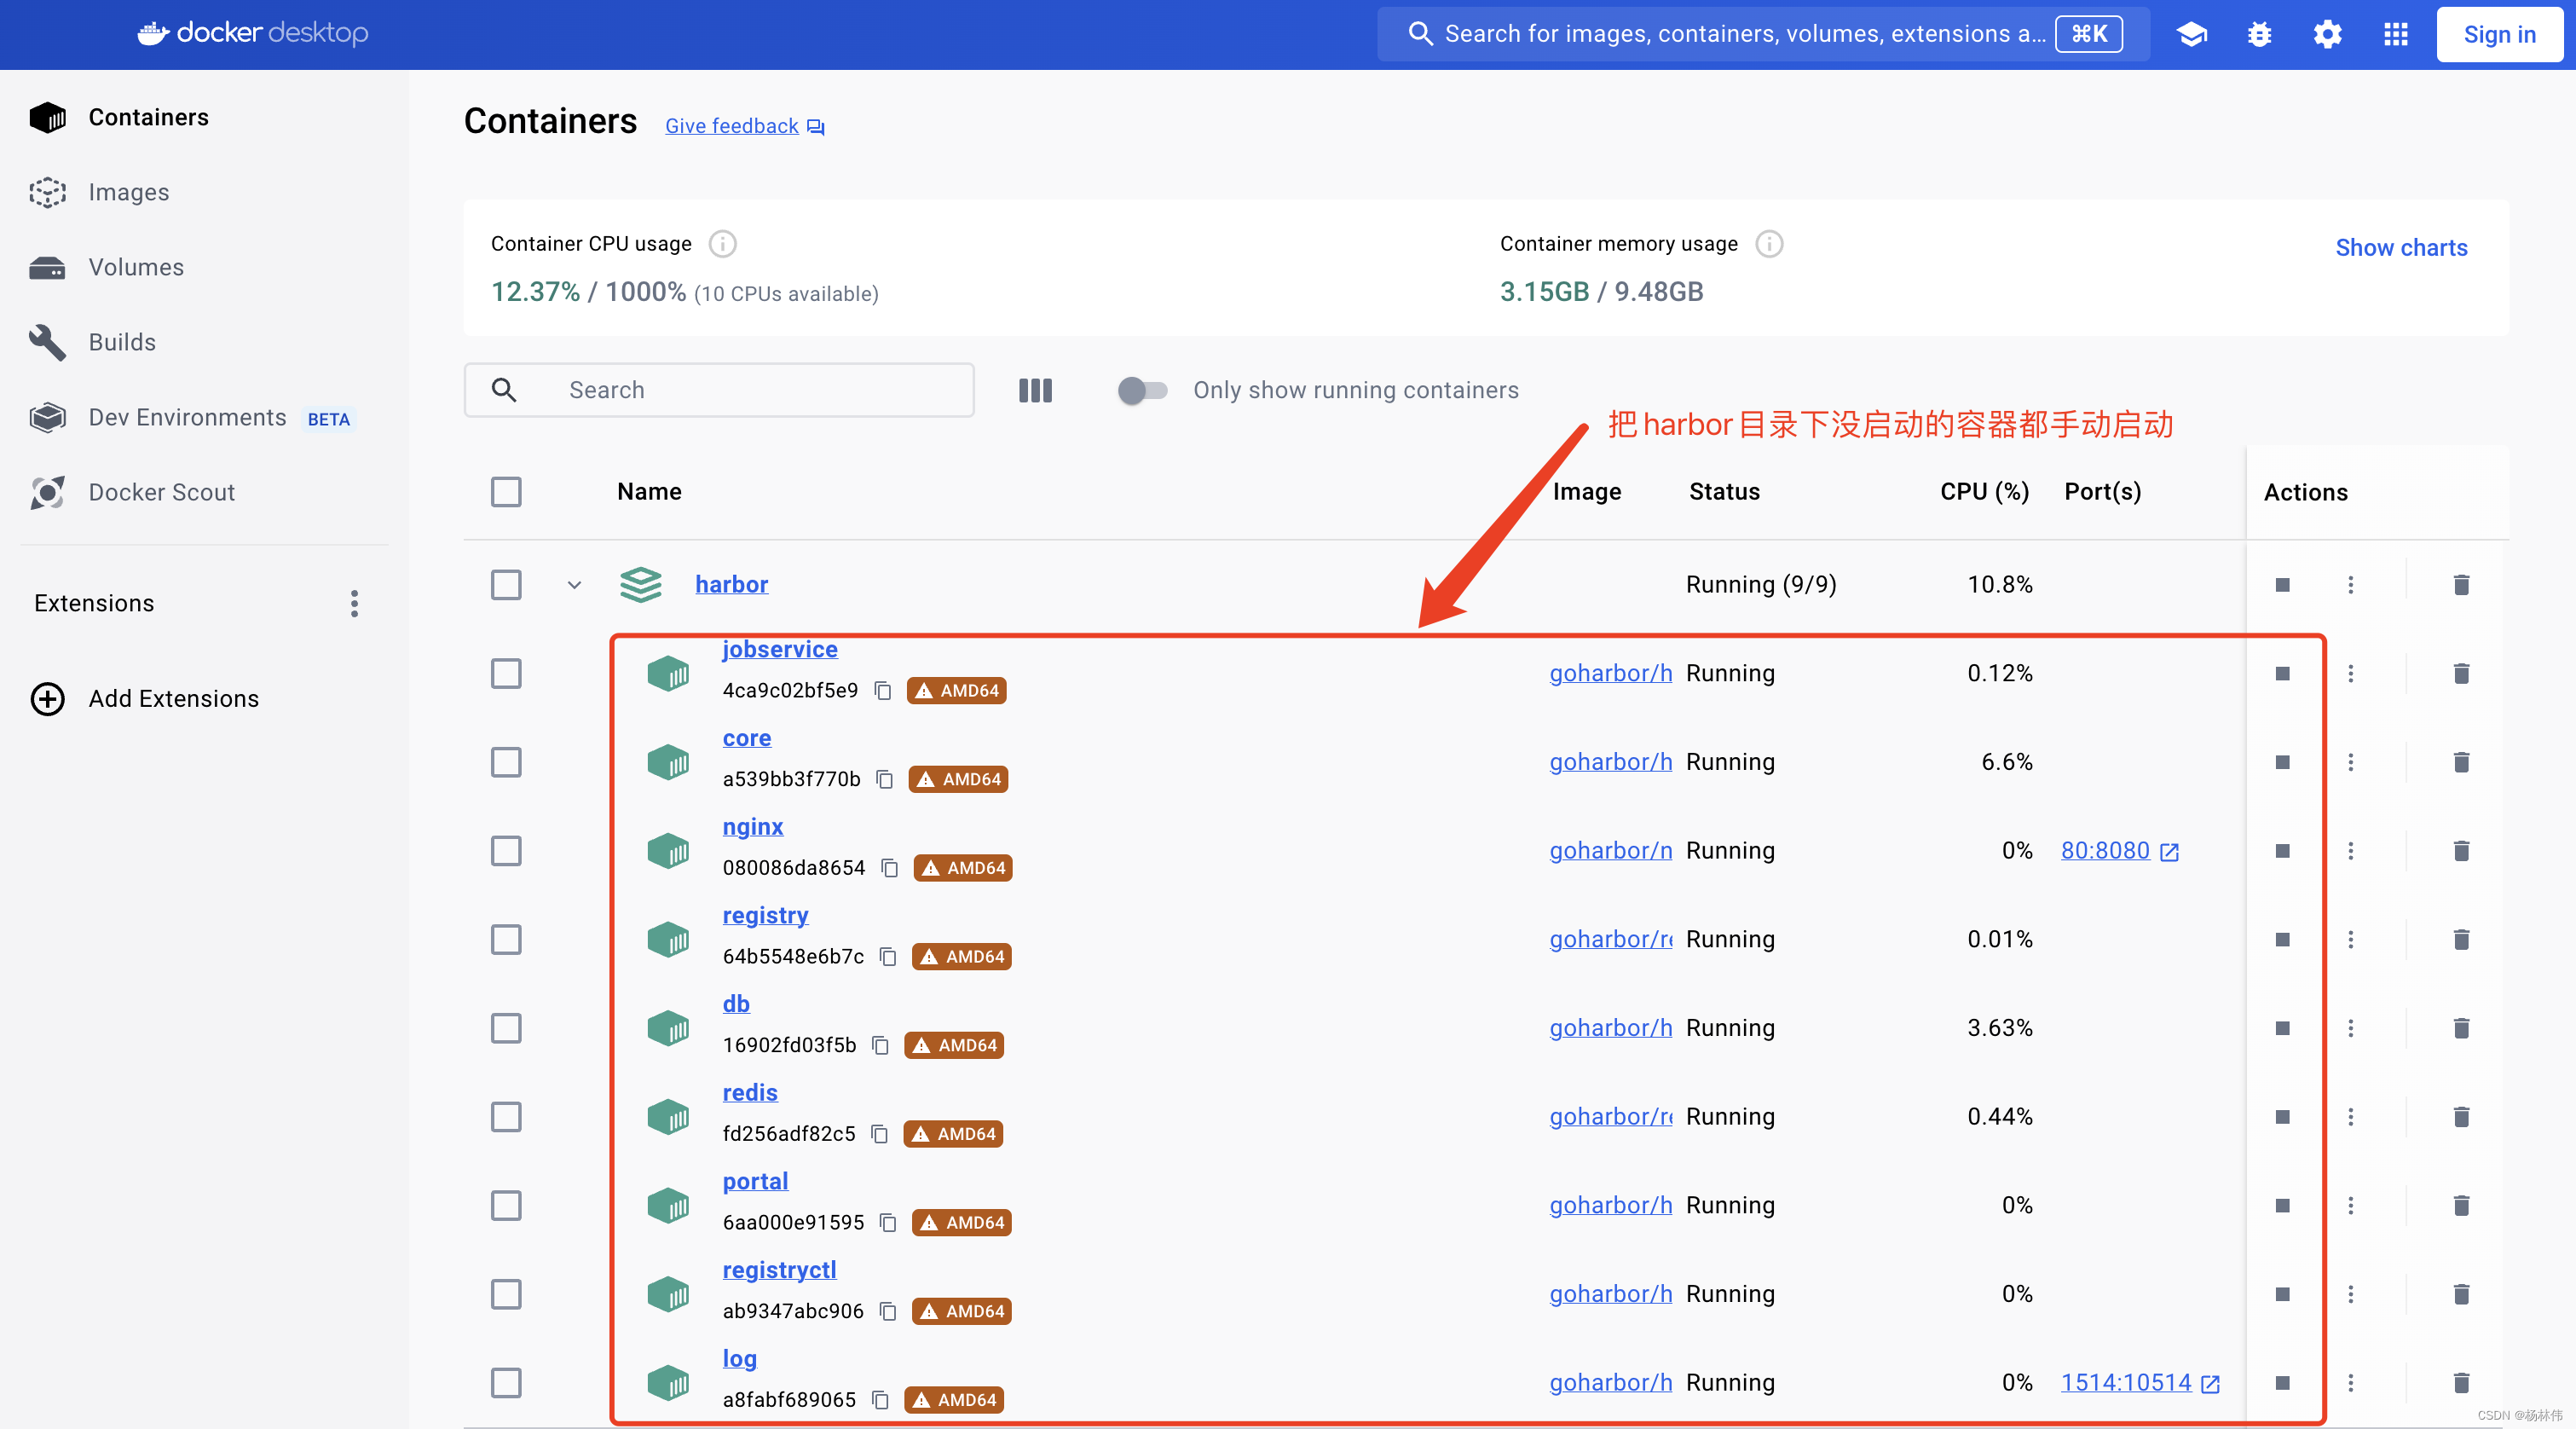
安装之后(这里忘记截图了),在Docker Desktop检查,看看harbor目录下哪些容器没有启动,直接手动再次启动即可。
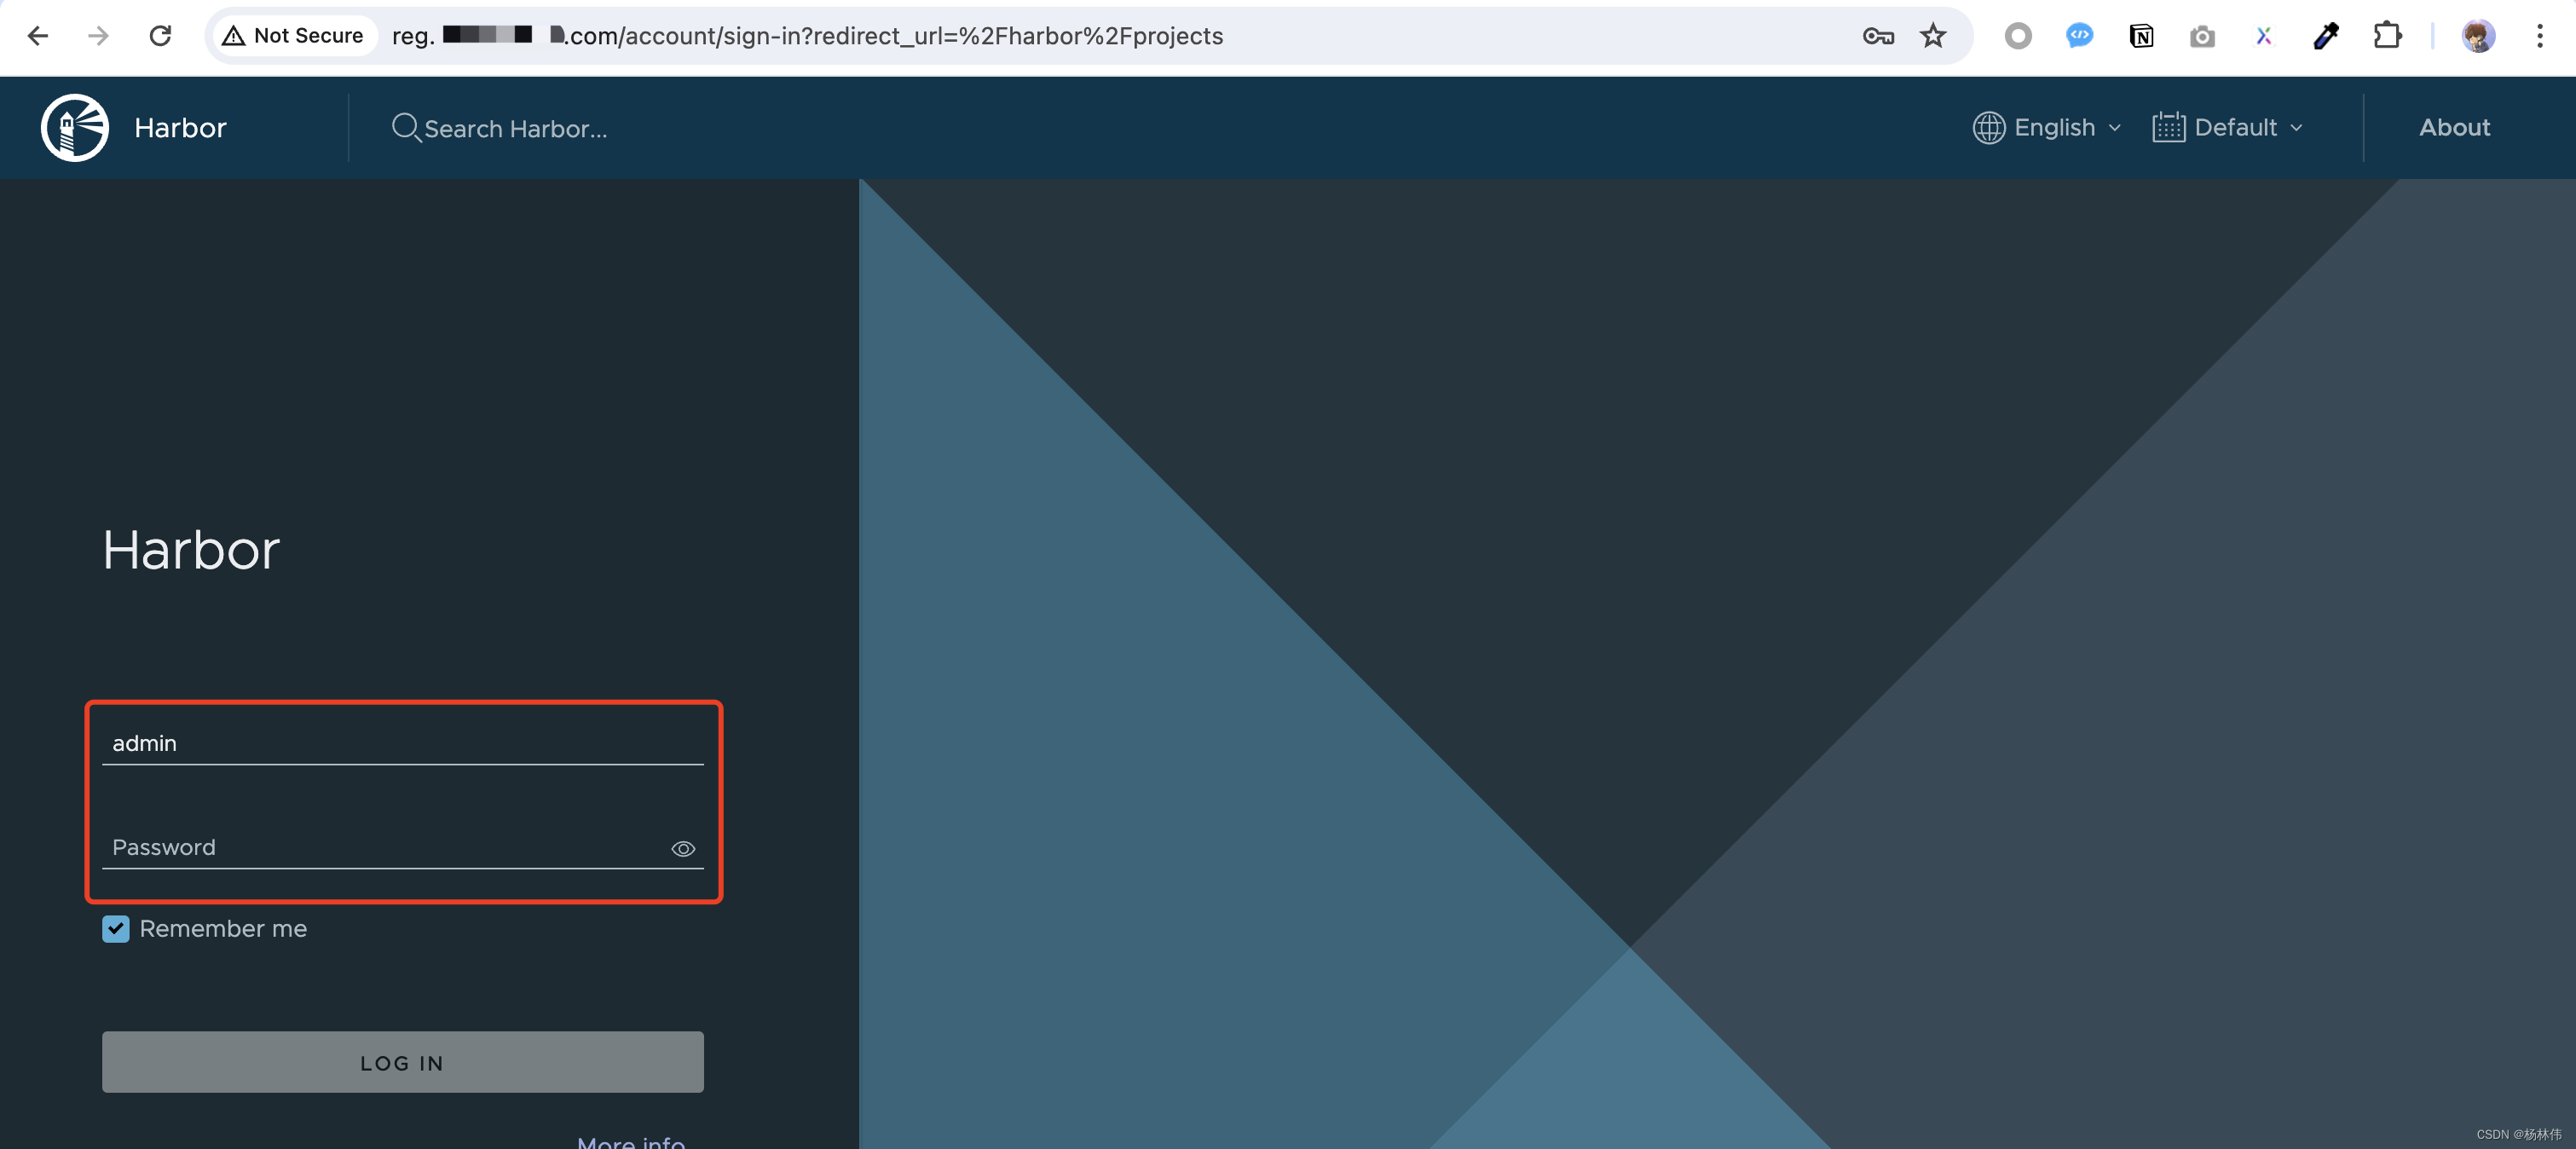
4. 验证
浏览器访问刚才的域名,会跳转到登录页,账号密码问:admin / Harbor12345,密码可以在harbor.yml文件里面找到。
安装成功:

使用命令也能登录成功(注意:需要关闭本地的VPN,否则可能会访问不了):
docker login -u admin -p Harbor12345 reg.xxx.com


 1084
1084

 被折叠的 条评论
为什么被折叠?
被折叠的 条评论
为什么被折叠?
 到【灌水乐园】发言


