


关于文字渲染
context.font、fillText与strokeText
简单来说,font指定字体的样式
fillText与strokeText指定这里写代码片字符串和文字的位置。
可以猜测,fillText将会填充出文字,而strokeText会把边框绘制出来。
可用strokeStyle与fillStyle指定绘制样式
    context.font = "bold 40px Arial";
    context.fillStyle = "#058";
    context.fillText("欢迎大家学习《Canvas绘图详解》!", 40, 100);
尝试使用之前学的渐变
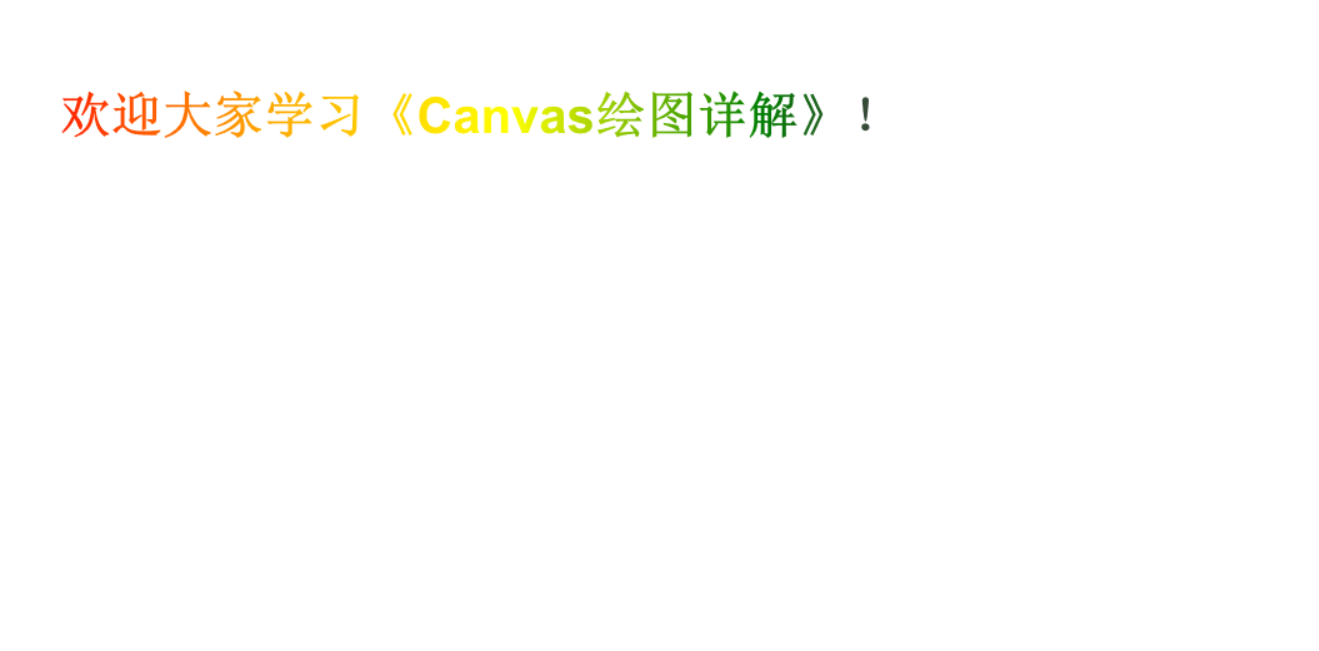
var linearGrad = context.createLinearGradient(0, 0, 800, 0);
        linearGrad.addColorStop(0.0, "red");
        linearGrad.addColorStop(0.25, "orange");
        linearGrad.addColorStop(0.5, "yellow");
        linearGrad.addColorStop(0.75, "green");
        linearGrad.addColorStop(1.0, "purple");
context.fillStyle = linearGrad;
context.font = "bold 40px Arial";
context.fillText("欢迎大家学习《Canvas绘图详解》!", 40, 100);
效果:
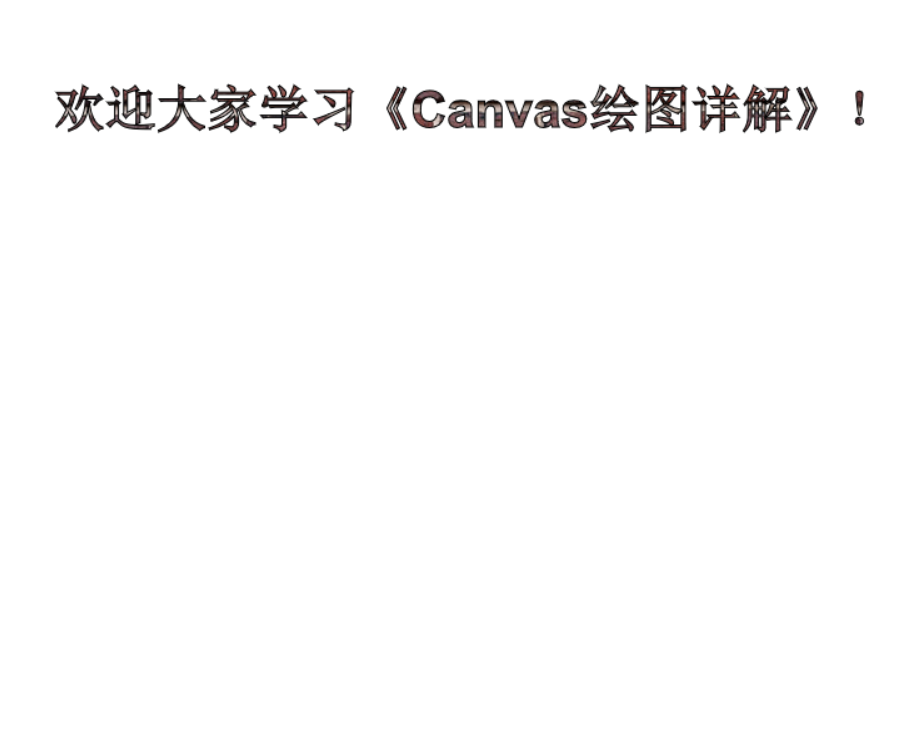
也可用使用背景图片的方法
    <body>
        <canvas id="canvas" width="" height=""></canvas>
    </body>
    <script type="text/javascript">
        var canvas = document.getElementById("canvas");
        var context = canvas.getContext("2d");
        canvas.width = 800;
        canvas.height = 800;


        var img = new Image();
        img.src = "zhuankuai.jpg";
        img.onload = function (){
            var pattern = context.createPattern(img, "repeat");
            context.fillStyle = pattern;
            context.font = "bold 40px Arial";
            context.fillText("欢迎大家学习《Canvas绘图详解》!", 40, 100);
            context.strokeText("欢迎大家学习《Canvas绘图详解》!", 40, 100);
        }


    </script>
</html>
效果:
实际上,fillText或strokeText还用第四个参数,【maxlen】,指定文字的最长宽度,单位是像素,当长度有限时,可以使用这个参数强制压缩文字。
    context.fillText("欢迎大家学习《Canvas绘图详解》!", 40, 100,200);
    context.strokeText("欢迎大家学习《Canvas绘图详解》!", 40, 100, 200);
效果:
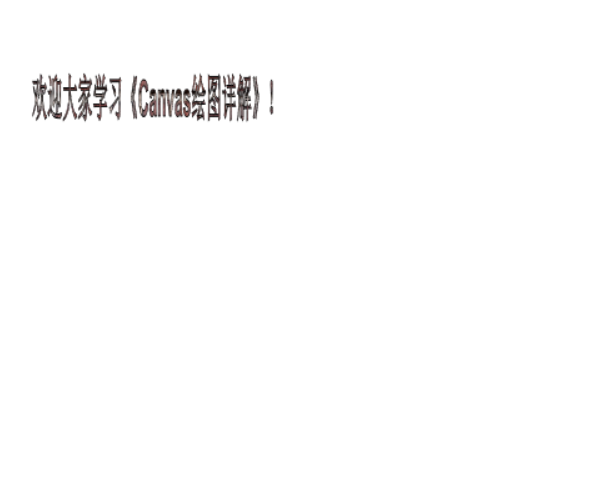
如上,文字总长度被压缩成200个像素。
关于context.font的属性值有很多。。与CSS道理差不多,需要用到的时候再查询就好。
measureText(string).width
这个方法可以计算出字符串真正的长度
var stringWidth = measureText(string).width;使用这个方法前,要对font属性进行设定。
好生气! 辛辛苦苦写好的不小心X掉了。。。算了 剩下的简单再写一遍
shadow阴影
对于canvas来说,阴影效果也是一种状态,需要指明的参数有:
shadowColor
shadowOffsetX
shadowOffsetY
shadowBlur
本别是颜色,XY方向的阴影长度,以及模糊程度
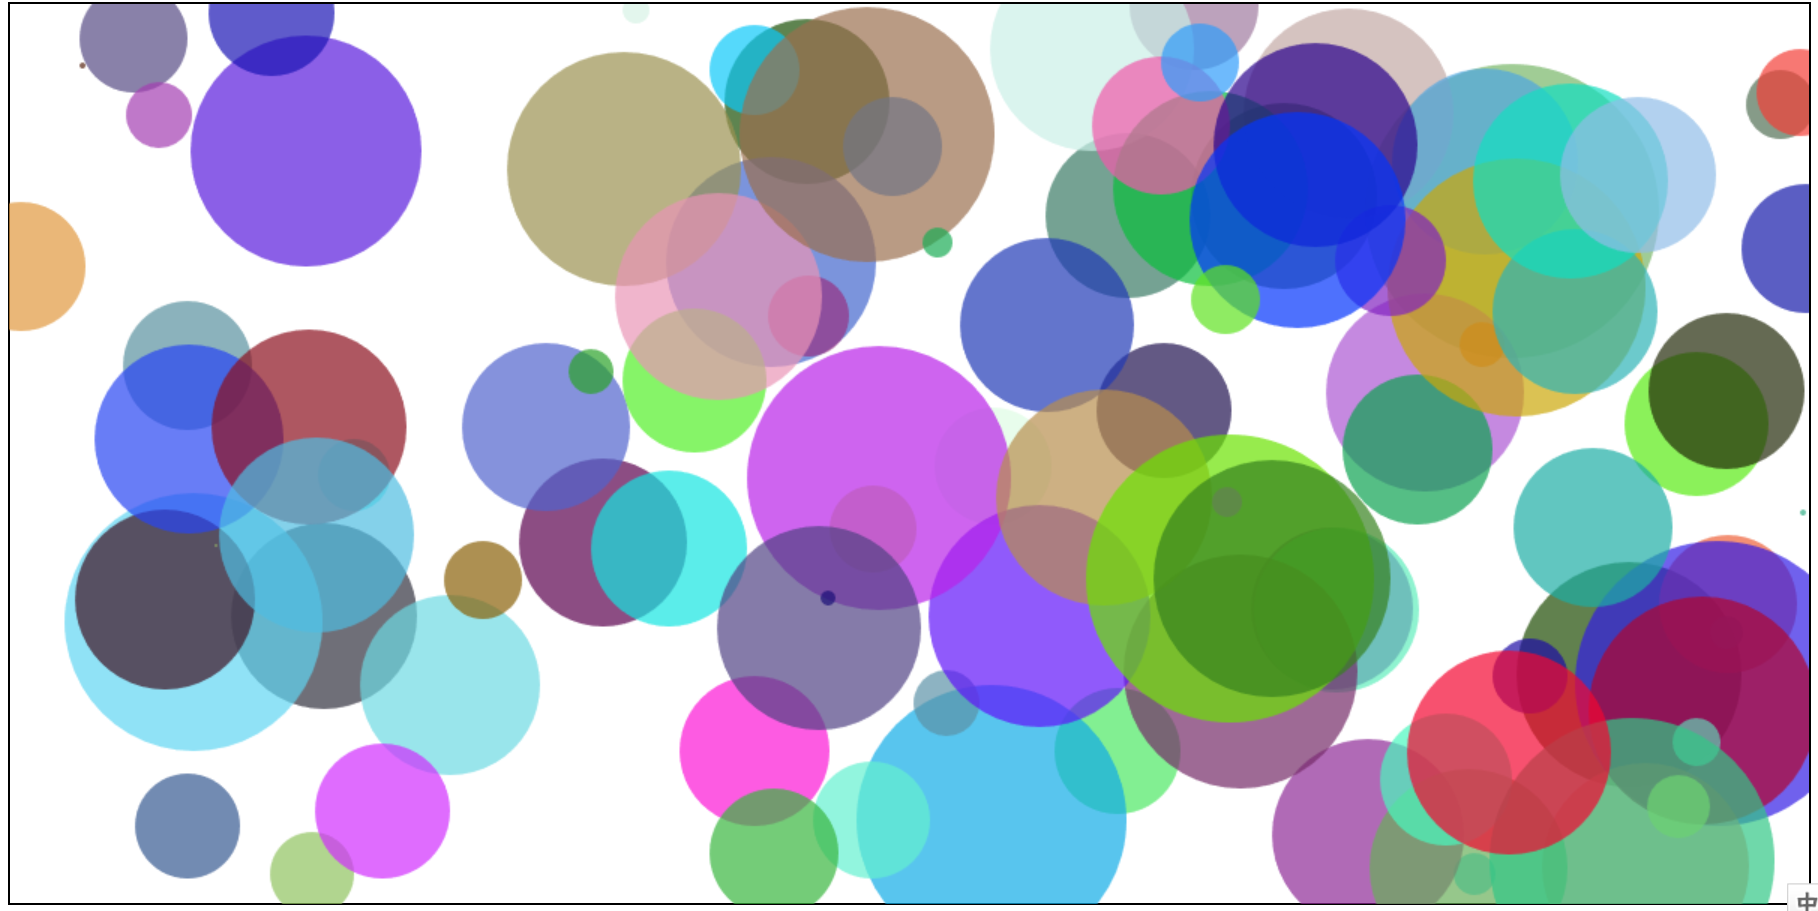
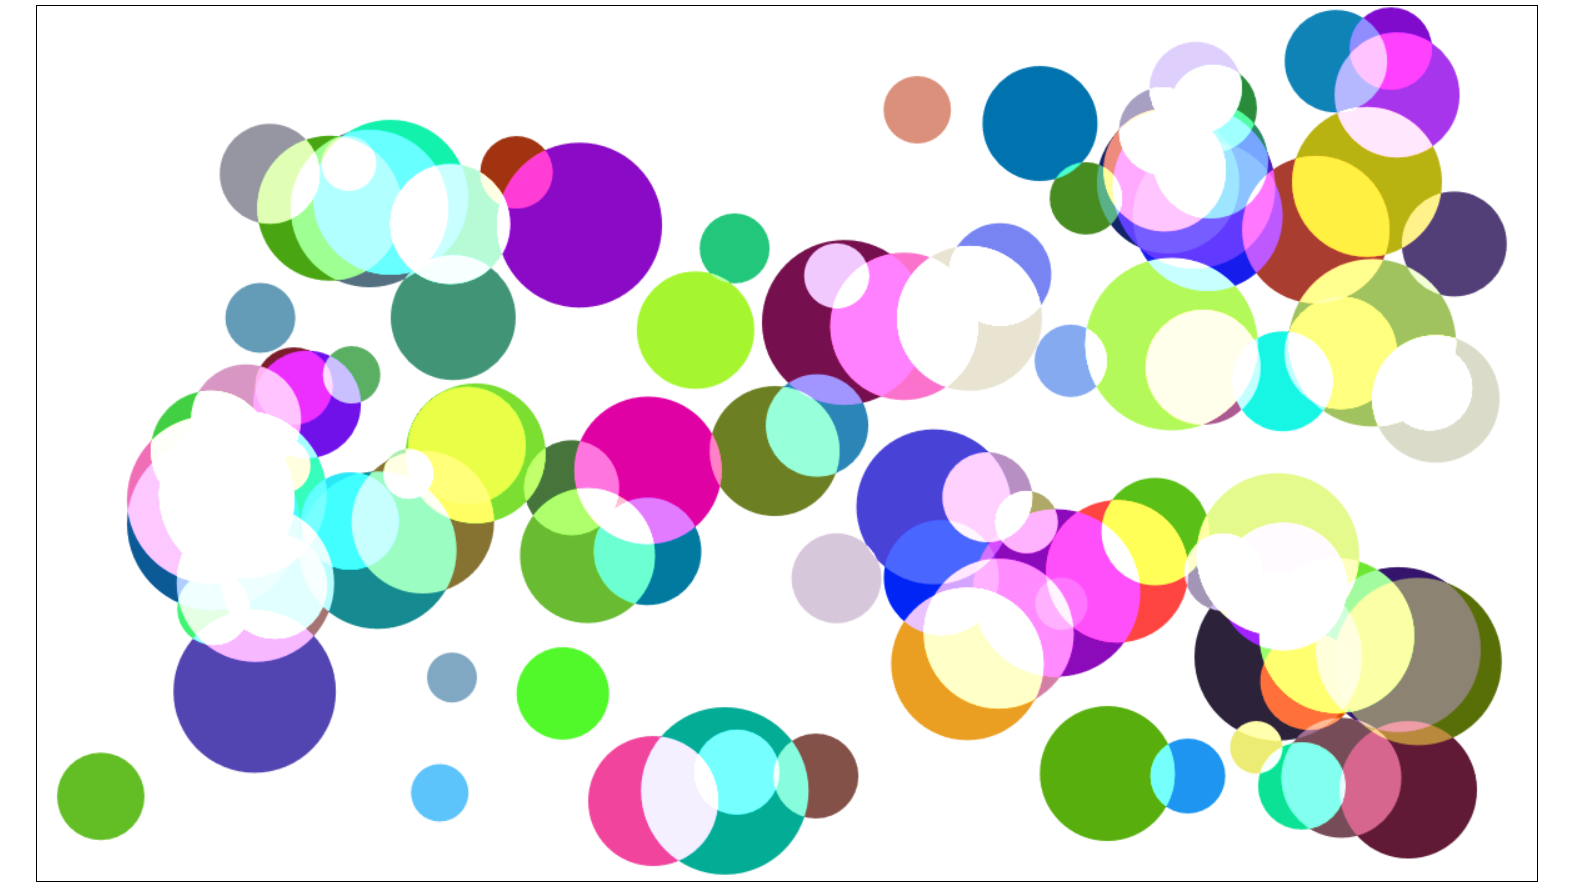
globalAlpha
globalAlpha是一个全局属性,可以取的值为0~1,为所有绘制的图像增加透明度。
比如:
        var canvas = document.getElementById("canvas");
        var context = canvas.getContext("2d");
        canvas.width = 1200;
        canvas.height = 600;
        context.globalAlpha = 0.7;
        for(var i = 0; i < 100; i ++){

            context.beginPath();
            var r = ~~(Math.random()*255);
            var g = ~~(Math.random()*255);
            var b = ~~(Math.random()*255);

            var color = "rgb(" + r + "," + g + "," + b + ")";

            context.arc(~~(Math.random()*canvas.width), ~~(Math.random()*canvas.height), ~~(Math.random()*100), 0, 2*Math.PI);

            context.fillStyle = color;
            context.fill();

            context.closePath();
        }
效果:
globalCompositeOperation
globalCompositeOperation也是针对全局设置的,与上一个不同的是,这个属性更针对遮挡关系的效果。
demo1
<!DOCTYPE html>
<html>
    <head>
        <meta charset="UTF-8">
        <title></title>
    </head>
    <style type="text/css">
            #canvas{
                display: block;
                margin: 0px auto;
                border: 1px black solid;
            }
    </style>
    <body>
        <canvas id="canvas" width="" height=""></canvas>
        <div id="button">
            <a href="#">source-over</a>
            <a href="#">source-atop</a>
            <a href="#">source-in</a>
            <a href="#">source-out</a>
            <a href="#">destination-over</a>
            <a href="#">destination-atop</a>
            <a href="#">destination-in</a>
            <a href="#">destination-out</a>
            <a href="#">lighter</a>
            <a href="#">copy</a>
            <a href="#">xor</a>
        </div>
    </body>
    <script type="text/javascript">
        var canvas = document.getElementById("canvas");
        var context = canvas.getContext("2d");
        canvas.width = 1200;
        canvas.height = 700;

        window.onload = function (){
            draw("source-over");
            var a = document.getElementById("button").getElementsByTagName("a");
                for(var i = 0; i < a.length; i ++){
                    a[i].onclick = function (){
                        draw(this.text);
                    }
                }
            }
        function draw(compositeStyle){
            context.clearRect(0, 0, canvas.width, canvas.height);
            context.beginPath();

            context.fillStyle = "#058";
            context.font = "bold 40px Arial";
            context.textAlign = "center";
            context.fillText("globalCompositeOperationi = " + compositeStyle, canvas.width/2, 60);

            context.fillStyle = "blue";
            context.fillRect(300, 150, 500, 500);


            context.fillStyle = "red";
            context.globalCompositeOperation = compositeStyle;


            context.moveTo(700, 250);
            context.lineTo(1000, 750);
            context.lineTo(400, 750);
            context.fill();
            context.closePath();
        }
    </script>
</html>
运行这个代码就可以大概知道各个属性是什么意思。
demo2
<!DOCTYPE html>
<html>
    <head>
        <meta charset="UTF-8">
        <title></title>
    </head>
        <style type="text/css">
            #canvas{
                display: block;
                margin: 0px auto;
                border: 1px black solid;
            }
        </style>
    <body>
        <canvas id="canvas" width="" height=""></canvas>
    </body>
    <script type="text/javascript">

        var canvas = document.getElementById("canvas");
        var context = canvas.getContext("2d");
        canvas.width = 1200;
        canvas.height = 700;
        var balls = [];
        for(var i = 0; i < 100; i ++){
            var r = ~~(Math.random()*255);
            var g = ~~(Math.random()*255);
            var b = ~~(Math.random()*255);
            var color = "rgb(" + r + "," + g + "," + b + ")";
            var radius = ~~(Math.random()*50 + 20);
            var aball = {
           radius:radius,
                x:Math.random()*(canvas.width - 2 * radius),
                y:Math.random()*(canvas.height - 2 * radius),
            color:color,
               vx:~~(Math.random() * 5 + 5) * Math.pow(-1, ~~(Math.random() * 3)),
               vy:~~(Math.random() * 5 + 5) * Math.pow(-1, ~~(Math.random() * 3))
            }
            balls[i] = aball;
        }

        setInterval(
            function () {
                draw(context);
                update();
            },
            50
        );

        function draw(cxt){

            var canvas = cxt.canvas;
            cxt.clearRect(0, 0, canvas.width, canvas.height);
            for(var i = 0; i < balls.length; i ++){
                cxt.globalCompositeOperation = "lighter";
                cxt.beginPath();
                cxt.arc(balls[i].x, balls[i].y, balls[i].radius, 0, 2 * Math.PI);
                cxt.fillStyle = balls[i].color;
                cxt.fill();
                cxt.closePath();
            }
        }
        function update(){

            for(var i = 0; i < balls.length; i ++){
                balls[i].x += balls[i].vx;
                balls[i].y += balls[i].vy;

                if(balls[i].y - balls[i].radius < 0){
                    balls[i].y = balls[i].radius;
                    balls[i].vy = -balls[i].vy;

                }
                if(balls[i].y + balls[i].radius > canvas.height){
                    balls[i].y = canvas.height - balls[i].radius;
                    balls[i].vy = -balls[i].vy;
                }
                if(balls[i].x - balls[i].radius < 0){
                    balls[i].x = balls[i].radius;
                    balls[i].vx = -balls[i].vx;
                }
                if(balls[i].x + balls[i].radius > canvas.width){
                    balls[i].x = canvas.width - balls[i].radius;
                    balls[i].vx = -balls[i].vx;
                }


            }

        }
    </script>
</html>
新增了动画,自行修改globalCompositeOperation的参数,更直观的看效果。
先这样。
以上!


 1028
1028

 被折叠的 条评论
为什么被折叠?
被折叠的 条评论
为什么被折叠?
 到【灌水乐园】发言


