


文章目录
前言
最近发现一款去除图片水印的开源软件 IOPaint,感觉很不错,分享一下。它是一款基于 SOTA AI 模型的软件,可以实现从图片中擦除任何不需要的物体、缺陷、人,还可以替换掉(通过stable diffusion),并且还能够支持 CPU 运行(当然替换功能 stable diffusion 使用 CPU 太慢了,不建议使用),以往的深度学习软件只能使用 GPU,这款工具还可以支持 CPU 就很满足需求。并且这款工具还通过插件支持其它功能,如脸部修复、图片超分辨率、移除背景等
- github地址:https://github.com/Sanster/IOPaint
一、去除水印
1.1 安装部署
通过pip安装
pip install torch==2.1.2 torchvision==0.16.2
pip install iopaint
在安装完成后,通过如下命令启动,可以指定 model 路径
iopaint start --model=lama --model-dir=models --device=cpu --port=8080
执行命令后,会从 github上下载模型文件,如果下载太慢,可手动下载,并放在models\torch\hub\checkpoints下面
github模型文件:https://github.com/Sanster/models/releases/download/add_big_lama/big-lama.pt
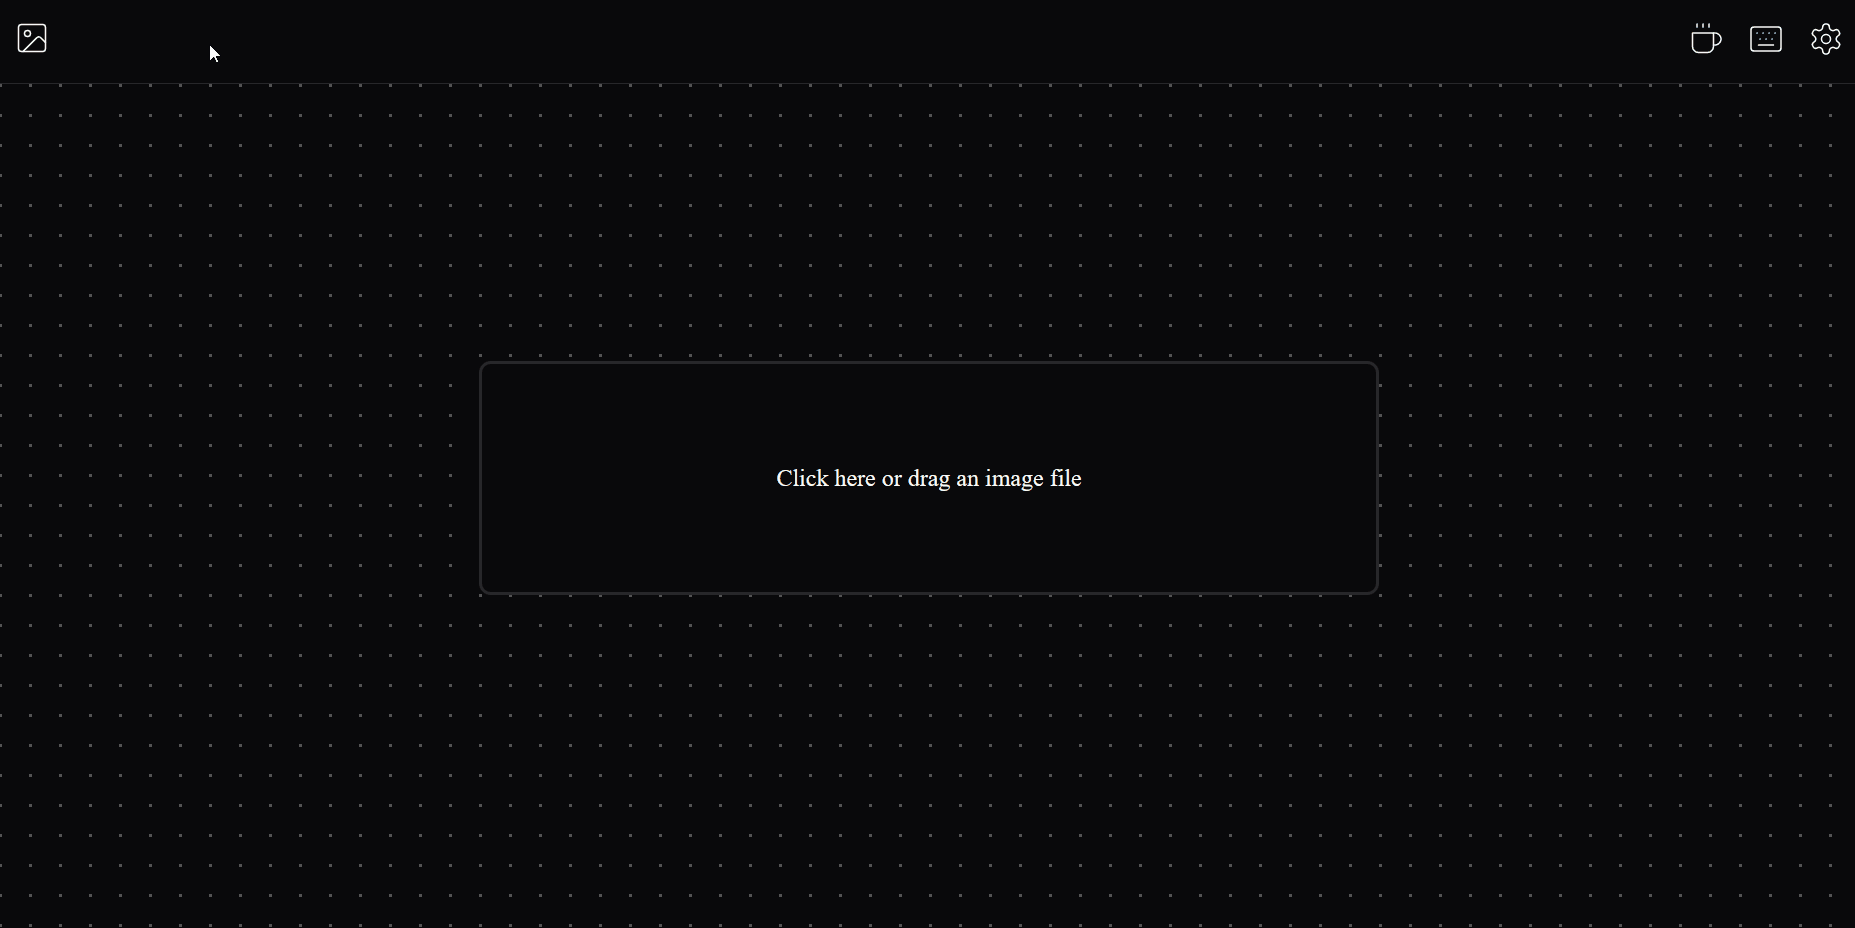
1.2 实战
当部署完成后,可通过localhost:8080来访问web界面
二、面部修复
2.1 安装运行
按照下面命令安装运行
pip install facexlib
pip install tb-nightly -i https://mirrors.aliyun.com/pypi/simple
pip install gfpgan
iopaint start --model=lama --model-dir=models --device=cpu --port=8080 --enable-gfpgan --gfpgan-device cpu
在运行时,会从 github 下载模型文件,同样可以手动下载放在和上面模型同样位置
github 模型文件地址:
- https://github.com/TencentARC/GFPGAN/releases/download/v1.3.0/GFPGANv1.4.pth
- https://github.com/xinntao/facexlib/releases/download/v0.1.0/detection_Resnet50_Final.pth
- https://github.com/xinntao/facexlib/releases/download/v0.2.2/parsing_parsenet.pth
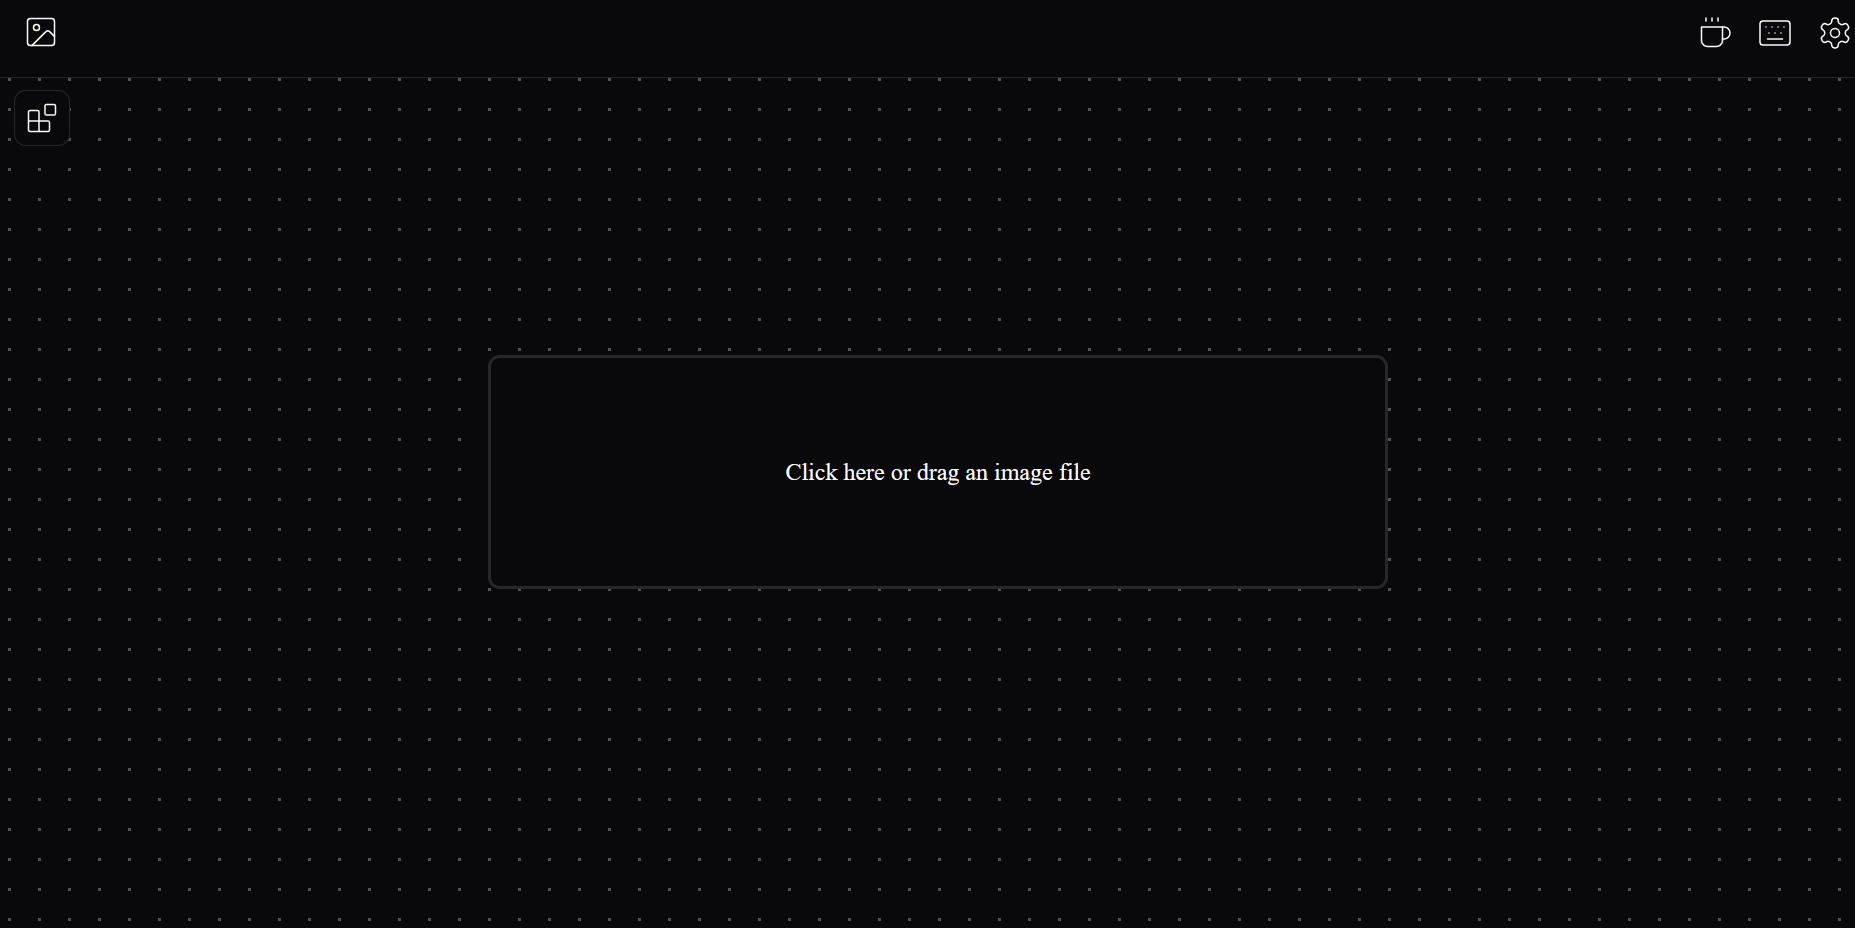
2.2 使用
三、图像提升分辨率
3.1 安装
pip install realesrgan

iopaint start --model=lama --model-dir=models --device=cpu --port=8080 --enable-realesrgan --realesrgan-model RealESRGAN_x4plus --realesrgan-device cpu
github 模型文件地址:https://github.com/xinntao/Real-ESRGAN/releases/download/v0.1.1/RealESRNet_x4plus.pth
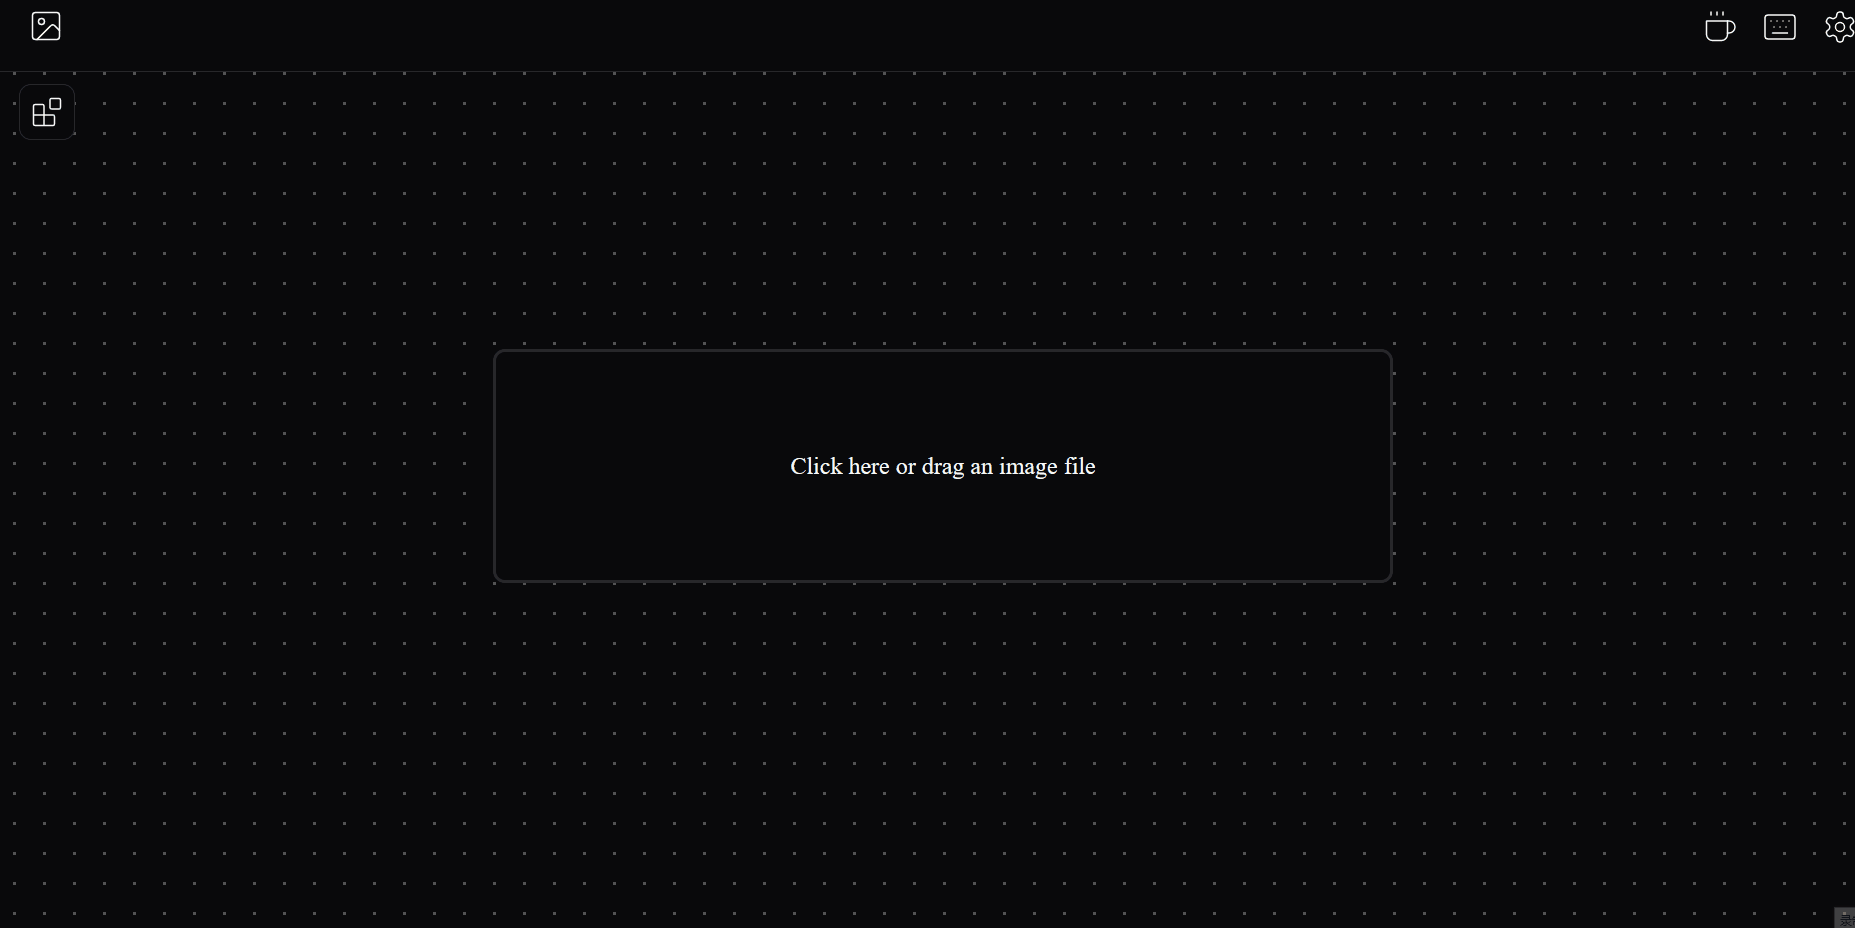
3.2 使用
四、移除背景
4.1 安装
pip install rembg
pip install huggingface
set HF_ENDPOINT=https://hf-mirror.com
iopaint start --model=lama --model-dir=models --device=cpu --port=8080 --enable-remove-bg
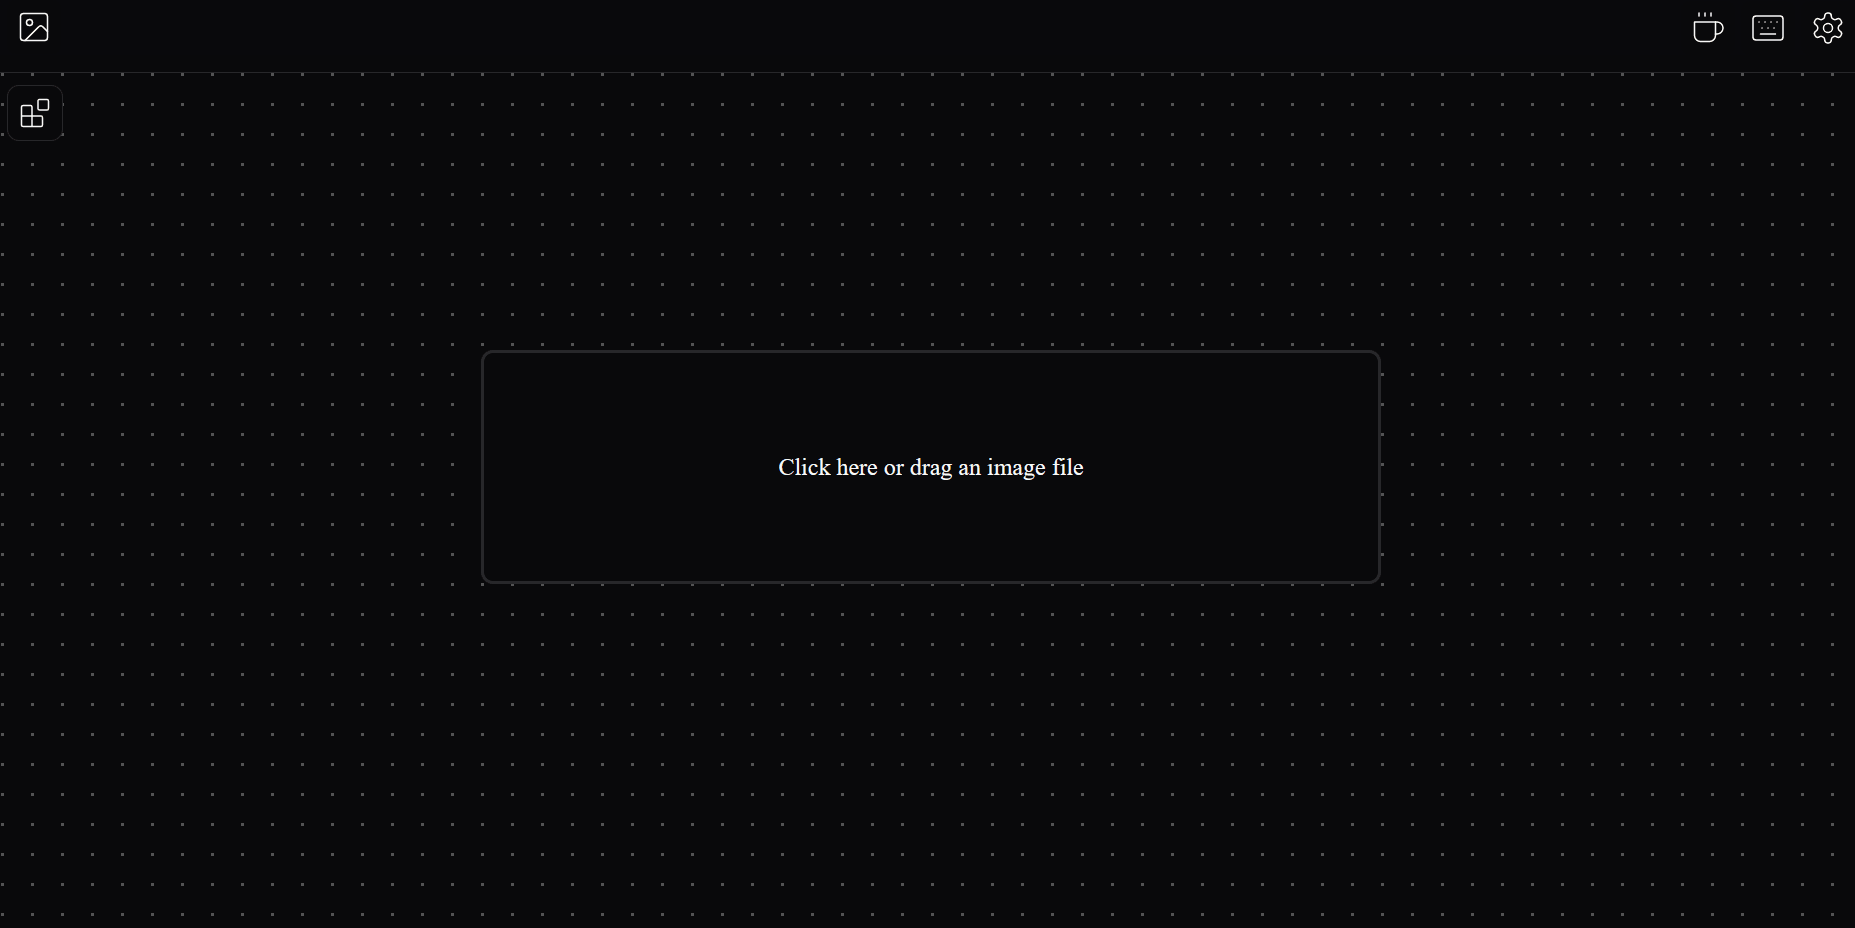
4.2 使用
五、报错及解决方法
5.1 ERROR: Cannot install gfpgan
 from facexlib.version import __version__
    ModuleNotFoundError: No module named 'facexlib'
    During handling of the above exception, another exception occurred:
ERROR: Cannot install gfpgan==0.2.3, gfpgan==0.2.4, gfpgan==1.3.0, gfpgan==1.3.1, gfpgan==1.3.2, gfpgan==1.3.4, gfpgan==1.3.5, gfpgan==1.3.6, gfpgan==1.3.7 and gfpgan==1.3.8 because these package versions have conflicting dependencies.
原因:没有安装facexlib
解决方法:
pip install facexlib
5.2 The conflict is caused by: gfpgan 1.3.8 depends on tb-nightly
ERROR: Cannot install gfpgan==0.2.1, gfpgan==0.2.3, gfpgan==0.2.4, gfpgan==1.3.0, gfpgan==1.3.1, gfpgan==1.3.2, gfpgan==1.3.4, gfpgan==1.3.5, gfpgan==1.3.6, gfpgan==1.3.7 and gfpgan==1.3.8 because these package versions have conflicting dependencies.

The conflict is caused by:
    gfpgan 1.3.8 depends on tb-nightly
    gfpgan 1.3.7 depends on tb-nightly
    gfpgan 1.3.6 depends on tb-nightly
    gfpgan 1.3.5 depends on tb-nightly
    gfpgan 1.3.4 depends on tb-nightly
    gfpgan 1.3.2 depends on tb-nightly
    gfpgan 1.3.1 depends on tb-nightly
    gfpgan 1.3.0 depends on tb-nightly
    gfpgan 0.2.4 depends on tb-nightly
    gfpgan 0.2.3 depends on tb-nightly
    gfpgan 0.2.1 depends on tb-nightly
ERROR: ResolutionImpossible: for help
原因:依赖问题,当前源为清华源
解决方法:换源,安装 tb-nightly
pip install tb-nightly -i https://mirrors.aliyun.com/pypi/simple
5.3 Initialize RemoveBG plugin Traceback
ConnectTimeoutError: (<urllib3.connection.HTTPSConnection object at 0x000000004842BA60>, 'Connection to huggingface.co
timed out. (connect timeout=10)')
LocalEntryNotFoundError: An error happened while trying to locate the file on the Hub and we cannot find the requested
files in the local cache. Please check your connection and try again or make sure your Internet connection is on
原因:需要从 huggingface.co 下载模型,直连超时,换个镜像
解决方法:
pip install huggingface
set HF_ENDPOINT=https://hf-mirror.com


 274
274

 被折叠的 条评论
为什么被折叠?
被折叠的 条评论
为什么被折叠?
 到【灌水乐园】发言


