


上篇SpringMVC--SSM整合中整合了SSM三大框架,并进行了接口的编写实现了数据库交互。在后台开发中常用的功能是文件上传,今天来实现后台的文件上传功能:将图片上传,并将服务器存储的文件路径返回给浏览器
一、项目配置
pom.xml中导入以下依赖:
<!--文件上传依赖-->
    <dependency>
      <groupId>commons-fileupload</groupId>
      <artifactId>commons-fileupload</artifactId>
      <version>1.4</version>
    </dependency>
    <dependency>
      <groupId>commons-io</groupId>
      <artifactId>commons-io</artifactId>
      <version>2.8.0</version>
    </dependency>
SpringMVC配置文件中配置bean:
<!--文件上传解析组件-->
    <bean id="multipartResolver" class="org.springframework.web.multipart.commons.CommonsMultipartResolver"></bean>
创建数据库表:
create table player(
    id integer primary key auto_increment,
    name varchar(10),
    password varchar(10),
    nickname varchar(10),
    photo varchar(100),
    filetype varchar(50)
);
二、前端代码
根据数据库表字段准备几个input标签
<html>
<head>
<title>Title</title>
<script src="js/jquery-1.10.2.min.js"></script>
<script>
$(function () {
$("#upload").click(function () {
var imgPath = $("#headImg")[0].files[0]
if (imgPath == undefined) {
alert("请选择文件")
return
}
console.log(imgPath)
})
})
</script>
</head>
<body>
<form>
<p>用户名:<input type="text" name="name"></p>
<p>密码:<input type="password" name="password"></p>
<p>昵称:<input type="text" name="nickname"></p>
<p>头像:<input id="headImg" type="file">
<input type="button" id="upload" value="上传文件">
</p>
<input type="hidden" name="filetype">
<input type="hidden" name="photo">
<p><input type="submit" value="注册"></p>
</form>
</body>
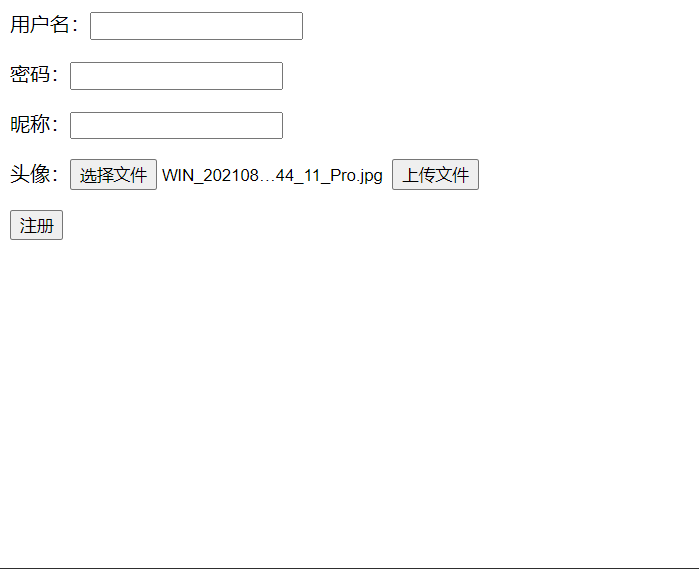
</html>界面效果:
三、后台业务代码
1. 上传文件功能
首先实现上传文件功能,并把文件路径返回给浏览器
编写Controller层代码:
@Controller
public class PlayerController {

    @RequestMapping("uploadImg.do")
    @ResponseBody
    public Map<String, Object> uploadImg(MultipartFile img, HttpServletRequest req) throws IOException {
        Map<String, Object> model = new HashMap<>();

        //将文件存放在部署的upload目录下
        File savePathFile = new File(req.getServletContext().getRealPath("upload"));
        System.out.println("存放路径:" + savePathFile.getAbsoluteFile());
        if (!savePathFile.exists()) {
            savePathFile.mkdirs();
        }

        System.out.println("OriginalFilename:" + img.getOriginalFilename());
        String suffix = img.getOriginalFilename().substring(img.getOriginalFilename().lastIndexOf('.'));
        System.out.println("suffix:" + suffix);
        if (!suffix.equalsIgnoreCase(".jpg")) {
            model.put("msg", "文件类型必须为jpg");
            return model;
        }

        //存放文件
        File saveFile = new File(savePathFile, UUID.randomUUID() + suffix);
        img.transferTo(saveFile);

        model.put("msg", "上传成功");
        model.put("filepath", "upload/" + saveFile.getName());
        model.put("filetype", img.getContentType());

        System.out.println("返回结果:" + model);

        return model;
    }
}
配置静态资源放行:
<mvc:resources mapping="/upload/**" location="/upload/"></mvc:resources>2. 前端代码修改
js中使用ajax请求:
<script>
        $(function () {
            $("#upload").click(function () {
                var imgFile = $("#headImg")[0].files[0]
                if (imgFile == undefined) {
                    alert("请选择文件")
                    return
                }
                console.log(imgFile)

                var formdata = new FormData()
                formdata.append("img", imgFile)
                $.ajax({
                    type: "post",
                    data: formdata,
                    url: "uploadImg.do",
                    processData: false,
                    contentType: false,
                    success: function (ret) {
                        console.log(ret)
                    }
                })
            })
        })
    </script>
在页面中增加img标签,显示接口返回的图片,html完整代码:
<html>
<head>
<title>Title</title>
<script src="js/jquery-1.10.2.min.js"></script>
<script>
$(function () {
$("#upload").click(function () {
var imgFile = $("#headImg")[0].files[0]
if (imgFile == undefined) {
alert("请选择文件")
return
}
console.log(imgFile)
var formdata = new FormData()
formdata.append("img", imgFile)
$.ajax({
type: "post",
data: formdata,
url: "uploadImg.do",
processData: false,
contentType: false,
success: function (ret) {
console.log(ret)
$("#head").attr("src", ret.filepath)
}
})
})
})
</script>
<style>
#head {
width: 200px;
height: 200px;
}
</style>
</head>
<body>
<form>
<p>用户名:<input type="text" name="name"></p>
<p>密码:<input type="password" name="password"></p>
<p>昵称:<input type="text" name="nickname"></p>
<p>头像:<input id="headImg" type="file">
<input type="button" id="upload" value="上传文件">
</p>
<p><img id="head" alt="未选择图片"></p>
<input type="hidden" name="filetype">
<input type="hidden" name="photo">
<p><input type="submit" value="注册"></p>
</form>
</body>
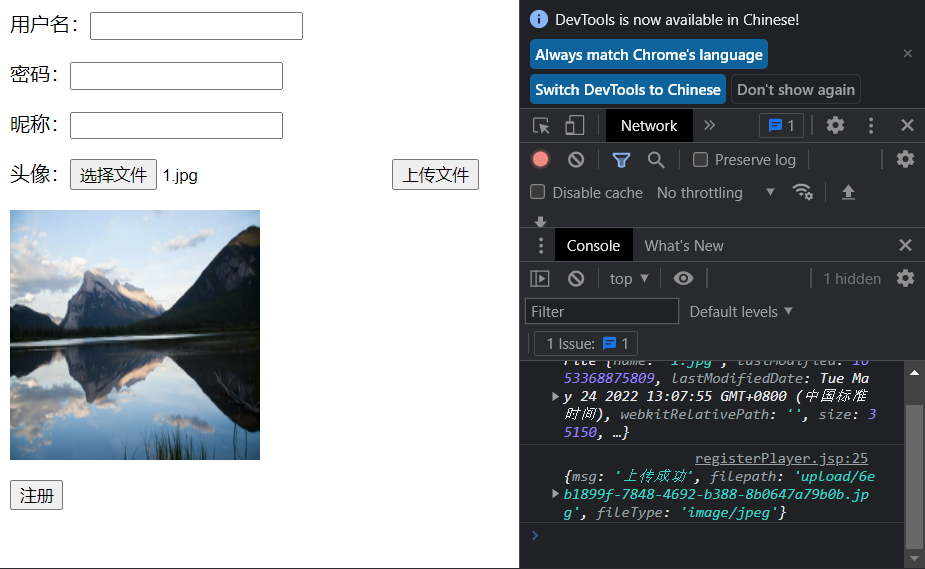
</html>测试结果:
四、文件服务器
一般文件交由专门的服务器进行保存,重新配置一个tomcat,把它模拟文件服务器
1. 修改文件服务器tomcat的端口
打开conf目录下的web.xml,将端口改为8006和8082:
<Server port="8006" shutdown="SHUTDOWN">
...
    <Connector port="8082" protocol="HTTP/1.1"
               connectionTimeout="20000"
               redirectPort="8443" />
...
2. 设置资源只读
打开同目录下的web.xml,将servlet初始参数readonly配置为false
<servlet>
<servlet-name>default</servlet-name>
<servlet-class>org.apache.catalina.servlets.DefaultServlet</servlet-class>
<init-param>
<param-name>debug</param-name>
<param-value>0</param-value>
</init-param>
<init-param>
<param-name>listings</param-name>
<param-value>false</param-value>
</init-param>
<init-param>
<param-name>readonly</param-name>
<param-value>false</param-value>
</init-param>
<load-on-startup>1</load-on-startup>
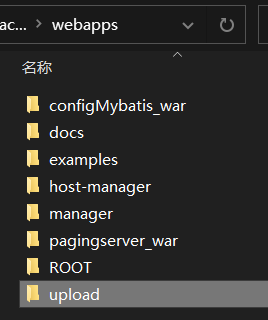
</servlet>3. 创建文件存放目录
webapp目录下新建upload文件夹:
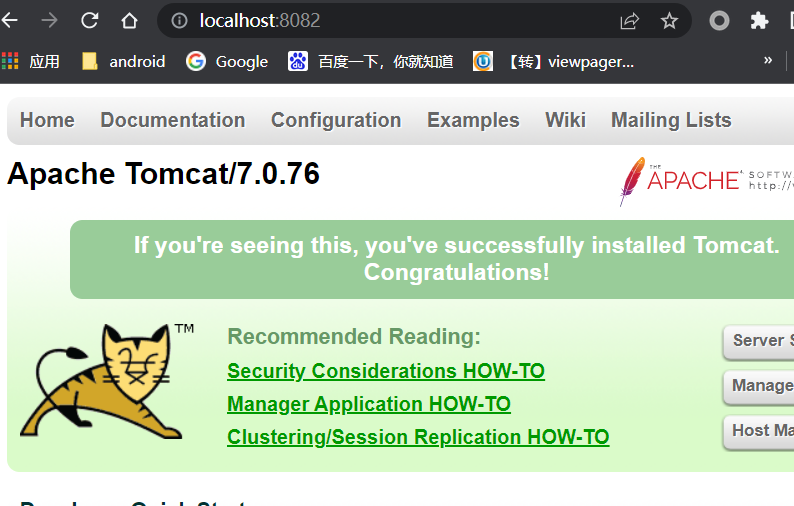
启动测试:
4. 项目中添加依赖
<dependency>
            <groupId>com.sun.jersey</groupId>
            <artifactId>jersey-client</artifactId>
            <version>1.19</version>
        </dependency>
5. Controller层进行转存
@Controller
public class PlayerController {
// 文件存储位置
private final static String FILESERVER = "http://localhost:8082/upload/";
@RequestMapping("uploadImg.do")
@ResponseBody
public Map<String, Object> uploadImg(MultipartFile img, HttpServletRequest req) throws IOException {
Map<String, Object> model = new HashMap<>();
//将文件存放在部署的upload目录下
// File savePathFile = new File(req.getServletContext().getRealPath("upload"));
// System.out.println("存放路径:" + savePathFile.getAbsoluteFile());
// if (!savePathFile.exists()) {
// savePathFile.mkdirs();
// }
System.out.println("OriginalFilename:" + img.getOriginalFilename());
String suffix = img.getOriginalFilename().substring(img.getOriginalFilename().lastIndexOf('.'));
System.out.println("suffix:" + suffix);
if (!suffix.equalsIgnoreCase(".jpg")) {
model.put("msg", "文件类型必须为jpg");
return model;
}
String saveFileName = UUID.randomUUID() + suffix;
// //存放文件
// File saveFile = new File(savePathFile, saveFileName);
// img.transferTo(saveFile);
// 创建sun公司提供的jersey包中的client对象
Client client = Client.create();
WebResource resource = client.resource(FILESERVER + saveFileName);
// 将文件保存到另一个服务器
resource.put(String.class, img.getBytes());
model.put("msg", "上传成功");
// model.put("filepath", "upload/" + saveFileName);
model.put("filepath", FILESERVER + saveFileName);
model.put("filetype", img.getContentType());
System.out.println("返回结果:" + model);
return model;
}
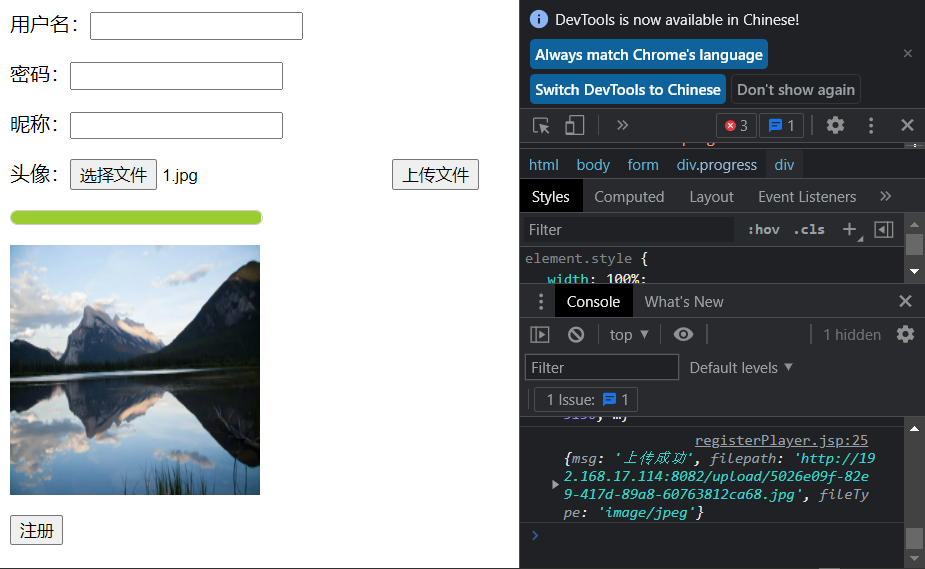
}测试结果:
另一个tomcat成功接收到文件

界面也正常显示了文件服务器的图片:


 3584
3584

 被折叠的 条评论
为什么被折叠?
被折叠的 条评论
为什么被折叠?
 到【灌水乐园】发言


