


自定义ViewGroup初步
平时自定义View用的比较少,现在试着多写一些,下面记录一下第一个自定义ViewGroup的实现步骤
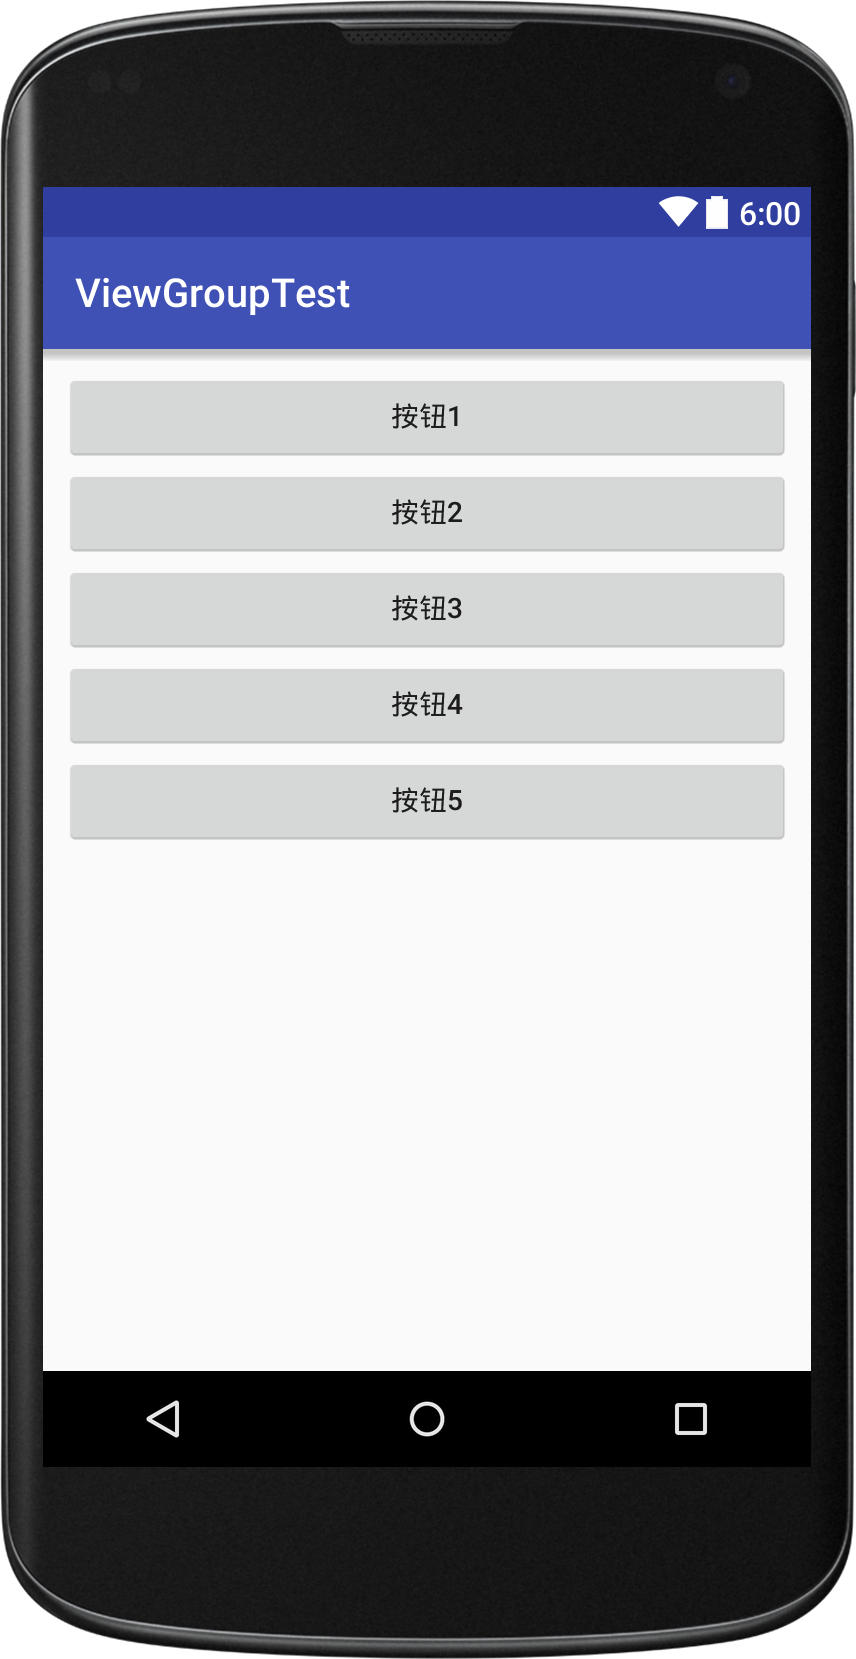
功能是存放若干个Button,先从简单的开始
效果:
实现思路
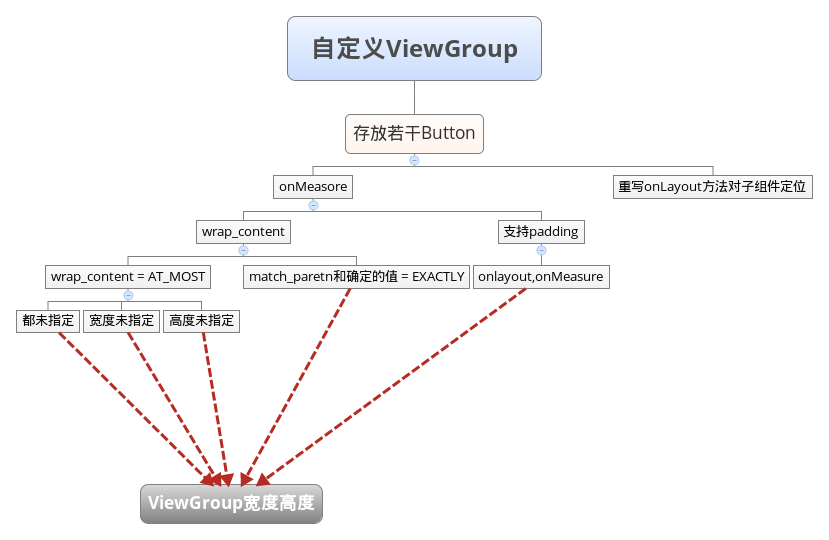
步骤:
- 创建java文件继承ViewGroup并添加构造方法,必须重写onLayout方法,这里先空着
public class ButtonGroup extends ViewGroup {


    public ButtonGroup(Context context) {
        this(context, null);
    }

    public ButtonGroup(Context context, AttributeSet attrs) {
        super(context, attrs);
    }

    @Override
    protected void onLayout(boolean changed, int l, int t, int r, int b) {

    }
}
2.重写onMeasure来测量子组件,循环获取子组件,设置子组件的宽高
 @Override
    protected void onMeasure(int widthMeasureSpec, int heightMeasureSpec) {
        super.onMeasure(widthMeasureSpec, heightMeasureSpec);
        int childCount = getChildCount();
        for (int i = 0; i < childCount; i++) {
            View child = getChildAt(i);
            measureChild(child, widthMeasureSpec, heightMeasureSpec);
        }

    }
3.子组件的宽高获取了,接下来是onLayout设置子组件应该呆在的位置,设置位置用layout(left , top , right , bottom)方法
 @Override
    protected void onLayout(boolean changed, int l, int t, int r, int b) {
        int childCount = getChildCount();
        int currentHeight = 0;
        for (int i = 0; i < childCount; i++) {
            View child = getChildAt(i);
            int height = child.getMeasuredHeight();
            if (child.getVisibility() != GONE) {
                child.layout(l, currentHeight, r, currentHeight + height);
                currentHeight += height;
            }
        }
    }
4.接下来在xml文件中添加ButtonGroup布局就可以显示了,但是由于没有处理组件在不确定宽高情况下的属性,当使用wrap_content属性的时候显示就会错乱,那么接下来就是要控制组件适用wrap_content.
思路:
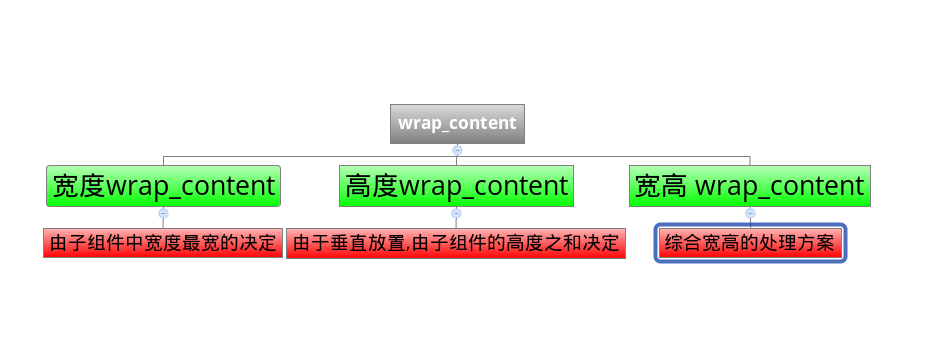
具体实现:setMeasuredDimension(width , height)来设置组件的宽高
组件的size如果是match_parent或者确定的值,那么szieMode =EXACTLY , wrap_content情况下的sizeMode是AT_MOST , 未指定的情况下是UNSPECIFIED
//...之前onMesaure的内容
int widthSize = MeasureSpec.getSize(widthMeasureSpec);
        int widthMode = MeasureSpec.getMode(widthMeasureSpec);
        int heightSize = MeasureSpec.getSize(heightMeasureSpec);
        int heightMode = MeasureSpec.getMode(heightMeasureSpec);

        int mWidth = 0;
        int mHeight = 0;
        if (widthMode == MeasureSpec.AT_MOST && heightMode == MeasureSpec.AT_MOST) { //wrap_content 未指定宽高
            for (int i = 0; i < childCount; i++) {
                View child = getChildAt(i);
                mWidth += child.getMeasuredWidth();
                mHeight += child.getMeasuredHeight();
                //总宽高是所有子组件的宽高
            }
            setMeasuredDimension(mWidth , mHeight);
        } else if (widthMode == MeasureSpec.AT_MOST) { //宽度未指定 ,取最大的一个宽度
            for (int i = 0; i < childCount; i++) {
                mWidth = Math.max(mWidth, getChildAt(i).getMeasuredWidth());
            }
            setMeasuredDimension(mWidth , heightSize);
        } else if (heightMode == MeasureSpec.AT_MOST) {
            for (int i = 0; i < childCount; i++) {
                mHeight += getChildAt(i).getMeasuredHeight();
            }
            setMeasuredDimension(widthSize , mHeight);
        }
对wrap_content的处理就到此为止了,下一步是要加上对留白,padding的处理
思路: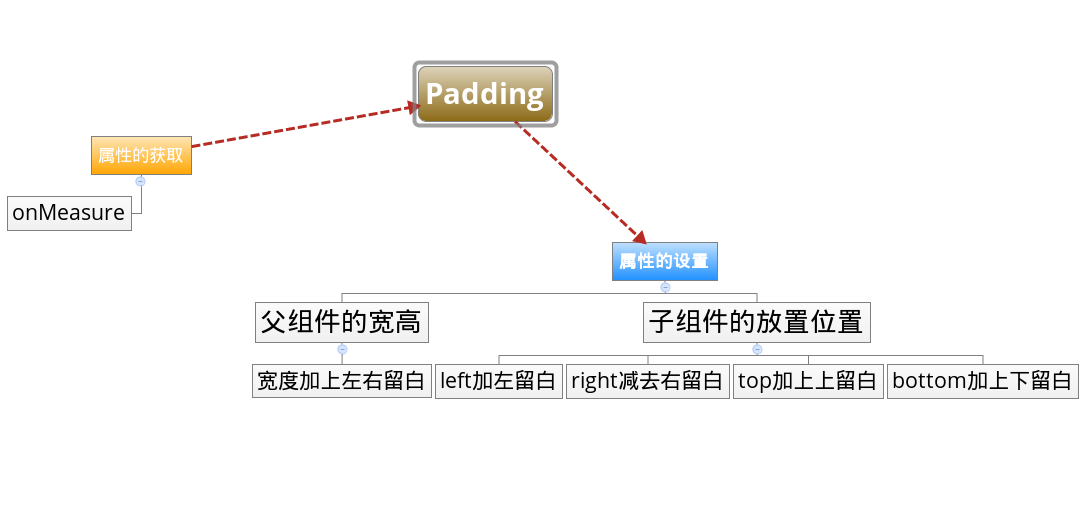
具体操作
onMesaure(直接放最终的代码了)
 @Override
    protected void onMeasure(int widthMeasureSpec, int heightMeasureSpec) {
        super.onMeasure(widthMeasureSpec, heightMeasureSpec);
        int childCount = getChildCount();
        mPaddingLeft = getPaddingLeft();
        mPaddingTop = getPaddingTop();
        mPaddingRight = getPaddingRight();
        mPaddingBottom = getPaddingBottom();
        for (int i = 0; i < childCount; i++) {
            View child = getChildAt(i);
            measureChild(child, widthMeasureSpec, heightMeasureSpec);
        }
        int widthSize = MeasureSpec.getSize(widthMeasureSpec);
        int widthMode = MeasureSpec.getMode(widthMeasureSpec);
        int heightSize = MeasureSpec.getSize(heightMeasureSpec);
        int heightMode = MeasureSpec.getMode(heightMeasureSpec);

        int mWidth = 0;
        int mHeight = 0;
        if (widthMode == MeasureSpec.AT_MOST && heightMode == MeasureSpec.AT_MOST) { //wrap_content 未指定宽高
            for (int i = 0; i < childCount; i++) {
                View child = getChildAt(i);
                mWidth += child.getMeasuredWidth();
                mHeight += child.getMeasuredHeight();
                //总宽高是所有子组件的宽高
            }
            setMeasuredDimension(mWidth + mPaddingLeft + mPaddingRight, mHeight + mPaddingTop + mPaddingBottom);
        } else if (widthMode == MeasureSpec.AT_MOST) { //宽度未指定 ,取最大的一个宽度
            for (int i = 0; i < childCount; i++) {
                mWidth = Math.max(mWidth, getChildAt(i).getMeasuredWidth());
            }
            setMeasuredDimension(mWidth + mPaddingLeft + mPaddingRight, heightSize + mPaddingTop + mPaddingBottom);
        } else if (heightMode == MeasureSpec.AT_MOST) {
            for (int i = 0; i < childCount; i++) {
                mHeight += getChildAt(i).getMeasuredHeight();
            }
            setMeasuredDimension(widthSize + mPaddingLeft + mPaddingRight, mHeight + mPaddingTop + mPaddingBottom);
        }

    }
onLayout(最终代码)
@Override
    protected void onLayout(boolean changed, int l, int t, int r, int b) {
        int childCount = getChildCount();
        int currentHeight = 0;
        for (int i = 0; i < childCount; i++) {
            View child = getChildAt(i);
            int height = child.getMeasuredHeight();
            if (child.getVisibility() != GONE) {
                child.layout(l+mPaddingLeft, currentHeight+mPaddingTop, r-mPaddingRight, currentHeight + height+mPaddingBottom);
                currentHeight += height;
            }
        }
    }


 5945
5945

 被折叠的 条评论
为什么被折叠?
被折叠的 条评论
为什么被折叠?
 到【灌水乐园】发言


