mmdetection配置踩坑

在这里插入图片描述

  1. THCudaCheck FAIL file=/pytorch/aten/src/THC/THCGeneral.cpp line=405 error=11 : invalid argument
    解决:由于时RTX2080Ti的卡,cuda需要10.0以上,在安装pytoch时不能直接通过pip install torch来安装,需要通过wheel下载对应cuda版本的pytorch才行,可在https://pytorch.org/get-started/previous-versions/eg找到对应cuda版本的pytorch来下载. 或者通过pip install https://download.pytorch.org/whl/cu100/torch-1.0.0-cp36-cp36m-linux_x86_64.whl来下载

  2. cuda out of memory
    解决:有bug 当0号卡被占用时在这里插入图片描述
    init_detector(...,device='cuda:1')并还是会去找0卡 通过os.environ[‘CUDA_VISIBLE_DEVICES’]='1’屏蔽掉0号卡,
    但此时又会说找不到1号卡,这就需要os.environ[‘CUDA_VISIBLE_DEVICES’]=‘1,2’。此处应当时mmdetector的bug

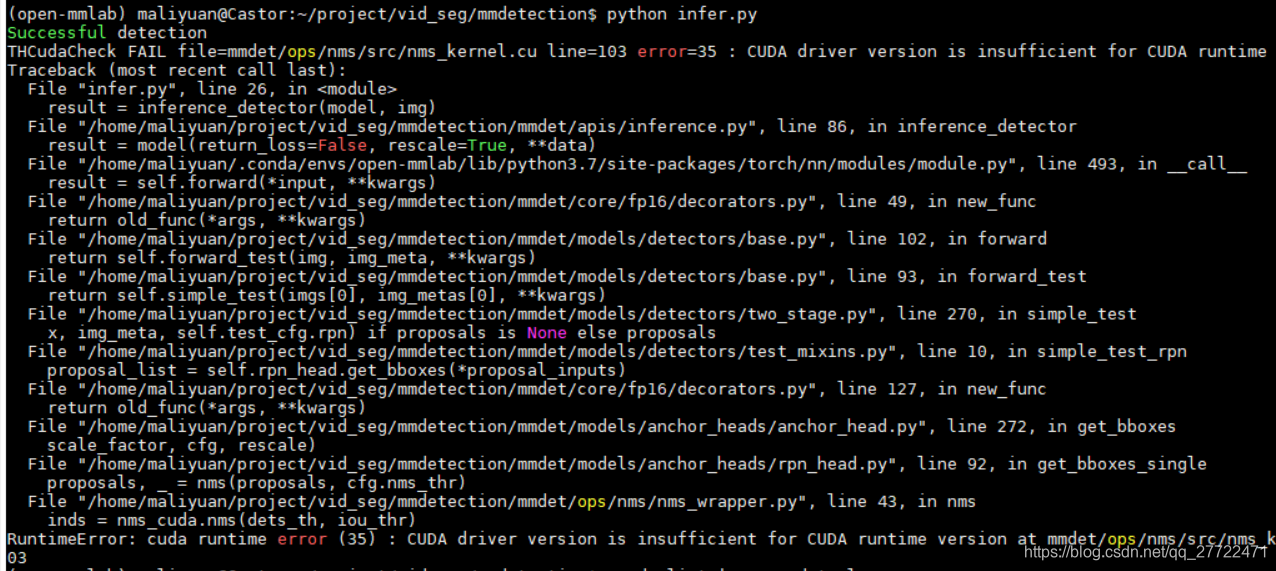
  3. init_detector成功了,但inference_detector()又报错

THCudaCheck FAIL file=mmdet/ops/nms/src/nms_kernel.cu line=103 error=35 : CUDA driver version is insufficient for CUDA runtime version
RuntimeError: cuda runtime error (35) : CUDA driver version is insufficient for CUDA runtime version at mmdet/ops/nms/src/nms_kernel.cu:103

在这里插入图片描述
此处通过collect_env.py和/usr/local/cuda/samples/bin/x86_64/linux/release/deviceQuery查看了编译pytorch的cuda版本和运行时版本,都为10.0.130 显卡驱动也正常
deviceQuerycollect_env在这里插入图片描述
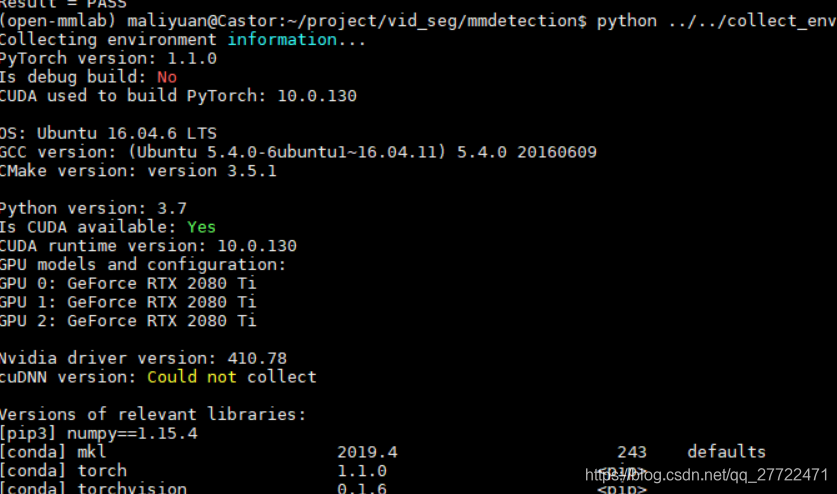
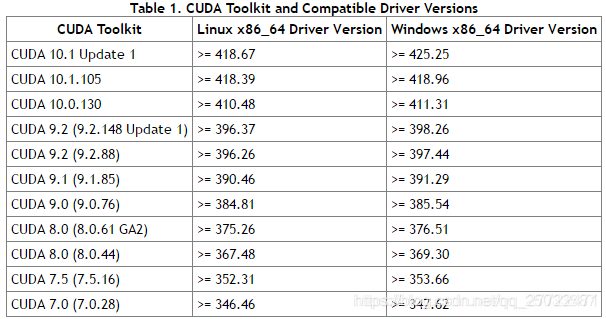
但后续又通过 conda list查看cudatoolkit的版本为10.1.168,可能是这个cuda和驱动的版本不对应,因为错误提示显示就是cuda的版本太高导致驱动不够新,当前驱动为410.78而cuda10.1.168要求驱动>=418.67


卸载了cudatoolkit后mmdet运行找不到cuda,说明运行时调用的cuda就是这个cudatoolkit10.1.168
解决:重新安装cudatookit10.0让它跟驱动匹配,观察是否可行。
结果是可以的,更换cudatoolkit版本使它跟驱动匹配后错误消失

  1. RuntimeError: cuda runtime error (77) : an illegal memory access was encountered at mmdet/ops/nms/src/nms_kernel.cu terminate called after throwing an instance of 'c10::Error’

在这里插入图片描述
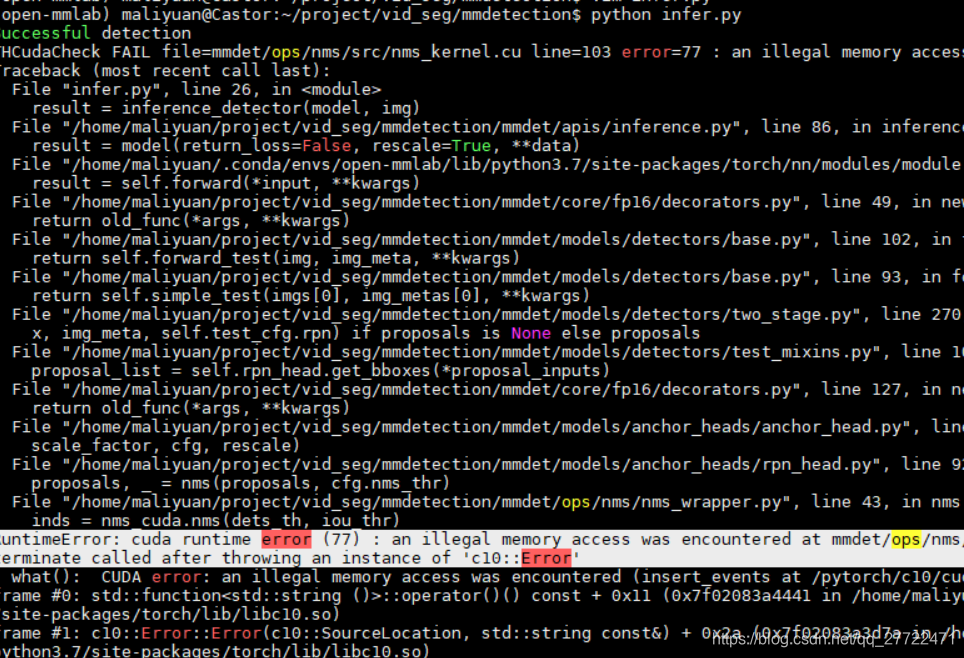
从这里获得灵感https://github.com/facebookresearch/maskrcnn-benchmark/issues/74
程序在分配内存是默认在0卡上
解决:
1.保持0卡不被占用
2.torch.cuda.set_device(1) 再选择1卡即可

  1. cv2.error: OpenCV(4.1.1) /io/opencv/modules/highgui/src/window.cpp:627: error: (-2:Unspecified error) The function is not implemented.
    在这里插入图片描述

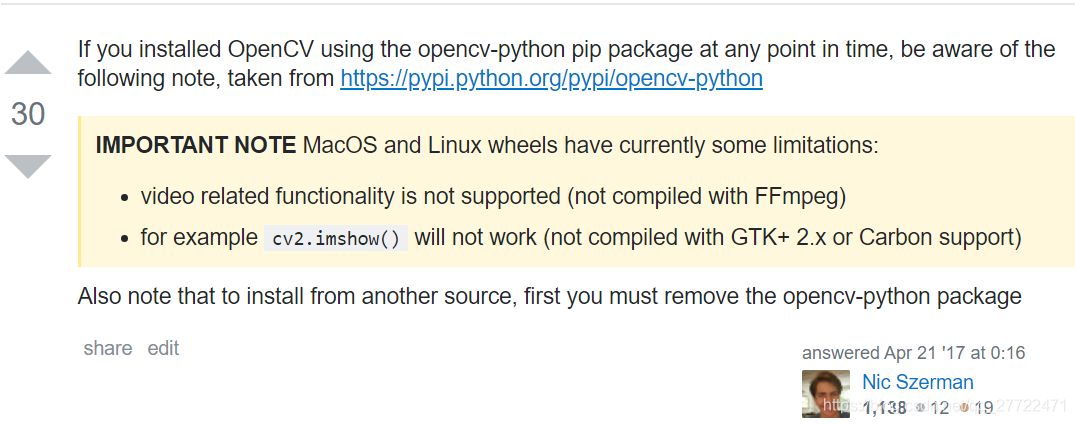
解决:不用cv2.imshow()改用import matplotlib.pyplot as plt ;plt.imshow(img);plt.show()在这里插入图片描述

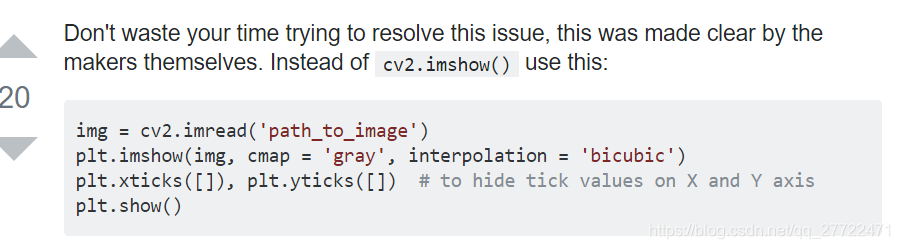
5.ImportError: /home/maliyuan/project/vid_seg/mmdetection/mmdet/ops/dcn/deform_conv_cuda.cpython-37m-x86_64-linux-gnu.so: undefined symbol: _ZN2at7getTypeERKNS_6TensorE
解决方法:pytorch版本在1.2.0时,最后安装要用python setup.py develop。记得之前要删掉build目录

  • 3
    点赞
  • 7
    收藏
    觉得还不错? 一键收藏
  • 4
    评论
mmdetection是一个基于PyTorch的目标检测框架,其配置文件是控制模型训练、测试和推理的重要参数。下面是一个mmdetection配置文件的解读: ```python # model settings model = dict( type='RetinaNet', pretrained='torchvision://resnet50', backbone=dict( type='ResNet', depth=50, num_stages=4, out_indices=(0, 1, 2, 3), frozen_stages=1, norm_cfg=dict(type='BN', requires_grad=True), norm_eval=True, style='pytorch'), neck=dict( type='FPN', in_channels=[256, 512, 1024, 2048], out_channels=256, num_outs=5), bbox_head=dict( type='RetinaHead', num_classes=80, in_channels=256, stacked_convs=4, feat_channels=256, octave_base_scale=4, scales_per_octave=3, anchor_ratios=[0.5, 1.0, 2.0], anchor_strides=[8, 16, 32, 64, 128], target_means=[.0, .0, .0, .0], target_stds=[1.0, 1.0, 1.0, 1.0], loss_cls=dict( type='FocalLoss', use_sigmoid=True, gamma=2.0, alpha=0.25, loss_weight=1.0), loss_bbox=dict(type='SmoothL1Loss', beta=0.11, loss_weight=1.0)), # training and testing settings train_cfg=dict( assigner=dict( type='MaxIoUAssigner', pos_iou_thr=0.5, neg_iou_thr=0.4, min_pos_iou=0, ignore_iof_thr=-1), smoothl1_beta=1.0, allowed_border=-1, pos_weight=-1, debug=False), test_cfg=dict( nms_pre=1000, min_bbox_size=0, score_thr=0.05, nms=dict(type='nms', iou_threshold=0.5), max_per_img=100)) # dataset settings dataset_type = 'CocoDataset' data_root = 'data/coco/' img_norm_cfg = dict( mean=[123.675, 116.28, 103.53], std=[58.395, 57.12, 57.375], to_rgb=True) train_pipeline = [ dict(type='LoadImageFromFile'), dict(type='LoadAnnotations', with_bbox=True), dict(type='Resize', img_scale=(1333, 800), keep_ratio=True), dict(type='RandomFlip', flip_ratio=0.5), dict(type='Normalize', **img_norm_cfg), dict(type='Pad', size_divisor=32), dict(type='DefaultFormatBundle'), dict(type='Collect', keys=['img', 'gt_bboxes', 'gt_labels']), ] test_pipeline = [ dict(type='LoadImageFromFile'), dict( type='MultiScaleFlipAug', img_scale=(1333, 800), flip=False, transforms=[ dict(type='Resize', keep_ratio=True), dict(type='RandomFlip'), dict(type='Normalize', **img_norm_cfg), dict(type='Pad', size_divisor=32), dict(type='ImageToTensor', keys=['img']), dict(type='Collect', keys=['img']), ]) ] data = dict( samples_per_gpu=2, workers_per_gpu=2, train=dict( type=dataset_type, ann_file=data_root + 'annotations/instances_train2017.json', img_prefix=data_root + 'train2017/', pipeline=train_pipeline), val=dict( type=dataset_type, ann_file=data_root + 'annotations/instances_val2017.json', img_prefix=data_root + 'val2017/', pipeline=test_pipeline), test=dict( type=dataset_type, ann_file=data_root + 'annotations/instances_val2017.json', img_prefix=data_root + 'val2017/', pipeline=test_pipeline)) evaluation = dict(interval=1, metric='bbox') # optimizer optimizer = dict(type='SGD', lr=0.01, momentum=0.9, weight_decay=0.0001) optimizer_config = dict(grad_clip=dict(max_norm=35, norm_type=2)) # learning policy lr_config = dict( policy='step', warmup='linear', warmup_iters=500, warmup_ratio=0.001, step=[8, 11]) total_epochs = 12 # checkpoints checkpoint_config = dict(interval=1) log_config = dict(interval=50, hooks=[dict(type='TextLoggerHook')]) # runtime settings dist_params = dict(backend='nccl') log_level = 'INFO' work_dir = './work_dirs/retinanet_r50_fpn_1x' load_from = None resume_from = None workflow = [('train', 1)] ``` 上述配置文件的主要部分包括: 1. `model`:模型设置,包括模型类型、预训练模型、骨干网络、neck、bbox_head等。 2. `dataset`:数据集设置,包括数据集类型、数据集路径、数据预处理管道等。 3. `optimizer`:优化器设置,包括优化器类型、学习率、动量、权重衰减等。 4. `lr_config`:学习率调整策略,包括学习率策略、热身策略、步数和对应学习率等。 5. `total_epochs`:训练总轮数。 6. `checkpoint_config`:保存模型检查点的间隔。 7. `log_config`:日志设置,包括日志输出间隔和日志输出方式等。 8. `dist_params`:分布式参数设置,包括分布式后端等。 9. `work_dir`:训练、测试和推理结果保存路径。 10. `load_from`和`resume_from`:模型加载和恢复路径。 11. `workflow`:训练、测试和推理流程,包括每个阶段的GPU数量。

“相关推荐”对你有帮助么?

  • 非常没帮助
  • 没帮助
  • 一般
  • 有帮助
  • 非常有帮助
提交
评论 4
添加红包

请填写红包祝福语或标题

红包个数最小为10个

红包金额最低5元

当前余额3.43前往充值 >
需支付:10.00
成就一亿技术人!
领取后你会自动成为博主和红包主的粉丝 规则
hope_wisdom
发出的红包
实付
使用余额支付
点击重新获取
扫码支付
钱包余额 0

抵扣说明:

1.余额是钱包充值的虚拟货币,按照1:1的比例进行支付金额的抵扣。
2.余额无法直接购买下载,可以购买VIP、付费专栏及课程。

余额充值