


目录
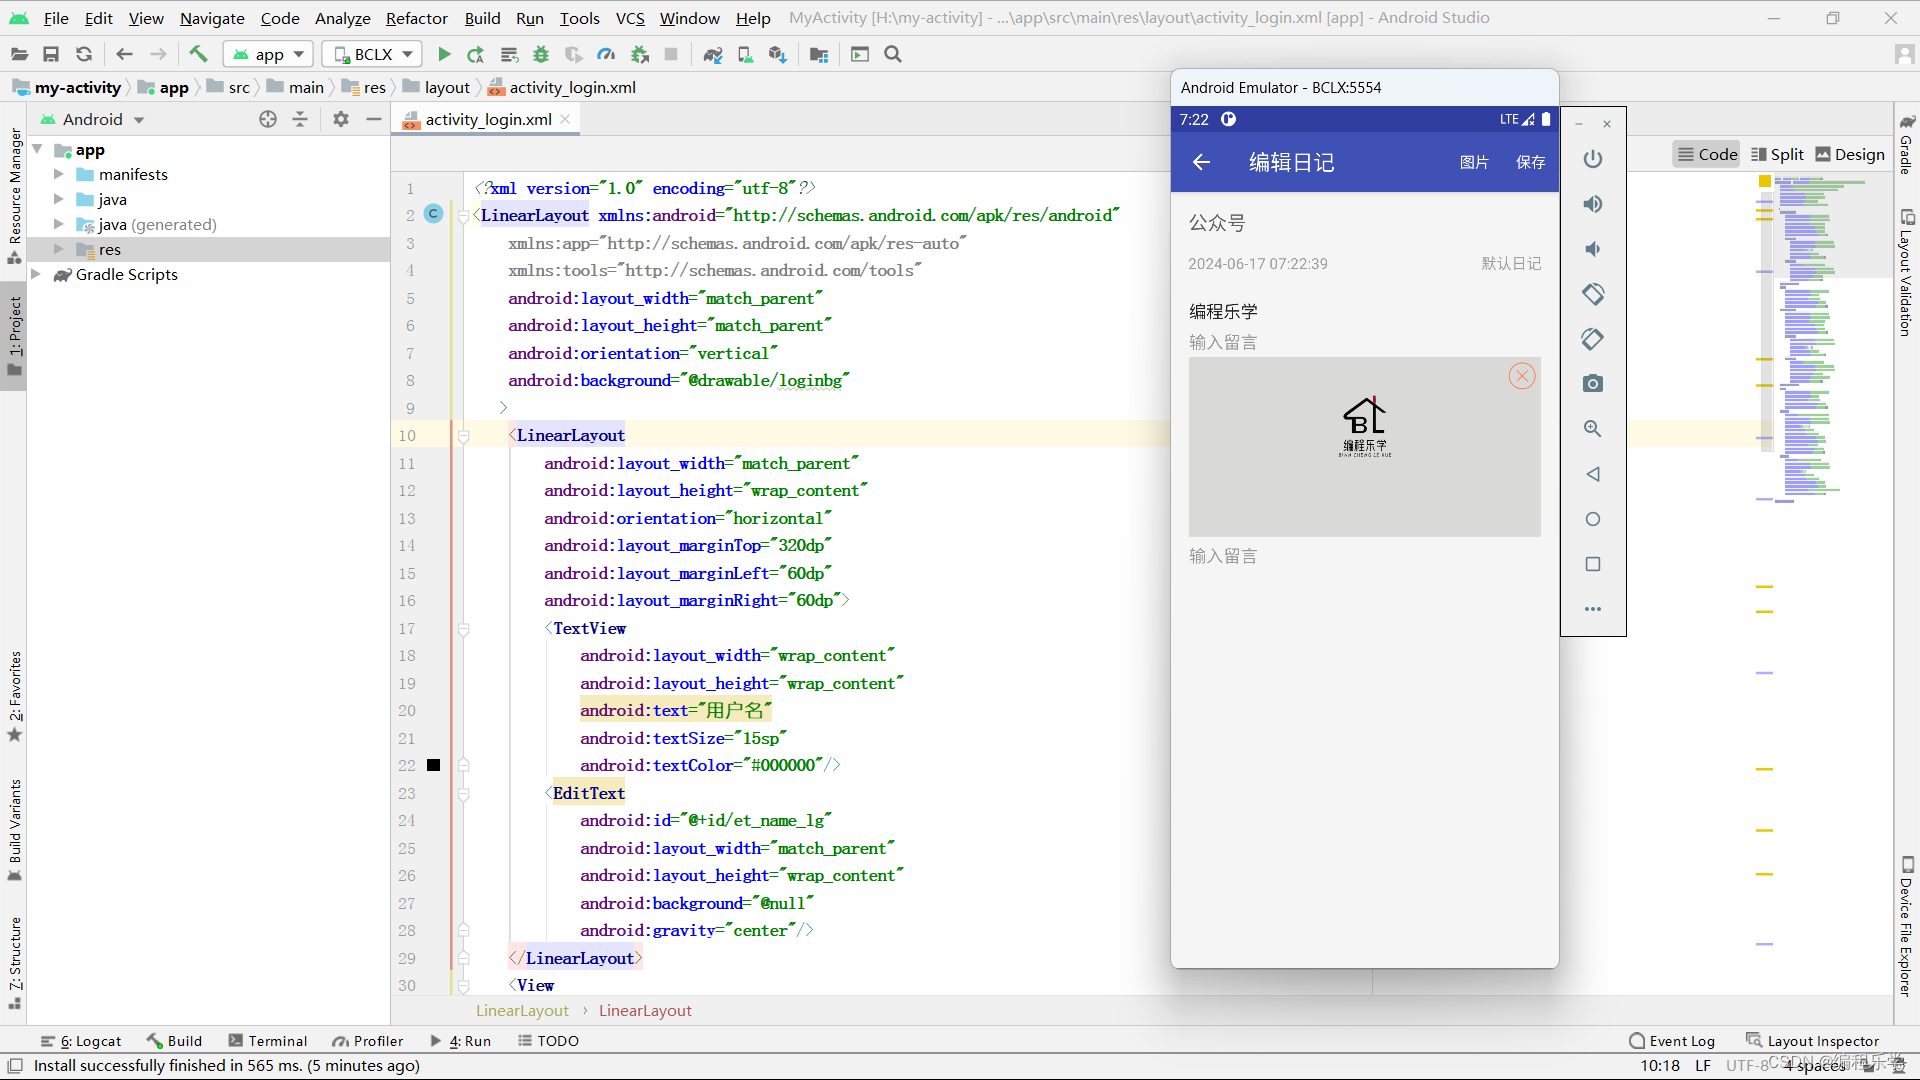
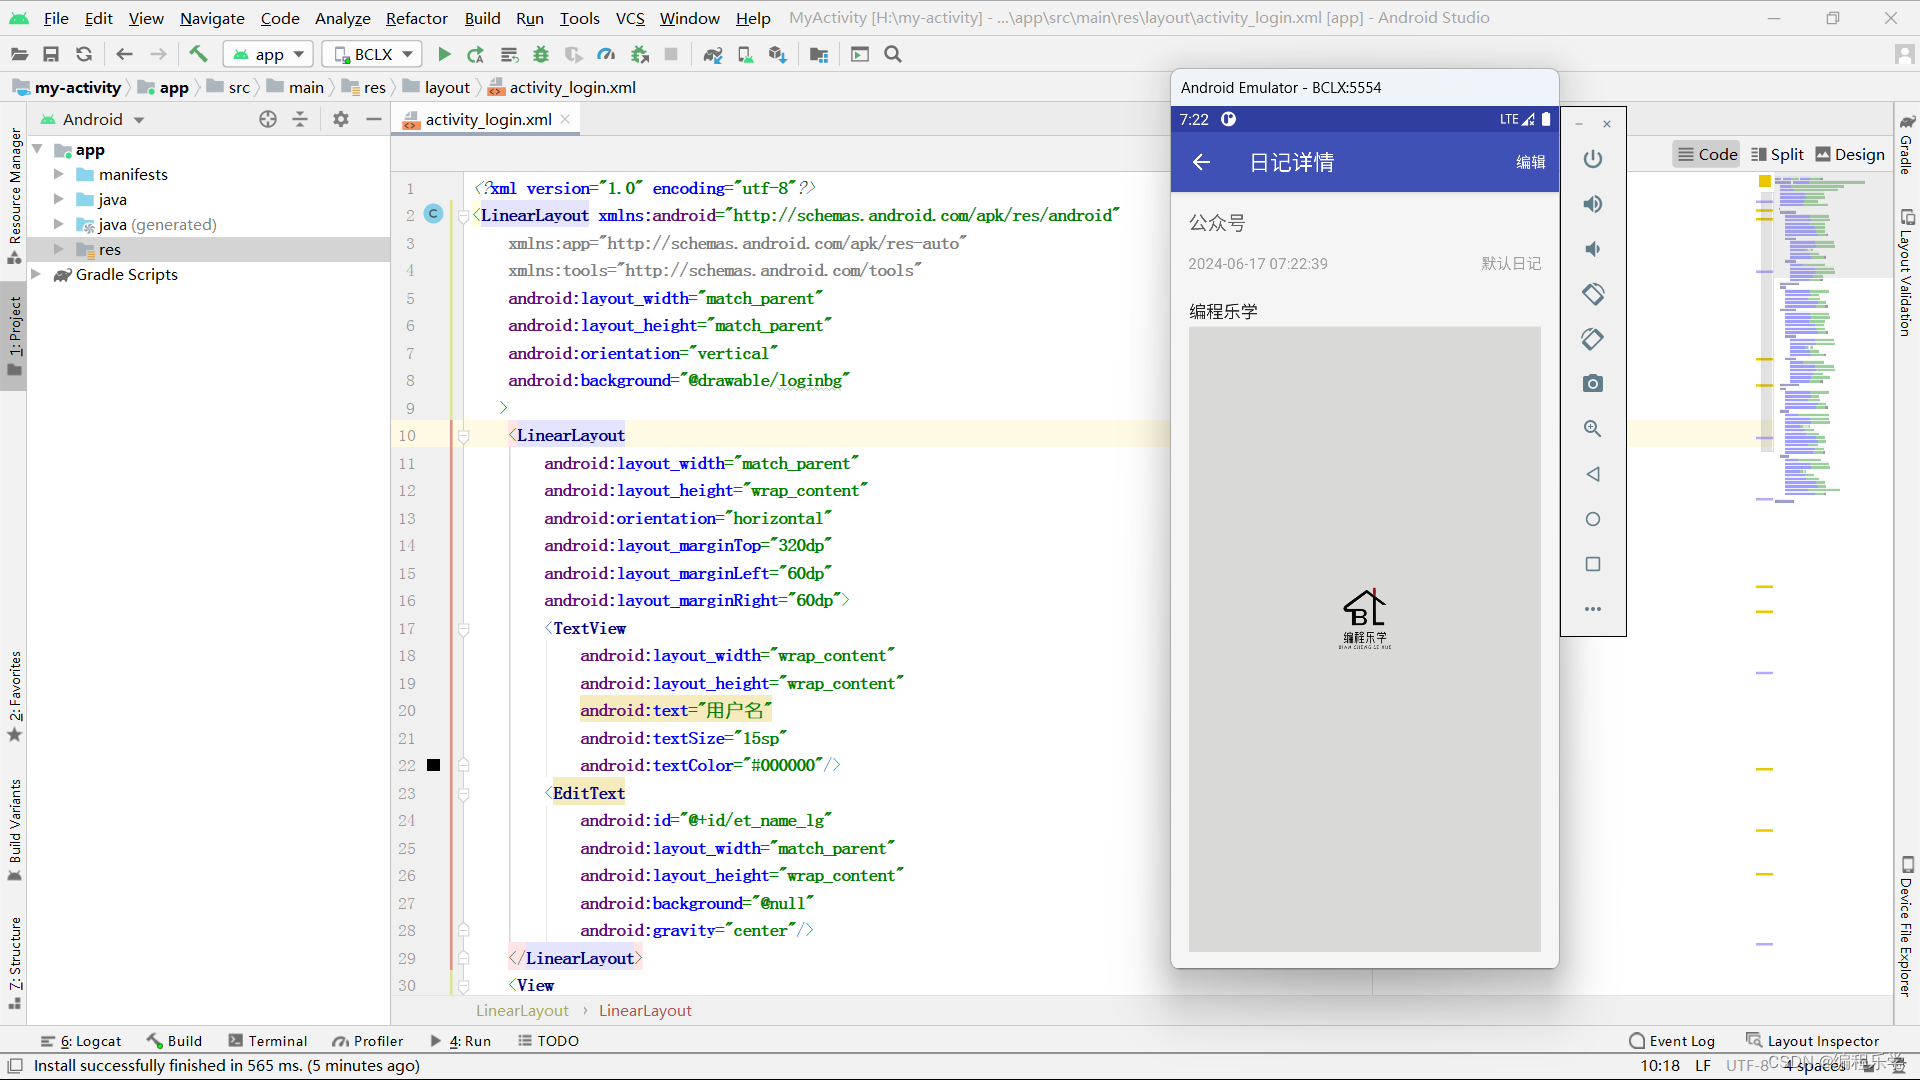
原创 图片日记本:Android Studio 实现图片日记本
一、项目测试视频
网络资源模板--基于Android studio 实现图片日记本
二、项目简介
登录注册、添加日记、删除 获取本地图片
数据基于本地数据库sqlite进行存储。
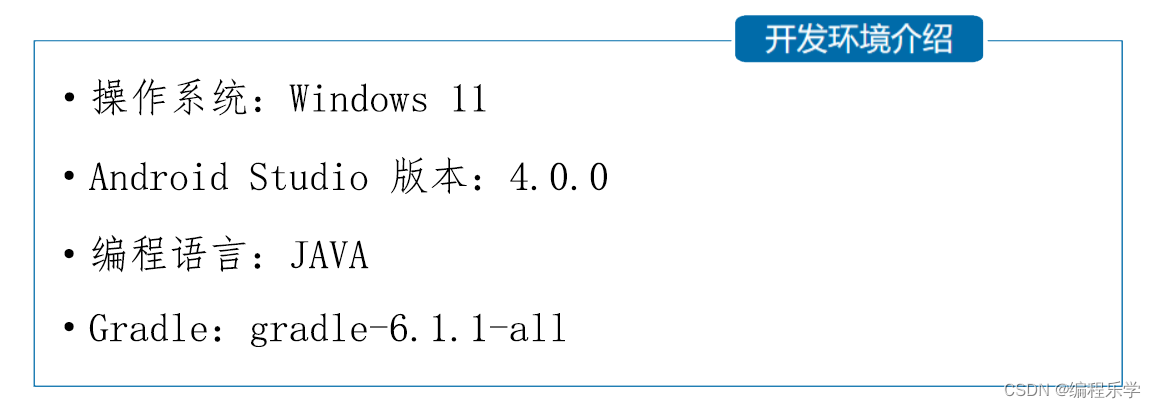
三、项目测试环境
四、项目详情设计

package com.example.myactivity;

import android.content.ContentValues;
import android.content.Intent;
import android.database.sqlite.SQLiteDatabase;
import android.os.Bundle;
import android.view.View;
import android.widget.Button;
import android.widget.EditText;
import android.widget.Toast;

import com.example.myactivity.db.MyDBHelper;

import androidx.appcompat.app.AppCompatActivity;

import javax.security.auth.login.LoginException;

public class RegisterActivity extends AppCompatActivity {
    //3 定义对象
    EditText et_name, et_pwd, et_email, et_phone;
    Button btn_register, btn_cancel;
    MyDBHelper mhelper;//创建一个数据库类文件
    SQLiteDatabase db;//创建一个可以操作的数据库对


    @Override
    protected void onCreate(Bundle savedInstanceState) {
        super.onCreate(savedInstanceState);
        setContentView(R.layout.activity_register);
        //4 绑定控件
        initView();
        //5 注册按钮功能的实现
        btnRegister();
        //6 取消按钮功能的实现
        btnCancel();

    }

    //4 绑定控件--------代码
    private void initView() {
        et_name = findViewById(R.id.et_name_rg);
        et_pwd = findViewById(R.id.et_pwd_rg);
        et_email = findViewById(R.id.et_email_rg);
        et_phone = findViewById(R.id.et_phone_rg);
        btn_register = findViewById(R.id.bt_ok_rg);
        btn_cancel = findViewById(R.id.bt_cancel_rg);
        mhelper = new MyDBHelper(RegisterActivity.this);
        db = mhelper.getWritableDatabase();
    }

    //5 注册按钮功能的实现--------------------代码
    private void btnRegister() {
        btn_register.setOnClickListener(v -> {
            //创建一个对象,用来封装一行数据
            ContentValues values = new ContentValues();
            values.put("name", et_name.getText().toString());//将输入的用户名放到 name 列
            values.put("pwd", et_pwd.getText().toString());//将输入的密码放到 pwd 列
            values.put("email", et_email.getText().toString());//将输入的邮箱放到 email 列
            values.put("phone", et_phone.getText().toString());//将输入的电话放到 phone 列
            //将封装好的一行数据保存到数据库的 tb_userinfo 表中
            db.insert("tb_userinfo", null, values);
            Intent intent = new Intent(RegisterActivity.this, LoginActivity.class);
            Toast.makeText(RegisterActivity.this, "注册成功", Toast.LENGTH_SHORT).show();
            startActivity(intent);
            finish();
        });
    }

    //6 取消按钮功能的实现-------------------代码
    private void btnCancel() {
        btn_cancel.setOnClickListener(v -> {
            Intent intent = new Intent(RegisterActivity.this, LoginActivity.class);
            startActivity(intent);
            finish();
        });
    }

}
1. **导入必要的类和包**:
- 导入了与界面交互、数据库操作和应用程序逻辑相关的类和包。
2. **Activity 类定义**:
- `RegisterActivity` 类继承自 `AppCompatActivity`,表示这是一个基于 `AppCompatActivity` 的注册活动。
3. **成员变量定义**:
- 定义了几个 `EditText` 和 `Button` 对象,用于获取用户输入和触发事件。
- `MyDBHelper` 对象 `mhelper` 用于管理数据库。
- `SQLiteDatabase` 对象 `db` 用于执行数据库操作。
4. **`onCreate()` 方法**:
- 在 `onCreate()` 方法中,进行了布局文件的关联和视图初始化。
- 调用了 `initView()` 方法,用于绑定界面上的控件并初始化数据库相关对象。
- 调用了 `btnRegister()` 方法和 `btnCancel()` 方法,分别实现了注册按钮和取消按钮的功能。
5. **`initView()` 方法**:
- `initView()` 方法中通过 `findViewById()` 方法找到布局文件中对应的控件,并将它们赋值给类中定义的成员变量。
6. **注册按钮功能实现 (`btnRegister()` 方法)**:
- 使用 Lambda 表达式设置了注册按钮的点击事件监听器。
- 当注册按钮被点击时,获取用户输入的用户名、密码、邮箱和电话,并将它们存储到 `ContentValues` 对象中。
- 使用 `db.insert()` 方法将封装好的数据插入到名为 `tb_userinfo` 的数据库表中。
- 弹出注册成功的 Toast 提示。
- 创建并启动一个新的 `Intent` 对象,跳转到 `LoginActivity` 并关闭当前活动。
7. **取消按钮功能实现 (`btnCancel()` 方法)**:
- 使用 Lambda 表达式设置了取消按钮的点击事件监听器。
- 当取消按钮被点击时,创建并启动一个新的 `Intent` 对象,同样是跳转到 `LoginActivity` 并关闭当前活动。
这段代码实现了一个简单的注册功能,用户输入的数据通过 SQLite 数据库存储在本地,并提供了取消注册的选项。需要确保布局文件 `activity_register.xml` 中包含相应的 EditText、Button 控件,并正确设置了其 ID。
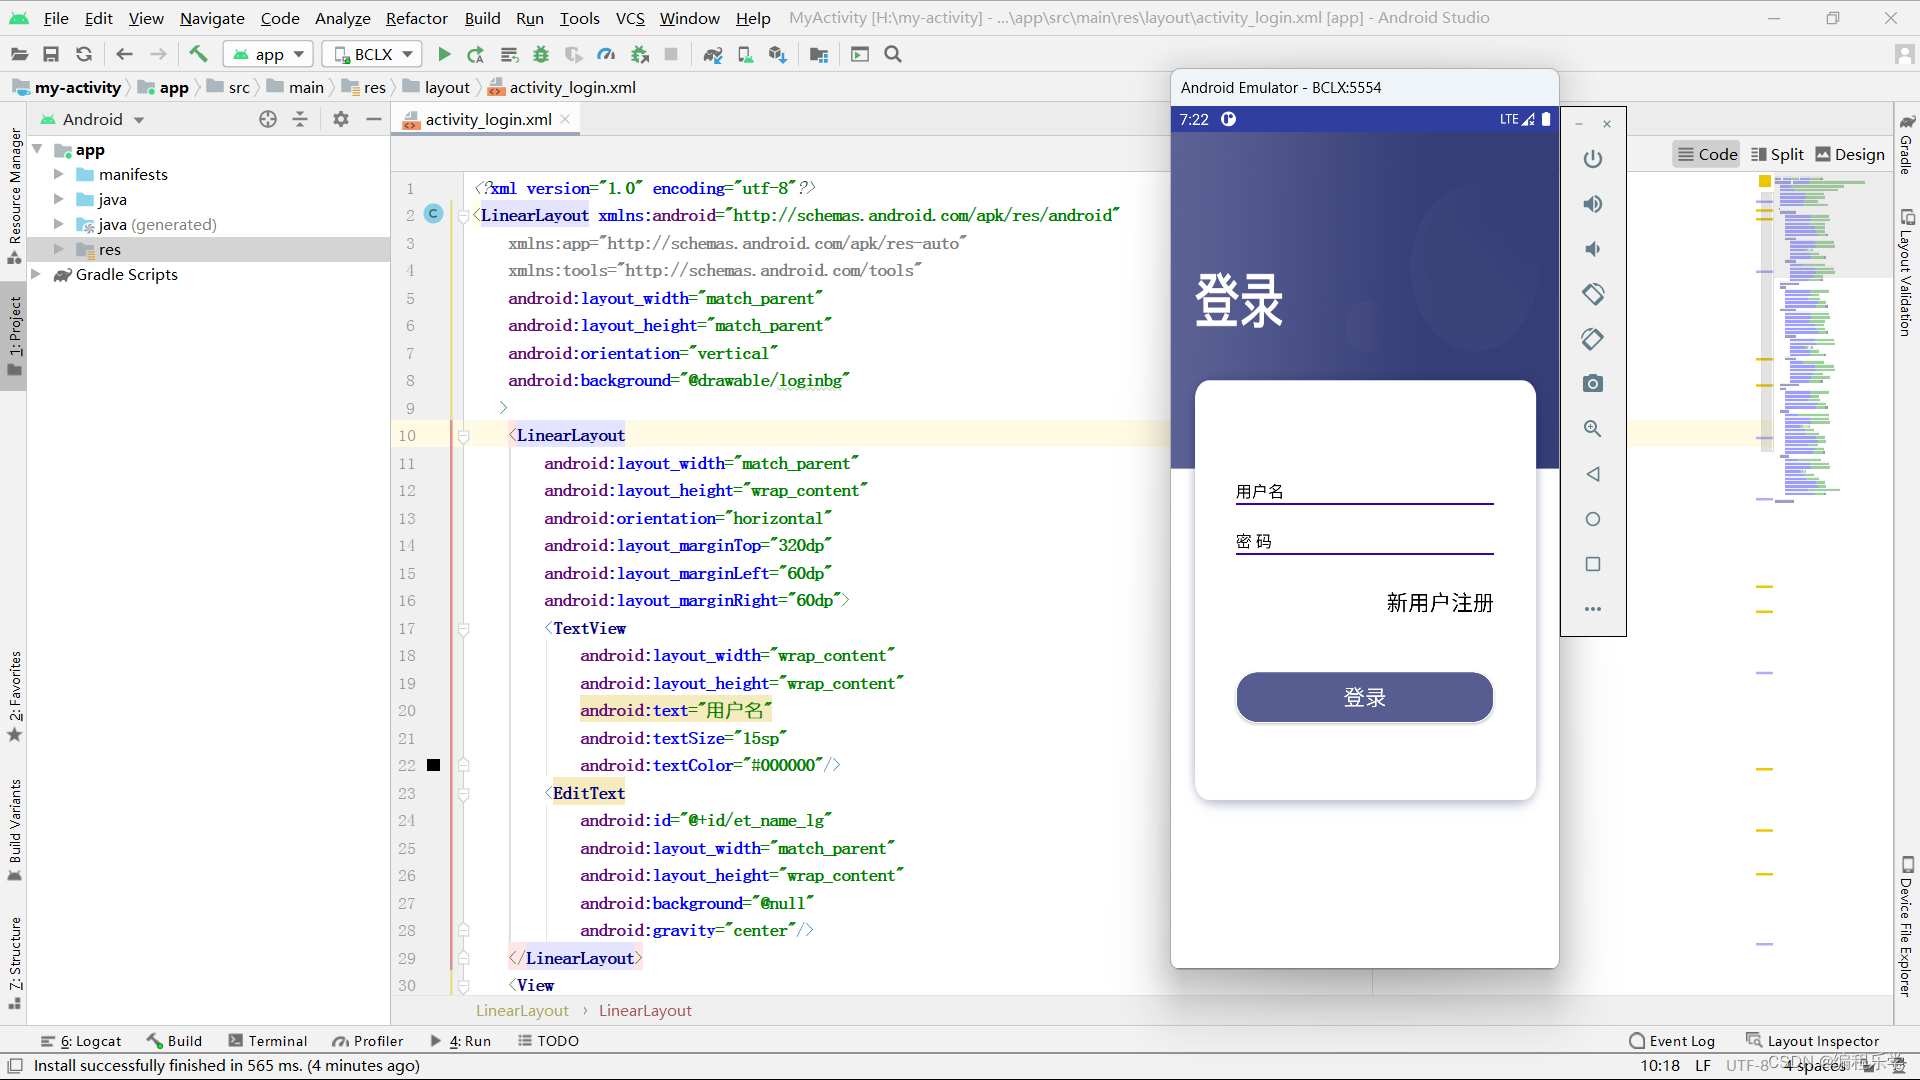
<?xml version="1.0" encoding="utf-8"?>
<LinearLayout xmlns:android="http://schemas.android.com/apk/res/android"
    xmlns:app="http://schemas.android.com/apk/res-auto"
    xmlns:tools="http://schemas.android.com/tools"
    android:layout_width="match_parent"
    android:layout_height="match_parent"
    android:orientation="vertical"
    android:background="@drawable/loginbg"
   >
    <LinearLayout
        android:layout_width="match_parent"
        android:layout_height="wrap_content"
        android:orientation="horizontal"
        android:layout_marginTop="320dp"
        android:layout_marginLeft="60dp"
        android:layout_marginRight="60dp">
        <TextView
            android:layout_width="wrap_content"
            android:layout_height="wrap_content"
            android:text="用户名"
            android:textSize="15sp"
            android:textColor="#000000"/>
        <EditText
            android:id="@+id/et_name_lg"
            android:layout_width="match_parent"
            android:layout_height="wrap_content"
            android:background="@null"
            android:gravity="center"/>
    </LinearLayout>
    <View
        android:layout_width="match_parent"
        android:layout_height="2dp"
        android:background="#3700b3"
        android:layout_marginRight="60dp"
        android:layout_marginLeft="60dp"/>
    <LinearLayout
        android:layout_width="match_parent"
        android:layout_height="wrap_content"
        android:orientation="horizontal"
        android:layout_marginTop="20dp"
        android:layout_marginLeft="60dp"
        android:layout_marginRight="60dp">
        <TextView
            android:layout_width="wrap_content"
            android:layout_height="wrap_content"
            android:text="密 码"
            android:textSize="15sp"
            android:textColor="#000000"/>
        <EditText
            android:id="@+id/et_pwd_lg"
            android:layout_width="match_parent"
            android:layout_height="wrap_content"
            android:background="@null"
            android:inputType="textPassword"
            android:gravity="center"/>
    </LinearLayout>
    <View
        android:layout_width="match_parent"
        android:layout_height="2dp"
        android:background="#3700b3"
        android:layout_marginRight="60dp"
        android:layout_marginLeft="60dp"/>
    <Button
        android:id="@+id/bt_newregister_lg"
        android:layout_width="wrap_content"
        android:layout_height="wrap_content"
        android:text="新用户注册"
        android:textSize="20sp"
        android:textColor="#000000"
        android:layout_marginLeft="60dp"
        android:layout_marginRight="60dp"
        android:background="@null"
        android:layout_marginTop="20dp"
        android:layout_gravity="right"/>
    <Button
        android:id="@+id/bt_login_lg"
        android:layout_width="match_parent"
        android:layout_height="wrap_content"
        android:text="登录"
        android:textSize="20sp"
        android:textColor="#ffffff"
        android:layout_marginLeft="60dp"
        android:layout_marginRight="60dp"
        android:background="@drawable/btn_style_one"
        android:layout_marginTop="40dp"/>

</LinearLayout>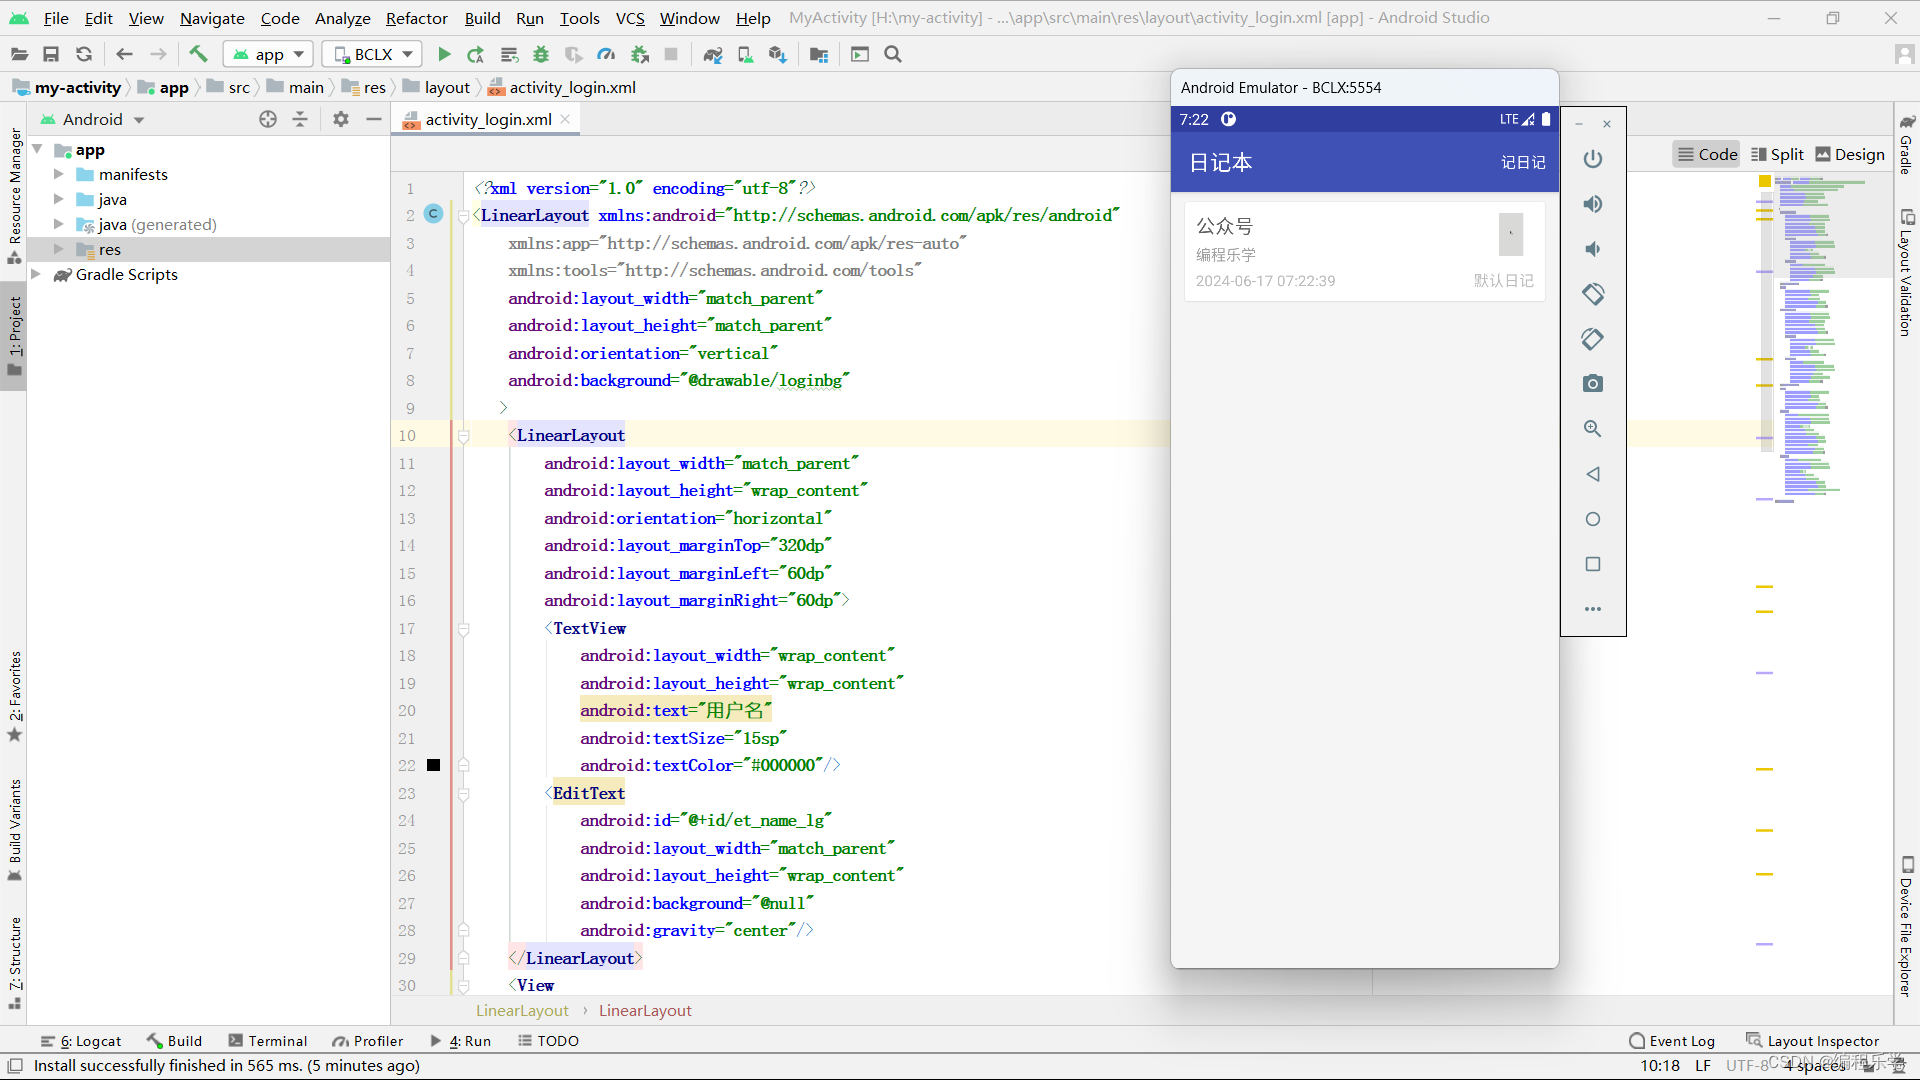
package com.example.myactivity;
import android.app.ProgressDialog;
import android.content.Intent;
import android.content.pm.ActivityInfo;
import android.graphics.Bitmap;
import android.media.MediaMetadataRetriever;
import android.net.Uri;
import android.os.Bundle;
import android.provider.MediaStore;
import android.text.TextUtils;
import android.util.Log;
import android.view.Menu;
import android.view.MenuItem;
import android.view.View;
import android.view.inputmethod.InputMethodManager;
import android.widget.EditText;
import android.widget.TextView;
import android.widget.Toast;
import com.example.myactivity.comm.GlideSimpleLoader;
import com.example.myactivity.util.ContentUriUtil;
import com.example.myactivity.view.imagewatcher.ImageWatcherHelper;
import com.example.myactivity.ui.BaseActivity;
import com.example.myactivity.view.RichTextEditor;
import com.example.myactivity.db.bean.Group;
import com.example.myactivity.db.bean.Note;
import com.example.myactivity.comm.MyGlideEngine;
import com.example.myactivity.db.GroupDao;
import com.example.myactivity.db.NoteDao;
import com.example.myactivity.util.CommonUtil;
import com.example.myactivity.util.ImageUtils;
import com.example.myactivity.util.SDCardUtil;
import com.example.myactivity.util.StringUtils;
import com.example.myactivity.view.matisse.Matisse;
import com.example.myactivity.view.matisse.MimeType;
import com.example.myactivity.view.matisse.internal.entity.CaptureStrategy;
import java.io.File;
import java.util.ArrayList;
import java.util.Date;
import java.util.List;
import androidx.appcompat.widget.Toolbar;
import io.reactivex.Observable;
import io.reactivex.ObservableEmitter;
import io.reactivex.ObservableOnSubscribe;
import io.reactivex.Observer;
import io.reactivex.android.schedulers.AndroidSchedulers;
import io.reactivex.disposables.Disposable;
import io.reactivex.schedulers.Schedulers;
/**
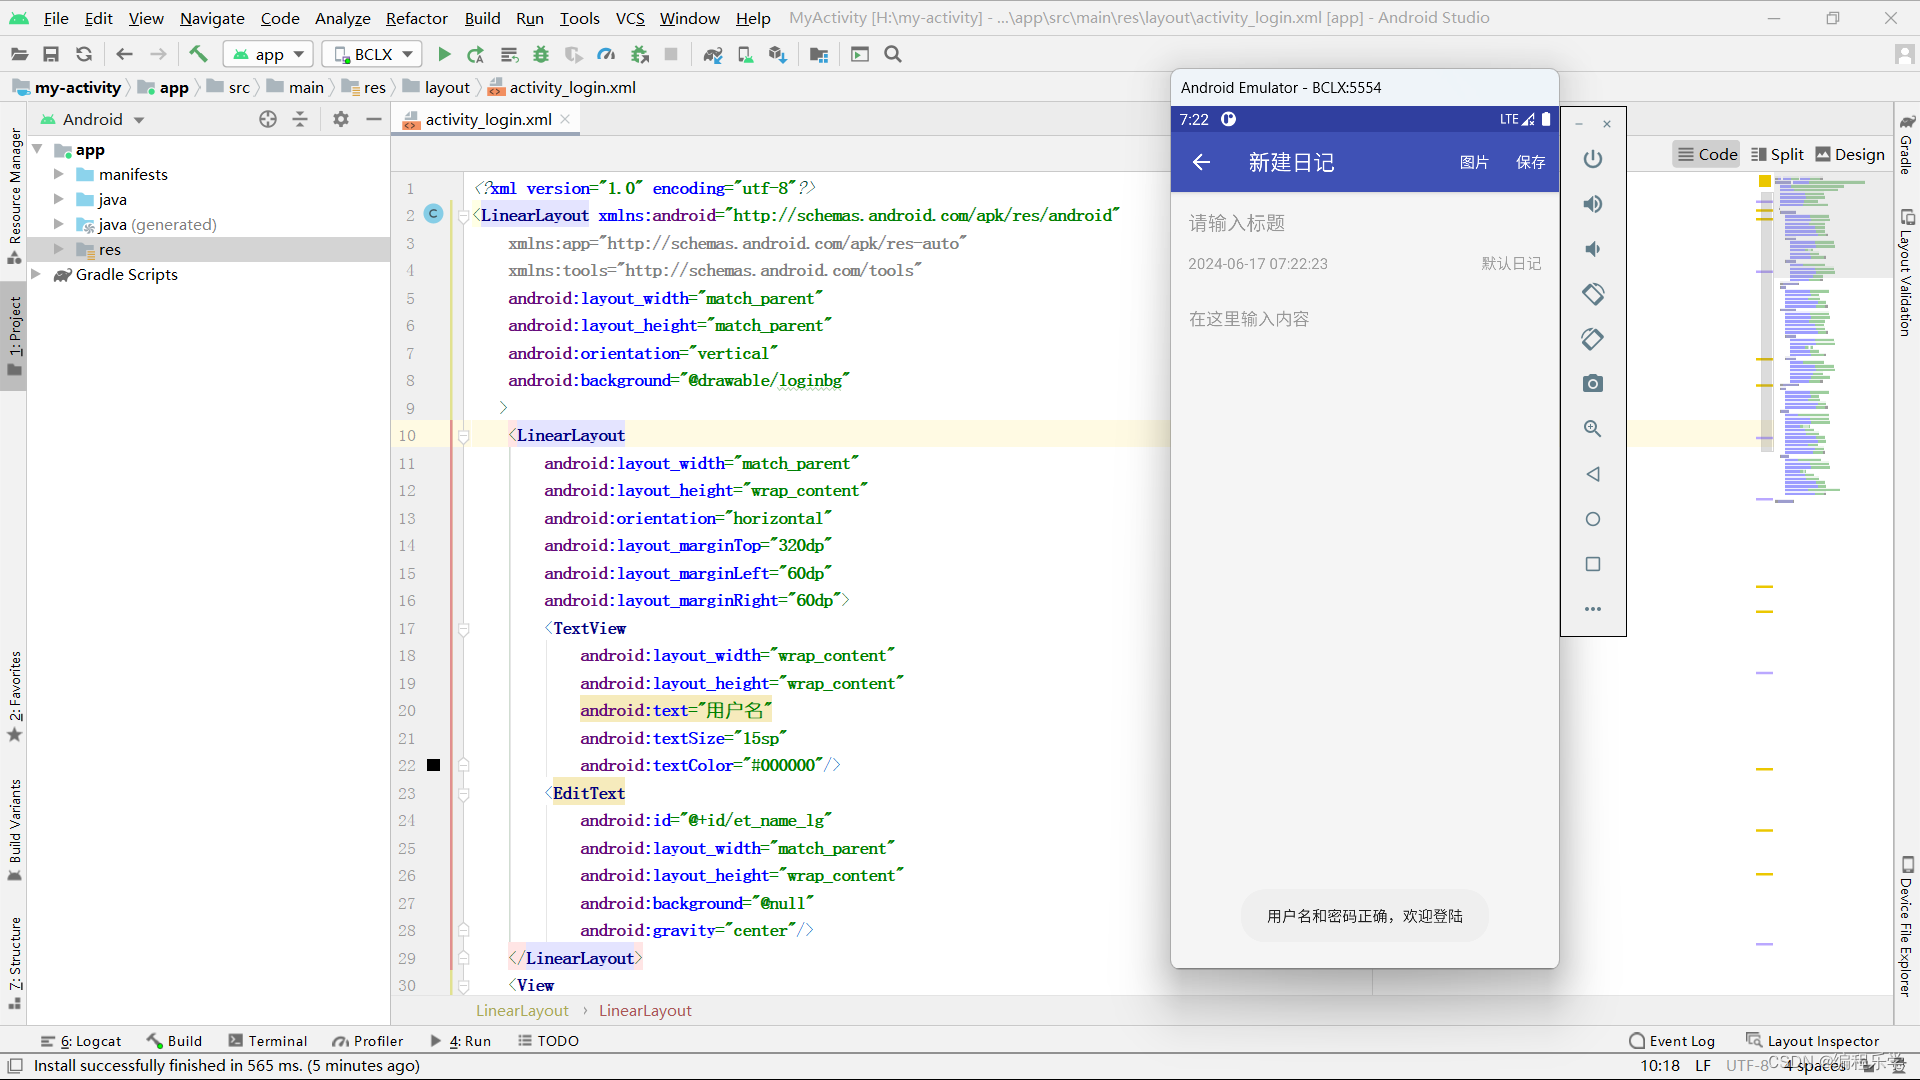
* 新建日记
*/
public class NewActivity extends BaseActivity {
private static final int REQUEST_CODE_CHOOSE = 23;//定义请求码常量
private EditText et_new_title;
private RichTextEditor et_new_content;
private TextView tv_new_time;
private TextView tv_new_group;
private GroupDao groupDao;
private NoteDao noteDao;
private Note note;//日记对象
private String myTitle;
private String myContent;
private String myGroupName;
private String myNoteTime;
private int flag;//区分是新建日记还是编辑日记
private static final int cutTitleLength = 20;//截取的标题长度
private ProgressDialog loadingDialog;
private ProgressDialog insertDialog;
private int screenWidth;
private int screenHeight;
private Disposable subsLoading;
private Disposable subsInsert;
private ImageWatcherHelper iwHelper;
@Override
protected void onCreate(Bundle savedInstanceState) {
super.onCreate(savedInstanceState);
setContentView(R.layout.activity_new);
initView();
}
public boolean onCreateOptionsMenu(Menu menu) {
getMenuInflater().inflate(R.menu.menu_new, menu);
return true;
}
@Override
public boolean onOptionsItemSelected(MenuItem item) {
switch (item.getItemId()) {
case R.id.action_insert_image:
closeSoftKeyInput();//关闭软键盘
callGallery();
break;
case R.id.action_new_save:
try {
saveNoteData(false);
} catch (Exception e) {
e.printStackTrace();
}
break;
}
return super.onOptionsItemSelected(item);
}
/**
* 调用图库选择
*/
private void callGallery() {
//调用系统图库
// Intent intent = new Intent(Intent.ACTION_PICK, MediaStore.Images.Media.EXTERNAL_CONTENT_URI);
// intent.setDataAndType(MediaStore.Images.Media.EXTERNAL_CONTENT_URI, "video/*");// 相片类型
// startActivityForResult(intent, 1);
Matisse.from(this)
// .choose(MimeType.ofAll())
.choose(MimeType.of(MimeType.JPEG, MimeType.PNG, MimeType.GIF))//MimeType.MP4
.countable(true)//true:选中后显示数字;false:选中后显示对号
.maxSelectable(3)//最大选择数量为9
//.addFilter(new GifSizeFilter(320, 320, 5 * Filter.K * Filter.K))
.gridExpectedSize(getResources().getDimensionPixelSize(R.dimen.grid_expected_size))//图片显示表格的大小
.restrictOrientation(ActivityInfo.SCREEN_ORIENTATION_UNSPECIFIED)//图像选择和预览活动所需的方向
.thumbnailScale(0.85f)//缩放比例
.theme(R.style.Matisse_Zhihu)//主题 暗色主题 R.style.Matisse_Dracula
.imageEngine(new MyGlideEngine())//图片加载方式,Glide4需要自定义实现
.capture(true) //是否提供拍照功能,兼容7.0系统需要下面的配置
//参数1 true表示拍照存储在共有目录,false表示存储在私有目录;参数2与 AndroidManifest中authorities值相同,用于适配7.0系统 必须设置
.captureStrategy(new CaptureStrategy(true, "com.example.myactivity.view.matisse.fileprovider"))//存储到哪里
.forResult(REQUEST_CODE_CHOOSE);//请求码
}
@Override
protected void onActivityResult(int requestCode, int resultCode, final Intent data) {
super.onActivityResult(requestCode, resultCode, data);
if (resultCode == RESULT_OK) {
if (data != null) {
if (requestCode == 1) {
//处理调用系统图库
Uri uri = data.getData();
String mFilePath = ContentUriUtil.getPath(this, uri);
// Log.e("视频路径","视频路径 mFilePath = "+mFilePath);
} else if (requestCode == REQUEST_CODE_CHOOSE) {
//异步方式插入图片
insertImagesSync(data);
}
}
}
}
/**
* 异步方式插入图片
*/
private void insertImagesSync(final Intent data) {
insertDialog.show();
Observable.create(new ObservableOnSubscribe<String>() {
@Override
public void subscribe(ObservableEmitter<String> emitter) {
try {
et_new_content.measure(0, 0);
List<Uri> mSelected = Matisse.obtainResult(data);
// 可以同时插入多张图片
for (Uri imageUri : mSelected) {
String imagePath = SDCardUtil.getFilePathFromUri(NewActivity.this, imageUri);
emitter.onNext(imagePath);
}
emitter.onComplete();
} catch (Exception e) {
e.printStackTrace();
emitter.onError(e);
}
}
})
//.onBackpressureBuffer()
.subscribeOn(Schedulers.io())//生产事件在io
.observeOn(AndroidSchedulers.mainThread())//消费事件在UI线程
.subscribe(new Observer<String>() {
@Override
public void onComplete() {
if (insertDialog != null && insertDialog.isShowing()) {
insertDialog.dismiss();
}
showToast("插入成功");
}
@Override
public void onError(Throwable e) {
if (insertDialog != null && insertDialog.isShowing()) {
insertDialog.dismiss();
}
showToast("插入失败:" + e.getMessage());
}
@Override
public void onSubscribe(Disposable d) {
subsInsert = d;
}
@Override
public void onNext(String imagePath) {
et_new_content.insertImage(imagePath);
}
});
}
@Override
protected void onResume() {
super.onResume();
}
@Override
protected void onStop() {
super.onStop();
try {
//如果APP处于后台,或者手机锁屏,则保存数据
if (CommonUtil.isAppOnBackground(getApplicationContext()) ||
CommonUtil.isLockScreeen(getApplicationContext())) {
saveNoteData(true);//处于后台时保存数据
}
if (subsLoading != null && subsLoading.isDisposed()) {
subsLoading.dispose();
}
if (subsInsert != null && subsInsert.isDisposed()) {
subsInsert.dispose();
}
} catch (Exception e) {
e.printStackTrace();
}
}
/**
* 退出处理
*/
private void dealwithExit() {
try {
String noteTitle = et_new_title.getText().toString();
String noteContent = getEditData();
String groupName = tv_new_group.getText().toString();
String noteTime = tv_new_time.getText().toString();
if (flag == 0) {//新建日记
if (noteTitle.length() > 0 || noteContent.length() > 0) {
saveNoteData(false);
}
} else if (flag == 1) {//编辑日记
if (!noteTitle.equals(myTitle) || !noteContent.equals(myContent)
|| !groupName.equals(myGroupName) || !noteTime.equals(myNoteTime)) {
saveNoteData(false);
}
}
} catch (Exception e) {
e.printStackTrace();
}
finish();
}
@Override
public void onBackPressed() {
if (!iwHelper.handleBackPressed()) {
super.onBackPressed();
}
dealwithExit();
}
}
1. **导入必要的类和包**:
- 导入了与界面交互、数据操作、工具类和第三方库相关的类和包。
2. **Activity 类定义**:
- `NoteActivity` 类继承自自定义的 `BaseActivity`,用于展示和处理日记详情。
3. **成员变量定义**:
- `tv_note_content`:用于显示日记内容的自定义 `RichTextView` 控件。
- `note`、`myTitle`、`myContent`、`myGroupName`:日记对象和相关信息。
- `loadingDialog` 和 `mDisposable`:进度对话框和 RxJava 的 Disposable 对象。
- `iwHelper`:用于显示图片的辅助类。
4. **`onCreate()` 方法**:
- 设置布局文件并初始化视图。
- 调用 `initView()` 方法初始化工具栏、浮动操作按钮等控件,并处理返回按钮的点击事件。
5. **`initView()` 方法**:
- 初始化工具栏(Toolbar),设置标题并添加返回按钮的点击事件监听器。
- 初始化浮动操作按钮(FloatingActionButton),设置点击事件监听器。
- 初始化图片查看器辅助类 `iwHelper`,并实例化数据库操作类 `GroupDao`。
- 显示加载对话框,并根据传入的日记信息设置标题、内容、创建时间和日记分类。
6. **`dealWithContent()` 方法**:
- 清除并重新显示日记内容。
- 设置图片点击事件处理逻辑,点击图片时展示图片查看器。
7. **异步显示数据方法 `showDataSync()`**:
- 使用 RxJava 实现异步显示数据,处理富文本中的图片和文本。
- 在 IO 线程生产事件,在主线程消费事件,并更新 UI。
- 处理加载完成、错误和具体内容的显示逻辑。
8. **`showEditData()` 方法**:
- 实现具体的数据显示逻辑,将富文本内容拆分为图片和文本,并通过 `ObservableEmitter` 发射数据。
9. **菜单方法**:
- `onCreateOptionsMenu()`:加载并显示选项菜单。
- `onOptionsItemSelected()`:处理菜单项点击事件,包括编辑日记和分享日记的功能实现。
10. **生命周期方法和返回键处理**:
- `onResume()` 和 `onStop()` 方法用于管理 RxJava 的 Disposable 对象。
- `onBackPressed()` 方法中通过图片查看器辅助类 `iwHelper` 处理返回键的逻辑。
<?xml version="1.0" encoding="utf-8"?>
<androidx.coordinatorlayout.widget.CoordinatorLayout xmlns:android="http://schemas.android.com/apk/res/android"
    xmlns:app="http://schemas.android.com/apk/res-auto"
    xmlns:tools="http://schemas.android.com/tools"
    android:layout_width="match_parent"
    android:layout_height="match_parent"
    android:fitsSystemWindows="true">

    <com.google.android.material.appbar.AppBarLayout
        android:layout_width="match_parent"
        android:layout_height="wrap_content"
        android:theme="@style/AppTheme.AppBarOverlay">

        <androidx.appcompat.widget.Toolbar
            android:id="@+id/toolbar_note"
            android:layout_width="match_parent"
            android:layout_height="?attr/actionBarSize"
            android:background="?attr/colorPrimary"
            app:popupTheme="@style/AppTheme.PopupOverlay" />

    </com.google.android.material.appbar.AppBarLayout>

    <include layout="@layout/content_note" />

    <com.google.android.material.floatingactionbutton.FloatingActionButton
        android:id="@+id/fab_note"
        android:layout_width="wrap_content"
        android:layout_height="wrap_content"
        android:layout_gravity="bottom|end"
        android:layout_margin="@dimen/fab_margin"
        android:visibility="gone"
        app:srcCompat="@android:drawable/ic_dialog_email" />

</androidx.coordinatorlayout.widget.CoordinatorLayout>
Get 项目模板源码
👇👇👇快捷获取方式👇👇👇


 898
898


 被折叠的 条评论
为什么被折叠?
被折叠的 条评论
为什么被折叠?
 到【灌水乐园】发言


