


SpringBoot gradle项目集成swagger
1.简介以及原理
简介:
Java库的Springfox套件全部是关于使用spring项目编写的JSON API自动生成机器和人类可读的规范。Springfox的工作原理是在运行时检查应用程序,以便根据弹簧配置,类结构和各种编译时间的Java注释来推断API语义。
Swagger是一个规范和完整的框架,用于生成、描述、调用和可视化RESTful 风格的 Web 服务。总体目标是使客户端和文件系统作为服务器以同样的速度来更新。文件的方法,参数和模型紧密集成到服务器端的代码,允许API来始终保持同步。Swagger 让部署管理和使用功能强大的API从未如此简单。
原理:
后台:后端部分与Java集成,后最终会产生一个json文件。
前台:前台部分就是html、css、js文件,js利用后台产生的json文件构造api;
优点:
1.所有接口方法可以动态的生成API文档,减少前端、测试等人员想开发询问接口入参、减少开发编写API文档的苦逼;
2.其次swagger默认生成的原始文件是JSON文件,前端在开发的时候比较喜欢用RAP进行服务mock,RAP也支持JSON文件导入,因此可以基于swagger生成的JSON文件,写个小程序自动改造成RAP支持的JSON格式,从而提高整个项目开发及测试效率
Swagger UI gitHub地址:https://github.com/swagger-api/swagger-ui
2.现有的项目集成:*重点内容*
集成前的目录如下

集成步骤:
2.1第一步,在GitHub上下载SwaggerUI项目,将dist下所有内容拷贝到本地项目server-api/webapp下面,结果目录如下图所示:
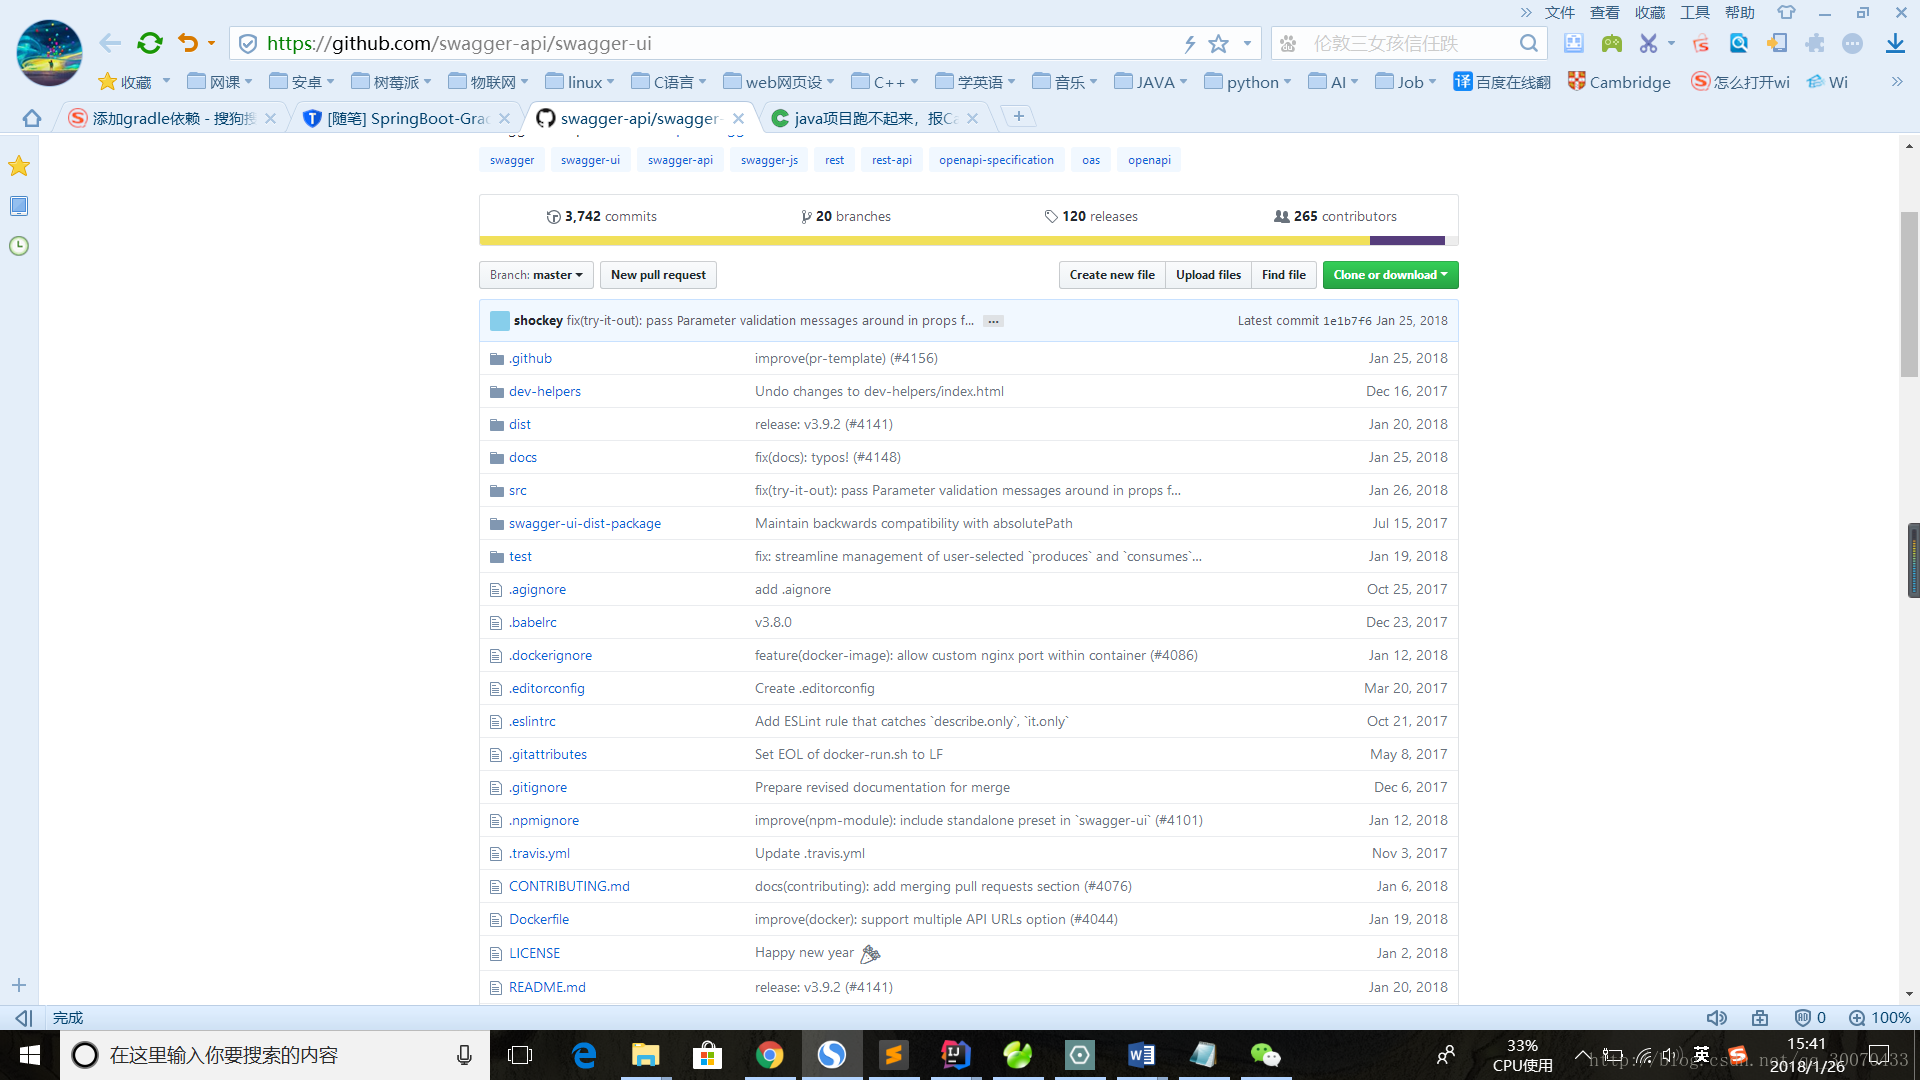
拷贝目录如图:
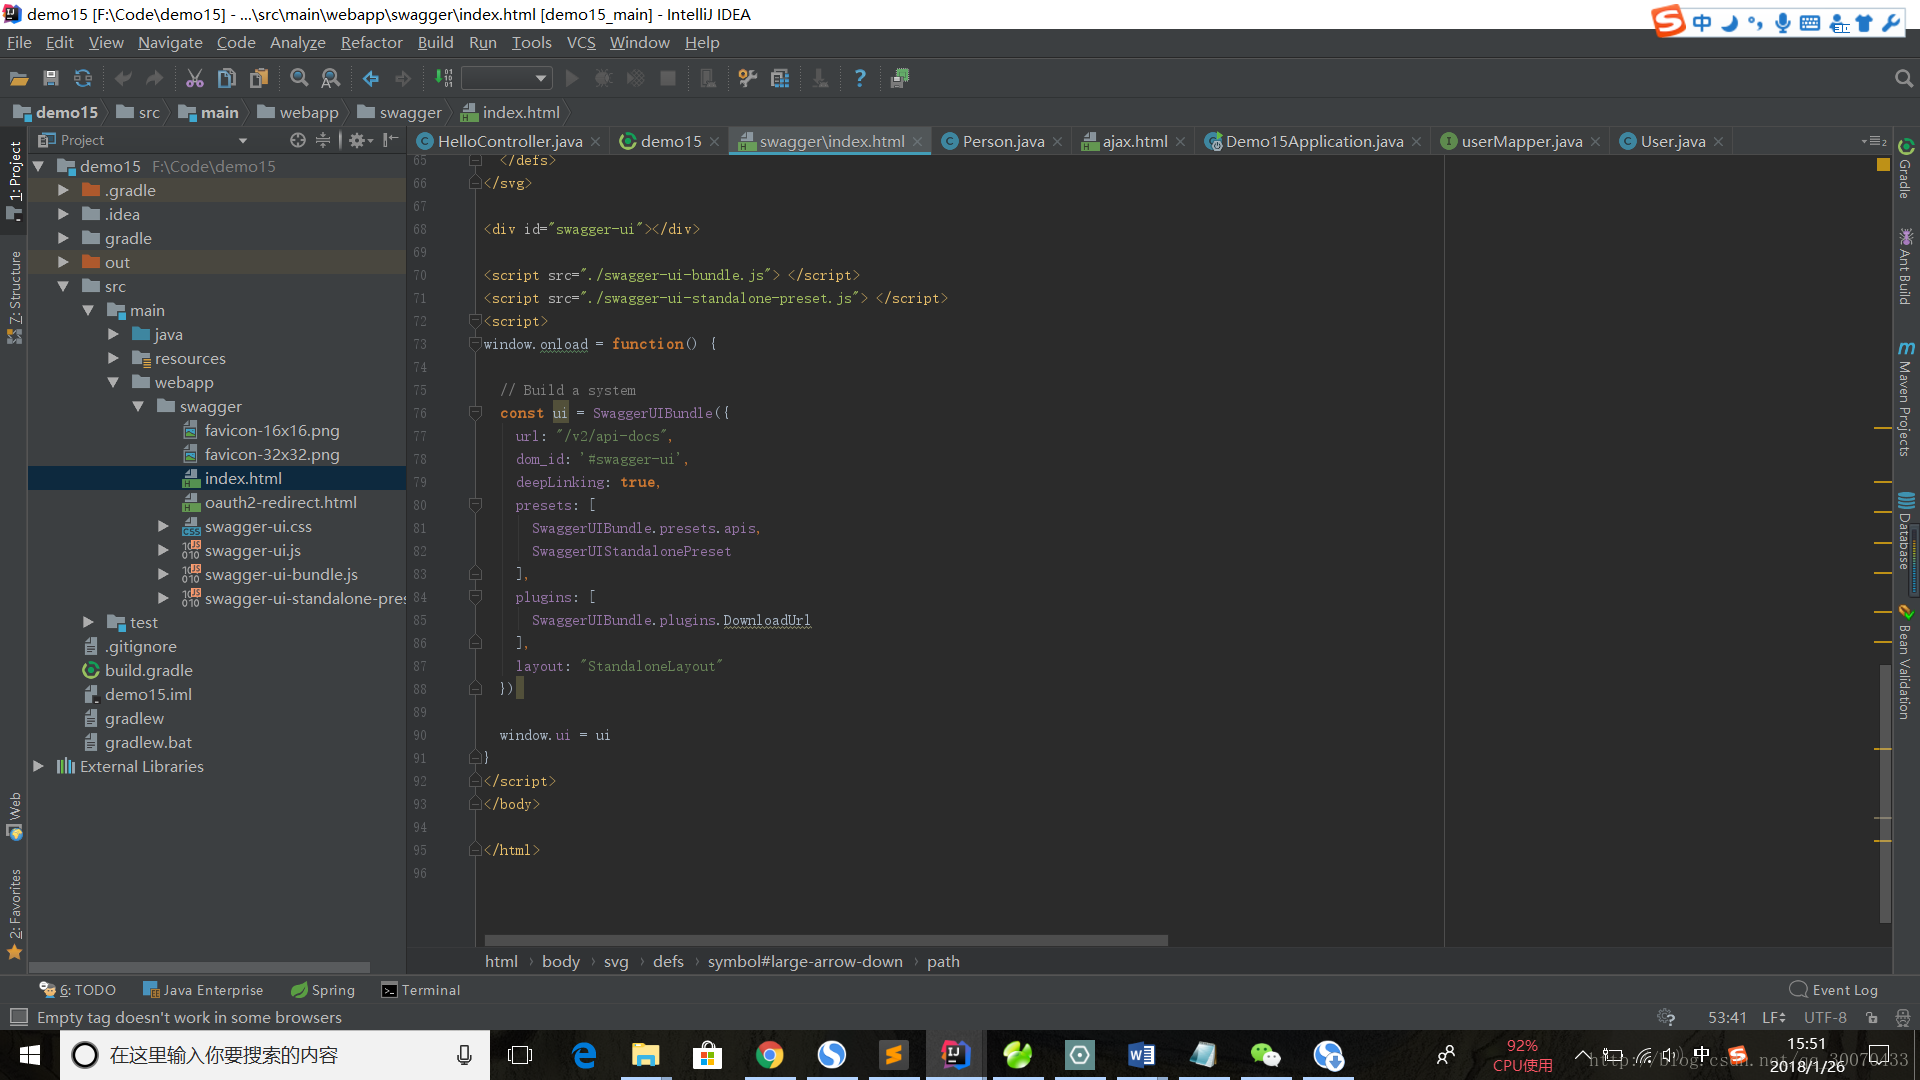
修改index.html文件将
url = “http://petstore.swagger.io/v2/swagger.json“; 改为url=”/v2/api-docs”;
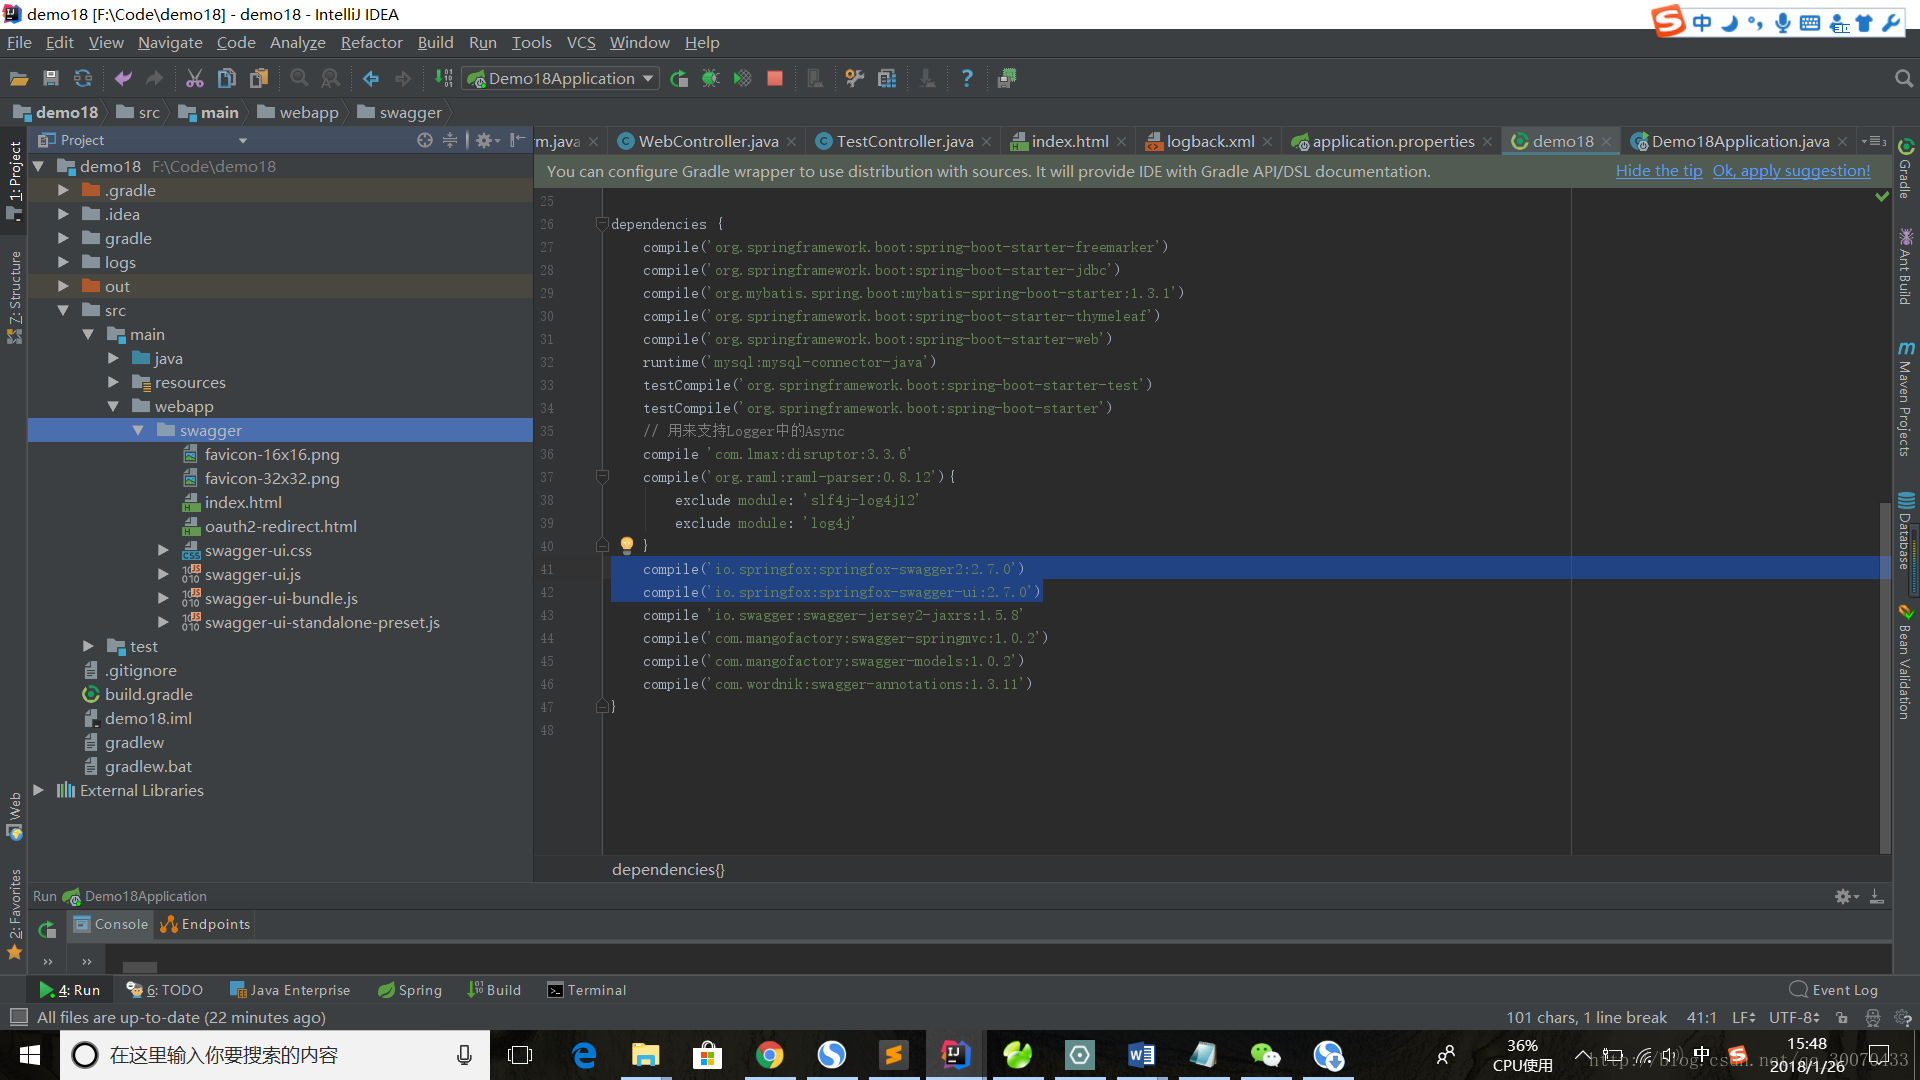
2.2第二步,添加gradle依赖
*
compile('io.springfox:springfox-swagger2:2.8.0')
compile('io.springfox:springfox-swagger-ui:2.8.0')
compile 'io.swagger:swagger-jersey2-jaxrs:1.5.8'
compile('com.mangofactory:swagger-springmvc:1.0.2')
compile('com.mangofactory:swagger-models:1.0.2')
compile('com.wordnik:swagger-annotations:1.3.11')*
目前最新版本是2.8.0(2018.1.26)
Springfox Swagger2 官网:https://mvnrepository.com/artifact/io.springfox/springfox-swagger2
Springfox Swagger Ui官网:https://mvnrepository.com/artifact/io.springfox/springfox-swagger-ui
2.3第三步,Docket Spring Java配置
• 使用@EnableSwagger或@EnableSwagger2注释。
• 使用弹簧@Bean注释定义一个或多个Docket实例。
添加swagger配置文件SwaggerConfig.java 以及主入口文件添加注解:
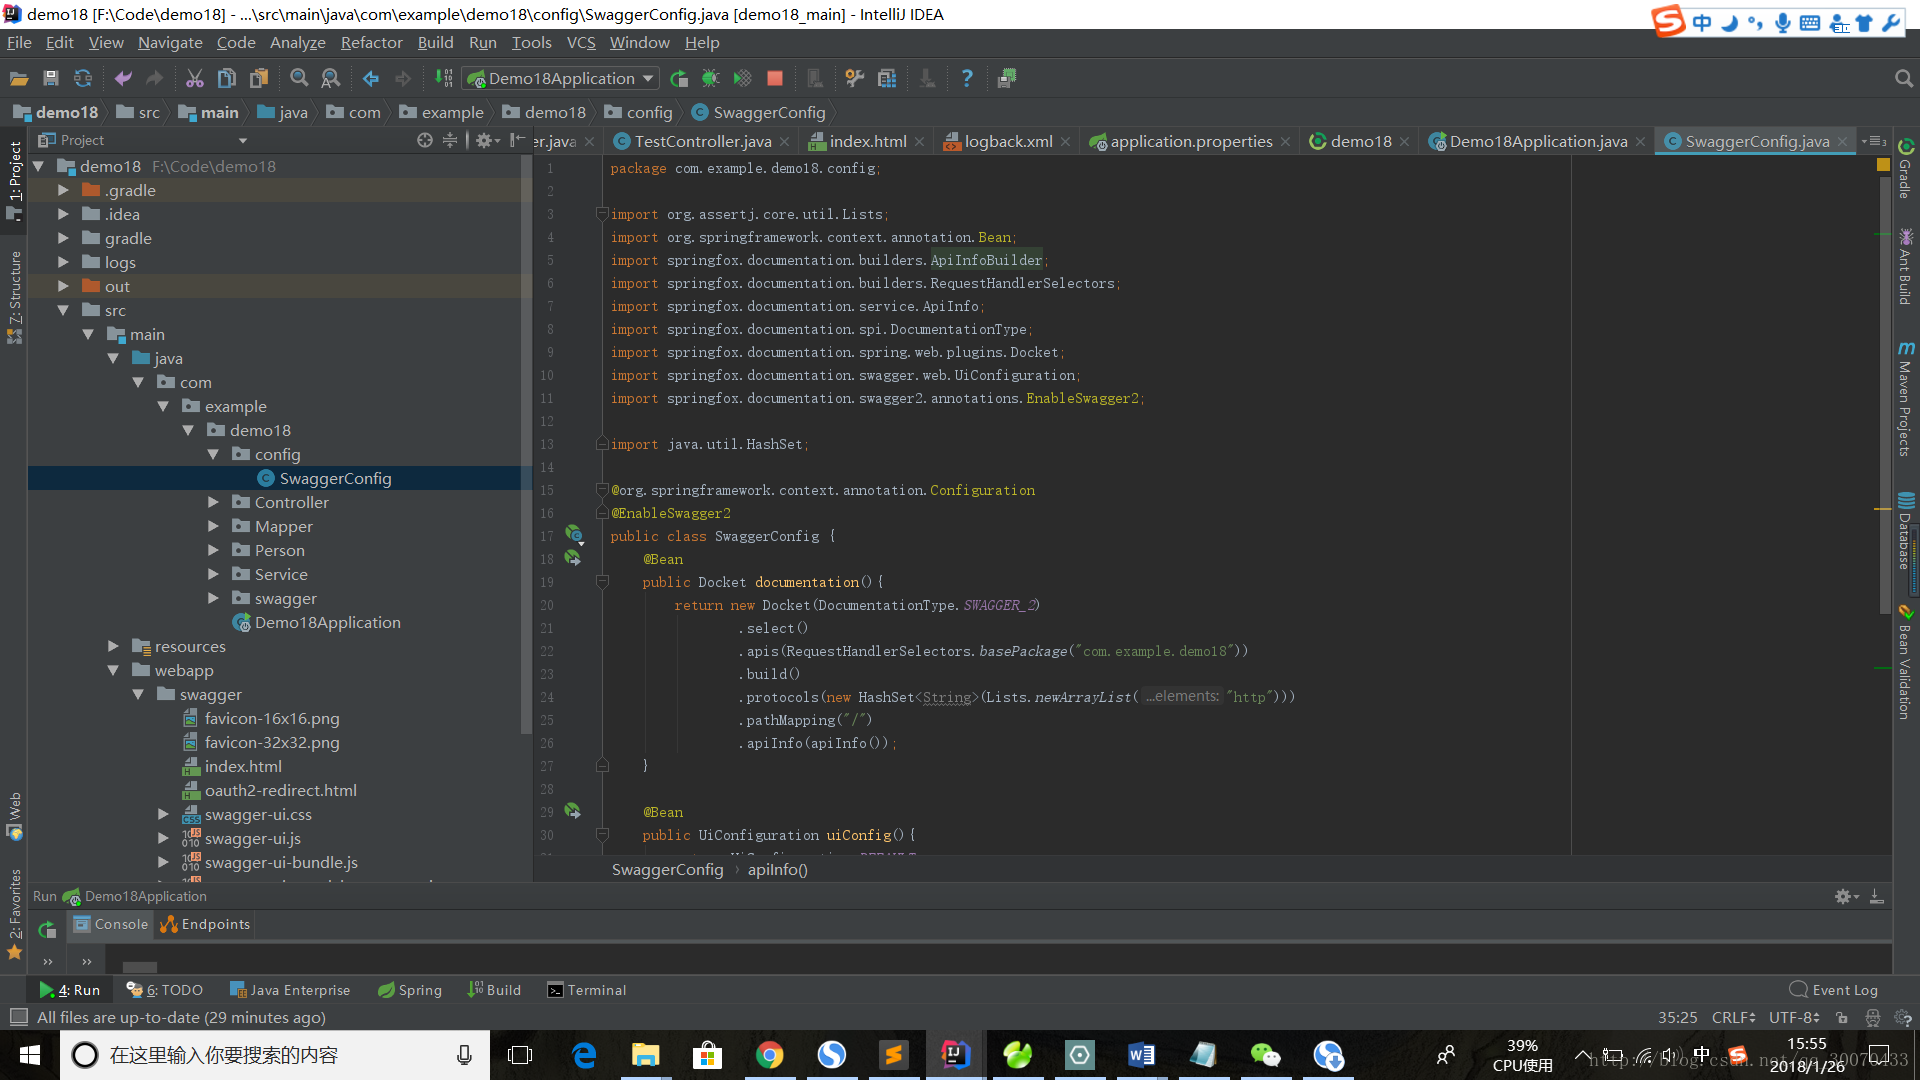
贴上代码如下:
package com.example.demo18.config;

import org.assertj.core.util.Lists;
import org.springframework.context.annotation.Bean;
import springfox.documentation.builders.ApiInfoBuilder;
import springfox.documentation.builders.RequestHandlerSelectors;
import springfox.documentation.service.ApiInfo;
import springfox.documentation.spi.DocumentationType;
import springfox.documentation.spring.web.plugins.Docket;
import springfox.documentation.swagger.web.UiConfiguration;
import springfox.documentation.swagger2.annotations.EnableSwagger2;

import java.util.HashSet;

@org.springframework.context.annotation.Configuration
@EnableSwagger2
public class SwaggerConfig {
    @Bean
    public Docket documentation(){
        return new Docket(DocumentationType.SWAGGER_2)
                .select()
                .apis(RequestHandlerSelectors.basePackage("com.example.demo18"))
                .build()
                .protocols(new HashSet<String>(Lists.newArrayList("http")))
                .pathMapping("/")
                .apiInfo(apiInfo());
    }

    @Bean
    public UiConfiguration uiConfig(){
        return UiConfiguration.DEFAULT;
    }

    private ApiInfo apiInfo(){
        return new ApiInfoBuilder()
                .title("服务API")
                .description("服务端后台接口说明文档")
                .version("1.0")
                .build();
    }
}
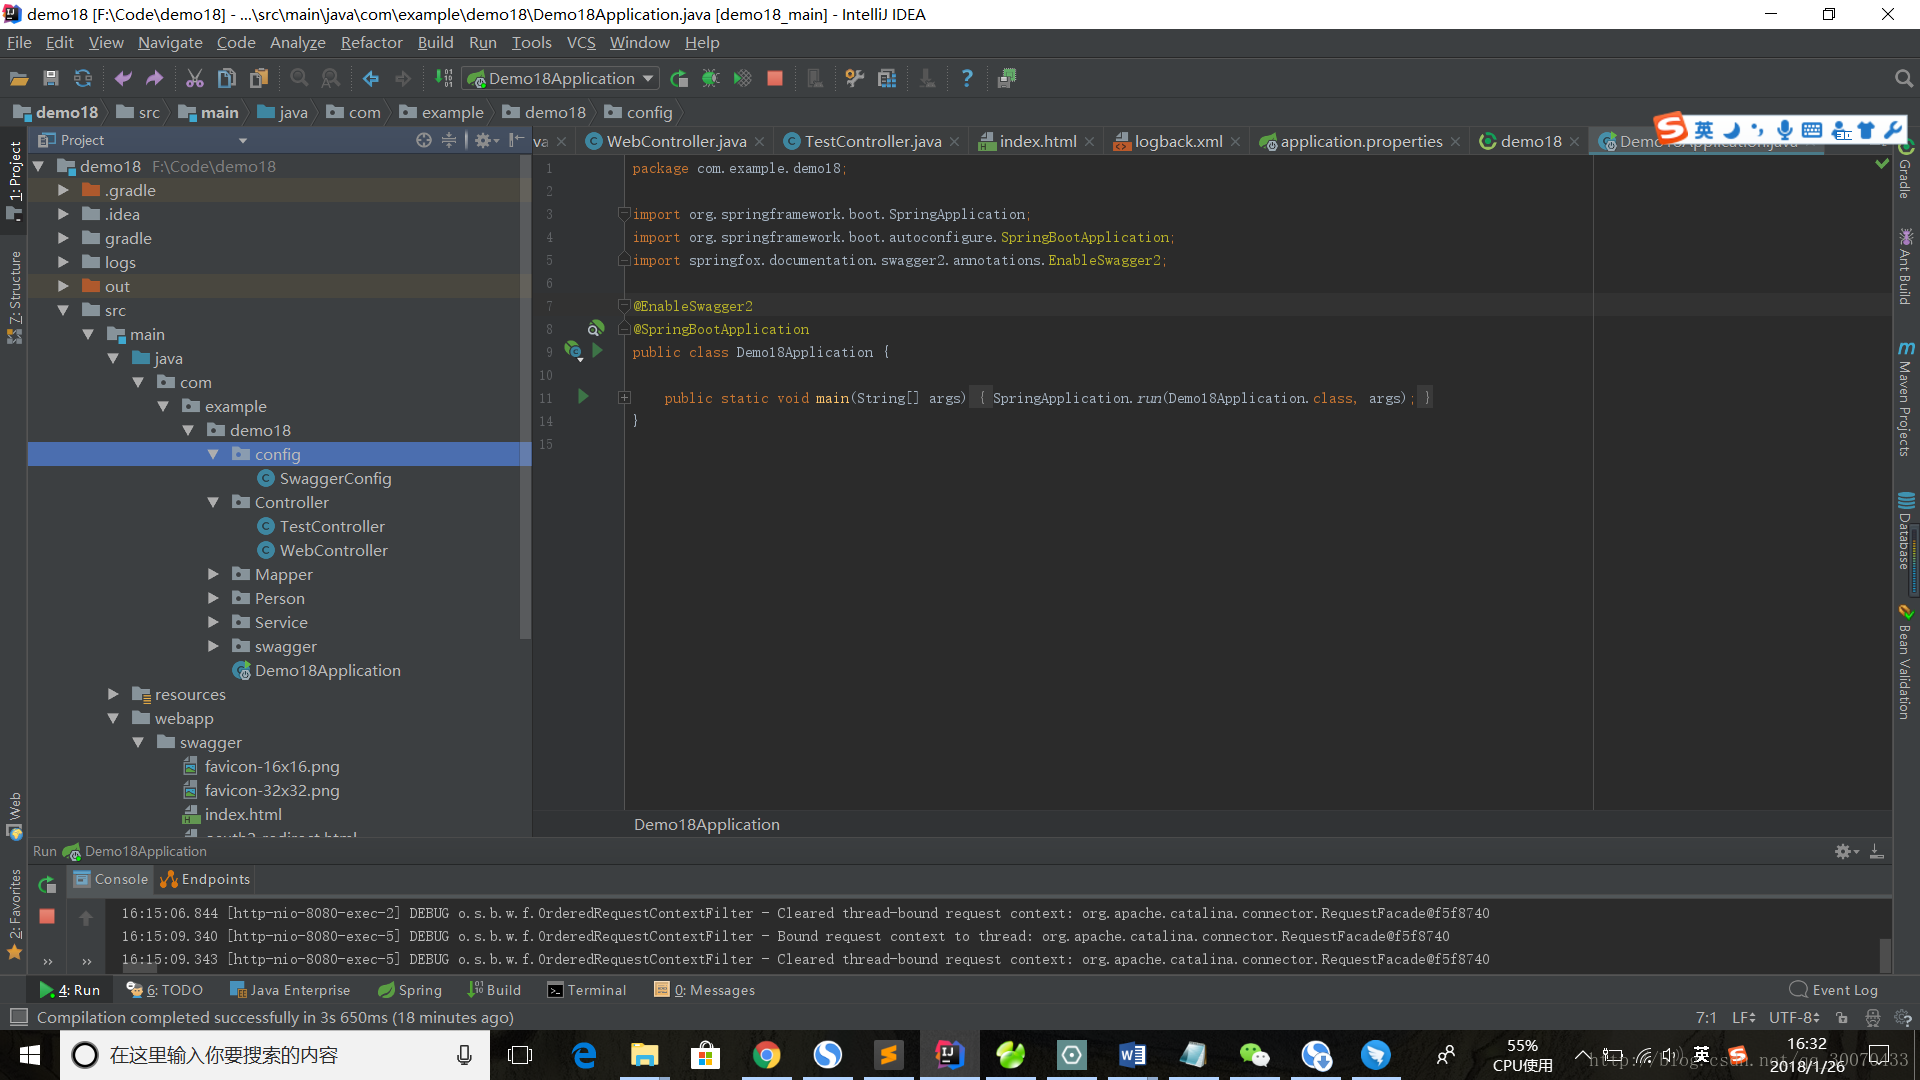
主入口文件添加注解:@EnableSwagger2
用于启用Springfox Swagger 2
添加api接口Swagger2
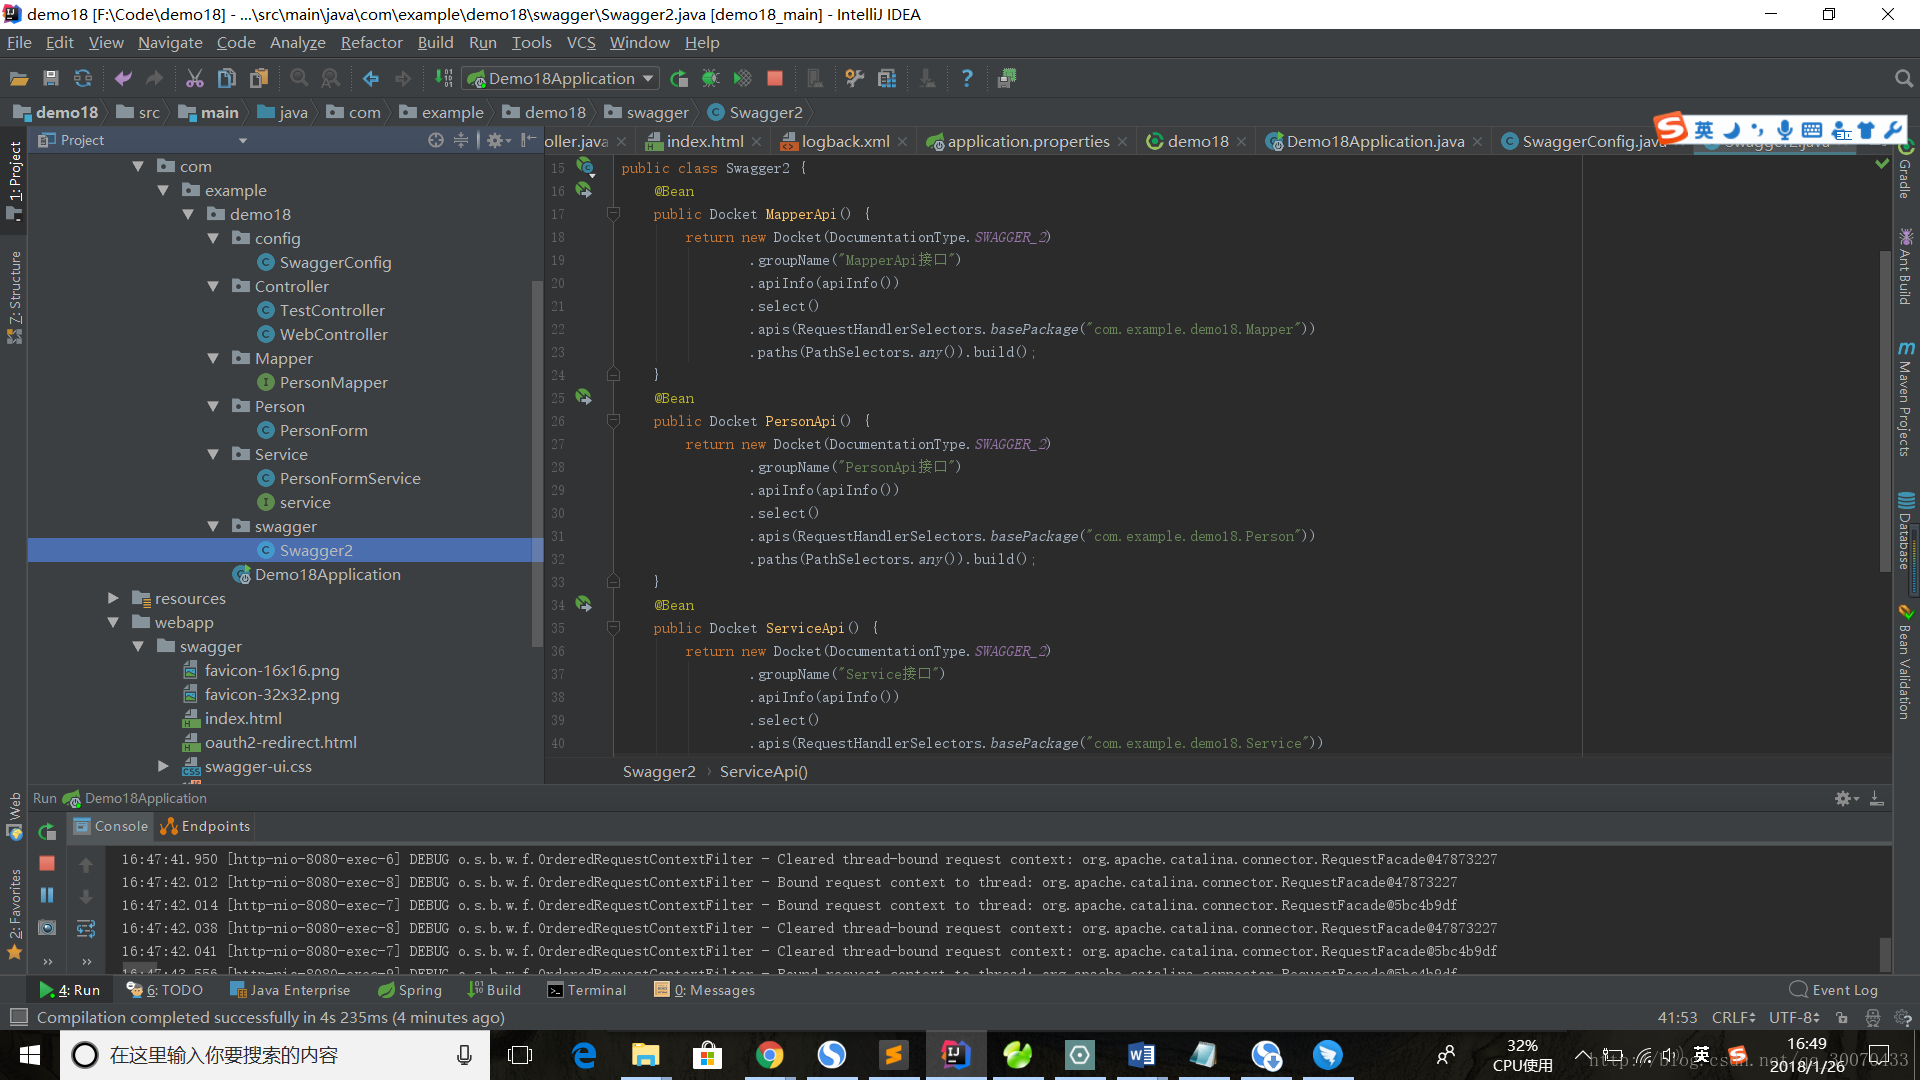
贴上简单例子:
package com.example.demo18.swagger;

import org.springframework.context.annotation.Bean;
import org.springframework.context.annotation.Configuration;
import springfox.documentation.builders.ApiInfoBuilder;
import springfox.documentation.builders.PathSelectors;
import springfox.documentation.builders.RequestHandlerSelectors;
import springfox.documentation.service.ApiInfo;
import springfox.documentation.spi.DocumentationType;
import springfox.documentation.spring.web.plugins.Docket;
import springfox.documentation.swagger2.annotations.EnableSwagger2;

@Configuration //让Spring来加载该类配置
@EnableSwagger2 //启用Swagger2
public class Swagger2 {
    @Bean
    public Docket MapperApi() {
        return new Docket(DocumentationType.SWAGGER_2)
                .groupName("MapperApi接口")
                .apiInfo(apiInfo())
                .select()
                .apis(RequestHandlerSelectors.basePackage("com.example.demo18.Mapper"))
                .paths(PathSelectors.any()).build();
    }
    @Bean
    public Docket PersonApi() {
        return new Docket(DocumentationType.SWAGGER_2)
                .groupName("PersonApi接口")
                .apiInfo(apiInfo())
                .select()
                .apis(RequestHandlerSelectors.basePackage("com.example.demo18.Person"))
                .paths(PathSelectors.any()).build();
    }
    @Bean
    public Docket ServiceApi() {
        return new Docket(DocumentationType.SWAGGER_2)
                .groupName("Service接口")
                .apiInfo(apiInfo())
                .select()
                .apis(RequestHandlerSelectors.basePackage("com.example.demo18.Service"))
                .paths(PathSelectors.any()).build();
    }
    private ApiInfo apiInfo() {
        return new ApiInfoBuilder()
                .title("APi接口")
                .description("增删改查服务")
                .termsOfServiceUrl("http://www.baidu.com")
                .version("1.0").build();
    }
}
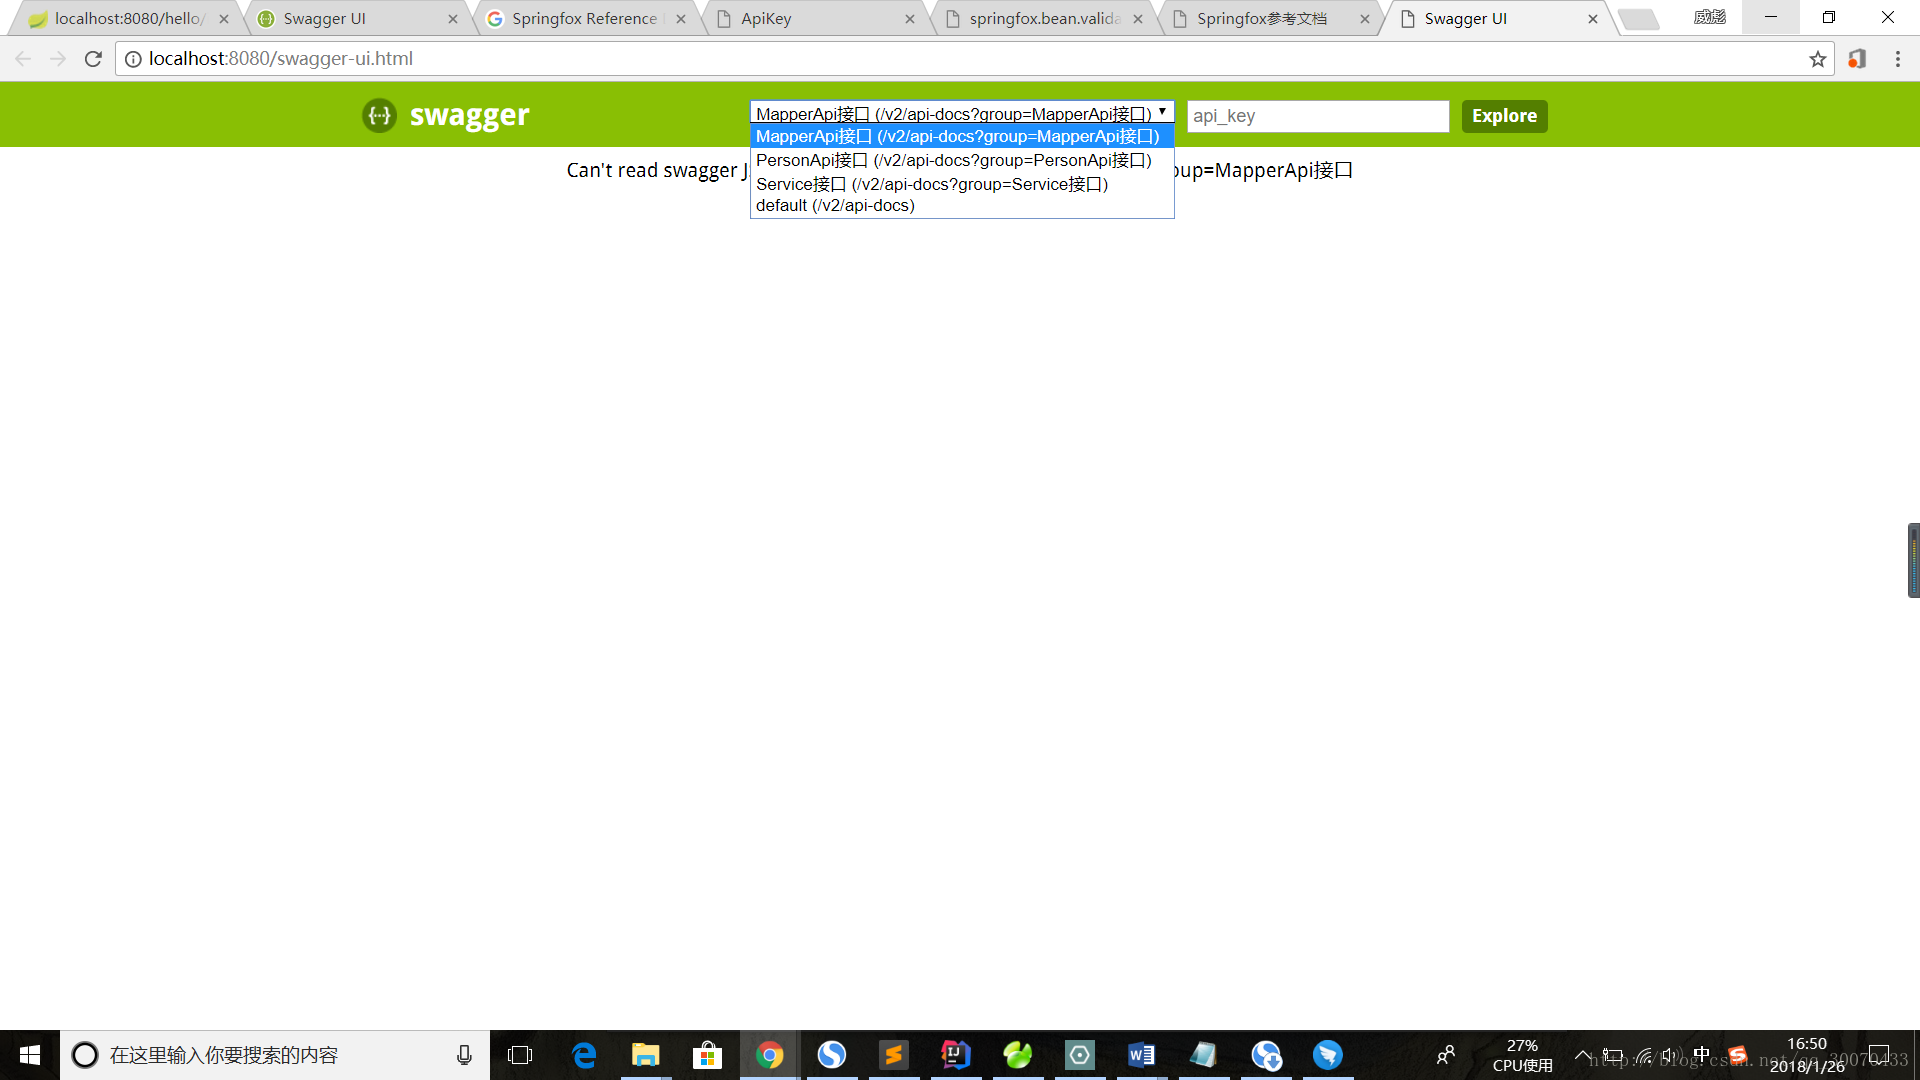
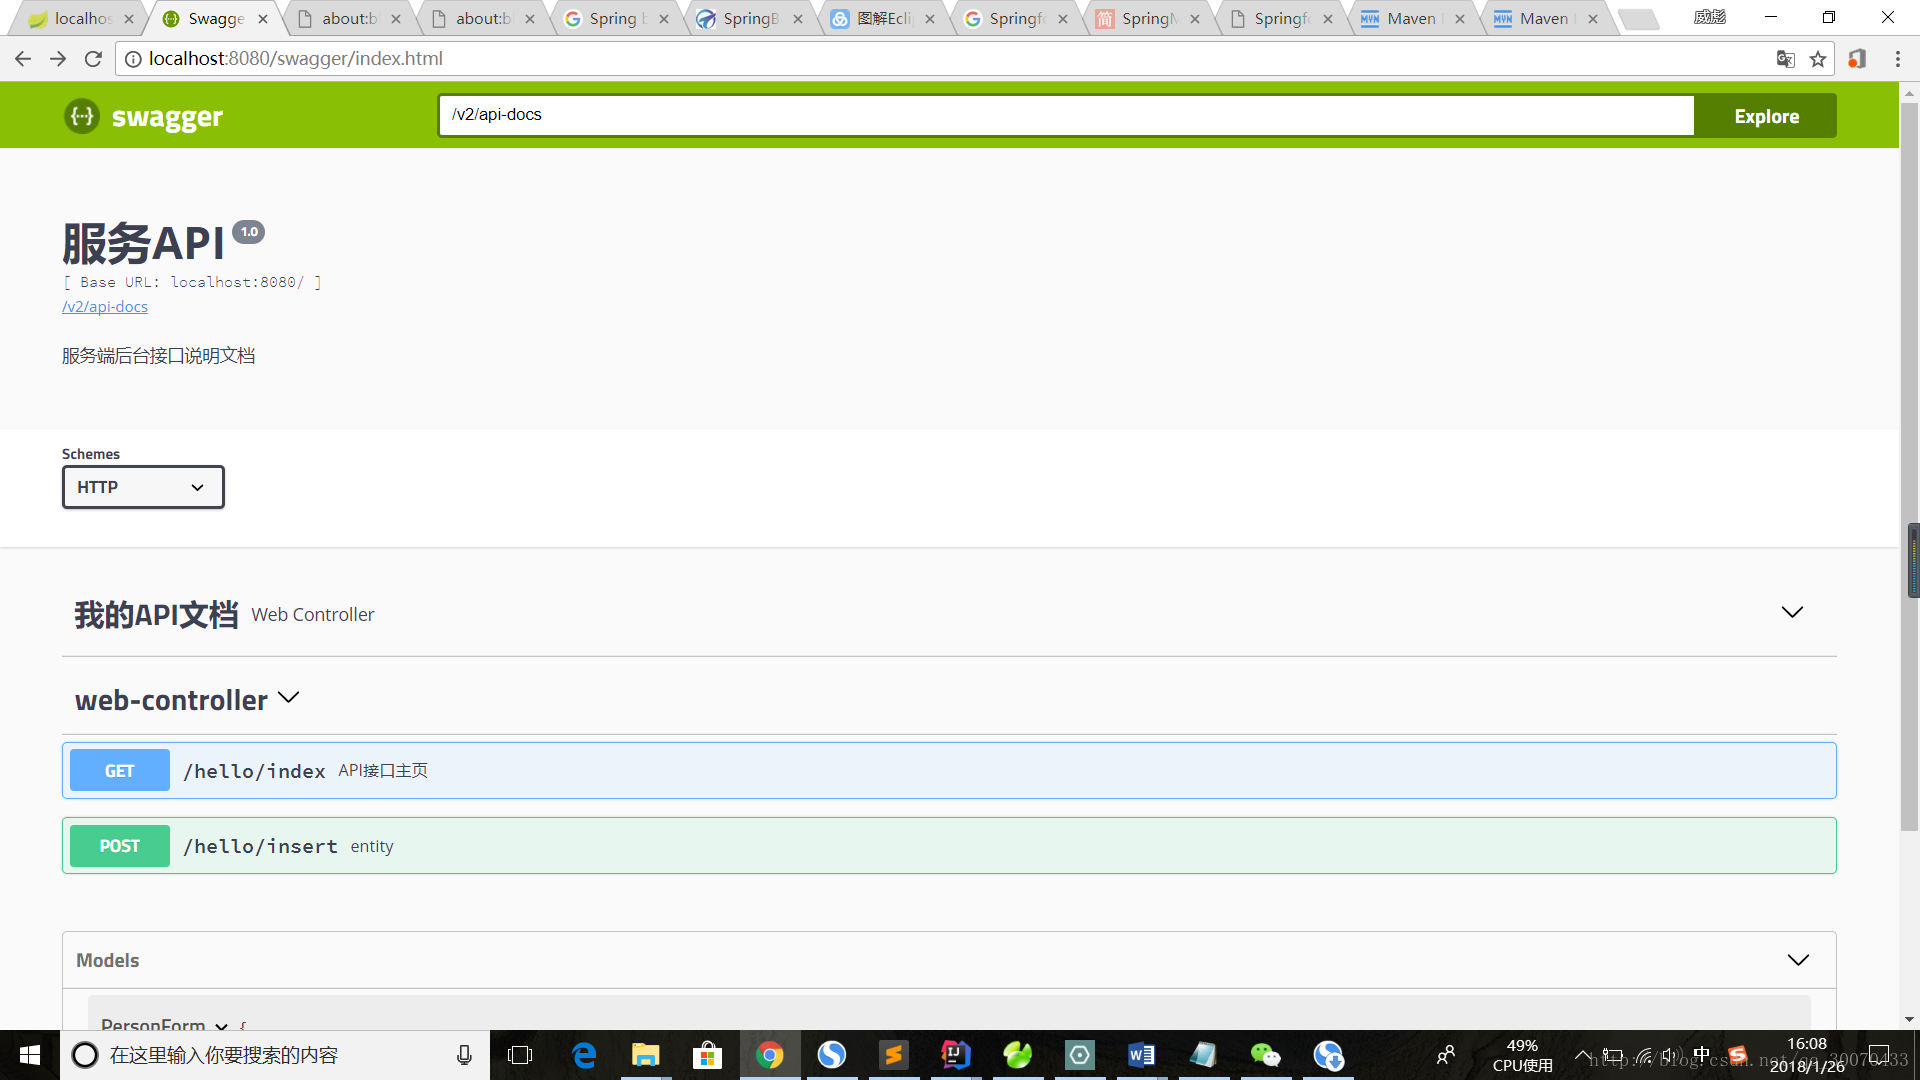
运行效果:
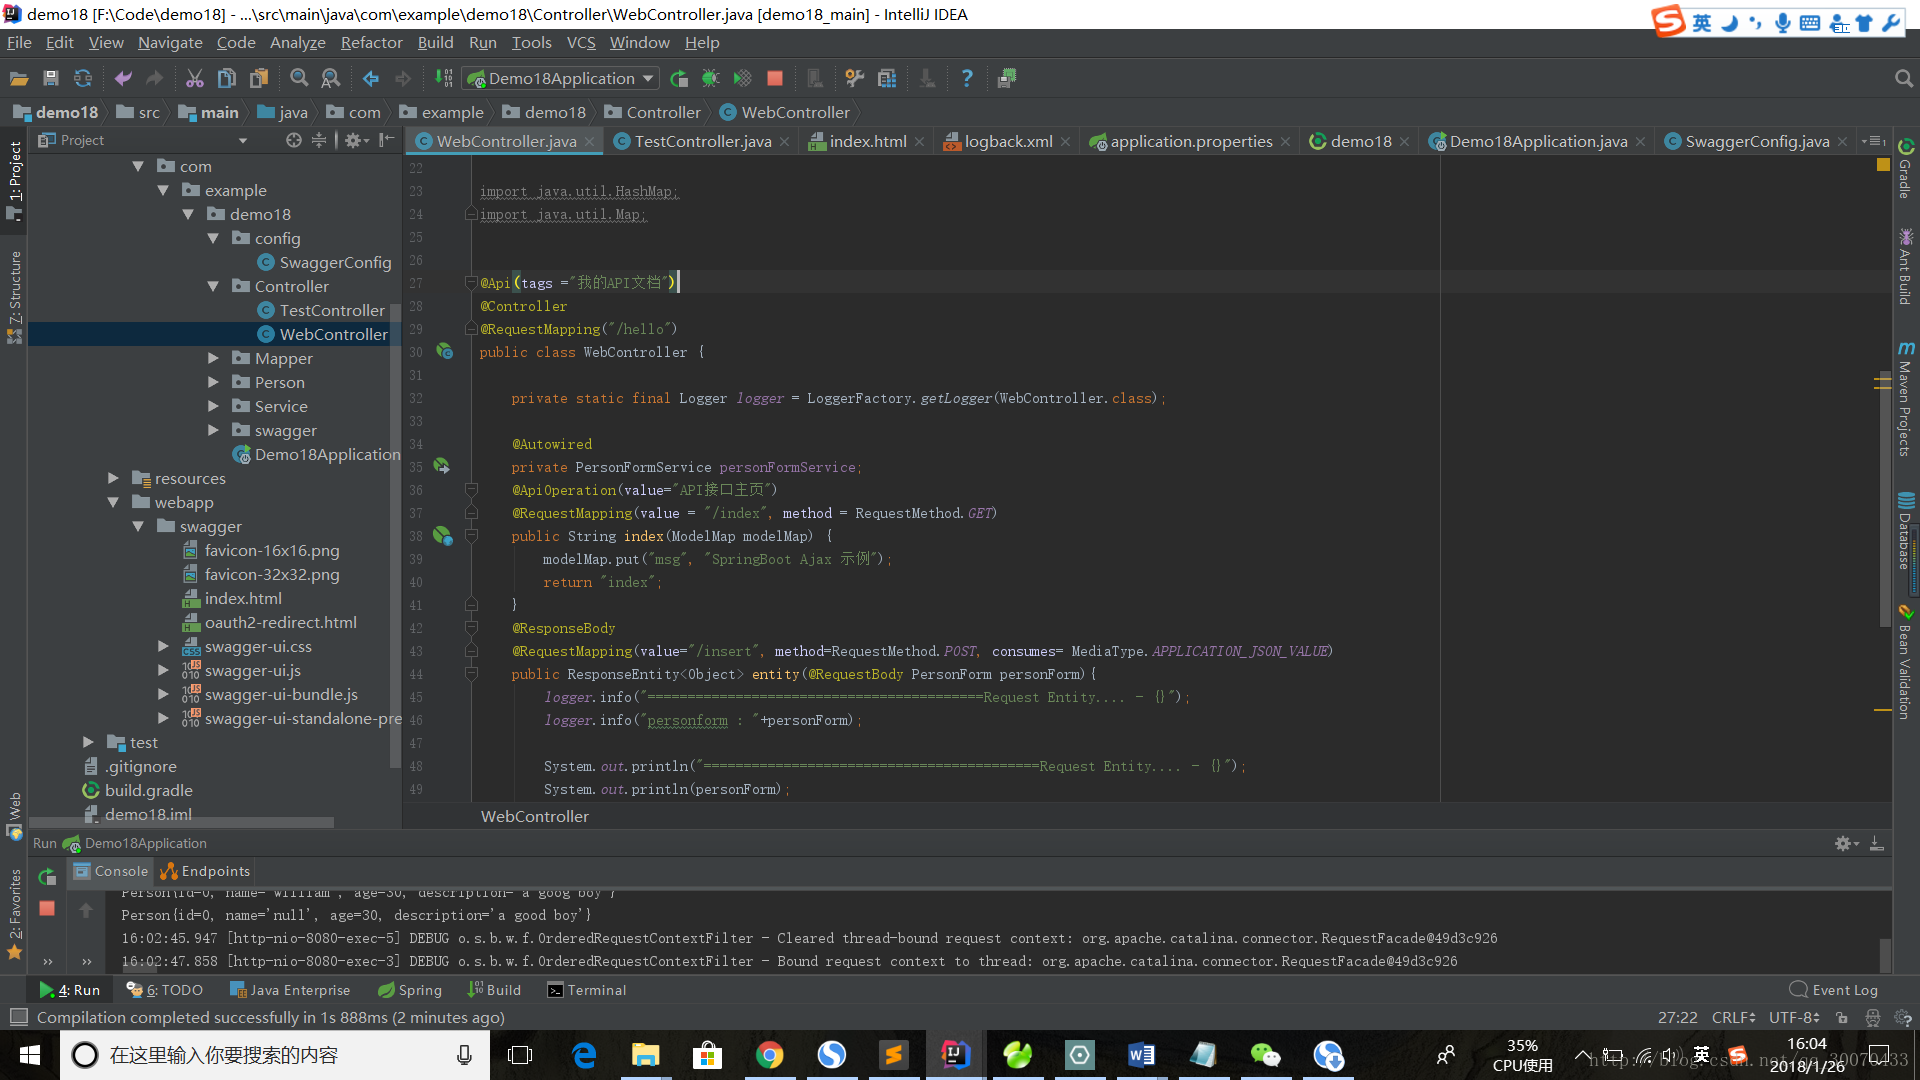
2.4第四步,在Controller添加注解
以下是示例:只加入了两行注解:
关于注解,参考官方文档:
https://springfox.github.io/springfox/javadoc/current/
3演示效果:
打开链接:http://localhost:8080/swagger/index.html
显示效果如图:
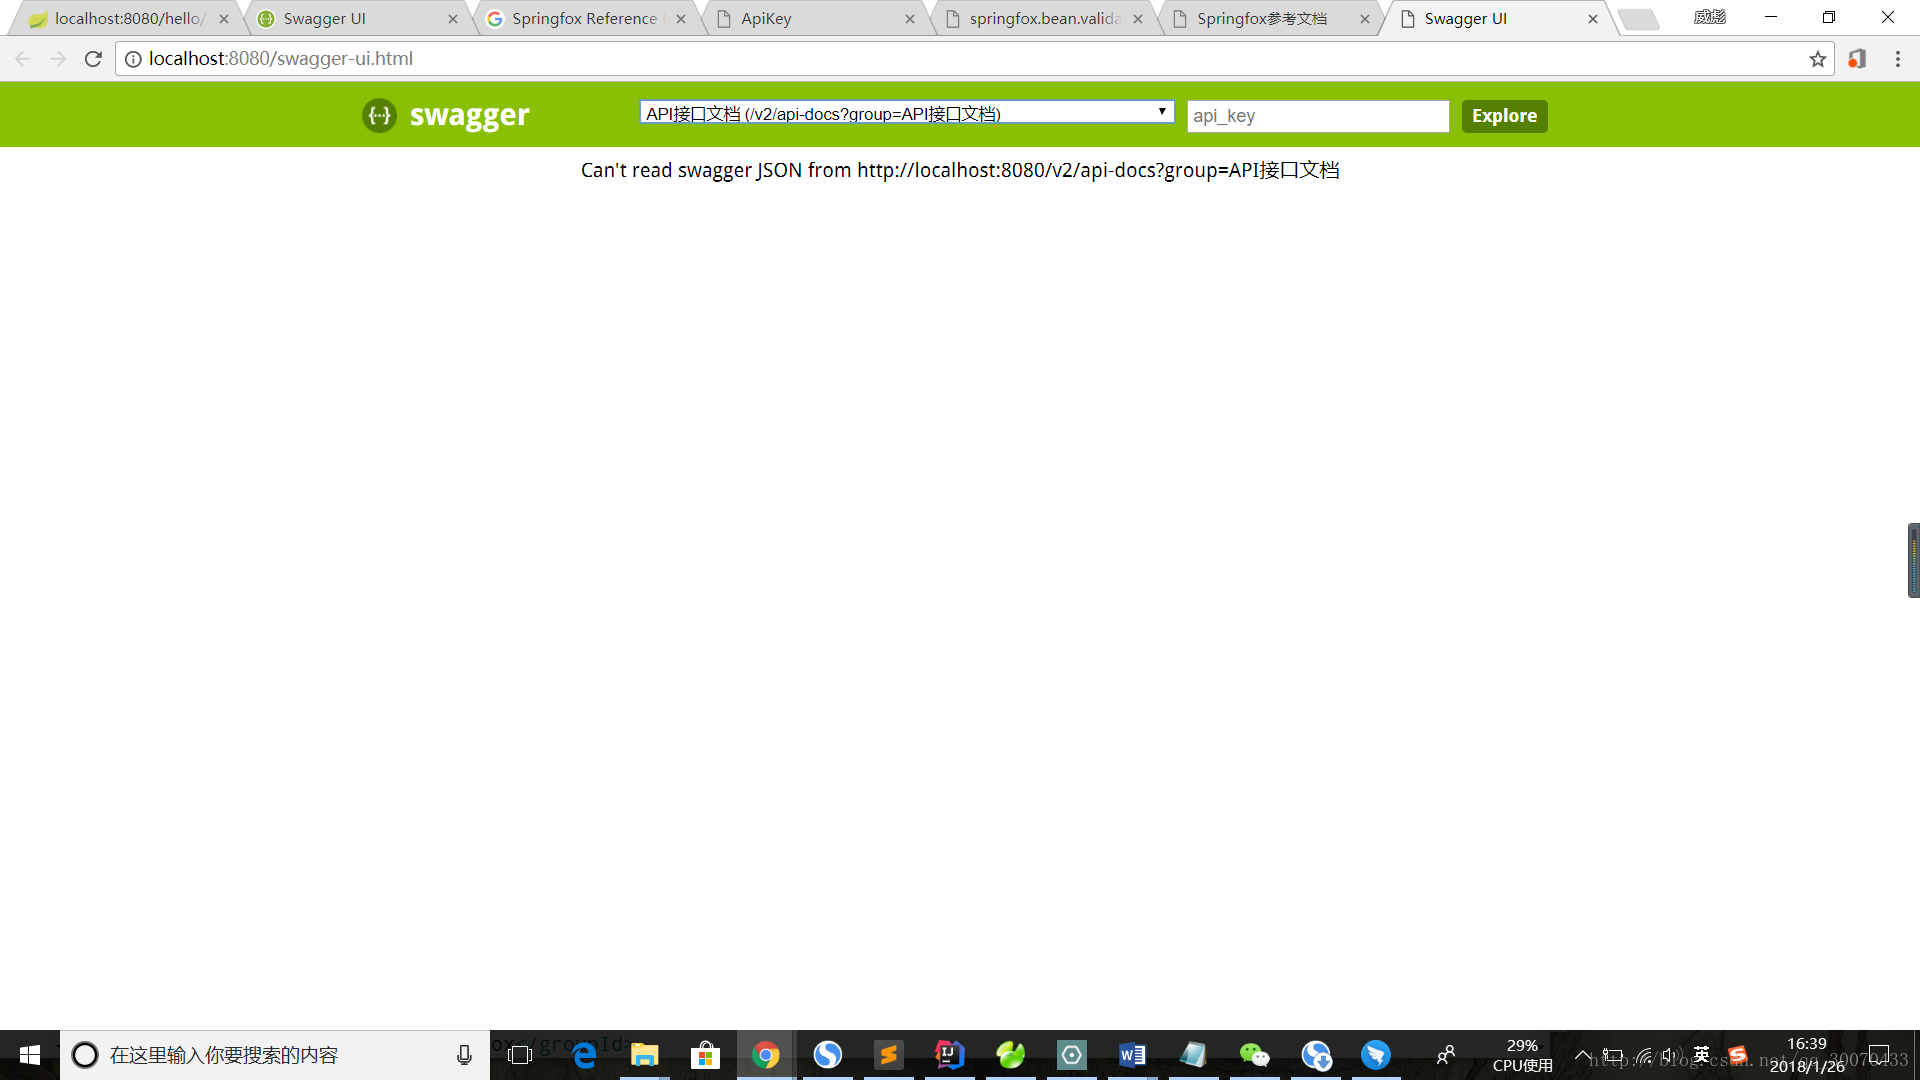
打开链接:http://localhost:8080/swagger-ui.html
4.参考文档:
Springfox参考文档:
教程参考网址:https://testerhome.com/topics/7304


 1332
1332


 被折叠的 条评论
为什么被折叠?
被折叠的 条评论
为什么被折叠?
 到【灌水乐园】发言


