


本篇博客记录自己动手在windows10 环境下搭建ImageAI 环境,有不对的地方欢迎批评指正
python环境
python 是夸平台语言,windows 操作系统只需要安装对应的python环境
python官网链接 https://www.python.org/ 我们只需要下载windows 版本的即可
打开链接后选择自己版本下载后安装,网上有详细的操作步骤说明
https://blog.csdn.net/heyushu/article/details/98899423 这个教程比较详细,可参考
安装后查看python环境信息

接下来需要按照ImageAI 中文文档,(https://imageai-cn.readthedocs.io/zh_CN/latest/ImageAI.html#id1 )查看依赖,使用pip3命令安装所需依赖,
需要说明的是为了提高下载速度,建议将pip镜像源设置成国内镜像源
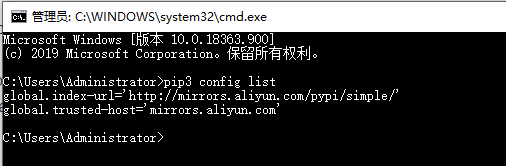
https://blog.csdn.net/zwliang98/article/details/83546788 可参考这篇博客修改,使用pip3 config list 这个命令查看当前镜像源
设置完之后依次安装所需依赖

最后安装ImageAI
请在命令行中运行如下命令来安装 ImageAI:
pip3 install https://github.com/OlafenwaMoses/ImageAI/releases/download/2.0.1/imageai-2.0.1-py3-none-any.whl
接下来打开cmd命令行,输入pyuthon 回车

再输入一下代码
from imageai.Prediction import ImagePrediction 回车

再输入prediction = ImagePrediction() 回车,之后输入 print(prediction)
回车后出现如下效果证明环境安装成功


 564
564


 被折叠的 条评论
为什么被折叠?
被折叠的 条评论
为什么被折叠?
 到【灌水乐园】发言


