


Google benchmark 的源码GIT地址:
https://github.com/google/benchmark
Google benchmark的功能应该是知道的而且官网或者其他网站都可以找到,下面只是介绍一下在我们在编译源码以及链接源码静态库的时候的一些问题的总结。
近日因为项目需要找到Google benchmark在三个平台 嵌入式linux(ARM64)、linux(x86_64) 、windows (x64)下 来测试日志库 log4cplus以及spdlog 的性能对比。
一、linux(x86_64)平台下 使用benchmark
1、linux下编译Google benchmark 就按照git源码的readme,使用cmake 编译源码即可。
摘录 readme 关键步骤
# Check out the library.
$ git clone https://github.com/google/benchmark.git
# Go to the library root directory
$ cd benchmark
# Make a build directory to place the build output.
$ cmake -E make_directory "build"# Generate build system files with cmake, and download any dependencies.
$ cmake -E chdir "build" cmake -DBENCHMARK_DOWNLOAD_DEPENDENCIES=on -DCMAKE_BUILD_TYPE=Release ../
# or, starting with CMake 3.13, use a simpler form:# cmake -DCMAKE_BUILD_TYPE=Release -S . -B "build"# Build the library.
$ cmake --build "build" --config Release
2、自己编写Cmakelists链接 benchmark.a 即可。
下面是编写了一个cmakelists来链接benchmark的例子。
cmake_minimum_required(VERSION 3.6)
set(CMAKE_CXX_STANDARD 14)
#set( CMAKE_CXX_FLAGS "${CMAKE_CXX_FLAGS}  -march=native -O3 -pthread" )
project(logtest)

set(TARGET_NAME logtest)
if(WIN32)
add_definitions(-DUNICODE -D_UNICODE)
endif(WIN32)
set(INCLUDE_DIRECTORY
    ${PROJECT_ROOT_DIR}/liblog4cplusplus/include/
    ${PROJECT_ROOT_DIR}/libBenchmark/include/
    ${PROJECT_ROOT_DIR}/spdLogInclude/
)
include_directories(${INCLUDE_DIRECTORY})

link_directories(
  ${PROJECT_ROOT_DIR}/liblog4cplusplus/lib/
  ${PROJECT_ROOT_DIR}/libBenchmark/lib/
)
add_executable(${TARGET_NAME}
   main.cc
)
if(WIN32)
  target_link_libraries(${TARGET_NAME} log4cplusplus log4cplusU benchmark)
else(WIN32)
  target_link_libraries(${TARGET_NAME} log4cplusplus log4cplus benchmark pthread)
endif(WIN32)
3、具体的使用方法大家可以自行收索下面推荐一个网址
https://blog.csdn.net/uestcyms/article/details/121705514
https://www.shuzhiduo.com/A/kjdwbrrr5N/
也可以看官网上的readme教程
下面重点介绍Windows 下的Google benchmark 的使用,由于本人能力有限在windows下在我使用的时候费了老鼻子劲了,搞了3、4天差点放弃。因为国内网上的教程都是linux下的按官网来的。几乎没有windows下安装编译教程使用教程。最后终于在前辈大佬的提示下找到了问题。下面给出我的详细步骤希望对后面的使用者有一个帮助。
二、windows 下使用benchmark
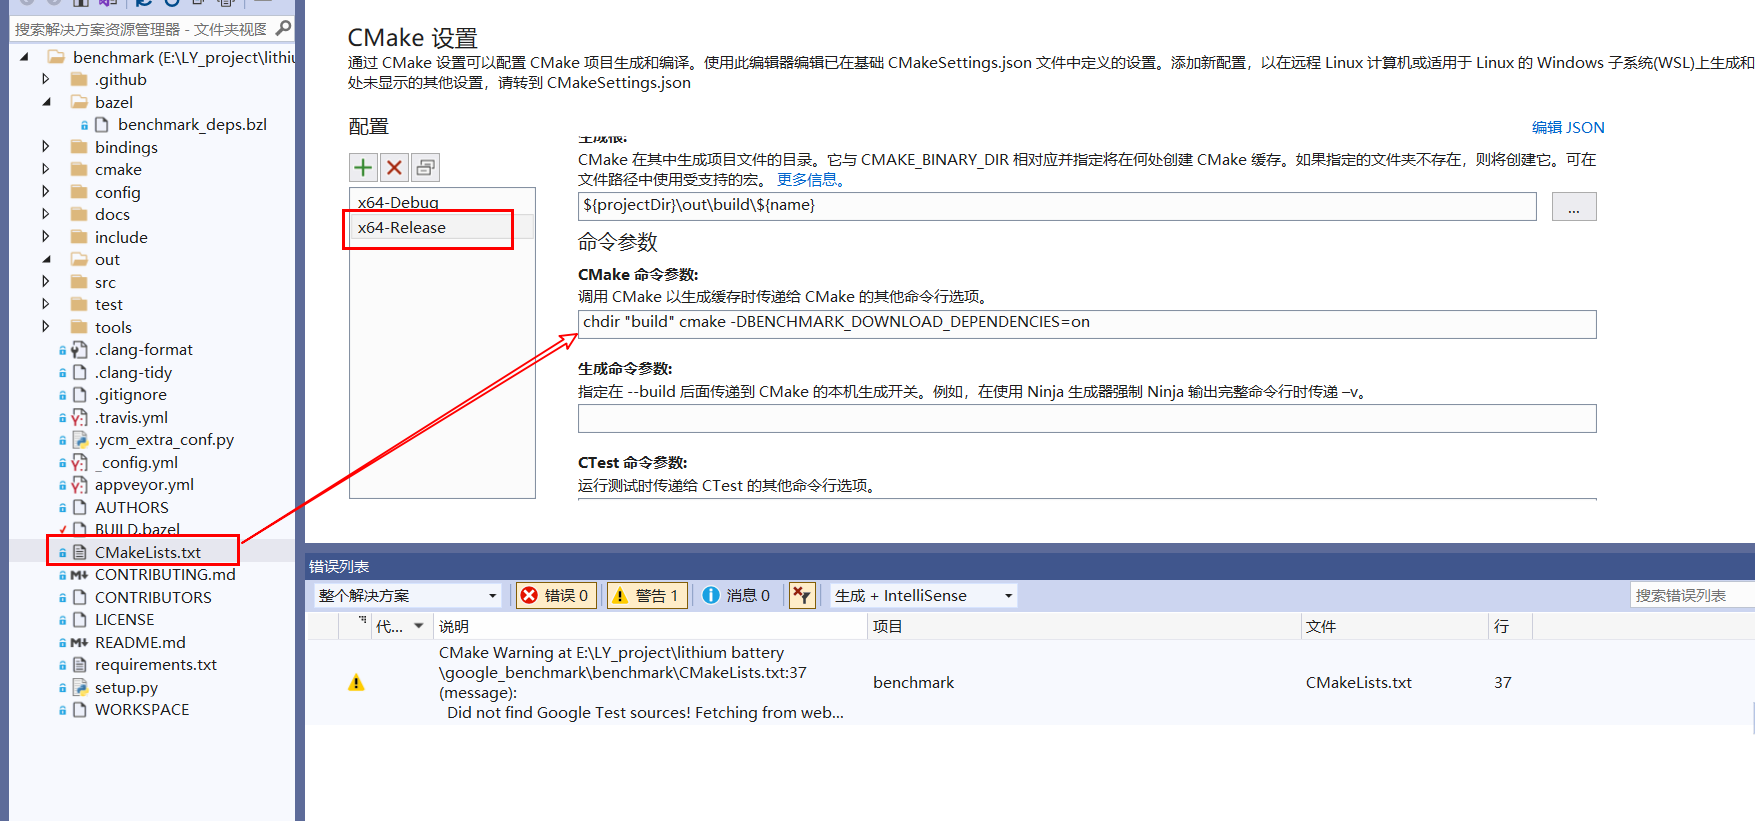
1、首先是用vs编译源码
因为Google benchmark 是基于Google test 架构编译的,在用cmake 编译的时候需要添加编译选项,设置cmake。这一点在看linux下camke的编译步骤就可以知道。
同时你需要你需要科学上网,因为选项是如果没有相关依赖就下载。下载当然是从git上下载。
2、就是链接生成的静态库cmakelists 编写
cmake_minimum_required(VERSION 3.6)
set(CMAKE_CXX_STANDARD 14)
#set( CMAKE_CXX_FLAGS "${CMAKE_CXX_FLAGS}  -march=native -O3 -pthread" )
project(logtest)
set(TARGET_NAME logtest)
if(WIN32)
add_definitions(-DUNICODE -D_UNICODE)
add_definitions(-DBENCHMARK_STATIC_DEFINE)
endif(WIN32)
set(INCLUDE_DIRECTORY
    ${PROJECT_ROOT_DIR}/liblog4cplusplus/include/
    ${PROJECT_ROOT_DIR}/libBenchmark/include/
    ${PROJECT_ROOT_DIR}/spdLogInclude/
)
#set(BENCHMARK_ENABLE_TESTING OFF CACHE BOOL "Enable benchmark testing" FORCE)
#添加头文件目录
include_directories(${INCLUDE_DIRECTORY})
#链接动态库或者静态库路径
link_directories(
  ${PROJECT_ROOT_DIR}/liblog4cplusplus/lib/
  ${PROJECT_ROOT_DIR}/libBenchmark/lib/
)
#生成执行文件
add_executable(${TARGET_NAME}
   main.cc
)
if(WIN32)
  target_link_libraries(${TARGET_NAME} log4cplusplus log4cplusU benchmark shlwapi)
else(WIN32)
  target_link_libraries(${TARGET_NAME} log4cplusplus log4cplus benchmark pthread)
endif(WIN32)
add_definitions(-DBENCHMARK_STATIC_DEFINE) 如果你没有全局定义该宏,直接链接就会报错:无法识别的外部符号。
其实windows最关键的就是这个。
下面是解决该问题查阅的网址:
https://stackoverflow.com/questions/73494386/lnk2001-linker-error-while-linking-google-benchmark-lib
https://github.com/google/benchmark/issues/1450
三、嵌入式(arm64-linux)的占时还没做:························
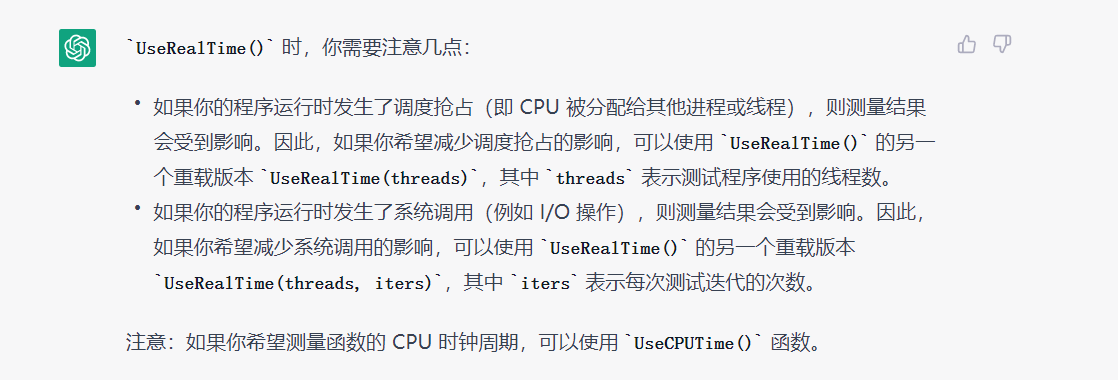
四、UseRealtimed
下面是摘录自Openai关于 benchmark的函数的介绍:


 2190
2190


 被折叠的 条评论
为什么被折叠?
被折叠的 条评论
为什么被折叠?
 到【灌水乐园】发言


