


前面安卓日记——玩转Material Design(伸缩顶部篇)提到要想用顶部伸缩必须要RecyclerView的配合,今天就给大家介绍一下RecyclerView的用法,顺带介绍一下CardView
RecyclerView是一种流式布局,所用的Adapter要求强制使用ViewHolder
这个RecyclerView比传统的流式布局更加自由,当然要写的东西也只是多那么一点而已
1.导入所需的包
 compile 'com.android.support:cardview-v7:23.4.0'
 compile 'com.android.support:appcompat-v7:23.4.0'
2.编辑主layout
<?xml version="1.0" encoding="utf-8"?>
<RelativeLayout xmlns:android="http://schemas.android.com/apk/res/android"
    xmlns:tools="http://schemas.android.com/tools"
    android:layout_width="match_parent"
    android:layout_height="match_parent">
    <android.support.v7.widget.RecyclerView
        android:id="@+id/recyclerView"
        android:layout_width="match_parent"
        android:layout_height="match_parent">

    </android.support.v7.widget.RecyclerView>

</RelativeLayout>
2.编辑RecyclerView的Item
新建一个layout(我取名为item_recycler)
<?xml version="1.0" encoding="utf-8"?>
<android.support.v7.widget.CardView xmlns:android="http://schemas.android.com/apk/res/android"
    android:layout_width="match_parent"
    android:layout_height="wrap_content"
    xmlns:app="http://schemas.android.com/apk/res-auto"
    app:cardBackgroundColor="@android:color/white"
    app:cardCornerRadius="5dp"
    app:cardElevation="5dp"
    android:layout_margin="10dp">

        <ImageView
            android:id="@+id/ivPic"
            android:layout_width="match_parent"
            android:layout_height="wrap_content"
            android:paddingBottom="20dp"
            android:adjustViewBounds="true"
            android:scaleType="centerCrop"/>
        <TextView
            android:id="@+id/tvTitle"
            android:layout_width="match_parent"
            android:layout_height="wrap_content"
            android:layout_gravity="bottom"
            android:gravity="center"/>
</android.support.v7.widget.CardView>
使用CardView作为主布局,把边角弧度设为5dp,提升高度设为5dp
CardView就是这么简单
3.编辑一个Adapter
这个Adapter必须继承自RecyclerView.Adapter,而且要在这个Adapter新建一个继承自RecyclerView.ViewHolder的内部类
然后要在构造方法里传入数据
总的Adapter如下
public class RecyclerAdapter extends RecyclerView.Adapter<RecyclerAdapter.RecVH> {
    List<Product> products=new ArrayList<Product>();

    //构造方法传入数据
    public RecyclerAdapter(List<Product>products){
        this.products=products;
    }

    //创造ViewHolder
    @Override
    public RecVH onCreateViewHolder(ViewGroup parent, int viewType) {
        //把item的Layout转化成View传给ViewHolder
        View view= LayoutInflater.from(parent.getContext()).inflate(R.layout.item_recycler,parent,false);
        return new RecVH(view);
    }
//    将数据放入相应的位置
    @Override
    public void onBindViewHolder(RecVH holder, int position) {
        holder.tvTitle.setText(products.get(position).getTitle());
        holder.ivPic.setImageResource(products.get(position).getImg());
    }

    @Override
    public int getItemCount() {
        return products.size();
    }

    //ViewHolder绑定控件
    public class RecVH extends RecyclerView.ViewHolder{
        ImageView ivPic;
        TextView tvTitle;
        public RecVH(View itemView) {
            super(itemView);
            ivPic= (ImageView) itemView.findViewById(R.id.ivPic);
            tvTitle= (TextView) itemView.findViewById(R.id.tvTitle);
        }
    }
}
4.编辑界面逻辑代码
public class RecyclerActivity extends AppCompatActivity {
    private RecyclerView recyclerView;
    private List<Product>products=new ArrayList<Product>();
    @Override
    protected void onCreate(Bundle savedInstanceState) {
        super.onCreate(savedInstanceState);
        setContentView(R.layout.activity_recycler);
        initVar();
        initView();
    }

    private void initView() {
        recyclerView= (RecyclerView) findViewById(R.id.recyclerView);
        //设置并列2行的layoutManager
        recyclerView.setLayoutManager(new StaggeredGridLayoutManager(2, StaggeredGridLayoutManager.VERTICAL));

//        设置线性布局的layoutManager
//        LinearLayoutManager linearLayoutManager = new LinearLayoutManager(this);
//        recyclerView.setLayoutManager(linearLayoutManager);

        //设置adapter
        RecyclerAdapter adapter=new RecyclerAdapter(products);
        recyclerView.setAdapter(adapter);
    }

    //新建一些数据
    private void initVar() {
        products.add(new Product(R.drawable.avastar,"hello"));
        products.add(new Product(R.drawable.avastar,"hello"));
        products.add(new Product(R.drawable.logo,"hello"));
        products.add(new Product(R.drawable.avastar,"hello"));
        products.add(new Product(R.drawable.iconfont_source,"hello"));
        products.add(new Product(R.drawable.iconfont_about,"hello"));
        products.add(new Product(R.drawable.iconfont_source,"hello"));
        products.add(new Product(R.drawable.avastar,"hello"));
    }
}
我这里用的是两行并列显示的形式,如果想像listView一样的话就可以把RecyclerView的LayoutManager 设为LinearLayoutManager ,就是上面代码注释掉那一块
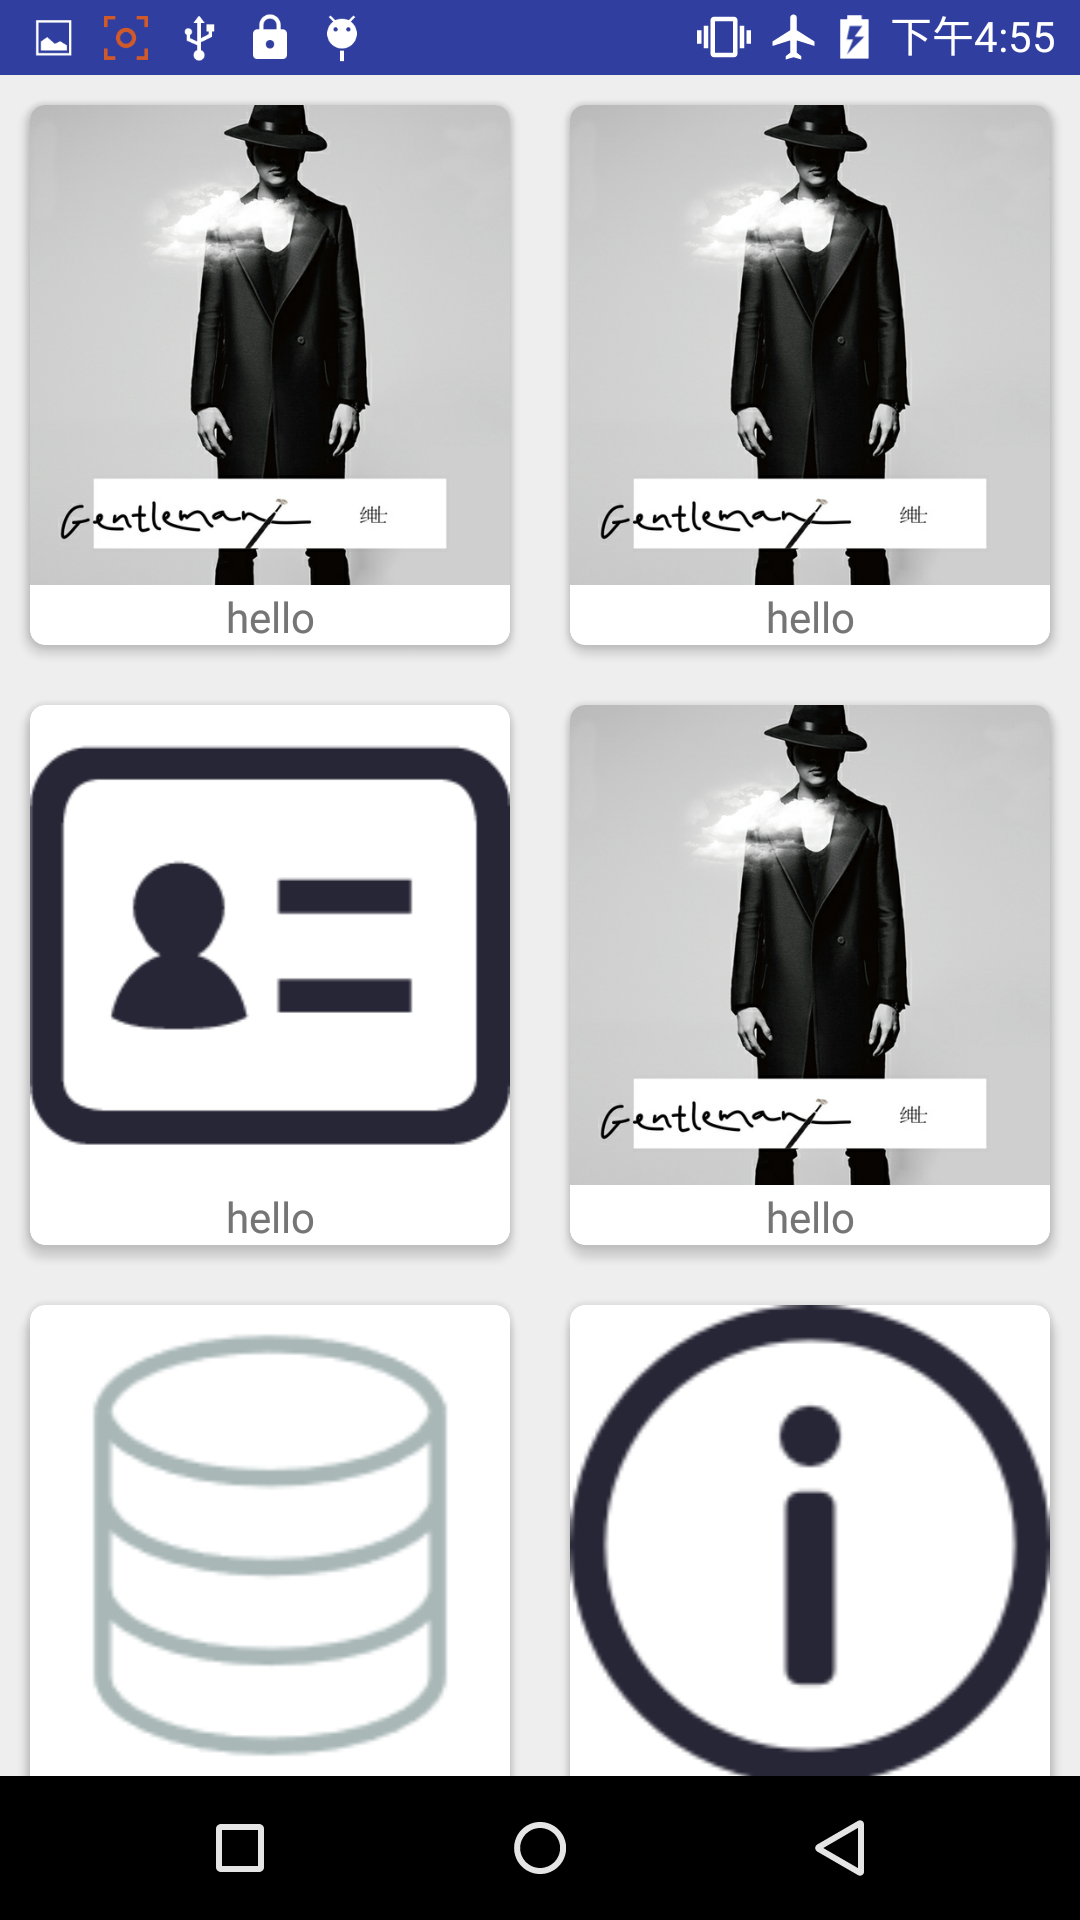
一个瀑布流的RecyclerView就大功告成了
把RecyclerView嵌入到篇博客相应的位置就好了
最终效果
其实RecyclerView还有一个玩法就是我想在RecyclerView顶部弄一个不同样式的布局怎么办呢?也就是说顶部item的layout不一样怎么办呢?就像我上篇博客的效果那样,顶部不一样
强大的RecyclerView当然也提供了解决方案
细心的网友会发现onCreateViewHolder方法里有个参数名为viewType
那怎么传入viewType,从而生成不同的ViewHolder呢?
只需重写getItemViewType方法就好了
@Override
    public int getItemViewType(int position) {
        return position;
    }
表示我传入的viewType和position一样,新建ViewHolder时判断viewType如果是0的话就新建不同的View,并且把这个viewType传到ViewHolder的构造方法里,这样才能根据不同的位置使用不用的view绑定不同控件
还要注意的是这时总的item数就等于传入的List的Size+1,还有List中数据的位置也是比实际item的位置-1的。
以另外一个上一篇博客所使用到的Adapter为例
传入List还有顶部的数据
public class ListAdapter extends RecyclerView.Adapter<ListAdapter.MyViewHolder> {

    List<String> mListData;

    public ListAdapter(List<String> mListData) {
        this.mListData = mListData;
    }

    @Override
    public MyViewHolder onCreateViewHolder(ViewGroup viewGroup, int viewType) {
        View view;
        if (viewType==0){
            view= LayoutInflater.from(viewGroup.getContext()).inflate(R.layout.list_item_top,
                    viewGroup, false);
        }else {
             view= LayoutInflater.from(viewGroup.getContext()).inflate(R.layout.list_item,
                    viewGroup, false);
        }


        return new MyViewHolder(view,viewType);
    }

    @Override
    public void onBindViewHolder(MyViewHolder myViewHolder, int viewType) {
        if (viewType!=0){
            myViewHolder.title.setText(mListData.get(viewType-1));
        }else {
            myViewHolder.tvFoucusedNum.setText("100");
            myViewHolder.tvFocusNum.setText("200");
        }

    }

    //item数量是List的Size+1
    @Override
    public int getItemCount() {
        return mListData == null ? 0 : mListData.size()+1;
    }

    @Override
    public int getItemViewType(int position) {
        return position;
    }

    class MyViewHolder extends RecyclerView.ViewHolder {

        TextView title;
        TextView tvFocusNum;
        TextView tvFoucusedNum;
        public MyViewHolder(View itemView,int i) {
            super(itemView);
            if (i==0){
                tvFocusNum= (TextView) itemView.findViewById(R.id.tvFocusNum);
                tvFoucusedNum= (TextView) itemView.findViewById(R.id.tvFocusedNum);
            }else {
                title = (TextView) itemView.findViewById(R.id.listitem_name);
            }

        }
    }

}
这样子就可以区分开顶部啦。
好了关于Material Design的控件使用就介绍到这里,还有一些比较常用的控件也值得去玩的,我就不再介绍了。


 6718
6718


 被折叠的 条评论
为什么被折叠?
被折叠的 条评论
为什么被折叠?
 到【灌水乐园】发言


