


生命周期执行的过程如下:
1)spring对bean进行实例化,默认bean是单例
2)spring对bean进行依赖注入
3)如果bean实现了BeanNameAware接口,spring将bean的id传给setBeanName()方法
4)如果bean实现了BeanFactoryAware接口,spring将调用setBeanFactory方法,将BeanFactory实例传进来
5)如果bean实现了ApplicationContextAware()接口,spring将调用setApplicationContext()方法将应用上下文的引用传入
6) 如果bean实现了BeanPostProcessor接口,spring将调用它们的postProcessBeforeInitialization接口方法
7) 如果bean实现了InitializingBean接口,spring将调用它们的afterPropertiesSet接口方法,类似的如果bean使用了init-method属性声明了初始化方法,改方法也会被调用
8)如果bean实现了BeanPostProcessor接口,spring将调用它们的postProcessAfterInitialization接口方法
9)此时bean已经准备就绪,可以被应用程序使用了,他们将一直驻留在应用上下文中,直到该应用上下文被销毁
10)若bean实现了DisposableBean接口,spring将调用它的distroy()接口方法。同样的,如果bean使用了destroy-method属性声明了销毁方法,则该方法被调用

3.编写测试类LifeTest: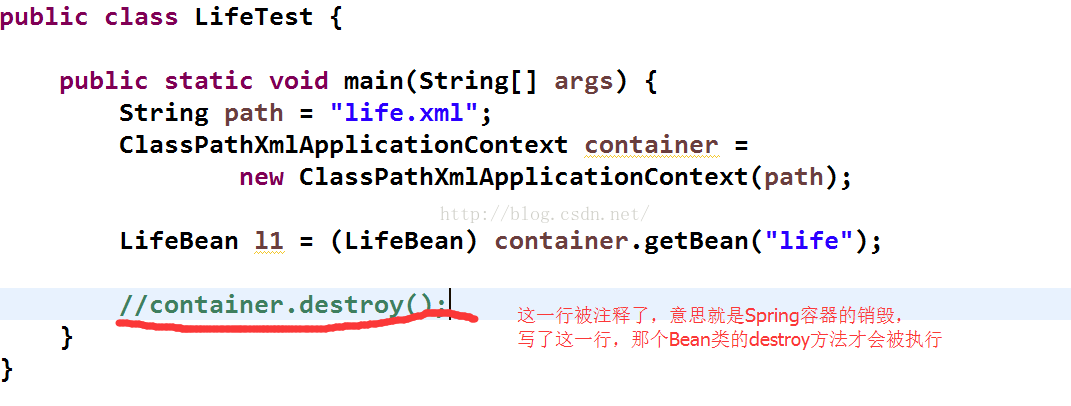

1)spring对bean进行实例化,默认bean是单例
2)spring对bean进行依赖注入
3)如果bean实现了BeanNameAware接口,spring将bean的id传给setBeanName()方法
4)如果bean实现了BeanFactoryAware接口,spring将调用setBeanFactory方法,将BeanFactory实例传进来
5)如果bean实现了ApplicationContextAware()接口,spring将调用setApplicationContext()方法将应用上下文的引用传入
6) 如果bean实现了BeanPostProcessor接口,spring将调用它们的postProcessBeforeInitialization接口方法
7) 如果bean实现了InitializingBean接口,spring将调用它们的afterPropertiesSet接口方法,类似的如果bean使用了init-method属性声明了初始化方法,改方法也会被调用
8)如果bean实现了BeanPostProcessor接口,spring将调用它们的postProcessAfterInitialization接口方法
9)此时bean已经准备就绪,可以被应用程序使用了,他们将一直驻留在应用上下文中,直到该应用上下文被销毁
10)若bean实现了DisposableBean接口,spring将调用它的distroy()接口方法。同样的,如果bean使用了destroy-method属性声明了销毁方法,则该方法被调用
其实很多时候我们并不会真的去实现上面说描述的那些接口,那么下面我们就除去那些接口针对bean的单例和非单例来描述下bean的生命周期:
一,单例管理的对象:
1.默认情况下,spring在读取xml文件的时候,就会创建对象。
2.在创建的对象的时候(先调用构造器),会去调用init-method=".."属性值中所指定的方法.
3.对象在被销毁的时候,会调用destroy-method="..."属性值中所指定的方法.(例如调用container.destroy()方法的时候)
4.lazy-init="true",可以让这个对象在第一次被访问的时候创建
代码编写如下:
1.先写Bean类-LifeBean类:
public class LifeBean{
private String name;
private LifeBean lb;
public LifeBean getLb() {
return lb;
}
public void setLb(LifeBean lb) {
this.lb = lb;
}
public LifeBean(){
System.out.println("LifeBean() 构造器");
}
public String getName() {
return name;
}
public void setName(String name) {
System.out.println("setName() 方法");
this.name = name;
}
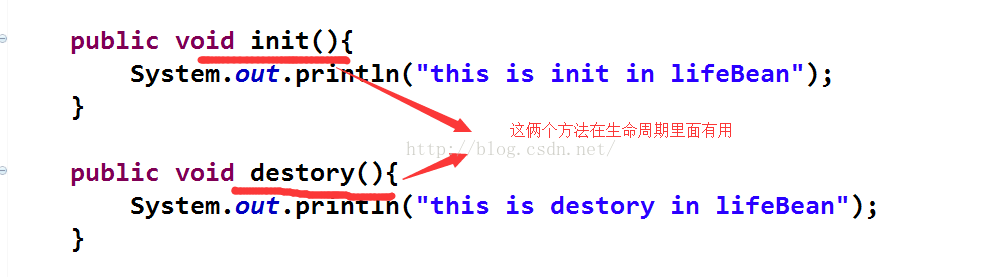
public void init(){
System.out.println("this is init in lifeBean");
}
public void destory(){
System.out.println("this is destory in lifeBean");
}
}2.写配置文件life.xnl:(注:配置文件时随便命名的,只要是xml文件就行~)
<?xml version="1.0" encoding="UTF-8"?>
<beans xmlns="http://www.springframework.org/schema/beans"
	xmlns:xsi="http://www.w3.org/2001/XMLSchema-instance"
	xmlns:context="http://www.springframework.org/schema/context"
	xsi:schemaLocation="http://www.springframework.org/schema/beans
           http://www.springframework.org/schema/beans/spring-beans-3.2.xsd
           http://www.springframework.org/schema/context
           http://www.springframework.org/schema/context/spring-context-3.2.xsd">
    <bean name="life" class="com.x.spring.bean.LifeBean"  init-method="init" destroy-method="destory"></bean>
</beans>
3.编写测试类LifeTest:
public class LifeTest {

	public static void main(String[] args) {
		String path = "life.xml";
		ClassPathXmlApplicationContext container =
				new ClassPathXmlApplicationContext(path);

		LifeBean l1 = (LifeBean) container.getBean("life");

		//container.destroy();
	}
}
看看注释掉了这一行的效果图:
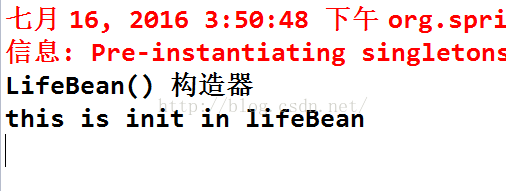
在看看没注释掉的效果图:
这个就算写完了~
二,非单例管理的对象:
1.spring读取xml文件的时候,不会创建对象.
2.在每一次访问这个对象的时候,spring容器都会创建这个对象,并且调用init-method=".."属性值中所指定的方法.
3.对象销毁的时候,spring容器不会帮我们调用任何方法,因为是非单例,这个类型的对象有很多个,spring容器一旦把这个对象交给你之后,就不再管理这个对象了.
代码编写:
只需要改一点配置文件的代码:
<?xml version="1.0" encoding="UTF-8"?>
<beans xmlns="http://www.springframework.org/schema/beans"
	xmlns:xsi="http://www.w3.org/2001/XMLSchema-instance"
	xmlns:context="http://www.springframework.org/schema/context"
	xsi:schemaLocation="http://www.springframework.org/schema/beans
           http://www.springframework.org/schema/beans/spring-beans-3.2.xsd
           http://www.springframework.org/schema/context
           http://www.springframework.org/schema/context/spring-context-3.2.xsd">
    <bean name="life" class="com.x.spring.bean.LifeBean" scope="prototype"   init-method="init" destroy-method="destory"></bean>
</beans>
效果图如下:
好了,这个生命周期到这里就写完了~
有什么疑问的可以问我


 1130
1130

 被折叠的 条评论
为什么被折叠?
被折叠的 条评论
为什么被折叠?
 到【灌水乐园】发言


