


今天我们来学习babylon
babylon是一个网页渲染引擎
可以用来做动画,游戏等等
看看文档吧
Welcome To The Babylon.js Documentation
Hello and welcome to the Babylon.js Documentation. In these pages you will find everything you could ever want to know about this powerful, beautiful, simple, and completely open-source web rendering engine. Whether you are just starting your Babylon.js journey, or you are a seasoned veteran, it is our sincere hope that the information contained here will help you bring your ideas to life.

We know that each person comes to Babylon.js with their own individual background, experiences, and learning style. We also understand that each one of you has a different goal in mind for your learning journey. We have done our best to organize these doc pages to help the largest number of people achieve their learning goals as efficiently as possible. With two parts to our whole documentation – knowing that many of you want to dive right into Babylon.js, learning about the engine and its features, while others of you prefer to start by understanding how to get Babylon.js set up and integrated into a web application – you'll find paths optimized for each of these learning styles in the coming pages.

However, before you go any further, we strongly encourage (and humbly ask) EVERYONE to Start Your Babylon.js Journey Here.
我们可以先来试试看babylon的示例网站
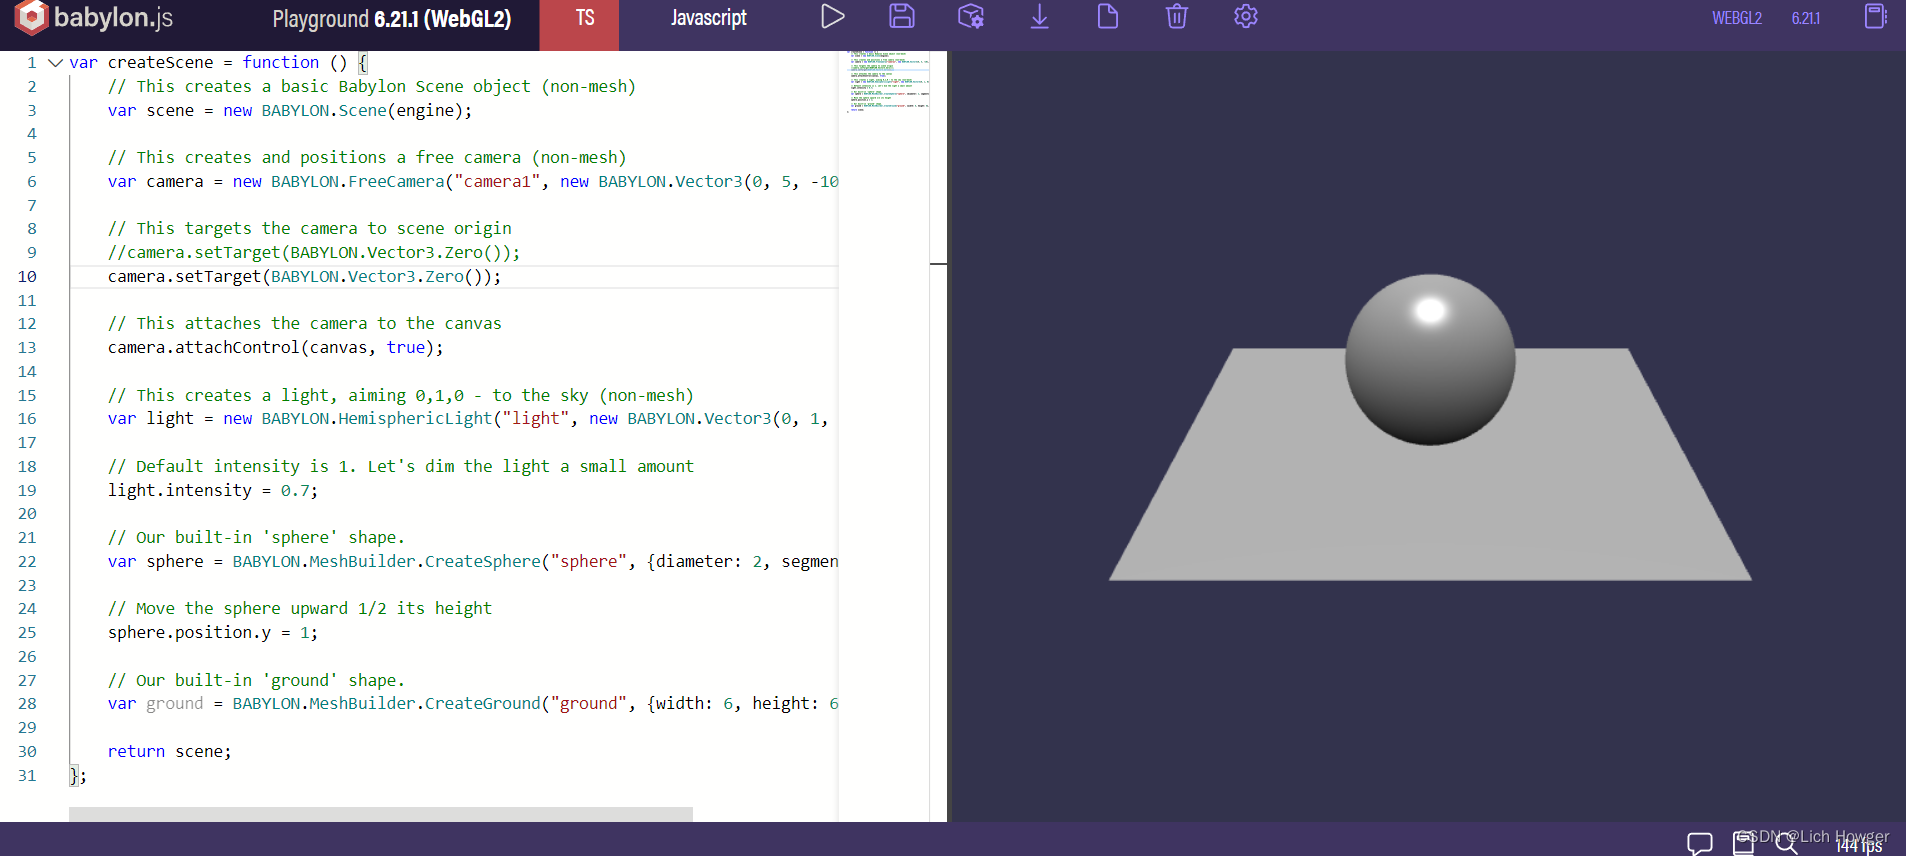
babylon playground
左边是代码,右边是渲染效果
var createScene = function () {
    // This creates a basic Babylon Scene object (non-mesh)
    var scene = new BABYLON.Scene(engine);

    // This creates and positions a free camera (non-mesh)
    var camera = new BABYLON.FreeCamera("camera1", new BABYLON.Vector3(0, 5, -10), scene);

    // This targets the camera to scene origin
    camera.setTarget(BABYLON.Vector3.Zero());

    // This attaches the camera to the canvas
    camera.attachControl(canvas, true);

    // This creates a light, aiming 0,1,0 - to the sky (non-mesh)
    var light = new BABYLON.HemisphericLight("light", new BABYLON.Vector3(0, 1, 0), scene);

    // Default intensity is 1. Let's dim the light a small amount
    light.intensity = 0.7;

    // Our built-in 'sphere' shape.
    var sphere = BABYLON.MeshBuilder.CreateSphere("sphere", {diameter: 2, segments: 32}, scene);

    // Move the sphere upward 1/2 its height
    sphere.position.y = 1;

    // Our built-in 'ground' shape.
    var ground = BABYLON.MeshBuilder.CreateGround("ground", {width: 6, height: 6}, scene);

    return scene;
};
这里的代码就是
var createScene = function () {
  // 创建scene场景
  var scene = new BABYLON.Scene(engine);

  // 创建camera摄像头
  var camera = new BABYLON.FreeCamera("camera1", new BABYLON.Vector3(0, 5, -10), scene);
  camera.setTarget(BABYLON.Vector3.Zero());
  camera.attachControl(canvas, true);

  // 创建light光源
  var light = new BABYLON.HemisphericLight("light", new BABYLON.Vector3(0, 1, 0), scene);
  light.intensity = 0.7;

  // 创建sphere球体
  var sphere = BABYLON.MeshBuilder.CreateSphere("sphere", {diameter: 2, segments: 32}, scene);
  sphere.position.y = 1;

  // 创建ground平面
  var ground = BABYLON.MeshBuilder.CreateGround("ground", {width: 6, height: 6}, scene);

  return scene;
};
那么我们来试着改一些代码
然后看看右边的渲染是如何改变的
比如我们来修改一下camera
我们修改一下camera的位置
我们把摄像头的位置从0,5,-10改成0,10,-10
我们发现,摄像头往上,也就是y轴上平移了5个单位
那么如果改成0,1,-10,那么摄像头就往下平移了4个单位
如果再往下到0,0,-10,摄像头就看不见ground平面了,因为处在同一个水平线
然后我们来看下camera的target
现在是camera.setTarget(BABYLON.Vector3.Zero());
其实也就是0,0,0,那么就是默认对准了0,0,0位置
那么如果我们改成0,5,0那么就是对准了0,5,0位置
然后我们看下light光源
现在光源是0,1,0,比如调整到5,5,0
然后intensity就是光源的强度
越高光越强,越低光越弱,示例中是0.7
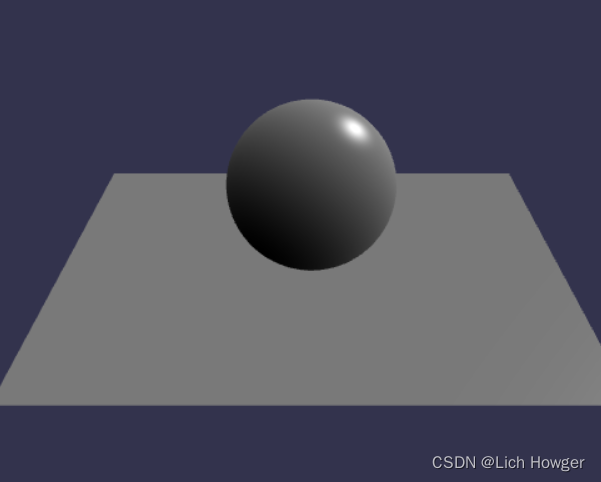
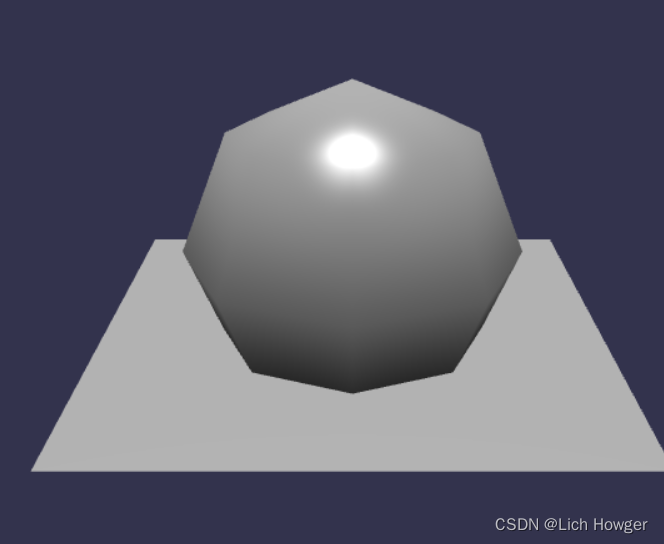
然后我们看球体
{diameter: 4, segments: 32}
diameter是直径,segments是这个球体的分割度,越高就越光滑
比如我们调到2,那么就变成这样了
ground就不用说了
一个width一个height
这样这个babylon的基本示例我们就研究完了
然后我们继续看文档
我们来尝试修改一下ground
const groundMaterial = new BABYLON.StandardMaterial("Ground Material", scene);
groundMaterial.diffuseColor = BABYLON.Color3.Red();
ground.material = groundMaterial;
这样ground就变成红色了
然后
let groundTexture = new BABYLON.Texture(Assets.textures.checkerboard_basecolor_png.rootUrl, scene);
groundMaterial.diffuseTexture = groundTexture;
这样的话ground就变成checkerboard
也就是棋盘样式了
然后我们来importMesh
我们在右上角的examples里面搜索import mesh
然后打开这个example
看下代码
var createScene = function () {
    var scene = new BABYLON.Scene(engine);

    //Adding a light
    var light = new BABYLON.PointLight("Omni", new BABYLON.Vector3(20, 20, 100), scene);

    //Adding an Arc Rotate Camera
    var camera = new BABYLON.ArcRotateCamera("Camera", 0, 0.8, 100, BABYLON.Vector3.Zero(), scene);
    camera.attachControl(canvas, false);

    // The first parameter can be used to specify which mesh to import. Here we import all meshes
    BABYLON.SceneLoader.ImportMesh("", "scenes/", "skull.babylon", scene, function (newMeshes) {
        // Set the target of the camera to the first imported mesh
        camera.target = newMeshes[0];
    });

    // Move the light with the camera
    scene.registerBeforeRender(function () {
        light.position = camera.position;
    });

    return scene;
}
1.创建scene
2.创建light
3.创建camera
4.import mesh
5.move the light with the camera
这是个头骨的模型
挺酷的
下一篇我们就来创建一个web项目然后引入babylon吧
加油


 950
950


 被折叠的 条评论
为什么被折叠?
被折叠的 条评论
为什么被折叠?
 到【灌水乐园】发言


