


聊一聊如何开发 ChatGPT的聊天应用
个人一直想做一个个人用的ChatGPT聊天应用,Github上倒是一大堆开源项目,也能够快速部署使用。但是总归有一个痛点——技术栈不完全吻合,改起来费事儿。能够用的网站担心不安全,盗用openai_key什么的,再有的网站限制了每天的问题次数,需要充值,收费等等…原因,我还是下定决心自己做一个个人专属的ChatGPT应用网站。
废话不多说,先剖析一下作成这样一个网站要解决哪些技术难点?
事前探究
- Openai key哪里找?
可以去淘宝上进行购买现成的Key,个人觉得还比较划算。
- 国内无法使用Openai key怎么办?
- 翻墙
这部分个人不太推荐,毕竟翻墙是违法的,而且大部分VPN应用都有站点想,而且不是特别稳定。- 国外服务器搭建代理服务器,然后国内使用代理服务器访问
这种方式我尝试了香港云服务器的Squid正向代理,但是几经周折都没成功,很遗憾只能放弃。- 国外服务器 + 开发后台Openai中转服务
前两种方式可能不太适合我吧,于是乎开始了中转openai服务的程序开发的探索。
- 如何开发Openai中转服务?用什么进行开发?
使用python的fastapi库充当后台server,rquests库构筑oepani请求获取结果并不做任何处理返回给前端。至于为什么不用 openai库,第一个是由于官方维护老是出现新版本opeani库不兼容旧版的问题,第二也是因为自己构筑请求相关的参数,相对透明,可控性比较高。说白了就是openai调用失败了,你可能都不知道为什么,所以为什么不使用requests库自主去构建呢?
- 如何转发官方的提供的steam模式的接口?
两种方式:
1、使用官方提供的openai库
# 请求封装实体
class AskRequest(BaseModel):
    max_tokens: int = Field(default=2048)
    messages: list
    model: str = Field(default="gpt-3.5-turbo")
    stream: bool = Field(default=False)
    temperature: float = Field(default=0.7)
    top_p: float = Field(default=0.8)

# JSON格式封装
def chat(ask_req: AskRequest):
    try:
        # LangChainのstreamはコールバック周りが複雑な印象なので一旦openaiをそのまま使う
        response = openai.ChatCompletion.create(
            # model=query_data.model,
            model=ask_req.model,
            # SSEを使うための設定
            stream=False,
            messages=ask_req.messages,
            temperature=ask_req.temperature,
            top_p=ask_req.top_p,
            max_tokens=ask_req.max_tokens
        )
        return response
    except:
        return {
            "code": 500,
            "data": traceback.format_exc()
        }
# 流式封装
async def chat_stream(ask_req: AskRequest):
    try:
        # LangChainのstreamはコールバック周りが複雑な印象なので一旦openaiをそのまま使う
        response = openai.ChatCompletion.create(
            # model=query_data.model,
            model=ask_req.model,
            # SSEを使うための設定
            stream=True,
            messages=ask_req.messages,
            temperature=ask_req.temperature,
            top_p=ask_req.top_p,
            max_tokens=ask_req.max_tokens
        )
        for item in response:
            yield {"data": item}
    except:
        yield {"data": traceback.format_exc()}
    yield {"data": "[DONE]"}

# 请求转发接口
@app.post("/v1/chat/completions")
async def ask_stream(request: Request, ask_req: AskRequest):
    try:
        if ask_req.stream:
            # return EventSourceResponse(chat_stream(ask_req))
            return EventSourceResponse(content=chat_stream(request=request, ask_req=ask_req), status_code=200)
        else:
            # return JSONResponse(chat(query_data=ask_req))
            return JSONResponse(content=chat(request=request, ask_req=ask_req), status_code=200)
    except:
        return JSONResponse(content=traceback.format_exc(), status_code=500)
2、requests + sseclient库进行封装
需要注意的是,这里的 sseclient 库应该要使用 pip install sseclient-py 进行安装,别问为什么,问就是被坑过~~
import json
import traceback

import requests
import sseclient

# 请求实体
class AskRequestModel(BaseModel):
    max_tokens: int = Field(default=2048)
    messages: list
    model: str = Field(default="gpt-3.5-turbo")
    stream: bool = Field(default=False)
    temperature: float = Field(default=0.7)
    top_p: float = Field(default=0.8)

# 返回json格式
def req_chat(
        end_point: str = "https://api.openai.com/v1/chat/completions",
        send_data: dict = None,
        api_key: str = None,
        proxies: dict = None
):
    """
    :end_point: the interface of llm server.
    :send_data:
    {
            "model": "gpt-3.5-turbo",
            "messages": [{"role": "user", "content": "hello"}],
            "stream": False,
            "max_tokens": 2048,
            "temperature": 0.7,
            "top_p": 0.8
    }
    :api_key: xxx
    :proxy:
      {
        "http": "",
        "https": ""
      }
    """
    try:
        if api_key is None:
            raise Exception("please set the 'api_key'.if you are using the local server, please set "" to api_key parameter.")

        headers = {
            "Accept": "application/json",
            "Authorization": f"Bearer {api_key}",
            "api-key": api_key
        }
        response = requests.post(end_point, stream=False, headers=headers, json=send_data, proxies=proxies)
        return response.json()
    except:
        raise Exception(traceback.format_exc())

# 返回SSE格式
def req_chat_stream(
        end_point: str = "https://api.openai.com/v1/chat/completions",
        send_data: dict = None,
        api_key: str = None,
        proxies: dict = None
):
    """
    :end_point: the interface of llm server.
    :send_data:
    {
            "model": "gpt-3.5-turbo",
            "messages": [{"role": "user", "content": "hello"}],
            "stream": True,
            "max_tokens": 2048,
            "temperature": 0.7,
            "top_p": 0.8
    }
    :api_key: xxx
    :proxy:
      {
        "http": "",
        "https": ""
      }
    """
    try:
        print(end_point, send_data, api_key, proxies)
        if api_key is None:
            raise Exception("please set the 'api_key'.if you are using the local server, please set "" to api_key parameter.")

        headers = {
            "Accept": "application/json",
            "Authorization": f"Bearer {api_key}",
            "api-key": api_key
        }
        response = requests.post(end_point, stream=True, headers=headers, json=send_data, proxies=proxies)
        # print(response.content)
        client = sseclient.SSEClient(response)
        for item in client.events():
            # print("data", datetime.datetime.now().strftime("%Y-%m-%d %H:%M:%S"))
            yield {"data": item.data}
    except:
        yield {"data": f"ERROR: {traceback.format_exc()}"}

# 请求转发封装
@app.post("/v1/chat/completions")
async def ask_stream(request: Request, ask_req: AskRequestModel):
    try:
        req_headers = dict(request.headers)
        api_key = None
        if "authorization" in req_headers:
            api_key = req_headers["authorization"].split(" ")[1]

        end_point = "https://api.openai.com/v1/chat/completions"

        if "end_point" in req_headers:
            end_point = req_headers["end_point"]

        send_data = {
            "model": ask_req.model,
            "messages": ask_req.messages,
            "stream": ask_req.stream,
            "max_tokens": ask_req.max_tokens,
            "temperature": ask_req.temperature,
            "top_p": ask_req.top_p
        }
        proxies = None
        if "proxy_url" in req_headers and req_headers["proxy_url"] != "":
            proxies = {
                "http": req_headers["proxy_url"],
                "https": req_headers["proxy_url"],
            }

        if ask_req.stream:
            # return EventSourceResponse(chat_stream(ask_req))
            return EventSourceResponse(content=req_chat_stream(end_point=end_point, send_data=send_data, api_key=api_key, proxies=proxies), status_code=200)
        else:
            # return JSONResponse(chat(query_data=ask_req))
            return JSONResponse(content=req_chat(end_point=end_point, send_data=send_data, api_key=api_key, proxies=proxies), status_code=200)
    except:
        return JSONResponse(content=traceback.format_exc(), status_code=500)
- 前端如何接入stream模式的接口?
1、接入JSON返回值,这部分用任意ajax请求都是可以的,这里使用axios库
async function proxy_chat(send_data) {
    try {
        let res = await axios.post("中转server地址", send_data, {
            headers: {
                'Content-Type': 'application/json',
                "Authorization": `Bearer ${API_KEY}`,
                "proxy_url": // 中转server可以访问end_point的代理地址,
                "end_point": // 官方接口
            }
        });
        if (res.status === 200) {
            let msg = res.data.choices[0].message;
        } else {
           // 服务器异常处理
        }
    } catch(error) {
        // 程序异常处理
    }
}
2、流式 SSE 响应,使用 fetchEventSource 库
参考官网:https://www.npmjs.com/package/@microsoft/fetch-event-source
let stream_ctrl = new AbortController();
function proxy_chat_sse(send_data) {
    try {
        fetchEventSource("中转server地址", {
            method: 'POST',
            headers: {
                'Content-Type': 'application/json',
                "Authorization": `Bearer ${API_KEY}`,
                "proxy_url": // 中转server可以访问end_point的代理地址,
                "end_point": // 官方接口地址
            },
            // 处理每次窗口切换时重新请求的问题
            openWhenHidden: true,
            // 停止请求信号
            signal: stream_ctrl,
            body: JSON.stringify(requestData),
            async onopen(res) {
                if (res.ok) {
                    // 连接成功时调用一次
                }
            },
            async onmessage(event) {
                // 传输完毕时处理
                if (event.data === '[DONE]') {
                    console.log('DONE')
                    return
                }
                if (event.data === '[ERROR]') {
                    // 发生错误时,取消请求
                    console.log('ERROR')
                    stream_ctrl.abort();
                    return
                }
                const jsonData = JSON.parse(event.data)
                let choices = jsonData.choices;
                if (choices && choices.length > 0) {
                    let content  = choices[0]?.delta?.content || "";
                    // 如果等于stop表示结束
                    if (choices[0].finish_reason === 'stop') {
                        return
                    }
                }
            },
            async onerror(error) {
                console.log("error!")
                stream_ctrl.abort();
            },
            async onclose() {
                console.log("closed!")
            }
        });
    } catch(error) {
        stream_ctrl.abort();
    }
}
- 如何实现chatgpt回答的高亮?
我试过很多方式,比如highlight.js、markdown-it、marked.js,看各位大神们都似乎用的得心应手,但我这里总是踩坑不断,差点儿就从入门直接到放弃了~~
有兴趣的朋友可以参考以下博客,讲的很明白简单,但总归不太适合我。
https://www.91temaichang.com/2023/03/18/the-marked-and-markdownit/index.html
好在最终被我找到了一个叫markdown-it-vue-light的库,用起来简直不要太简单。直接作为组件引用即可,content属性做动态绑定,当更新时自动会处理~完美契合chatGPT的流式响应。
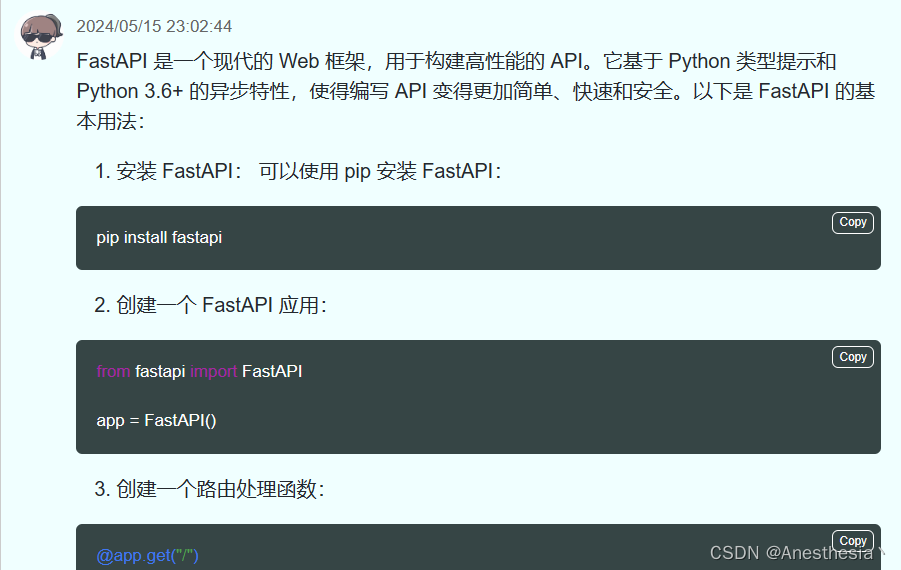
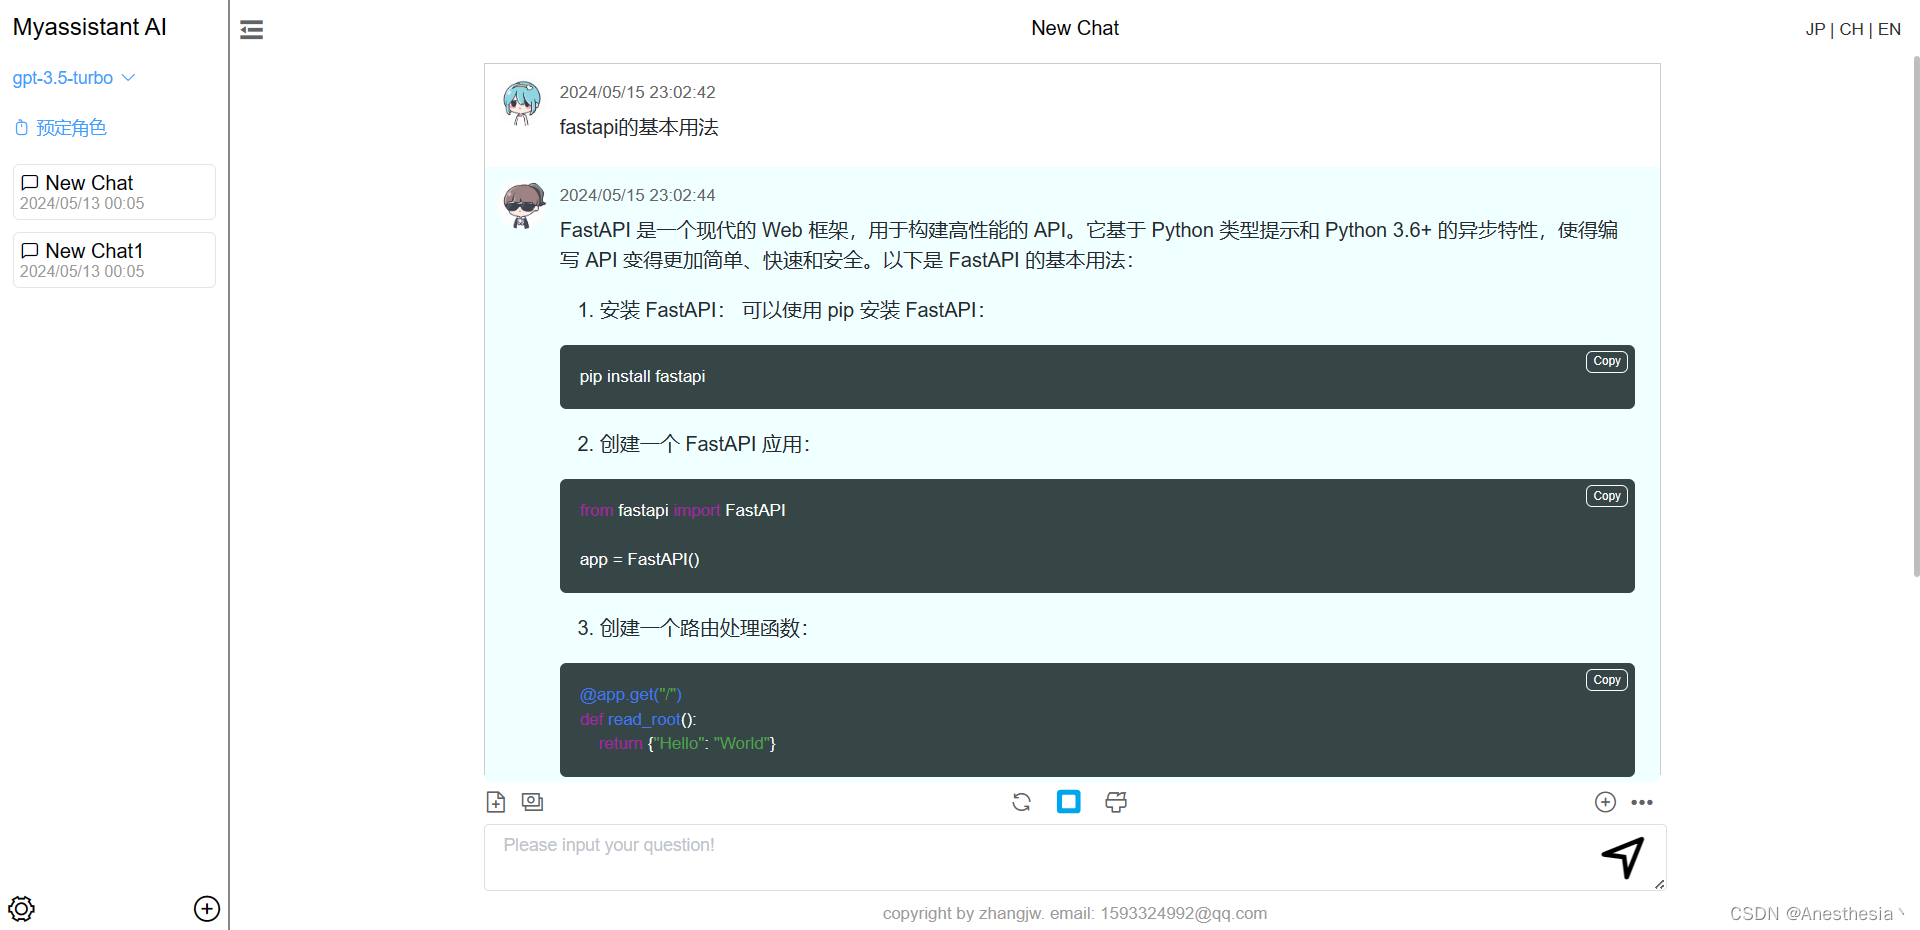
直接看效果:
进阶考虑
上述问题验证清楚之后,便可以考虑更深层次的问题。
-
UI设计?
其实很早以前就想做一款专属于自己的chatUI,也尝试过很多次,做过不同的版本。但都不是特别让我满意。因为都是散装页面,没有很好的规划,后期很难去维护,所以丢一段时间之后就不太想去倒腾了。这一次我想做一款项目级的产品,结构化开发、组件化开发、考虑移动端适配等内容。
于是我花了这样一个结构~ -
前端ChatUI采用什么框架进行布局设计和开发?
最近用项目上用ElementUI+Vue2比较多,索性就直接使用这两个技术。 -
如何定制化Openai的角色?
正在持续探究,总的来说 messages 分为三类,system、user、assistant。其中system类型就是专门为了定制化角色而准备的。换句话说,定制化openai的角色也就是定制化system消息。
成品展示
心得体会
-
主画面响应式布局
-
移动端适配
今天先记录到这,后续会回头完善心得体会的内容。
愿我踩过的坑能够照亮你来时的路~


 9373
9373

 被折叠的 条评论
为什么被折叠?
被折叠的 条评论
为什么被折叠?
 到【灌水乐园】发言


