


新建工程,工程名为UINavigationBarTest
1)增加ViewController成员变量
@implementation ViewController
NSInteger count;
UINavigationBar* navBar;
2)在ViewController.m中创建导航项
-(UINavigationItem*)makeNavItem{
UINavigationItem* navItem=[[UINavigationItem alloc]initWithTitle:nil];
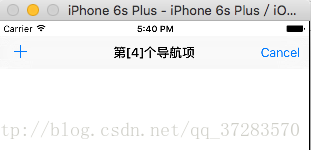
navItem.title=[NSString stringWithFormat: @"第[%d]个导航项",count];
UIBarButtonItem* leftBtn=[[UIBarButtonItem alloc]initWithBarButtonSystemItem:UIBarButtonSystemItemAdd target:self action:@selector(push)];
[navItem setLeftBarButtonItem:leftBtn];
UIBarButtonItem* rightBtn=[[UIBarButtonItem alloc]initWithBarButtonSystemItem:UIBarButtonSystemItemCancel target:self action:@selector(pop)];
[navItem setRightBarButtonItem:rightBtn];
return navItem;
}3)创建压栈函数
-(void)push{
    [navBar pushNavigationItem:[self makeNavItem]animated:YES];
    count++;

}
4)创建出栈函数
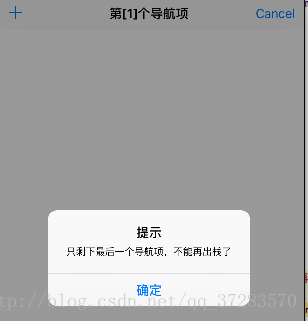
-(void)pop{
    if(count>2){
        count--;
        [navBar popNavigationItemAnimated:YES];
    }else{
        UIAlertView* alert=[[UIAlertView alloc]initWithTitle:@"提示" message:@"只剩下最后一个导航项,不能再出栈了"delegate:nil cancelButtonTitle:@"确定"otherButtonTitles:nil];
        [alert show];
    }
}
5)重载viewDidLoad方法
- (void)viewDidLoad {
    [super viewDidLoad];
    CGRect rect=[[UIScreen mainScreen]bounds];
    CGSize windowSize=rect.size;
    CGFloat windowWidth=windowSize.width;

    count=1;
    navBar=[[UINavigationBar alloc] initWithFrame:CGRectMake(0, 20, windowWidth, 44)];
    [self.view addSubview:navBar];
    [self push];
    // Do any additional setup after loading the view, typically from a nib.
}
此时可以看到

注意nil参数,为了兼容swift,所以Xcode里设置了nonnull/nullable
不嫌麻烦的话可以重写这个方法:
UINavigationItem *navItem = [[UINavigationItem alloc] initWithTitle:@””];
嫌烦的可以直接加上这段


需在count前加上int
navItem.title=[NSString stringWithFormat: @”第[%d]个导航项”,(int)count];
此时运行程序


 789
789

 被折叠的 条评论
为什么被折叠?
被折叠的 条评论
为什么被折叠?
 到【灌水乐园】发言


