


-
Set the OpenCV enviroment variable and add it to the systems path
-
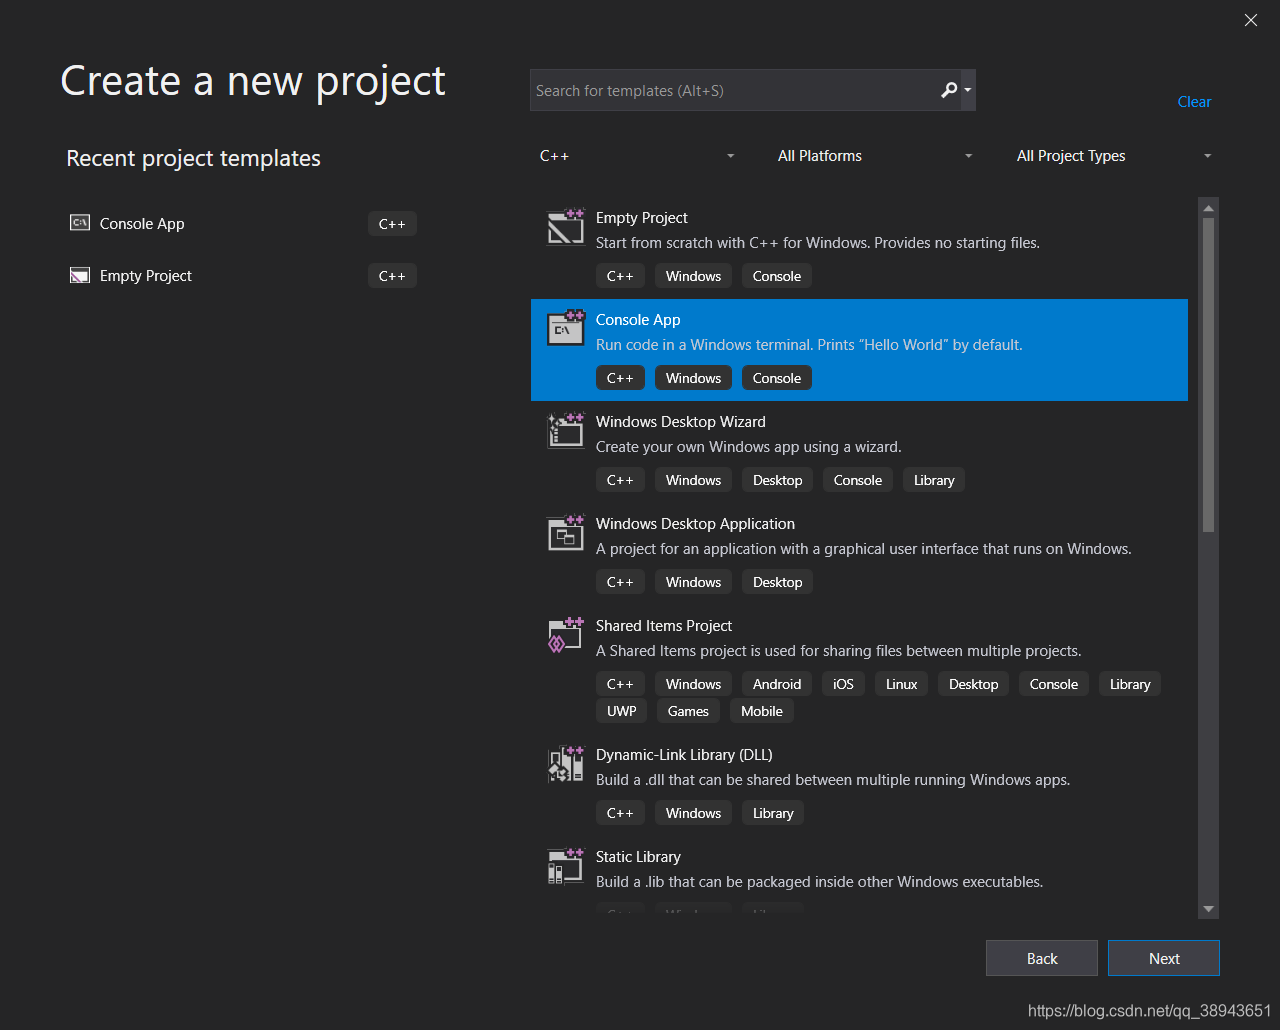
Open
Visual Studio 2019and create a new project inside Visual studio by clickingCreate a new project. ChooseConsole Appas type. Enter its name and select the path where to create it.
-
Click
View ‣ Propertyto openProperty Manager. Right clickDebug|x64and clickAdd New Project Property Sheetto add a new property sheet. -
Use for example the
OpenCV_Debugname. Then by selecting the sheet Right Click ‣Properties. -
Go the
C++groupsGeneralentry and under theAdditional Include Directoriesadd the path to your OpenCV include.$(OPENCV_DIR)\..\..\include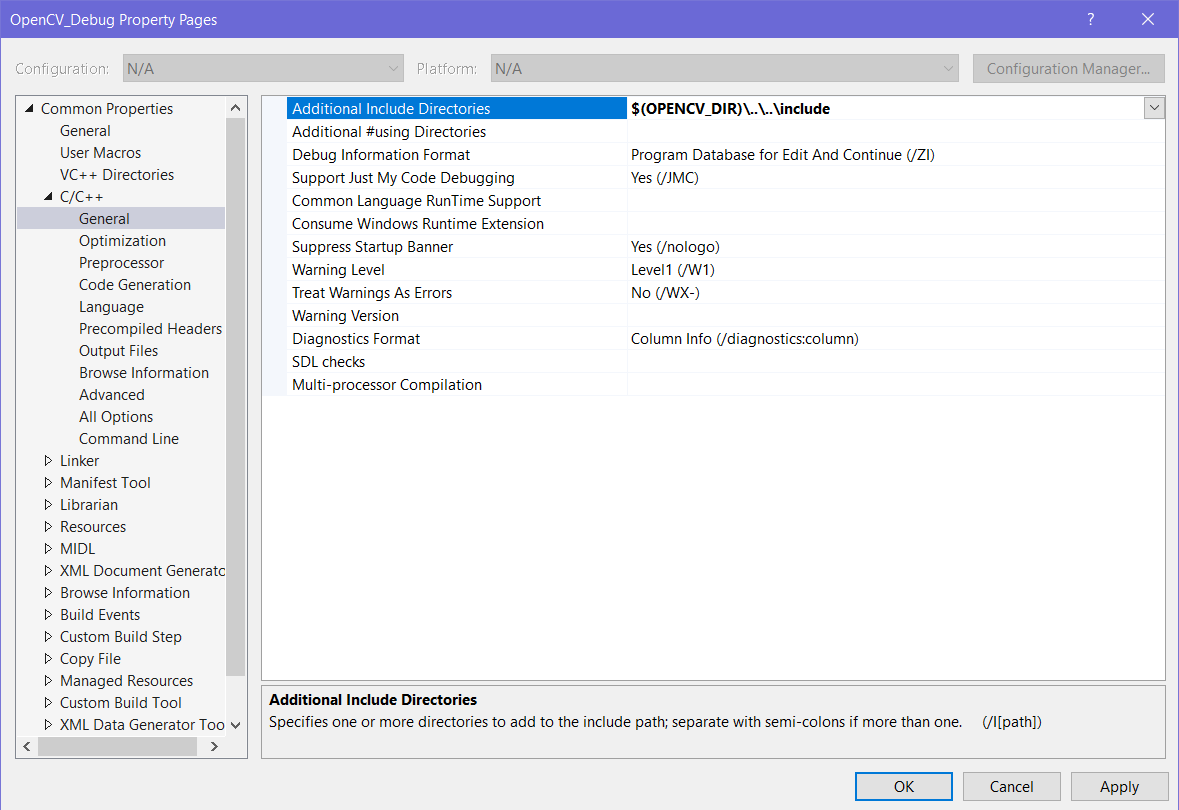
-
Next go to the
Linker ‣ Generaland under theAdditional Library Directoriesadd the libs directory:$(OPENCV_DIR)\lib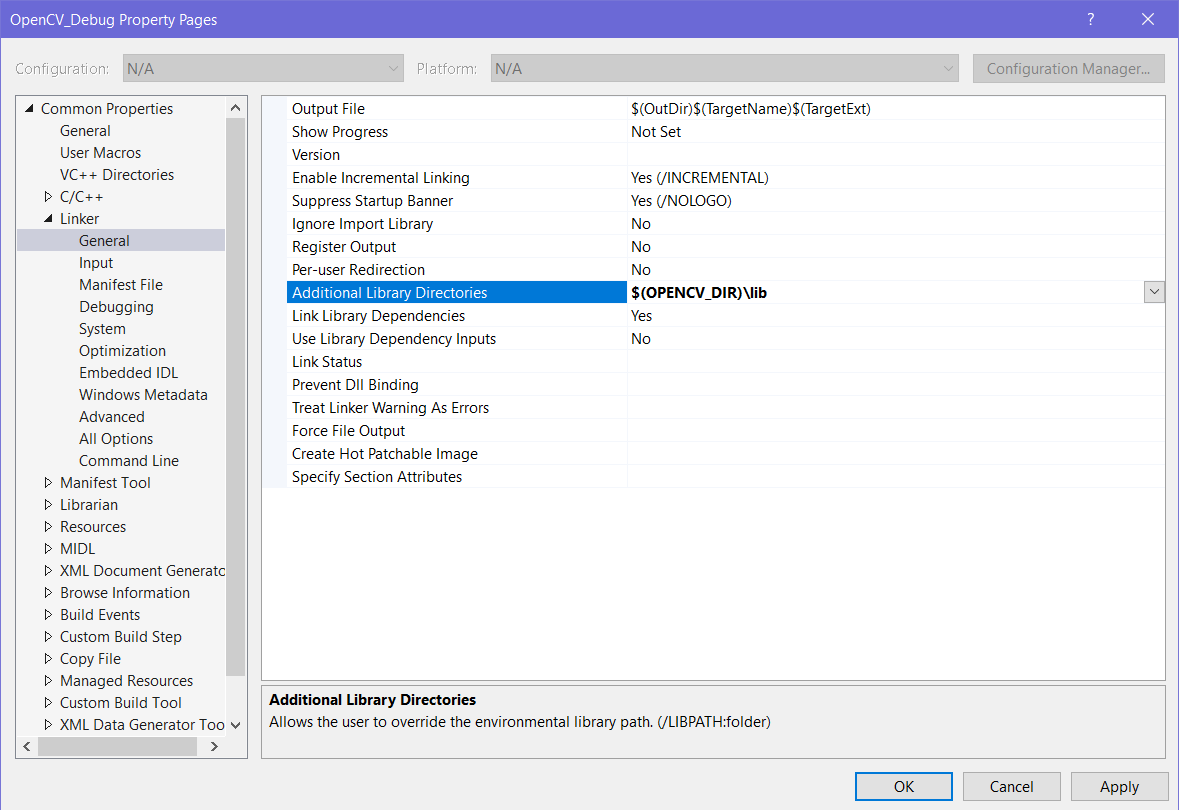
-
Go to the
Linker ‣ Inputand under theAdditional Dependenciesentry add following modules.opencv_world412d.lib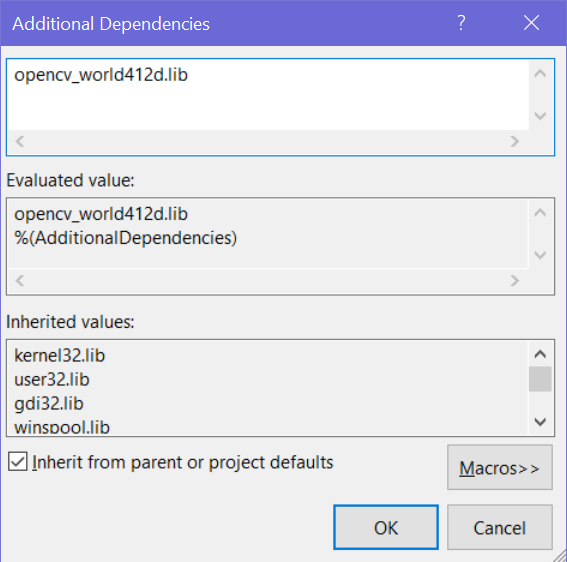
-
Now click ok to save and repeat step 4 ~ 6 to create a new property inside the
Release|64rule section. Make sure to omit thedletters from the library names.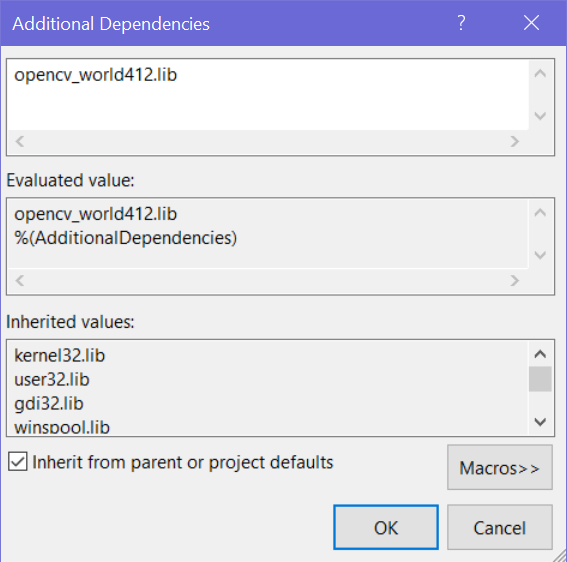


 1万+
1万+
04-30
04-30
“相关推荐”对你有帮助么?
-

 非常没帮助
非常没帮助 -

 没帮助
没帮助 -

 一般
一般 -

 有帮助
有帮助 -

 非常有帮助
非常有帮助
提交

 被折叠的 条评论
为什么被折叠?
被折叠的 条评论
为什么被折叠?
 到【灌水乐园】发言


