


模型下载
模型下载的渠道很多,这里使用 modelscope 进行下载,InternVL2_5-1B首页,
- 安装 modelscope
pip install modelscope
- 下载模型
from modelscope import snapshot_download
model_dir = snapshot_download('OpenGVLab/InternVL2_5-1B', local_dir="xxx/OpenGVLab/InternVL2_5-1B")
服务部署与请求
在 OpenGVLab/InternVL2_5-1B/config.json 中给定了初始化的超参数,例如temperature、top_p、top_k等,简单部署命令如下,默认使用 8000 端口
vllm serve OpenGVLab/InternVL2_5-1B
or
python -m vllm.entrypoints.openai.api_server --model=OpenGVLab/InternVL2_5-1B
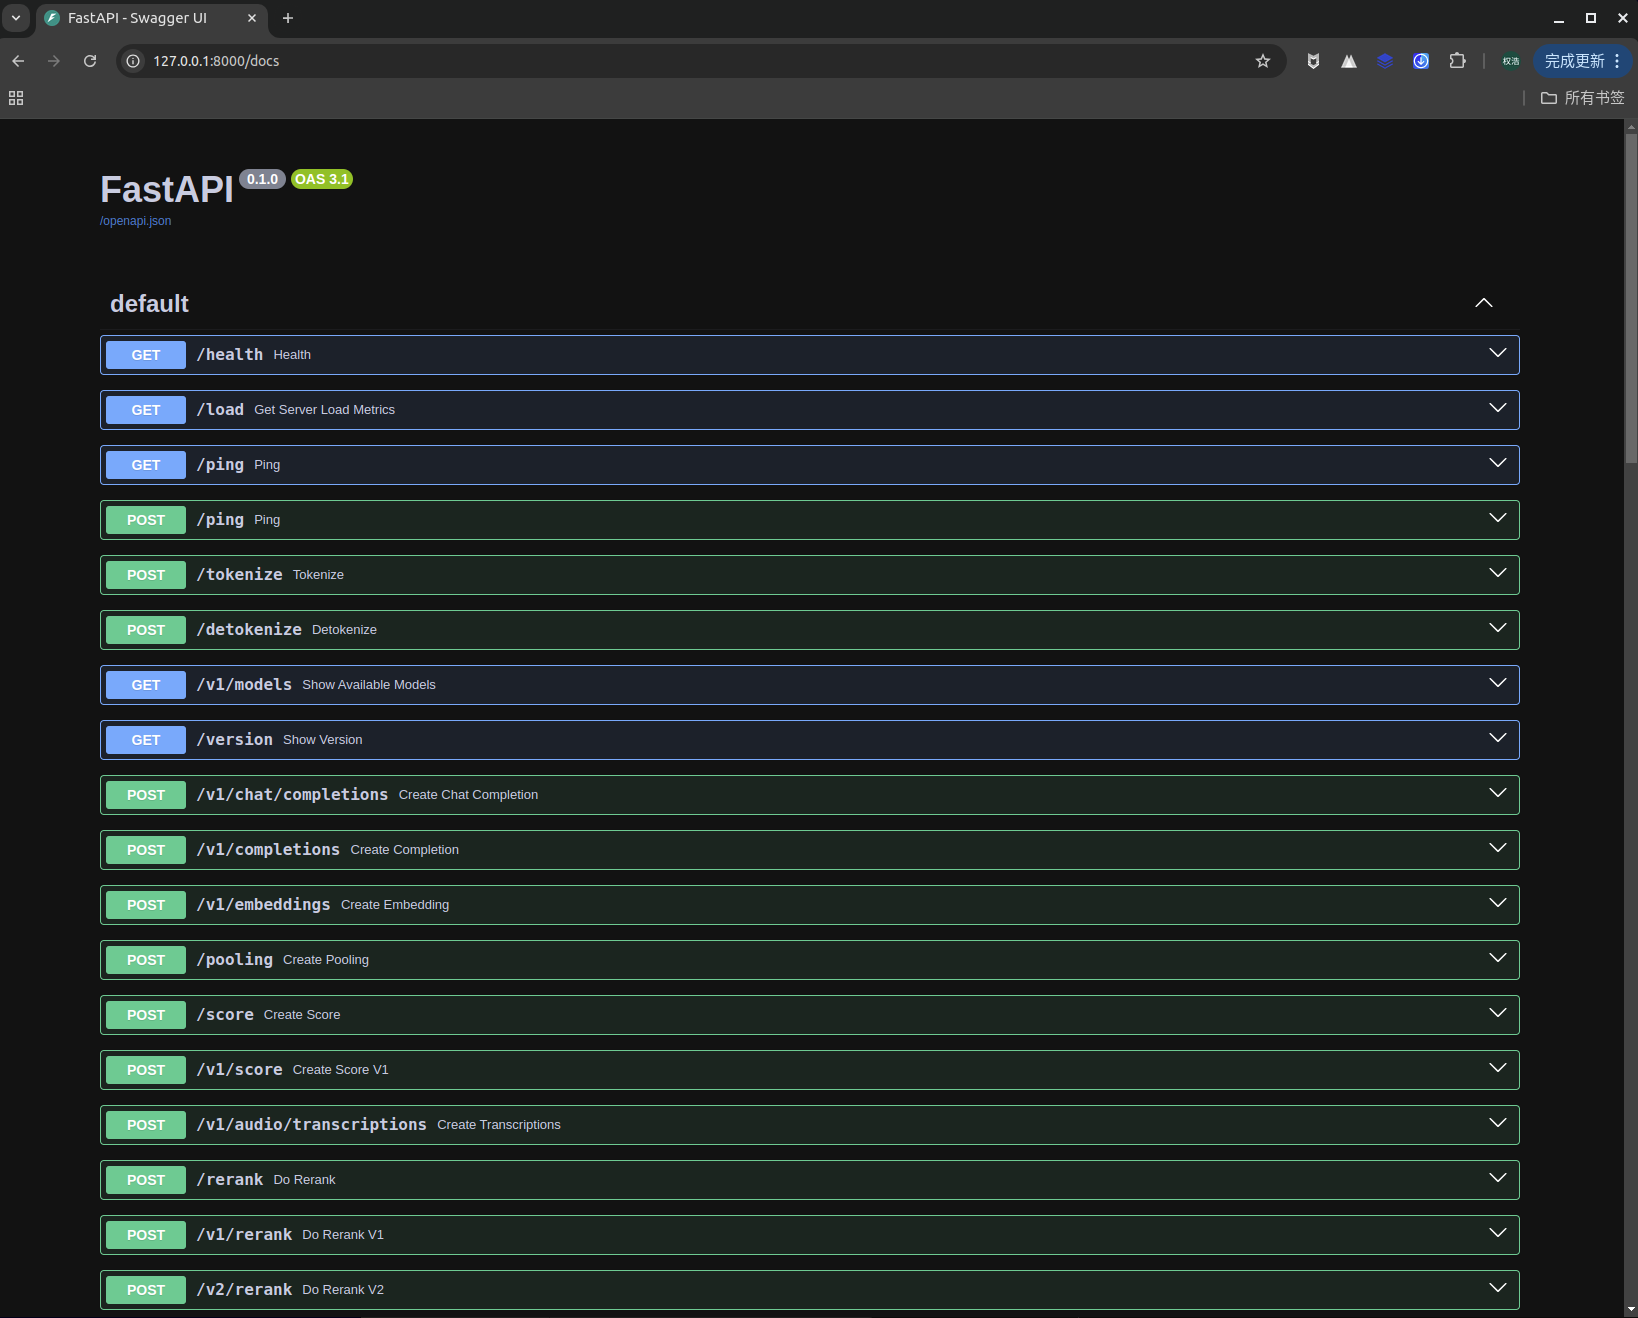
在 http://127.0.0.1:8000/docs 可以看到各种路由信息
请求脚本如下
import base64
import requests
from openai import OpenAI

# Modify OpenAI's API key and API base to use vLLM's API server.
openai_api_key = "EMPTY"
openai_api_base = "http://localhost:8000/v1"

client = OpenAI(
    # defaults to os.environ.get("OPENAI_API_KEY")
    api_key=openai_api_key,
    base_url=openai_api_base,
)

models = client.models.list()
model = models.data[0].id


def encode_image_base64_from_url(image_url: str) -> str:
    """Encode an image retrieved from a remote url to base64 format."""

    with requests.get(image_url) as response:
        response.raise_for_status()
        result = base64.b64encode(response.content).decode('utf-8')

    return result


def image_to_base64(image_path):
    with open(image_path, "rb") as image_file:
        image_data = image_file.read()
        base64_str = base64.b64encode(image_data).decode('utf-8')
        return base64_str  # 添加MIME类型前缀[7](@ref)


def single_image_call(image_path):
    image_base64 = image_to_base64(image_path=image_path)
    chat_completion_from_base64 = client.chat.completions.create(
        messages=[{
            "role":
                "user",
            "content": [
                {
                    "type": "text",
                    "text": "What’s in this image?"
                },
                {
                    "type": "image_url",
                    "image_url": {
                        "url": f"data:image/jpeg;base64,{image_base64}"
                    },
                },
            ],
        }],
        model=model,
        max_tokens=8192,
        top_p=0.9,
        temperature=0.0,
    )
    return chat_completion_from_base64.choices[0].message.content


total_result = []
for i in range(20):
    result = single_image_call("demo.jpg")
    total_result.append(result)

# 验证多次推理结果是否相同
if len(set(total_result)) == 1:
    print(True)
else:
    print(False)
- 请求脚本使用 temperature=0.0 保证每次推理结果相同
- vllm 服务刚启动了,前几个请求始终会出现差异,可能是 bug
- –trust-remote-code 加载用户自己训练的模型,需要该参数
- –port 8765 指定端口号
- –tensor-parallel-size 张量并行数,部署服务需要的显卡数量
- –seed 42 指定随机种子,使用 temperature=0.0,无需该参数也能保证每次推理结果相同
vLLM 示例命令
vllm serve xxx/checkpoint-yyy --port 8567 --trust-remote-code --max-num-batched-tokens 8192 --seed 42 --tensor-parallel-size 8


 1167
1167

 被折叠的 条评论
为什么被折叠?
被折叠的 条评论
为什么被折叠?
 到【灌水乐园】发言


