


从b站学习springcloud,现在进行总结,该总结除去了视频中出现的小错误,对有些易错的地方进行了提醒
b站链接:https://www.bilibili.com/video/BV1Gt411N7HF?p=2
资料链接:
https://pan.baidu.com/s/1o0Aju3IydKA15Vo1pP4z5w
提取码: 21ru
上一节链接:
下一节链接:
下面的内容总结:
工厂方法
IoC 通过工厂模式,创建 bean 有 2 种方式:
- 静态工厂方法
- 实例工厂方法
静态工厂方法:
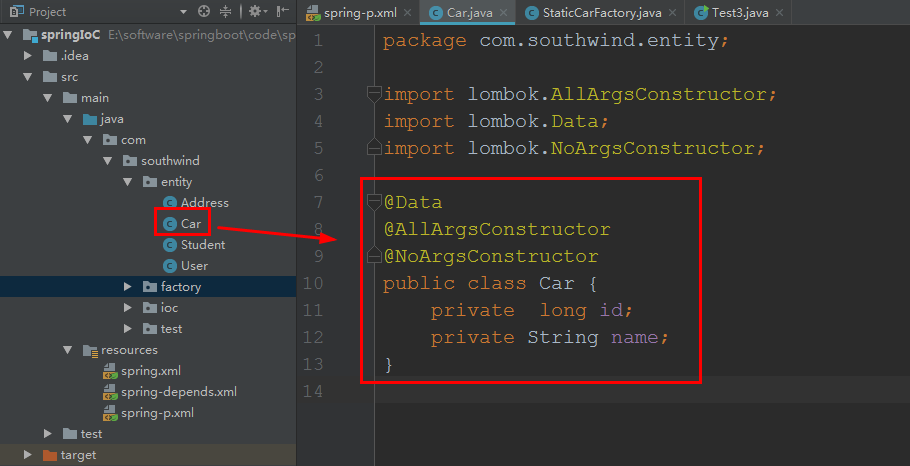
1 在 entity中新建 实体类 Car,加入代码:
package com.southwind.entity;

import lombok.AllArgsConstructor;
import lombok.Data;
import lombok.NoArgsConstructor;

@Data
@AllArgsConstructor
@NoArgsConstructor
public class Car {
    private  long id;
    private String name;
}
2 在 southwind 中,创包 factory,其内创建 静态类 StaticCarFactory,加入代码:
package com.southwind.factory;

import com.southwind.entity.Car;

import java.util.HashMap;
import java.util.Map;

public class StaticCarFactory {
    private static Map<Long, Car> carMap;
    static {
        carMap = new HashMap<Long, Car>();
        carMap.put(1L, new Car(1L,"宝马"));
        carMap.put(2L, new Car(2L,"奔驰"));
    }
    public static Car getCar(long id){
        return carMap.get(id);
    }
}

3 在 test 中新建 类 Test4,加入代码:
package com.southwind.test;

import com.southwind.entity.Car;
import com.southwind.factory.StaticCarFactory;

public class Test4 {
    public static void main(String[] args) {
        Car car = StaticCarFactory.getCar(1L);
        System.out.println(car);
    }
}
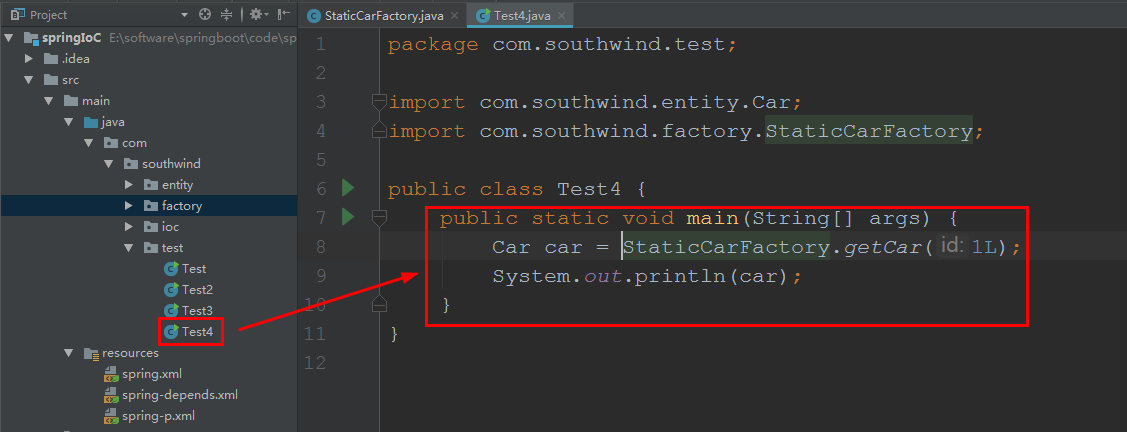
启动 test/ Test4:

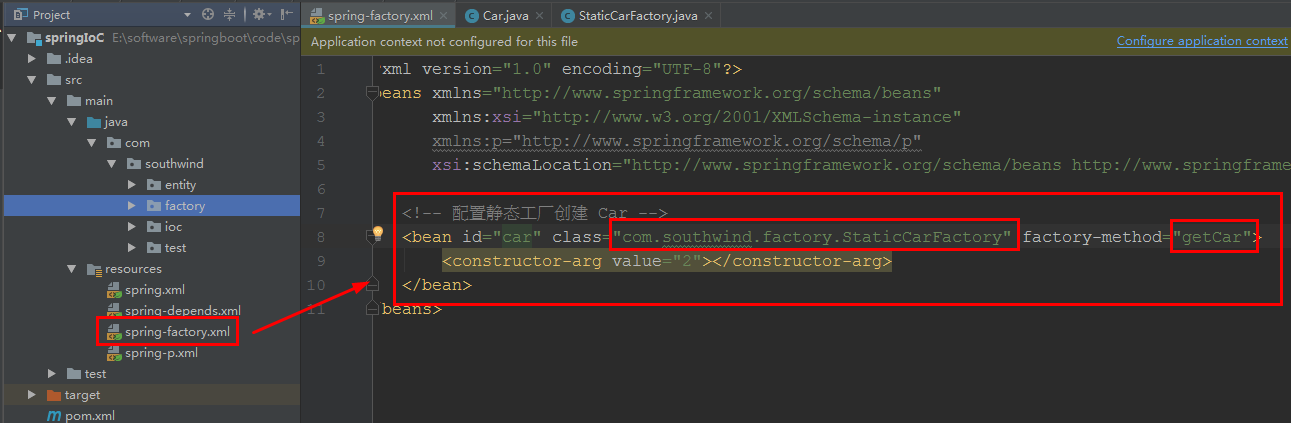
4 在 resources 中,复制一份 spring-p.xml,命名为 spring-factory.xml,加入代码:
<?xml version="1.0" encoding="UTF-8"?>
<beans xmlns="http://www.springframework.org/schema/beans"
       xmlns:xsi="http://www.w3.org/2001/XMLSchema-instance"
       xmlns:p="http://www.springframework.org/schema/p"
       xsi:schemaLocation="http://www.springframework.org/schema/beans http://www.springframework.org/schema/beans/spring-beans.xsd">

    <!-- 配置静态工厂创建 Car -->
    <bean id="car" class="com.southwind.factory.StaticCarFactory" factory-method="getCar">
        <constructor-arg value="2"></constructor-arg>
    </bean>
</beans>
5 在 test/ Test4 中代码变为:

package com.southwind.test;

import com.southwind.entity.Car;
import org.springframework.context.ApplicationContext;
import org.springframework.context.support.ClassPathXmlApplicationContext;

public class Test4 {
    public static void main(String[] args) {
        ApplicationContext applicationContext = new ClassPathXmlApplicationContext("spring-factory.xml");
        Car car = (Car) applicationContext.getBean("car");
        System.out.println(car);
    }
}
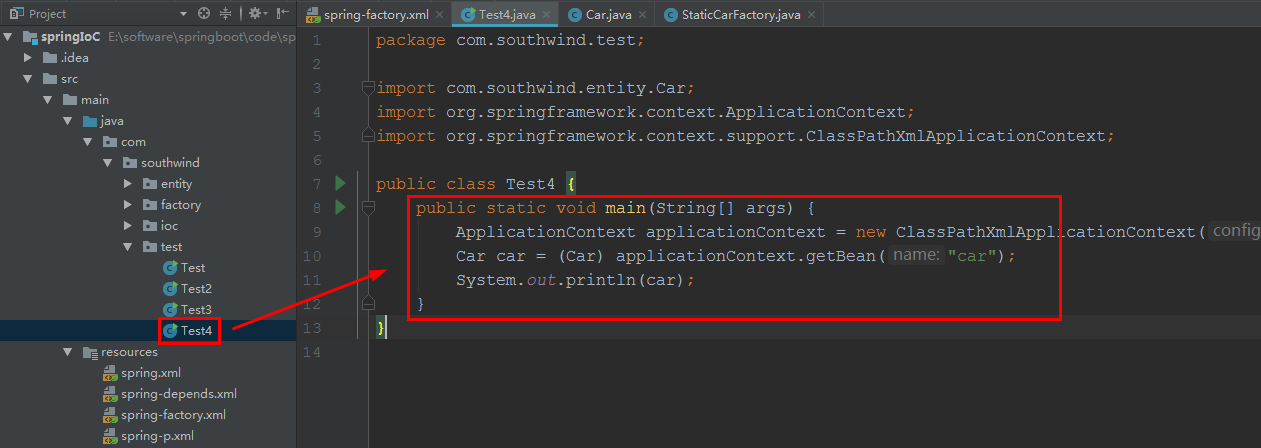
启动 test/ Test4:

说明:
Test4 调用 spring-factory.xml 调用 factory/ StaticCarFactory 中的 getCar方法
实例工厂方法
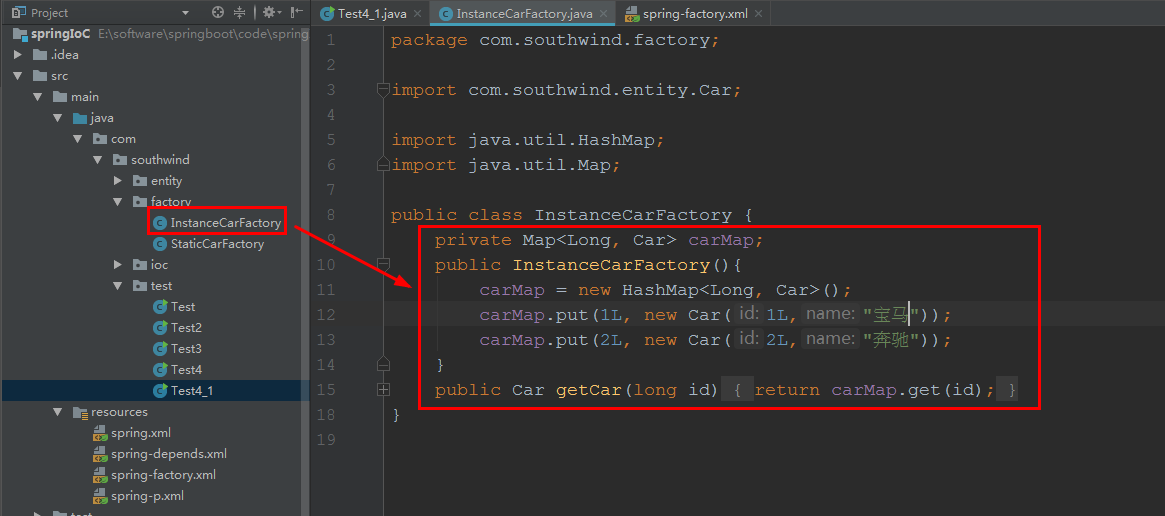
1 在 factory 中创建 类 InstanceCarFactory,加入代码:
package com.southwind.factory;

import com.southwind.entity.Car;

import java.util.HashMap;
import java.util.Map;

public class InstanceCarFactory {
    private Map<Long, Car> carMap;
    public InstanceCarFactory(){
        carMap = new HashMap<Long, Car>();
        carMap.put(1L, new Car(1L,"宝马"));
        carMap.put(2L, new Car(2L,"奔驰"));
    }
    public Car getCar(long id){
        return carMap.get(id);
    }
}
2 在 test 中新建 类 Test4_1,加入代码:
package com.southwind.test;

import com.southwind.entity.Car;
import com.southwind.factory.InstanceCarFactory;

public class Test4_1 {
    public static void main(String[] args) {
        InstanceCarFactory instanceCarFactory = new InstanceCarFactory();
        Car car = instanceCarFactory.getCar(1L);
        System.out.println(car);
    }
}
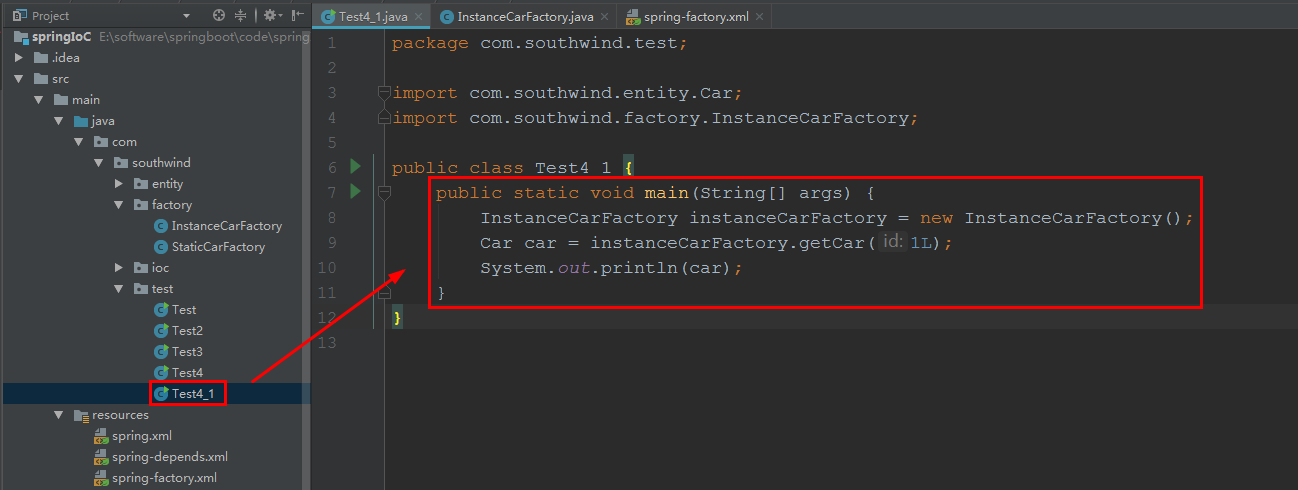
启动 test /Test4_1:

3 用 IoC 管理: 在 spring-factory.xml 中,添加代码:
    <!-- 配置实例工厂 bean -->
    <bean id="carFactor" class="com.southwind.factory.InstanceCarFactory"></bean>

    <!-- 创建 Car -->
    <bean id="car2" factory-bean="carFactor" factory-method="getCar">
        <constructor-arg value="1"></constructor-arg>
    </bean>

4 在 test/ Test4 中 getBean("car"); 改为 getBean("car2");

启动 test/ Test4:

自动装载 Autowire
IoC 创建对象,DI 完成 对象的依赖注入,配置 property 标签的 ref 属性 来完成
Spring 提供了另 1 种 更简便的依赖注入方式:自动装载,不手动配置property,IoC 容器 自动选择 bean 注入
自动装载 2 种方式:
- byName:通过属性名 自动装载
- byType:通过属性的数据类型 自动装载
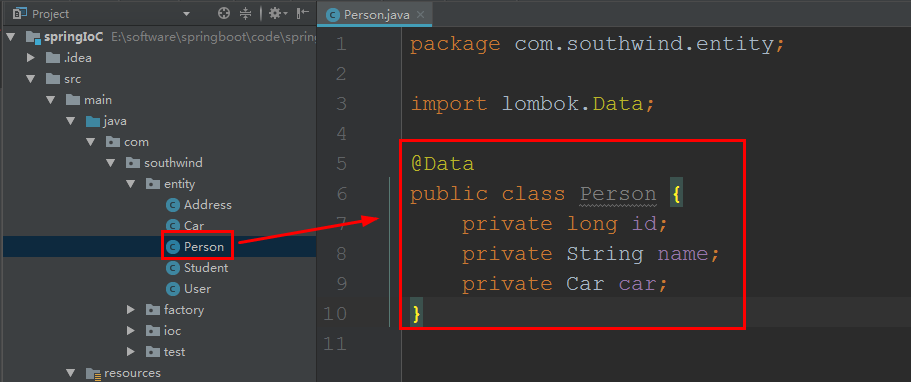
1 在 entity 中,新建 实体类 Person,加入代码:
package com.southwind.entity;

import lombok.Data;

@Data
public class Person {
    private long id;
    private String name;
    private Car car;
}
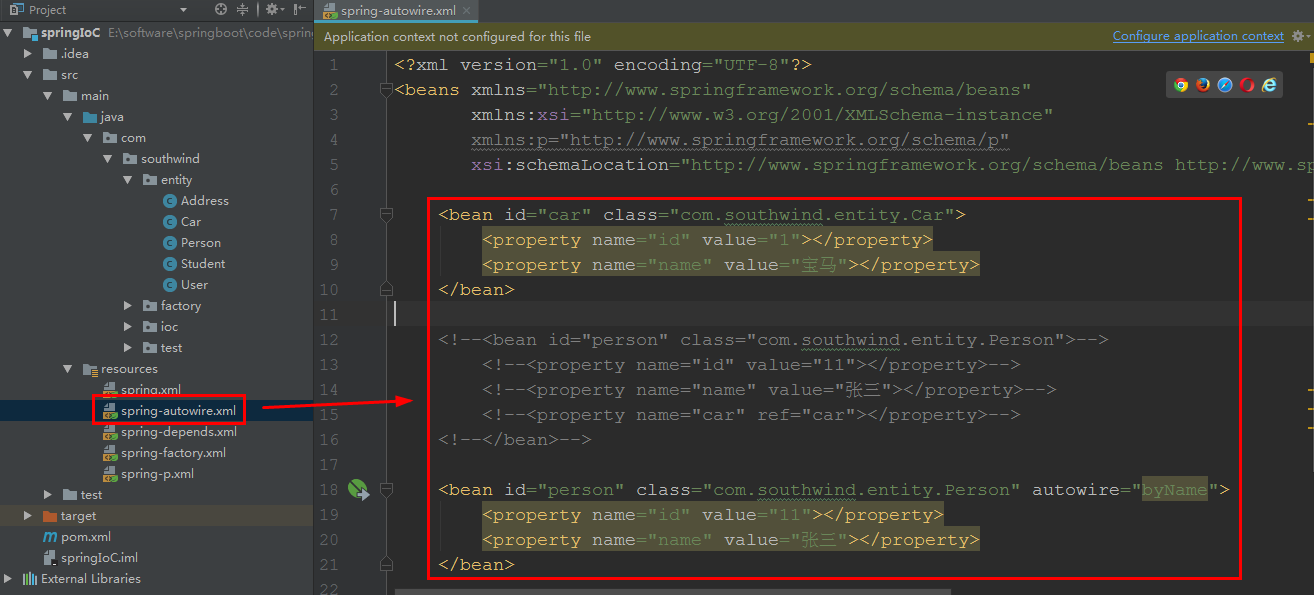
2 在 resources 中,再复制一份 spring-factory.xml,命名为 spring-autowire.xml,之前 bean 的代码删掉,加入代码:
传统手动代码是:
    <bean id="car" class="com.southwind.entity.Car">
        <property name="id" value="1"></property>
        <property name="name" value="宝马"></property>
    </bean>

    <bean id="person" class="com.southwind.entity.Person">
        <property name="id" value="11"></property>
        <property name="name" value="张三"></property>
        <property name="car" ref="car"></property>
    </bean>
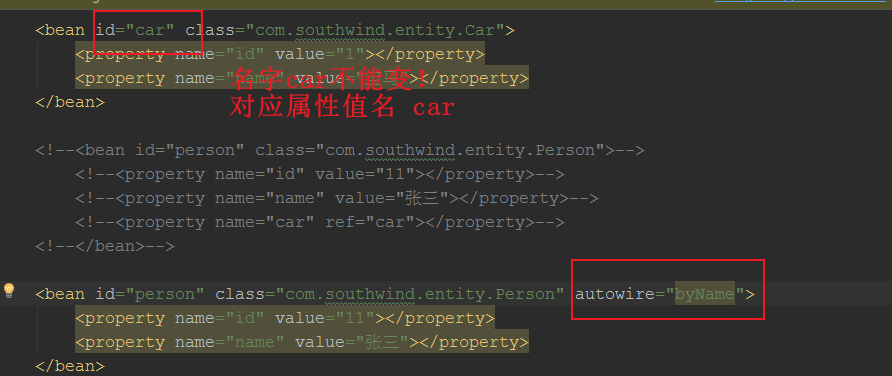
byName 的方法:
    <bean id="car" class="com.southwind.entity.Car">
        <property name="id" value="1"></property>
        <property name="name" value="宝马"></property>
    </bean>

    <bean id="person" class="com.southwind.entity.Person" autowire="byName">
        <property name="id" value="11"></property>
        <property name="name" value="张三"></property>
    </bean>
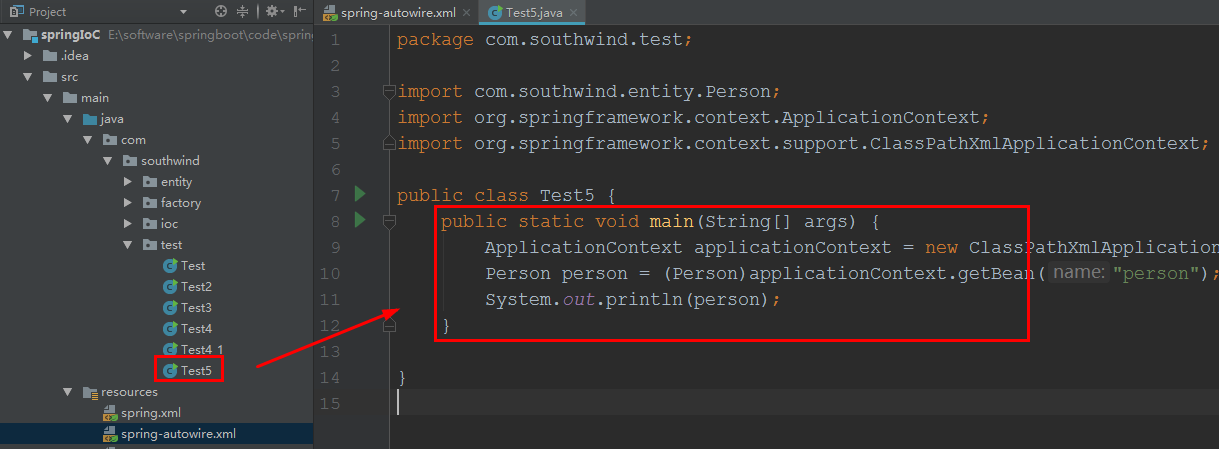
3 在 test 中新建 类 Test5,加入代码:

package com.southwind.test;

import com.southwind.entity.Person;
import org.springframework.context.ApplicationContext;
import org.springframework.context.support.ClassPathXmlApplicationContext;

public class Test5 {
    public static void main(String[] args) {
        ApplicationContext applicationContext = new ClassPathXmlApplicationContext("spring-autowire.xml");
        Person person = (Person)applicationContext.getBean("person");
        System.out.println(person);
    }
}
启动 test/ Test5:

4 在 spring-autowire.xml 中,把 autowire="byName" 改成 autowire="byType"

启动 test/ Test5:

说明:
byName、byType 的效果一样,过程不同
byName:在 xml 的 person 中,发现有个属性值 未赋值,就去找 xml ,找到了 同名字的,就其赋值
byType:在 xml 的 person 中,发现有个属性值 未赋值,就去找 xml ,找到了 有和其解构相同的,就其赋值,所以 名字可以不同

此时 其解构相同的 bean,只能有1个!有相同的会报错
下面是错的,即使名字和内容值不同


 475
475

 被折叠的 条评论
为什么被折叠?
被折叠的 条评论
为什么被折叠?
 到【灌水乐园】发言


