


Xinference安装
新建一个环境
conda create -n xinference python=3.8
conda activate xinference
安装xinference的依赖
pip install "xinference[all]"
启动xinference
xinference-local # 我使用这个命令启动不了
# 设置使用modelscope下载模型
XINFERENCE_MODEL_SRC=modelscope xinference-local -H 0.0.0.0 # 使用这个命令可以启动Xinference安装和模型部署
Xinference使用
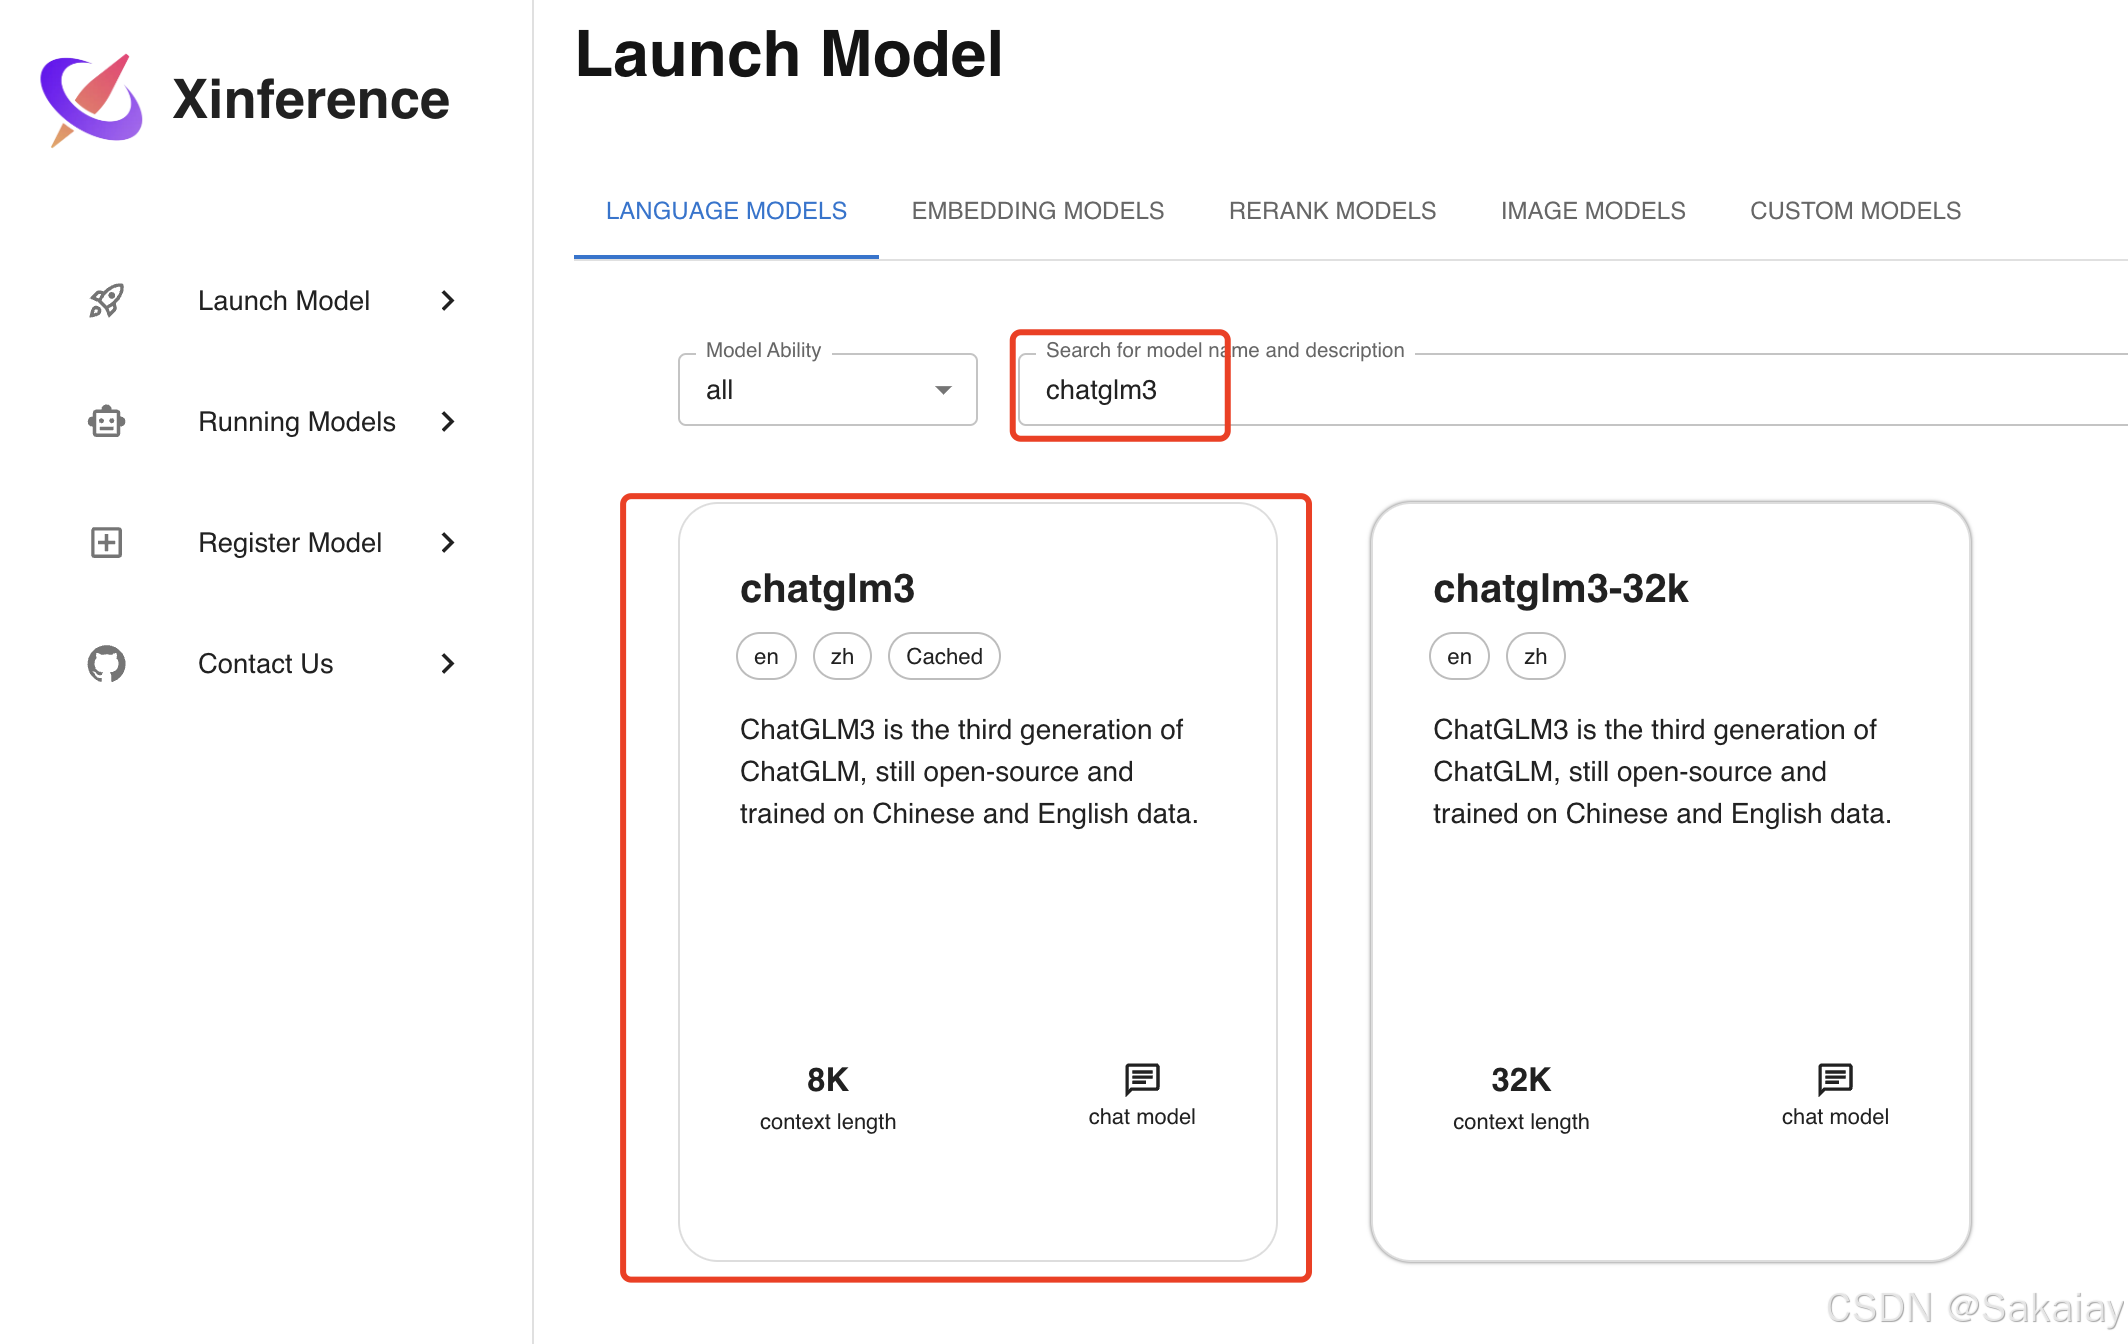
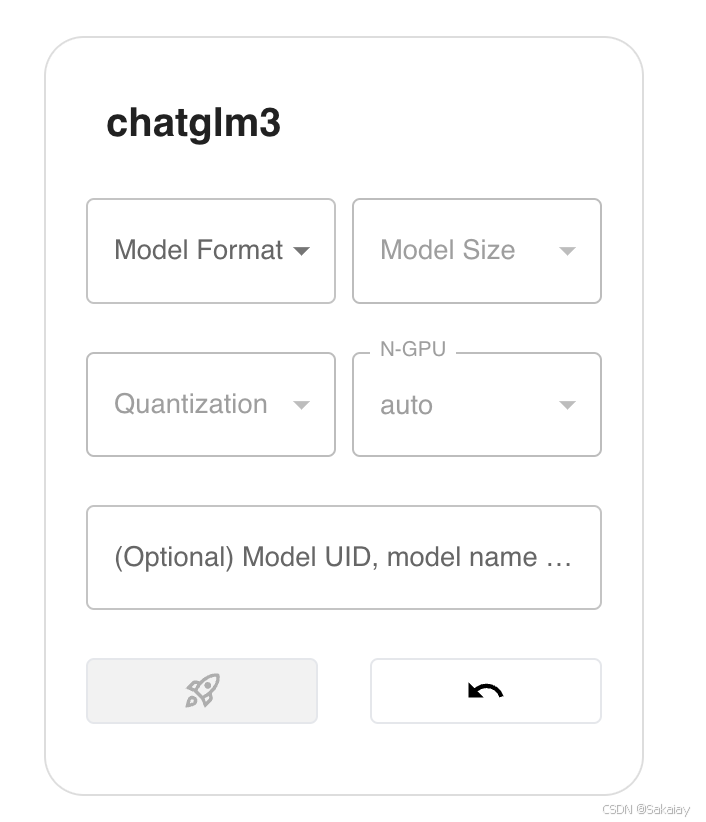
在部署 LLM 模型时,我们有以下参数可以进行选择:
- Model Format: 模型格式,可以选择量化和非量化的格式,非量化的格式是
pytorch,量化格式有ggml、gptq等 - Model Size:模型的参数量大小,如果是 ChatGLM3 的话就只有 6B 这个选项,而如果是 Llama2 的话,则有 7B、13B、70B 等选项
- Quantization:量化精度,有 4bit、8bit 等量化精度选择
- N-GPU:选择使用几个GPU
- Model UID(可选): 模型自定义名称,不填的话就默认用原始模型名称
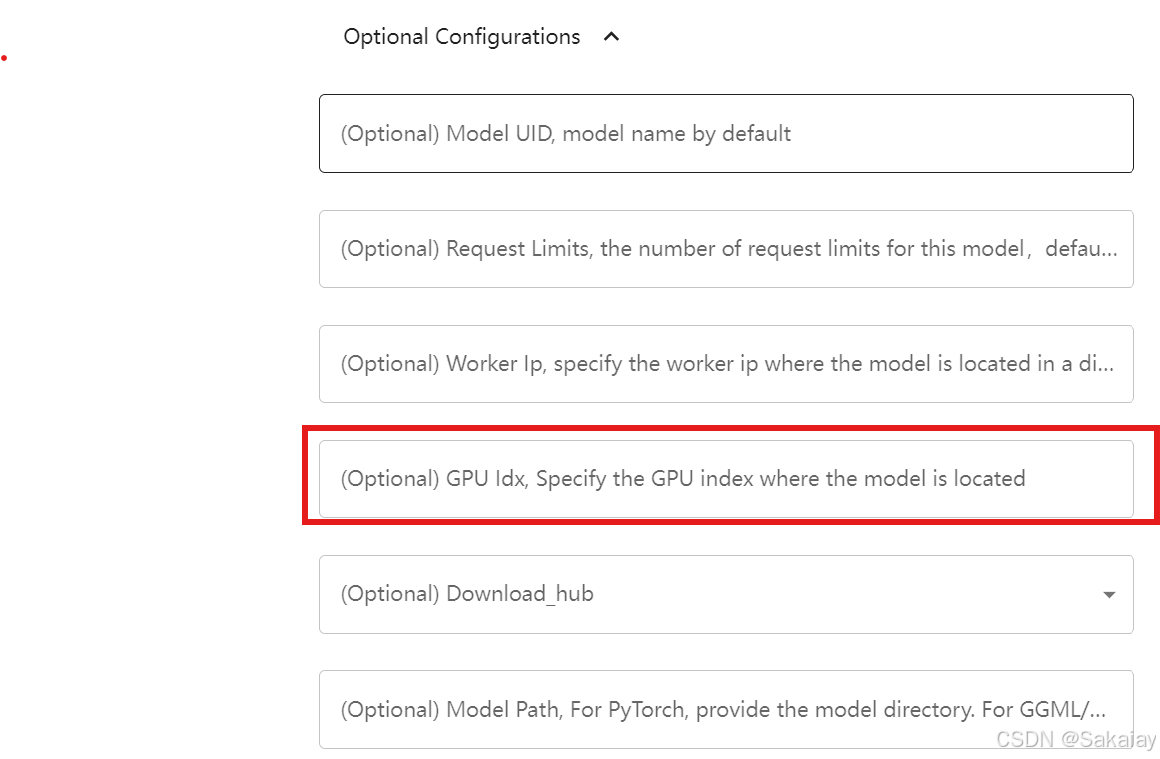
可以指定在哪些GPU上运行
下载的模型默认在.cache/modelscope/hub目录下

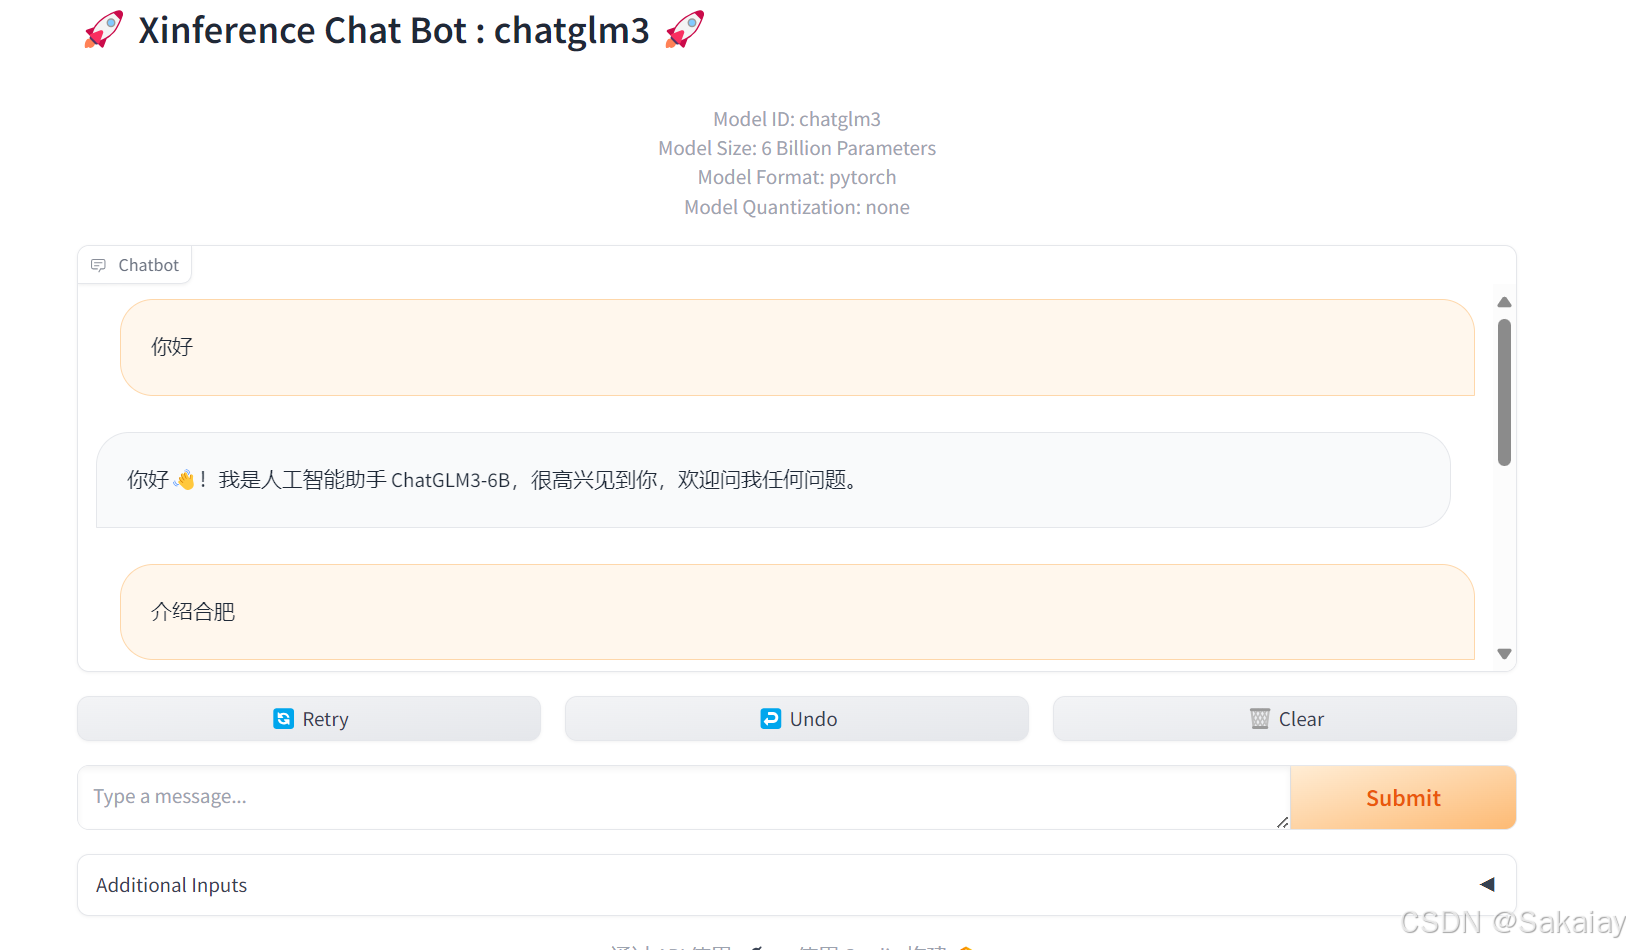
完成部署后就可以和LLM对话
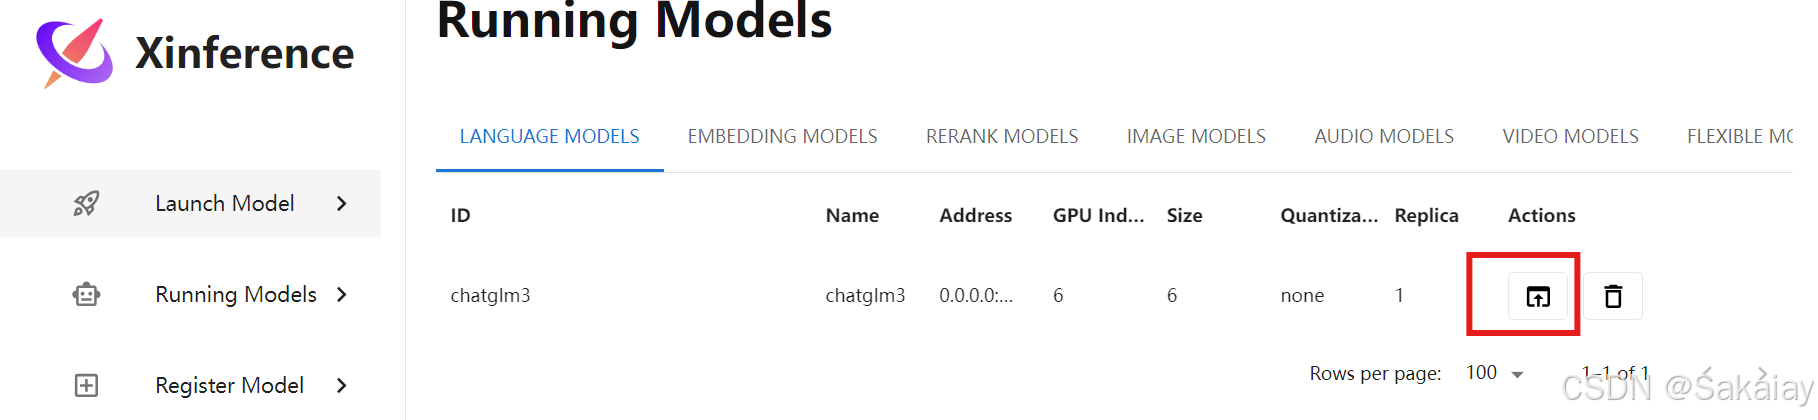
对话效果:
使用openai调用
import openai
BASE_URL = 'http://127.0.0.1:9997/v1' # xinference服务地址
# 与LLM对话
LLM_params = {
        "base_url": BASE_URL,
        "api_key": 'EMPTY',
    }
llm = openai.Client(**LLM_params)

QUERY = "北京"
# 使用chatglm3模型
llm_params = {'messages': [{'content': QUERY, 'role': 'user'}], 'model': 'chatglm3', 'max_tokens': 4096}
result =  llm.chat.completions.create(**llm_params)
print(result.choices[0].message.content)


# Embedding模型
embedding_params = {
        "base_url": BASE_URL,
        "api_key": 'EMPTY',
    }
embedding_model = openai.Client(**embedding_params)
# 使用m3e-base模型
em_params = {'model': 'm3e-base', "input": ["What is the capital of China?"]}
print(embedding_model.embeddings.create(**em_params))
测试LLM对话和embedding模型
参考
使用 Xinference 进行模型部署 - Hacker and Geeker’s Way (zhaozhiming.github.io)
240713-Xinference模型下载、管理及测试_xinference下载模型-CSDN博客
出现报错
安装pip install "xinference[all]"时出现报错
llama-cpp-python, pynini无法安装
 note: This error originates from a subprocess, and is likely not a problem with pip.
ERROR: Failed building wheel for pynini
Failed to build pynini
ERROR: ERROR: Failed to build installable wheels for some pyproject.toml based projects (pynini)
解决方案:
解决了pynini没有安装的问题
conda install -c conda-forge pynini=2.1.5
llama-cpp-python为安装的问题没有解决
后续可以参考如下方案:
运行模型时发生报错:‘GenerationConfig’ object has no attribute ‘_eos_token_tensor’
将 transformers 版本降级至 4.39.2 可解决此问题。
pip install transformers==4.39.2


 7632
7632

 被折叠的 条评论
为什么被折叠?
被折叠的 条评论
为什么被折叠?
 到【灌水乐园】发言


