


1. 说明
通过tf.image.sample_distorted_bounding_box()等方法随机裁剪图片
2. 代码
# ---------------------------
# @Time : 2022/5/18 9:34
# @Author : lcq
# @File : test.py
# @Function :
# ---------------------------
import numpy as np
import math
import matplotlib.pyplot as plt
import tensorflow as tf
import matplotlib
matplotlib.rcParams['font.sans-serif'] = ['SimHei'] # 显示中文
# 为了坐标轴负号正常显示。matplotlib默认不支持中文,设置中文字体后,负号会显示异常。需要手动将坐标轴负号设为False才能正常显示负号。
matplotlib.rcParams['axes.unicode_minus'] = False
from tensorflow.python.ops import control_flow_ops
image_raw_data = tf.gfile.FastGFile("photo.jpeg", 'rb').read()
with tf.Session() as sess:
img_data = tf.image.decode_jpeg(image_raw_data)
# 输出解码之后的三维矩阵。
# print(img_data.eval())
# print(img_data.get_shape())
img_data.set_shape([1007, 1000, 3])
print(img_data.get_shape())
with tf.Session() as sess:
boxes = tf.constant([[[0.05, 0.05, 0.9, 0.7], [0.35, 0.47, 0.5, 0.56]]])
# sample_distorted_bounding_box要求输入图片必须是实数类型。
image_float = tf.image.convert_image_dtype(img_data, tf.float32)
begin, size, bbox_for_draw = tf.image.sample_distorted_bounding_box(
tf.shape(image_float), bounding_boxes=boxes, min_object_covered=0.99)
# 截取后的图片
distorted_image = tf.slice(image_float, begin, size)
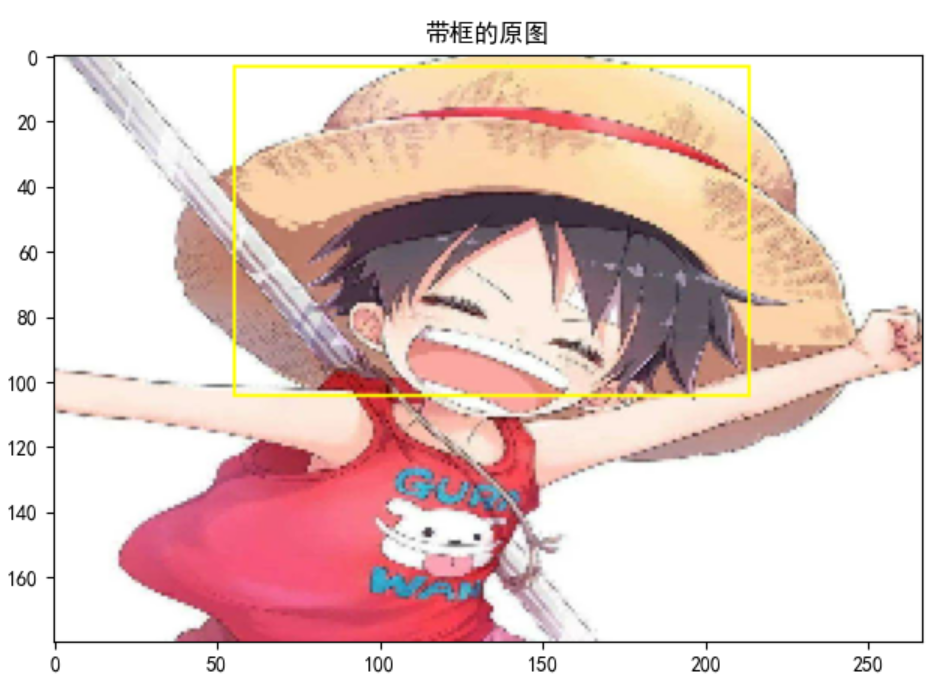
# 在原图上用标注框画出截取的范围。由于原图的分辨率较大(1007, 1000),生成的标注框
# 在Jupyter Notebook上通常因边框过细而无法分辨,这里为了演示方便先缩小分辨率。
image_small = tf.image.resize_images(image_float, [180, 267], method=0)
batchced_img = tf.expand_dims(image_small, 0)
image_with_box = tf.image.draw_bounding_boxes(batchced_img, bbox_for_draw)
# 执行会话,一次性获得标注框内图像和带有标注框的原图像
distorted_image_, image_with_box_ = sess.run([distorted_image, image_with_box])
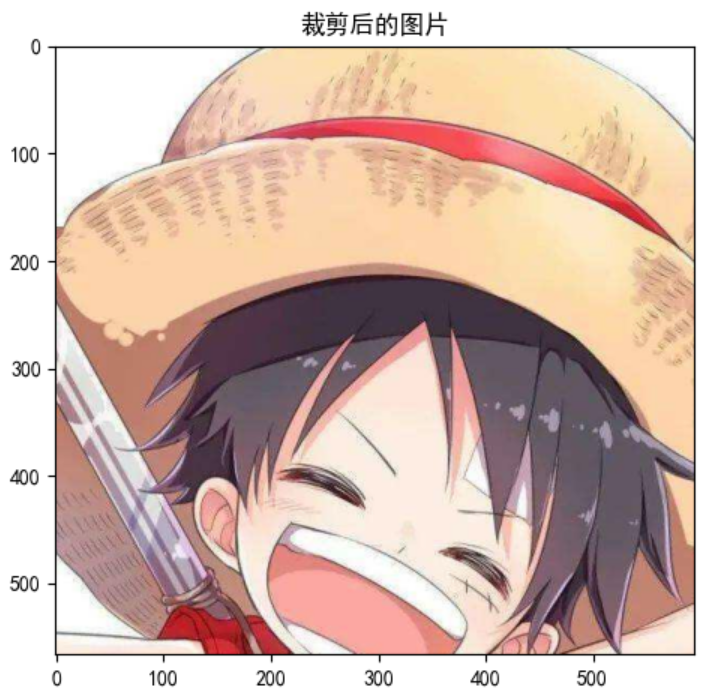
plt.imshow(distorted_image_)
plt.title("裁剪后的图片")
plt.show()
plt.imshow(image_with_box_[0])
plt.title("带框的原图")
plt.show()
3. 裁剪结果
注:
代码有借鉴之前一位简书老哥的,但由于写博客和查阅资料相隔了几天,我找不到之前那位老哥的博客了。
之所以记录是未来方便自己查看,公开也是为了能让更多人看到。
感谢那位老哥,若有侵权,联系即删。


 4407
4407


 被折叠的 条评论
为什么被折叠?
被折叠的 条评论
为什么被折叠?
 到【灌水乐园】发言


