


一、多渠道打包
第一步:在 app 的 build.gradle 添加 productFlavors 模块
android {

    defaultConfig {
        ...
    }

    buildTypes {
        ...
    }

    productFlavors {
        qudao1 {
            applicationId "..."
            resValue "string", "app_name", "..."
            manifestPlaceholders = [
                    app_icon:"@drawable/ic_launcher",
                    app_roundicon:"@drawable/ic_launcher"
            ]
        }
        qudao2 {
            applicationId "..."
            resValue "string", "app_name", "..."
            manifestPlaceholders = [
                    app_icon:"@drawable/ic_launcher",
                    app_roundicon:"@drawable/ic_launcher"
            ]
        }
        ...
    }

    lintOptions {
        ...
    }
    compileOptions {
        sourceCompatibility JavaVersion.VERSION_1_8
        targetCompatibility JavaVersion.VERSION_1_8
    }
}
有几个渠道就添加几个,其中 applicationId 是包名,用于区分不同的安装包,applicationId 相同的安装包不能同时安装在同一个设备上,resValue "string", "app_name", "..." 是在 string.xml 中插入一个 app_name 字符串,所以在 string.xml 中不能有 app_name 字符串,否则会导致冲突。manifestPlaceholders 是定义应用图标。
第二步:修改 AndroidManifest.xml 文件
<application
        ...
        android:icon="${app_icon}"
        android:label="@string/app_name"
        android:roundIcon="${app_roundicon}"
        ...>
        ...
    </application>
将应用图标和名称修改为 build.gradle 中定义的值。
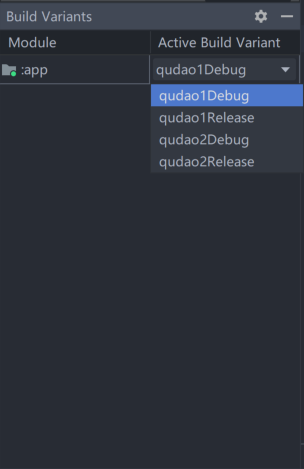
这样就可以看到自己定义的渠道并构建相应的 apk。
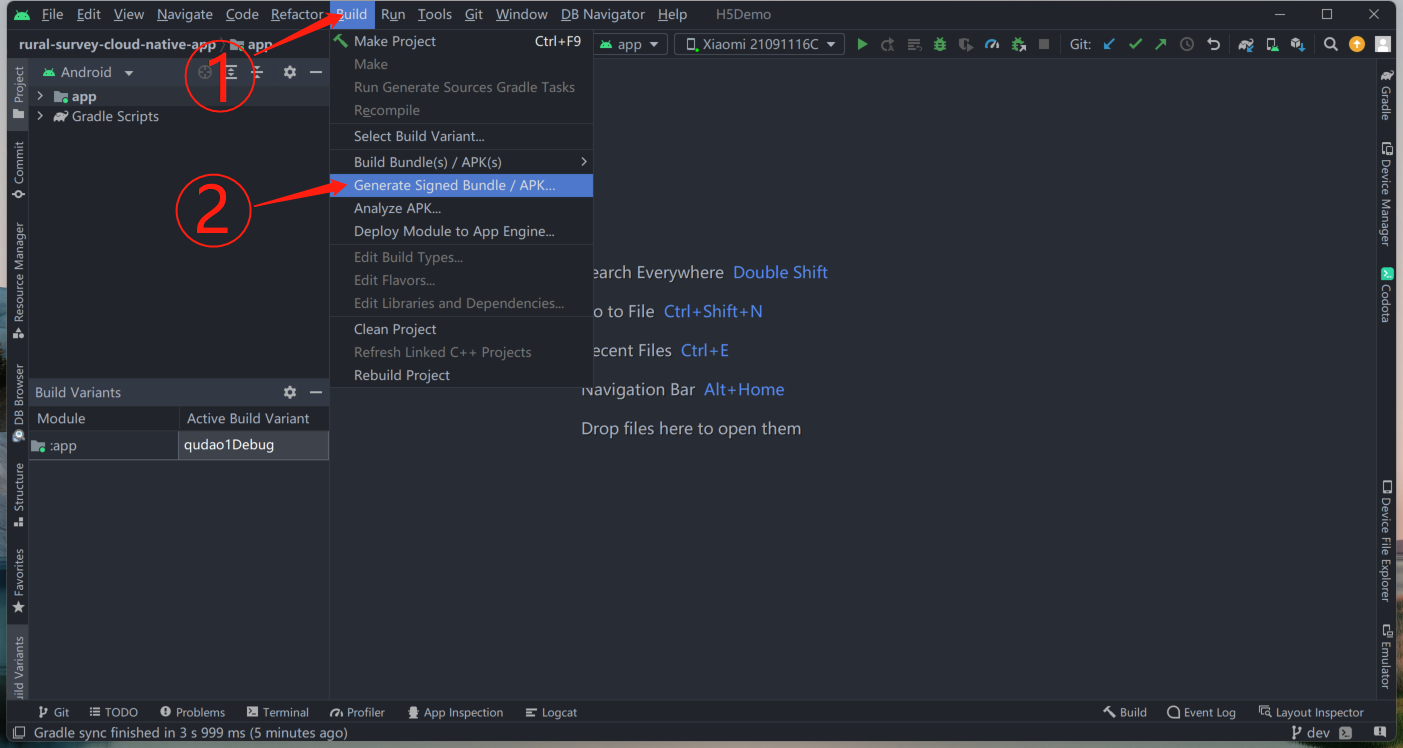
二、应用签名
当我们完成上述步骤,可能会出 release 包无法安装的情况,这是因为我们的 apk 没有进行签名。
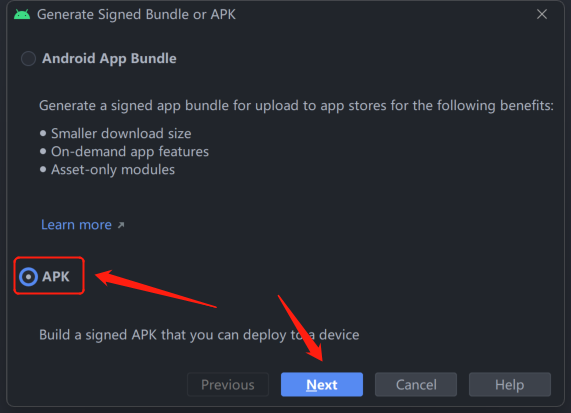
第一步:创建签名文件
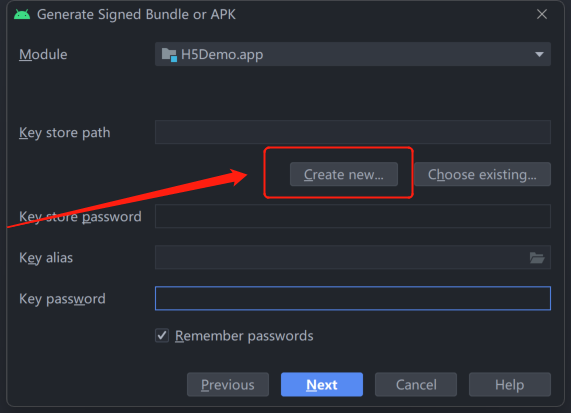

填写完所有信息后点击 OK 就可以成功创建秘钥了。
第二步:配置签名信息
修改 app 的 build.gradle 文件,添加 signingConfigs 模块。
android {
    ...

    defaultConfig {
        ...
    }

    signingConfigs {
        release {
            keyAlias '...'
            keyPassword '...'
            storeFile file('...')
            storePassword '...'
        }
    }

    buildTypes {
        release {
            minifyEnabled false
            proguardFiles getDefaultProguardFile('proguard-android-optimize.txt'), 'proguard-rules.pro'
            signingConfig signingConfigs.release
        }
    }

    productFlavors {
        ...
    }
    ...
}
注意完成 signingConfigs 后,要在 buildTypes 下添加 signingConfig signingConfigs.release,否则会打包失败或无法安装。


 485
485


 被折叠的 条评论
为什么被折叠?
被折叠的 条评论
为什么被折叠?
 到【灌水乐园】发言


