


题目
3.4 随机梯度下降【斯坦福21秋季:实用机器学习中文版】代码实现
代码
'''
Description: SGD代码实现
Autor: 365JHWZGo
Date: 2022-03-20 12:10:30
LastEditors: 365JHWZGo
LastEditTime: 2022-03-20 17:46:25
'''
import random
import torch
import matplotlib.pyplot as plt
EPOCH = 40
BATCH_SIZE = 32
m = 3
NUM = 1000
LR = 0.03
# 创造数据
def create_data(w, b, num_examples):
# w.shape [m, 1]
# b.shape [1]
# X.shape [num_examples, m]
X = torch.normal(0, 1, (num_examples, len(w)))
# y = X*w = [num_examples, 1]
y = torch.matmul(X, w) + b
# Y.shape [num_examples, 1]
Y = torch.normal(0, 0.01, y.shape)+y
return X, Y
# batch数据截取
def data_iteration(batch_size, features, labels):
# features.shape [num_examples, m]
# labels.shape [num_examples, 1]
num_examples = len(features)
indices_num = list(range(num_examples))
random.shuffle(indices_num)
for i in range(0, num_examples, batch_size):
data_indices = torch.tensor(
# 当数据不足切片时,取到num_examples
indices_num[i:min(i+batch_size, num_examples)]
)
# features.shape [batch_size, m]
# labels.shape [batch_size, 1]
yield features[data_indices], labels[data_indices]
# SGD函数
def SGD(y_acc, y_pre):
loss = ((y_acc - y_pre)**2/2).sum()
return loss
# 函数预测
def linear_predict(x, w, b):
y = torch.matmul(x, w)+b
return y
'''
实际上的w和b
'''
# w_acc.shape [m, 1]
w_acc = torch.tensor([[-2.0], [2.5], [-1.9]])
# b_acc.shape [1]
b_acc = torch.tensor([8.1])
# 生成有噪音的数据
features, labels = create_data(w_acc, b_acc, NUM)
'''
画图
plt.scatter(features[:, (1)].detach().numpy(), labels.detach().numpy(), 1)
plt.show()
'''
'''
预测时初始化w和b
'''
# w.shape [m, 1] 可导
w = torch.normal(0, 0.01, (m,1), requires_grad=True)
# b.shape [1] 可导
b = torch.zeros(1, requires_grad=True)
# 主函数入口
if __name__ == '__main__':
for epoch in range(EPOCH):
# features.shape [batch_size, m]
# labels.shape [batch_size, 1]
for f, l in data_iteration(BATCH_SIZE, features, labels):
# 进行y值预测 y_pre.shape [batch_size, 1]
y_pre = linear_predict(f, w, b)
# SGD梯度下降
loss = SGD(l, y_pre)
# 求导
loss.backward()
with torch.no_grad():
for param in [w, b]:
param -= LR * param.grad / BATCH_SIZE
param.grad.zero_()
# test
with torch.no_grad():
test_loss = SGD(labels, linear_predict(features, w, b)).mean()
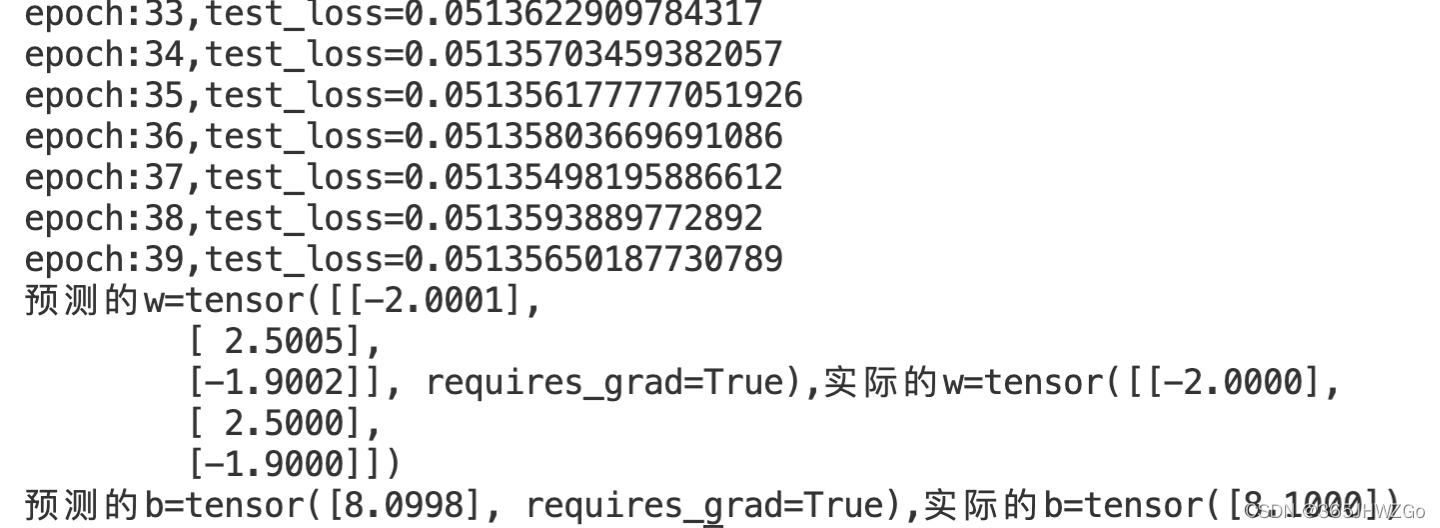
print(f'epoch:{epoch},test_loss={test_loss}')
print(f'预测的w={w},实际的w={w_acc}\n预测的b={b},实际的b={b_acc}')

'''
画图
'''
sample_x = np.linspace(-10,10,10)
w_accurancy = w_acc.flatten().numpy()
b_accurancy = b_acc.flatten().numpy()
sample_y = []
sample_y_pre = []
w_prediction = w.flatten().detach().numpy()
b_prediction = b.flatten().detach().numpy()
for i in range(len(sample_x)):
sample_y.append(sample_x[i]*w_accurancy[0]+sample_x[i]*w_accurancy[1]+sample_x[i]*w_accurancy[2]+b_accurancy[0])
sample_y_pre.append(sample_x[i]*w_prediction[0]+sample_x[i]*w_prediction[1]+sample_x[i]*w_prediction[2]+b_prediction[0])
plt.figure(num=0, figsize=(8, 5))
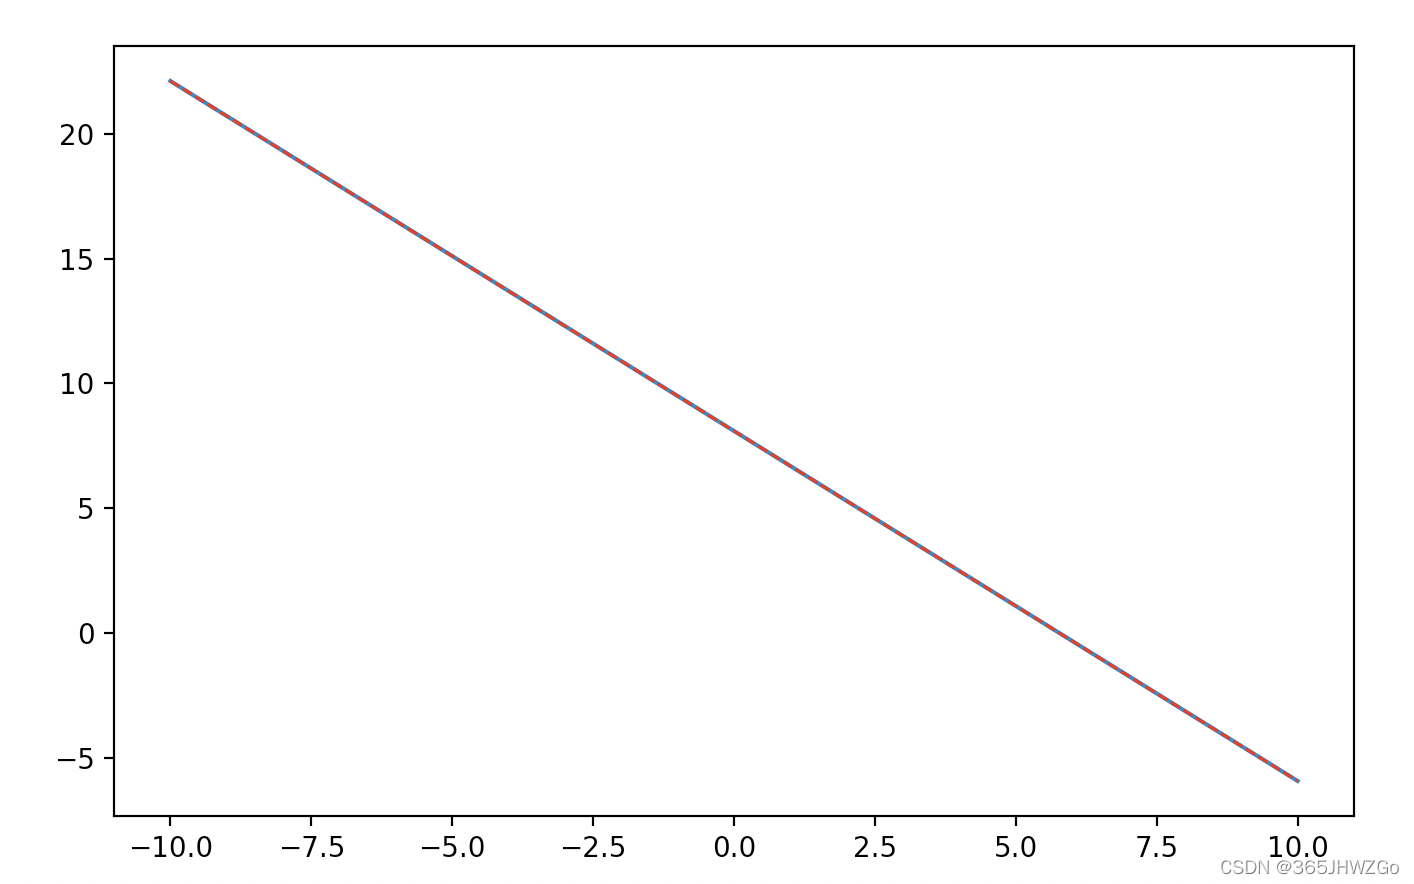
plt.plot(sample_x,sample_y,label="真实函数")
plt.plot(sample_x,sample_y_pre,color='red', linewidth=1.0, linestyle='--',label="预测函数")
plt.show()
真实函数和预测函数比较
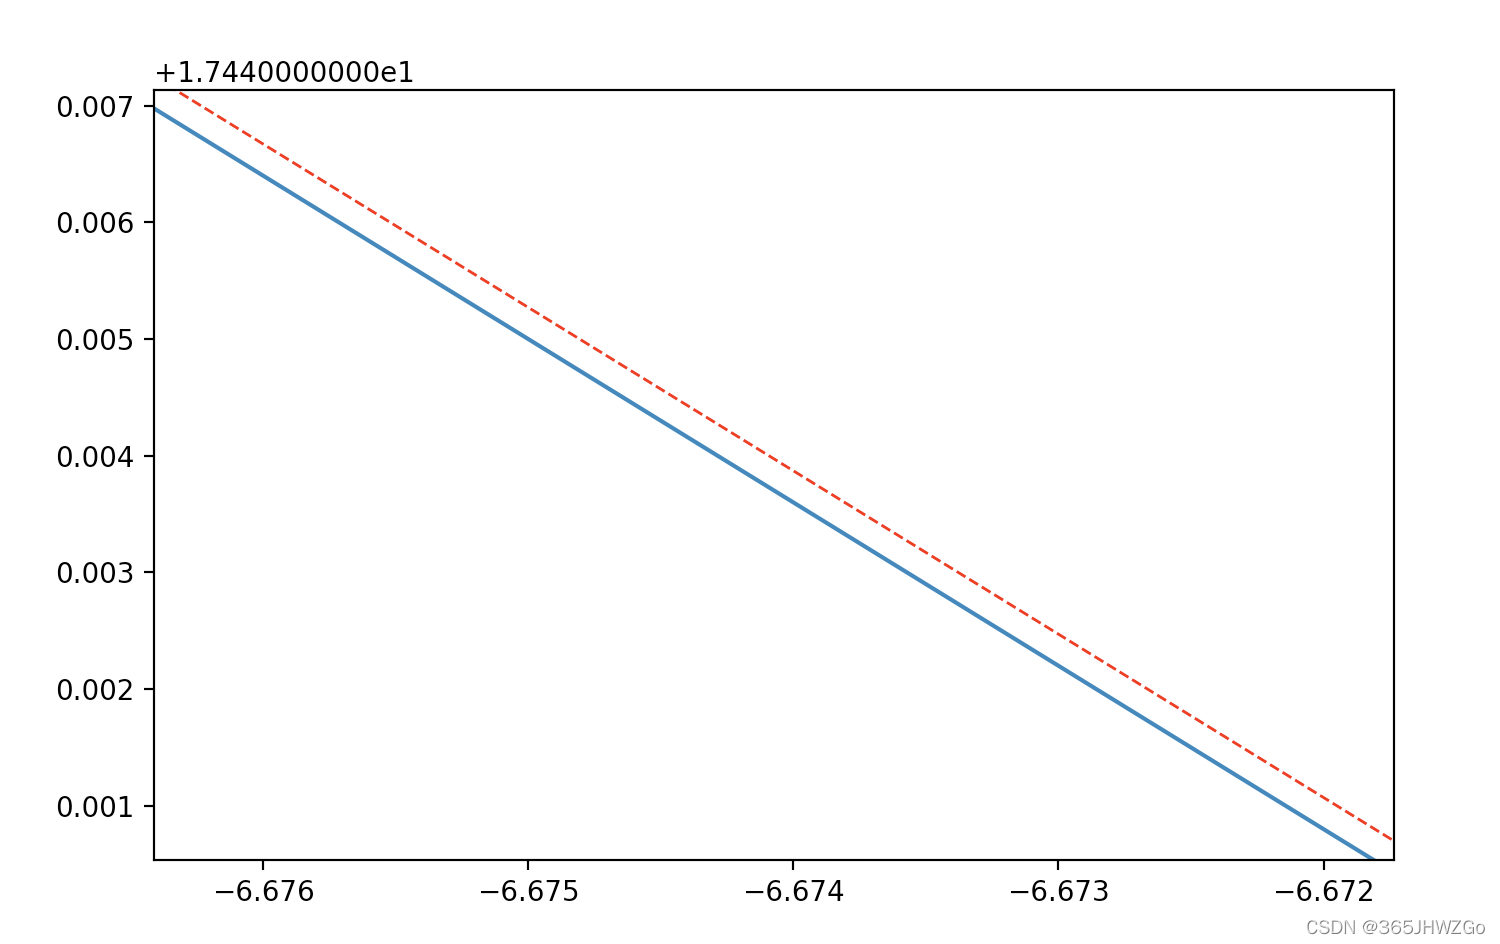
放大后


 2035
2035


 被折叠的 条评论
为什么被折叠?
被折叠的 条评论
为什么被折叠?
 到【灌水乐园】发言


