


Pytorch学习笔记
本次需要下载mnist数据集,四个文件都需要下载。
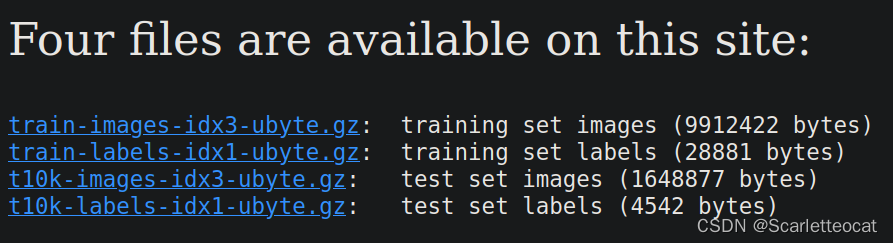
下载后,使用gunzip + 文件名的方式解压,然后在python文件的路径下新建一个‘data’文件夹,把这四个文件放进去。
话不多说,直接放代码:
"""
Trains a simple convnet on the MNIST dataset.
"""

from __future__ import print_function
import os
import struct
import numpy as np
import torch
import torch.nn as nn
import torch.nn.functional as F
import torch.optim as optim
from torch.autograd import Variable

def load_mnist(path,kind='train'):
    """Load MNIST data from path"""
    labels_path = os.path.join(path,'%s-labels-idx1-ubyte' %kind)
    images_path = os.path.join(path,'%s-images-idx3-ubyte' %kind)
    with open(labels_path,'rb') as lbpath:
        magic, n = struct.unpack('>II',lbpath.read(8))
        labels = np.fromfile(lbpath,dtype=np.uint8)
    with open(images_path,'rb') as imgpath:
        magic, num, rows, cols = struct.unpack(">IIII",imgpath.read(16))
        images = np.fromfile(imgpath,dtype=np.uint8).reshape(len(labels),784)
    return images,labels

X_train,Y_train = load_mnist('./data',kind='train')
print("shape: ",X_train.shape)
print("Rows: %d,columns: %d" %(X_train.shape[0],X_train.shape[1]))
X_test,Y_test = load_mnist('./data',kind='t10k')
print('Rows: %d,columns: %d' %(X_test.shape[0],X_test.shape[1]))

batch_size = 100
num_classes = 10
epochs = 5

#input image dimensions
img_rows, img_cols = 28,28
x_train = X_train
x_test = X_test

if 'channels_first' == 'channels_first':
    x_train = x_train.reshape(x_train.shape[0],1,img_rows,img_cols)
    x_test = x_test.reshape(x_test.shape[0],1,img_rows,img_cols)
    input_shape = (1,img_rows,img_cols)
else:
    x_train = x_train.reshape(x_train.shape[0],img_rows,img_cols,1)
    x_test = x_test.reshape(x_test.shape[0],img_rows,img_cols,1)
    input_shape = (img_rows,img_cols,1)

x_train = x_train.astype('float32')
x_test = x_test.astype('float32')
x_train /= 255
x_test /= 255
print('x_train shape: ',x_train.shape)
print(x_train.shape[0],'train samples')
print(x_test.shape[0],'test samples')
num_samples = x_train.shape[0]
print("num_samples: ",num_samples)

"""
build torch model
"""
class Net(nn.Module):
    def __init__(self):
        super(Net,self).__init__()
        self.conv1 = nn.Conv2d(1,32,kernel_size=5)
        self.conv2 = nn.Conv2d(32,64,kernel_size=5)
        self.conv2_drop = nn.Dropout2d(p=0.2)
        self.fc1 = nn.Linear(1024,50)
        self.fc2 = nn.Linear(50,10)

    def forward(self,x):
        x = F.relu(F.max_pool2d(self.conv1(x),2))
        x = F.relu(F.max_pool2d(self.conv2_drop(self.conv2(x)),2))
        x = x.view(-1,1024)
        x = F.relu(self.fc1(x))
        x = F.dropout(x,training=self.training)
        x = self.fc2(x)
        return F.log_softmax(x,dim=1)

model = Net()
if os.path.exists('mnist_torch.pkl'):
    model = torch.load('mnist_torch.pkl')

print(model)

"""
training
"""
optimizer = optim.SGD(model.parameters(),lr=0.01,momentum=0.5)
#loss = torch.nn.CrossEntropyLoss(size_average=True)
def train(epoch,x_train,y_train):
    num_batchs = int(num_samples/batch_size)
    model.train()
    for k in range(num_batchs):
        start,end = k*batch_size,(k+1)*batch_size
        data,target = Variable(x_train[start:end],requires_grad=False),Variable(y_train[start:end])
        optimizer.zero_grad()
        output = model(data)
        loss = F.nll_loss(output,target)
        loss.backward()
        optimizer.step()
        if k%10 == 0:
            print('Train Epoch: {} [{}/{} ({:.0f}%)]\tLoss: {:.6f}'.format(epoch,k*len(data),num_samples,100.*k/num_samples,loss.item()))
    torch.save(model,'mbist_torch.pkl')

"""
evaluate
"""
def test(epoch):
    model.eval()
    test_loss = 0
    correct = 0
    if 2>1:
        with torch.no_grad():
            data,target = Variable(x_test),Variable(y_test)
        #data,target = Variable(x_test,volatile=True),Variable(y_test)
        output = model(data)
        test_loss += F.nll_loss(output,target).item()
        pred = output.data.max(1)[1]
        correct += pred.eq(target.data).cpu().sum()

    test_loss = test_loss
    test_loss /= len(x_test)
    print('\nTest set: Average loss: {:.4f}, Accuracy: {}/{} ({:.0f}%)\n'.format(test_loss,correct,len(x_test),100.*correct/len(x_test)))

x_train = torch.from_numpy(x_train).float()
x_test = torch.from_numpy(x_test).float()
y_train = torch.from_numpy(Y_train).long()
y_test = torch.from_numpy(Y_test).long()
for epoch in range(1,epochs):
    train(epoch,x_train,y_train)
    test(epoch)
通过修改epochs参数,可以修改迭代的次数,以提高准确率;
修改网络层参数,可以更改单次迭代效率。
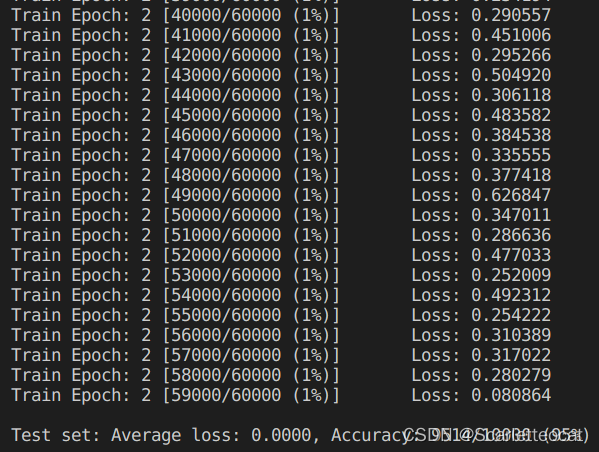
运行结果:
-
epoch1:

-
epoch2:
-
epoch3:

-
epoch4:
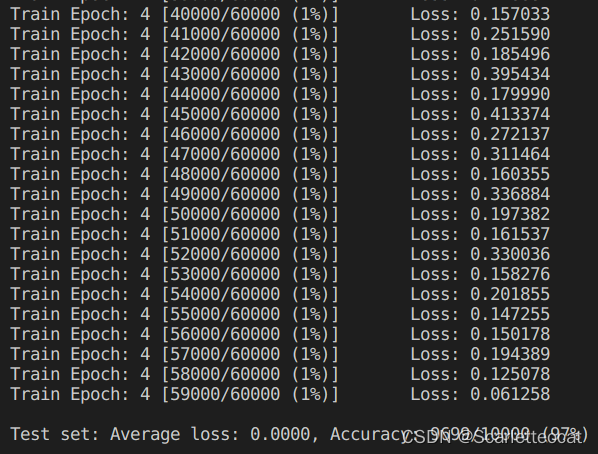
可以看出,随着迭代次数的增加,准确率越来越高。


 430
430


 被折叠的 条评论
为什么被折叠?
被折叠的 条评论
为什么被折叠?
 到【灌水乐园】发言


