


正常页面加上deep深度查询是可以访问到的,但是子组件确实访问不到
父组件代码
<script setup>
import TheWelcome from '../components/TheWelcome.vue'
</script>

<template>
  <main>
    <TheWelcome />
  </main>
</template>
子组件代码
<template>
  <el-button text @click="centerDialogVisible = true">
    打开子组件弹框
  </el-button>
  <el-dialog
    v-model="centerDialogVisible"
    title="子组件弹框"
    width="30%"
    center
  >
    <span> 我是打开的子组件弹框 </span>
    <template #footer>
      <span class="dialog-footer">
        <el-button @click="centerDialogVisible = false">取消</el-button>
        <el-button type="primary" @click="centerDialogVisible = false">
          确认
        </el-button>
      </span>
    </template>
  </el-dialog>
</template>
<script  setup>
import { ref } from "vue";

const centerDialogVisible = ref(false);
</script>
<style scoped>
.dialog-footer button:first-child {
  margin-right: 10px;
}

:deep(.el-dialog) {
  border: red 5px solid;
}
</style>
效果图

样式并没有改变,所以这样写深度查询子组件是无法查到的
解决办法:添加一个父类class,因为在子组件上可以精准的找到父类class,通过父类class找到弹框的样式,就可以进行更改了。
子组件改变后的代码
<template>
  <el-button text @click="centerDialogVisible = true">
    打开子组件弹框
  </el-button>
  <div class="dialogClass">
    <el-dialog
      v-model="centerDialogVisible"
      title="子组件弹框"
      width="30%"
      center
    >
      <span> 我是打开的子组件弹框 </span>
      <template #footer>
        <span class="dialog-footer">
          <el-button @click="centerDialogVisible = false">取消</el-button>
          <el-button type="primary" @click="centerDialogVisible = false">
            确认
          </el-button>
        </span>
      </template>
    </el-dialog>
  </div>
</template>
<script  setup>
import { ref } from "vue";

const centerDialogVisible = ref(false);
</script>
<style scoped>
.dialog-footer button:first-child {
  margin-right: 10px;
}

.dialogClass :deep(.el-dialog) {
  border: red 5px solid;
}
</style>
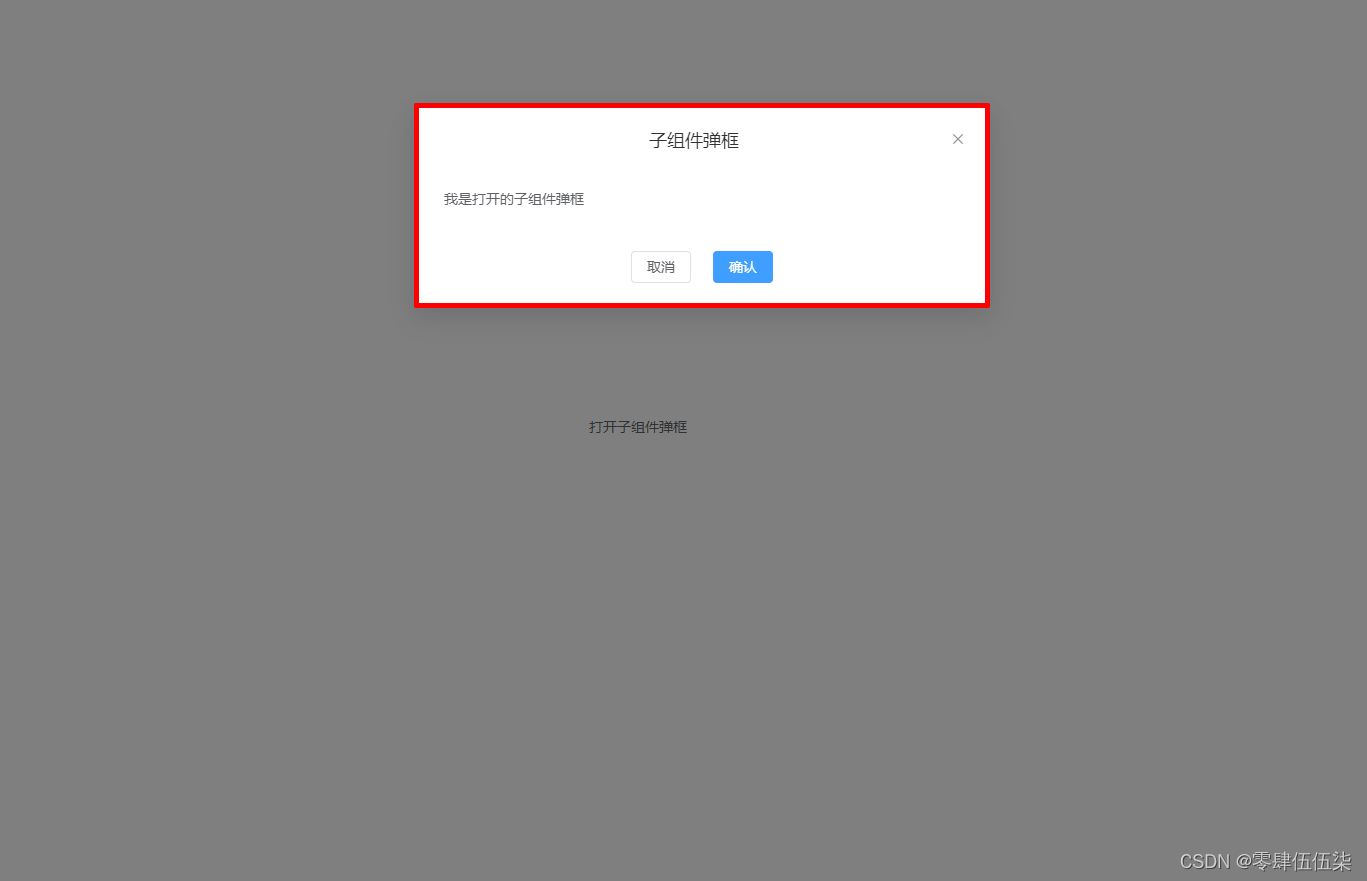
改变后的效果图


 3754
3754


 被折叠的 条评论
为什么被折叠?
被折叠的 条评论
为什么被折叠?
 到【灌水乐园】发言


