


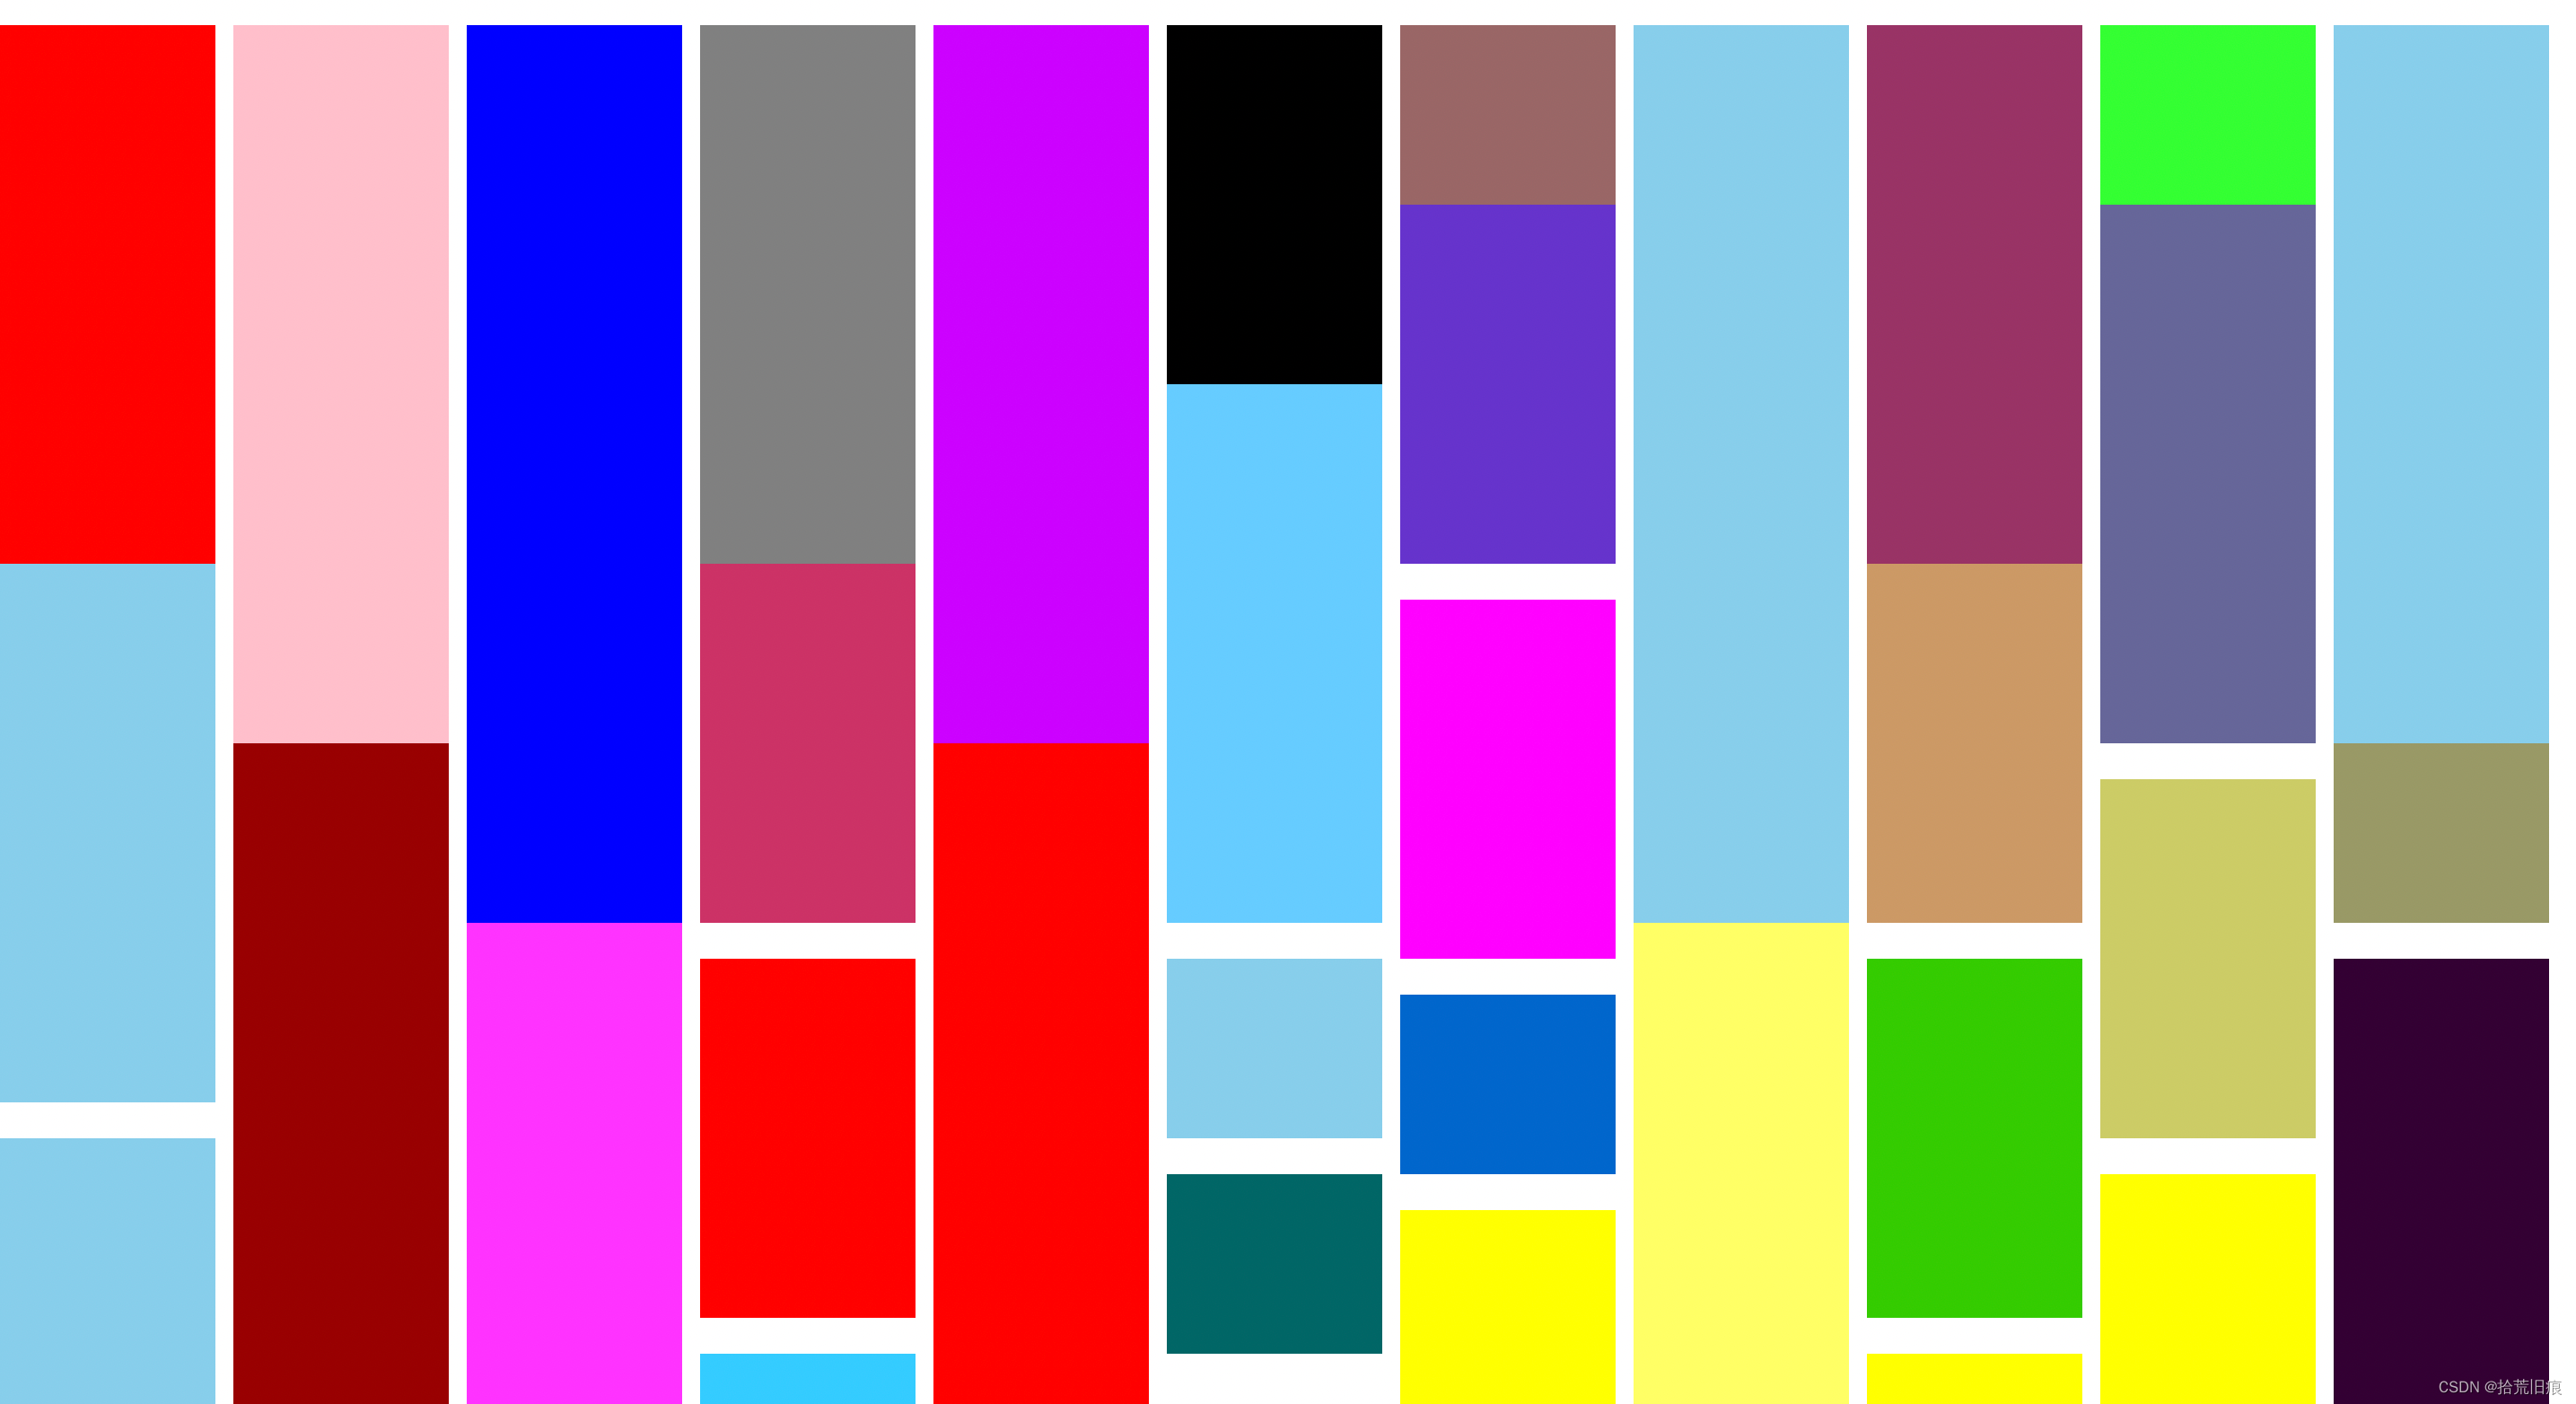
效果图:
1.通过父组件传递基础数据给子组件
<template>
  <waterFall :list="list"></waterFall>
</template>

<script setup lang='ts'>
import waterFall from './components/water-fall.vue';

const list = [
  {
    height: 300,
    background: 'red'
  },
  {
    height: 400,
    background: 'pink'
  },
  {
    height: 500,
    background: 'blue'
  },
  {
    height: 300,
    background: 'gray'
  },
  {
    height: 400,
    background: '#CC00FF'
  },
  {
    height: 200,
    background: 'black'
  },
  {
    height: 100,
    background: '#996666'
  },
  {
    height: 500,
    background: 'skyblue'
  },
  {
    height: 300,
    background: '#993366'
  },
  {
    height: 100,
    background: '#33FF33'
  },
  {
    height: 400,
    background: 'skyblue'
  },
  {
    height: 200,
    background: '#6633CC'
  },
  {
    height: 300,
    background: '#666699'
  },
  {
    height: 300,
    background: '#66CCFF'
  },
  {
    height: 300,
    background: 'skyblue'
  },
  {
    height: 200,
    background: '#CC3366'
  },
  {
    height: 200,
    background: '#CC9966'
  },
  {
    height: 200,
    background: '#FF00FF'
  },
  {
    height: 500,
    background: '#990000'
  },
  {
    height: 400,
    background: 'red'
  },
  {
    height: 100,
    background: '#999966'
  },
  {
    height: 200,
    background: '#CCCC66'
  },
  {
    height: 300,
    background: '#FF33FF'
  },
  {
    height: 400,
    background: '#FFFF66'
  },
  {
    height: 200,
    background: 'red'
  },
  {
    height: 100,
    background: 'skyblue'
  },
  {
    height: 200,
    background: '#33CC00'
  },
  {
    height: 300,
    background: '#330033'
  },
  {
    height: 100,
    background: '#0066CC'
  },
  {
    height: 200,
    background: 'skyblue'
  },
  {
    height: 100,
    background: '#006666'
  },
  {
    height: 200,
    background: 'yellow'
  },
  {
    height: 300,
    background: 'yellow'
  },
  {
    height: 100,
    background: '#33CCFF'
  },
  {
    height: 400,
    background: 'yellow'
  },
]

</script>

<style>
html,
body {
  padding: 0;
  margin: 0;
}
</style>
2.子组件接收数据并展示
<template>
  <div class="wraps">
    <div v-for="item in waterList"
      :style="{ height: item.height + 'px', left: item.left + 'px', top: item.top + 'px', background: item.background }"
      class="items">
    </div>
  </div>
</template>

<script setup lang='ts'>
import { onMounted, reactive } from 'vue'

const props = defineProps<{
  list: any[]
}>()
const waterList = reactive<any[]>([])
const heightList = reactive<Array<number>>([])
// 瀑布流思路:首先算出第一行可以排列的列数,然后后续开始 盒子依次填充到第一行高度最小的盒子下面,维护第一行的高度的变化;
const init = () => {
  const width = 130
  const x = document.body.clientWidth
  const column = Math.floor(x / width)
  console.log('column', column);
  for (let i = 0; i < props.list.length; i++) {
    if (i < column) { // 第一行
      props.list[i].left = i * width
      props.list[i].top = 20
      waterList.push(props.list[i])
      heightList.push(props.list[i].height)
    } else { //
      let current = heightList[0]
      let index = 0
      heightList.forEach((h, i) => { // 遍历高度数组,取出最小的高度以及索引
        if (current > h) {
          current = h
          index = i
        }
      })
      props.list[i].top = current + 20
      props.list[i].left = index * width
      heightList[index] = heightList[index] + props.list[i].height + 20 // 修改此前的最小高度的数值
      waterList.push(props.list[i])
      // console.log('current', current);
      // console.log('index', index);
    }
  }
}

onMounted(() => {
  init()
})
</script>

<style scoped lang="less">
.wraps {
  position: relative;

  .items {
    position: absolute;
    width: 120px;
  }
}
</style>


 2285
2285


 被折叠的 条评论
为什么被折叠?
被折叠的 条评论
为什么被折叠?
 到【灌水乐园】发言


