


前言:众所周知,很多人在社交平台看到有小伙伴写小软件来表白也想蠢蠢欲试。但是由于自己技术不强,甚至没有接触过编程相关的知识而灰心。但是别担心,下面我将介绍一种简单上手的小软件制作方法,只要稍加学习便可掌握运用(短时间精通是不太可能了)。
工具:编辑器,python环境。
制作简介:本软件采取了相对之下简单上手的python语言来开发,并且主要用到了 tkinter 模块来开发。tkinter 最大的好处是简单上手,可重复性强。最后将python文件进行打包生成可执行文件发给你心爱的人。当然拿来恶搞也不是不可以哦。
软件展示: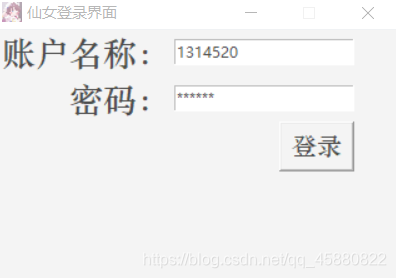
动画演示: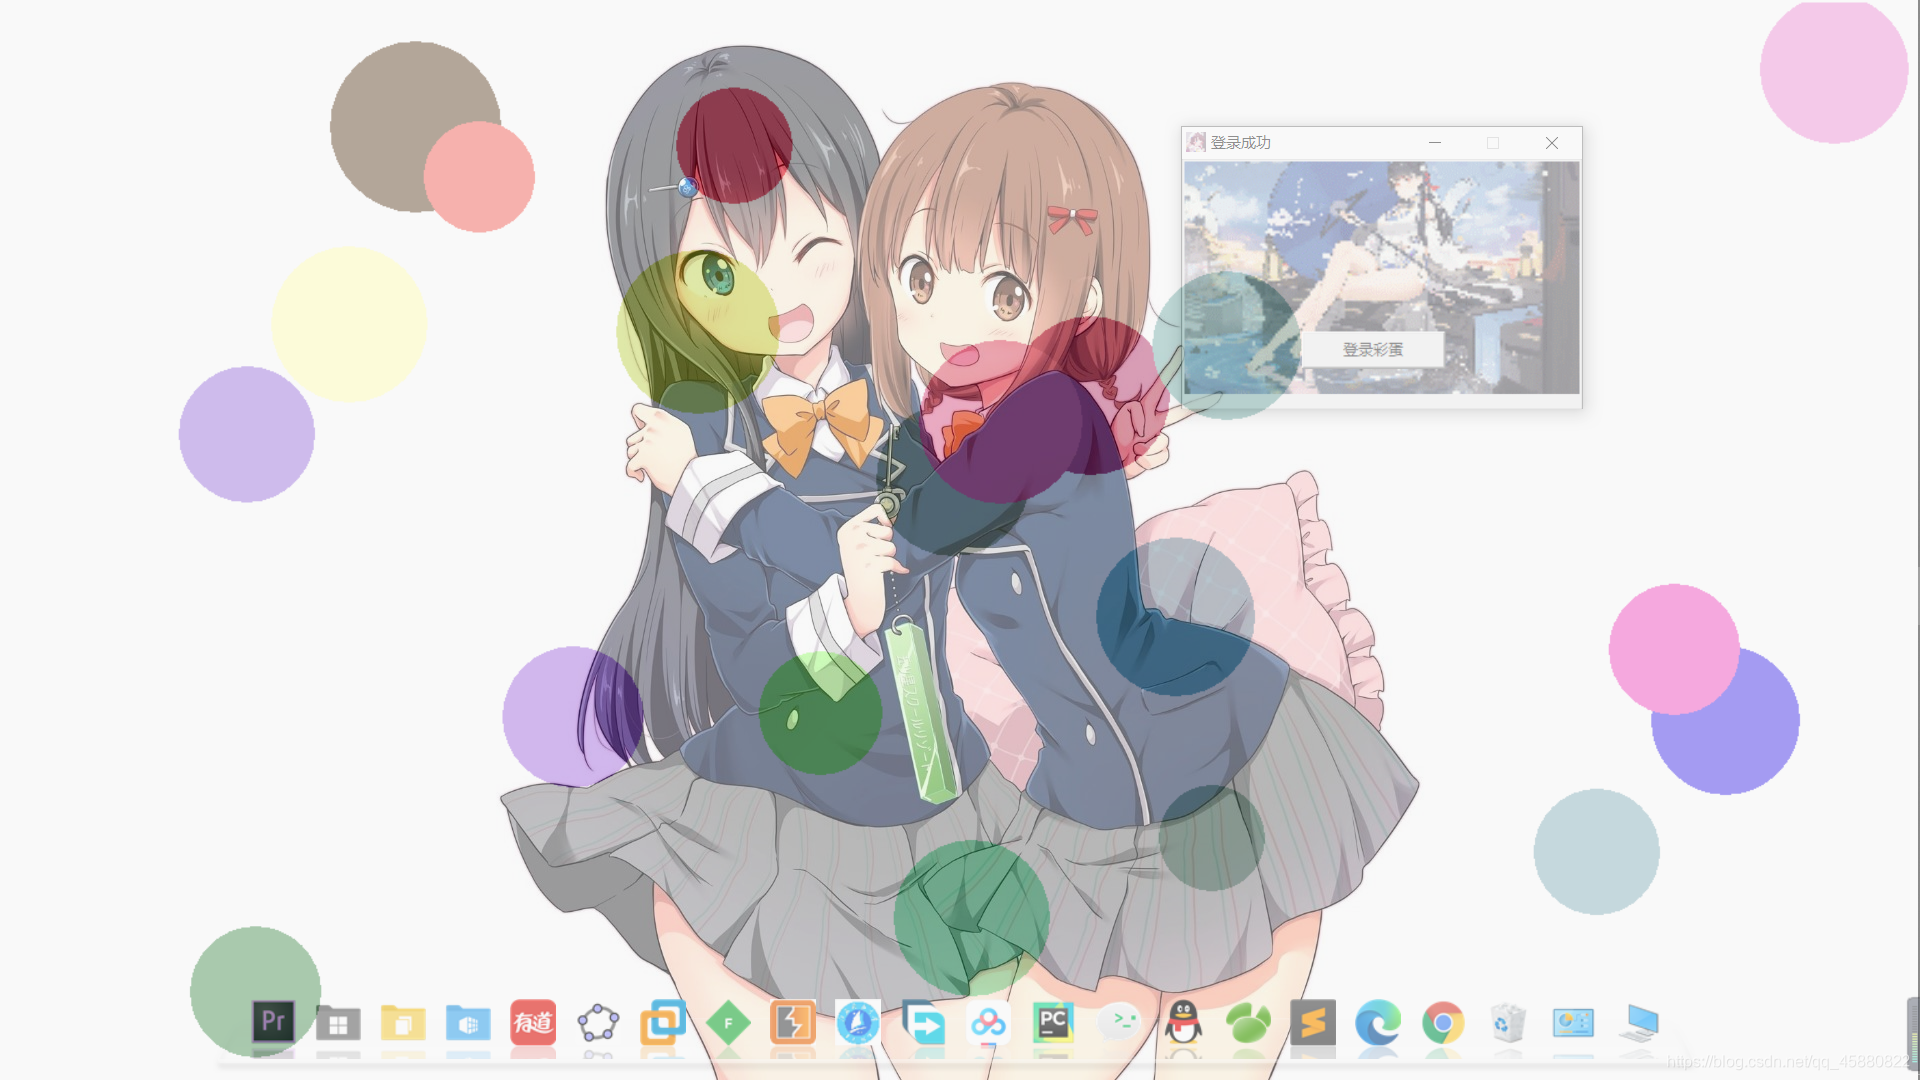
代码展示:
from random import randint
from tkinter import *
import pygame as py
# 初始化
py.mixer.init()
# 文件加载
py.mixer.music.load(".\\music_a.mp3")#可以将她喜欢的歌曲导入
# 播放  第一个是播放值 -1代表循环播放, 第二个参数代表开始播放的时间
#py.mixer.music.play(-1, 10)

#创建根窗口
root = Tk()
root.title('仙女登录界面')
root.resizable(0,0)#固定窗口
root.attributes("-alpha", 0.7)#登录窗口的透明化
root.iconbitmap(".\\tkinter_icon.ico")#登录图标设置
users_screenwidth = root.winfo_screenwidth()#获取用户屏幕宽度
users_screenheight = root.winfo_screenheight()#获取用户屏幕高度

#窗口大小并居中
root_width = 320
root_height = 200
user_screen_x = (users_screenwidth-root_width) / 2
user_screen_y = (users_screenheight-root_height) / 2
root.geometry("%dx%d+%d+%d" %(root_width,root_height,user_screen_x,user_screen_y))

#函数获取用户信息并验证
def function_1():
    Account = a_enter.get()
    Password = b_enter.get()
#    Account_len = len(Account)
#    Password_len = len(Password)

    if Account == "1314520" and Password == "xxx":#此处填入她的名字或者其它
        tip["text"] = "登录成功!"
        root.destroy()
        root2 = Tk()
        py.mixer.music.play(-1, 10)
        root2.title('登录成功')
        root2.resizable(0, 0)  # 固定窗口
        root2.attributes("-alpha", 0.7)  # 登录窗口的透明化
        root2.iconbitmap(".\\tkinter_icon.ico")  # 登录图标设置
        users_screenwidth_2 = root2.winfo_screenwidth()  # 获取用户屏幕宽度
        users_screenheight_2 = root2.winfo_screenheight()  # 获取用户屏幕高度
        canvas = Canvas(root2)
        canvas.pack(side='top')
        global photo
        photo = PhotoImage(file='xxx.gif')
        canvas.create_image(153, 78, image=photo)
        canvas.create_window(153, 153, window=Button(root2, width=15,
            activebackground='Turquoise' , text='登录彩蛋',command=lambda: function_2()))
        # 窗口大小并居中
        root2_width = 320
        root2_height = 200
        user_screen_x_2 = (users_screenwidth_2 - root2_width) / 2
        user_screen_y_2 = (users_screenheight_2 - root2_height) / 2
        root2.geometry("%dx%d+%d+%d" % (root2_width, root2_height,
                                        user_screen_x_2,user_screen_y_2))


        # 窗口大小并居中
        root3_width = 320
        root3_height = 200
        user_screen_x_3 = (users_screenwidth_3 - root3_width) / 2
        user_screen_y_3 = (users_screenheight_3 - root3_height) / 2
        root3.geometry("%dx%d+%d+%d" % (root3_width, root3_height,
                                        user_screen_x_3, user_screen_y_3))
    else:
        tip["text"]="用户或密码错误"

def function_2():#动画展示函数,此代码转载于网络
    class SettingBalls:
        def __init__(self, canvas, scrnwidth, scrnheight):
            # __init__函数里设置对象的属性
            # 对象自己的属性,接受canvas参数
            # Canvas是一个长方形的面积,图画或其他复杂的布局,可以放置在画布上的图形、文字、部件或是帧
            self.canvas = canvas
            # tkinter绘图采用屏幕坐标系,原点在左上角,x从左往右递增,y从上往下递增
            # 在绘图区域内,随机产生当前球的圆心的x坐标和y坐标,用于制定出现的位置
            self.xpos = randint(10, int(scrnwidth))
            self.ypos = randint(10, int(scrnheight))

            # 在绘图区域内,随机产生当前球的x坐标和y坐标的向量
            # 在数学中,几何向量(也称矢量),指具有大小和方向的量
            # 这里我们可以用来表示球的速度
            self.xvelocity = randint(6, 12)
            self.yvelocity = randint(6, 12)

            # 随机产生表示当前球的大小,也就是半径长度
            self.radius = randint(40, 70)

            # 通过lambda表达式创建函数对象r,每次调用r()都会产生0~255之间的数字
            r = lambda: randint(0, 255)

            # 三次调用的数字取前两位,用十六进制数方式存储到self.color里,作为球的颜色
            # RRGGBB,前2是红色,中2是绿色,后2是蓝色,最小是0,最大是F

            # 如全黑#000000  全白#FFFFFF  全红#FF0000
            self.color = "#%02x%02x%02x" % (r(), r(), r())

            # 获取整个绘图场景的宽度和高度(也就是屏幕分辨率大小)
            self.scrnwidth = scrnwidth
            self.scrnheight = scrnheight

        def create_ball(self):
            # canvas.create_oval可以绘制一个圆
            # 但是需要传入圆的左、上、右、下四个坐标
            # 所以我们先产生4个坐标,通过这个四个坐标,绘制圆的大小

            # 左坐标=x坐标-半径
            x1 = self.xpos - self.radius
            # 上坐标=y坐标-半径
            y1 = self.ypos - self.radius
            # 右坐标=x坐标+半径
            x2 = self.xpos + self.radius
            # 下坐标=y坐标+半径
            y2 = self.ypos + self.radius

            # 通过canvas.create_oval()方法绘出整个圆,填充色和轮廓色分别是self.color生成的颜色
            self.ball = self.canvas.create_oval(x1, y1, x2, y2, fill=self.color, outline=self.color)

        def move_ball(self):
            # 进行相应的移动,如果坐标超过屏幕边缘则向相反方向移动
            # 让球的x坐标和y坐标,按照向量的大小进行增加,表示球的运行,向下和向右
            self.xpos += self.xvelocity
            self.ypos += self.yvelocity

            # 如果球的y坐标大于等于屏幕高度和球的半径的差,则调整球的运行y轴方向朝上
            if self.ypos >= self.scrnheight - self.radius:
                self.yvelocity = -self.yvelocity

            # 如果球的y坐标小于等于屏幕高度和球的半径的差,则调整球的y轴运行方向朝下
            if self.ypos <= self.radius:
                self.yvelocity = abs(self.yvelocity)

            # 如果球的x坐标大于等于屏幕宽度和球的半径差,则调整球的运行x轴方向朝左
            if self.xpos >= self.scrnwidth - self.radius:
                self.xvelocity = -self.xvelocity

            # 如果球的x坐标小于等于屏幕宽度和球半径的差,则调整球的运行x轴方向朝右
            if self.xpos <= self.radius:
                self.xvelocity = abs(self.xvelocity)

            # 调整canvas对象的move()方法可以让对象动起来,以及对象x轴和y轴的向量大小
            self.canvas.move(self.ball, self.xvelocity, self.yvelocity)

    class MoreBalls:
        '''
            获取屏幕参数,绑定相关事件,以及启动生成小球的迭代器
            @ num:从__main__里接受小球的数量
        '''
        # 定义一个列表,用来存储所有的球对象
        balls = []

        # num 是球的数量
        def __init__(self, num):
            # 创建一个Tk()窗口示例
            self.root1 = Tk()

            # w和h分别获取了屏幕分辨率的宽度和高度
            scrnw, scrnh = self.root1.winfo_screenwidth(), self.root1.winfo_screenheight()

            # self.root.title("小球弹弹弹")
            # 去除窗口边框和任务栏显示
            self.root1.overrideredirect(1)
            # self.root.iconbitmap("test.ico")
            # 设置窗口的透明度,0-1之间,1是不透明,0是全透明
            self.root1.attributes("-alpha", 0.4)

            # 绑定退出事件(键盘任意键、鼠标任意点击、鼠标任意移动)
            self.root1.bind("<Any-KeyPress>", self.myquit)
            self.root1.bind("<Any-Button>", self.myquit)
            # self.root.bind("<Motion>", self.myquit)

            # Canvas提供绘图功能(直线、椭圆、多边形等等),宽度和高度是屏幕分辨率大小
            self.canvas = Canvas(self.root1, width=scrnw, height=scrnh)

            # 让画布按pack()布局
            self.canvas.pack()

            # 获取球的数量生成迭代器,每次迭代创建一个球
            for i in range(num):
                # ball是SettingBalls()对象,传入self.canvas画布,以及屏幕的宽高
                ball = SettingBalls(self.canvas, scrnwidth=scrnw, scrnheight=scrnh)

                # 调用创建球的方法
                ball.create_ball()

                # 将生成的球对象放到balls列表里
                self.balls.append(ball)

            # 调用run_ball()方法,启动小球运动
            self.run_ball()

            # 调用mainloop()消息循环机制
            self.root1.mainloop()

        def run_ball(self):
            for ball in self.balls:
                ball.move_ball()
            # run_ball每个20毫秒会被调用一次
            self.canvas.after(20, self.run_ball)

        def myquit(self, event):
            self.root1.destroy()

    if __name__ == "__main__":
        ball = MoreBalls(20)


#用户名,a开头
a_label = Label(root,text='账户名称:',font=('华文中宋',20))
a_label.grid(row=0,column=0,sticky=W)
a_enter = Entry(root)
a_enter.grid(row=0,column=1,sticky=E)

#密码,b开头
b_label = Label(root,text='      密码:',font=('华文中宋',20))
b_label.grid(row=1,column=0,sticky=W)
b_enter = Entry(root)
b_enter.grid(row=1,column=1,sticky=E)
#输入的密码为*,防止他人偷看
b_enter["show"] = "*"

#登录按钮,a开头
a_button=Button(root,text='登录',font=('华文中宋',15),
activebackground='Turquoise',command = lambda:function_1())
a_button.grid(row=2,column=1,sticky=E)

#提示信息
tip = Label(root,text="",font=("华文中宋",16))
tip.grid(row=3,)
root.mainloop()


 896
896


 被折叠的 条评论
为什么被折叠?
被折叠的 条评论
为什么被折叠?
 到【灌水乐园】发言


