


关于

停止更新
官网:http://www.mvvmlight.net/
源码地址:GitHub - lbugnion/mvvmlight: The main purpose of the toolkit is to accelerate the creation and development of MVVM applications in Xamarin.Android, Xamarin.iOS, Xamarin.Forms, Windows 10 UWP, Windows Presentation Foundation (WPF), Silverlight, Windows Phone.、https://archive.codeplex.com/?p=mvvmlight(迁移到Github)
开始
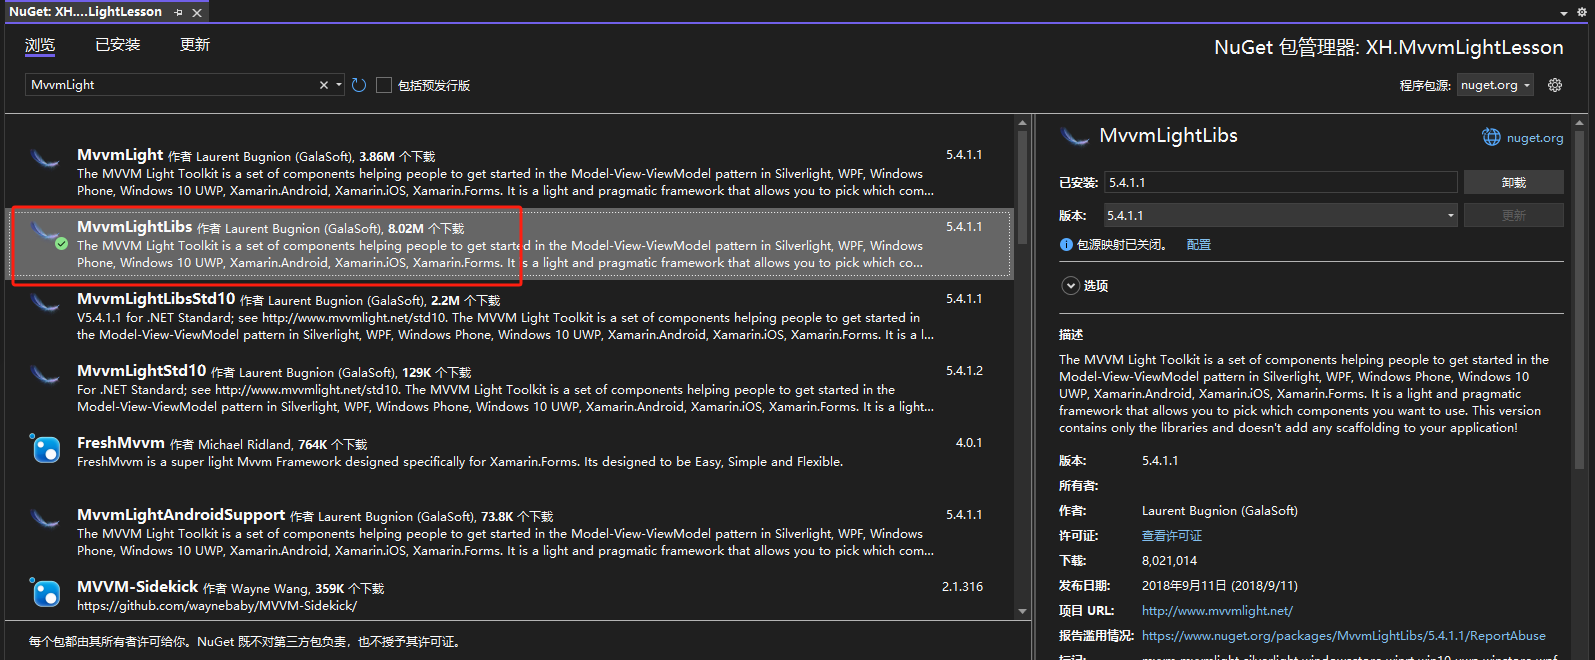
通过Nuget平台,引入相关库
框架中的数据与行为
数据绑定与通知:INotifyPropertyChanged
默认:自定义
框架:ObservableObject、ViewModelBase(VM的资源释放)
Model:
public class MainModel : ObservableObject { }ViewModel:
通知方式:RaisePropertyChanged、Set
public class MainViewModel : ViewModelBase
{
     private string _value = "Hello";

     public string Value
     {
         get { return _value; }
         set
         {
             // 第一种通知方式
             //this.RaisePropertyChanged();
             //_value = value;

             // 第二种通知方式 建议第二种
             Set<string>(ref _value, value);
         }
     }
    // 作用:统一执行对象的资源清理 VM的释放
    // View关闭退出的时候 后台线程需要结束
    public override void Cleanup()
    {
        base.Cleanup();
    }
}Cleanup:统一执行对象的资源清理 VM的释放
手写MvvmLight中的值通知方法
 public class NotifyBase : INotifyPropertyChanged
 {
     public event PropertyChangedEventHandler? PropertyChanged;

     public void SetProperty<T>(ref T propertyName,T value, [CallerMemberName] string propName = "")
     {
         if (propertyName is null || !propertyName.Equals(value))
         {
             propertyName = value;
             PropertyChanged?.Invoke(this, new PropertyChangedEventArgs(propName));
         }
     }
 }
命令绑定对象:ICommand
默认:自定义
框架:RelayCommand、RelayCommand<T>
 public RelayCommand BtnCommand { get; set; }
 public RelayCommand<object> BtnParamCommand { get; set; }

public MainViewModel()
{

    // 第二个参数:按钮是否可以点击按钮状态
    BtnCommand = new RelayCommand(DoButtonCommand, DoButtonStatus);
    BtnParamCommand = new RelayCommand<object>(DoBtnParamCommand);
}

 private void DoButtonCommand()
 {

 }

 private bool DoButtonStatus()
 {
     return Value == "Hello";
 }

 private void DoBtnParamCommand(object obj)
 {

 }
设计模式IsInDesignMode
if (this.IsInDesignMode)
{
    // 设计时 模拟数据处理
}
else
{
    // 运行时执行
}
设计模式也可以用xaml写:
<Window x:Class="XH.MvvmLightLesson.Views.MainWindow"
  xmlns="http://schemas.microsoft.com/winfx/2006/xaml/presentation"
  xmlns:x="http://schemas.microsoft.com/winfx/2006/xaml"
  xmlns:d="http://schemas.microsoft.com/expression/blend/2008"
  xmlns:mc="http://schemas.openxmlformats.org/markup-compatibility/2006"
  xmlns:local="clr-namespace:XH.MvvmLightLesson.Views"
  mc:Ignorable="d"
  xmlns:vm="clr-namespace:XH.MvvmLightLesson.ViewModels"
  Title="MainWindow" Height="450" Width="800">
  <!--d:也是设计时的显示,运行不显示-->
  <d:Window.DataContext>
    <vm:MainViewModel />
  </d:Window.DataContext>
</Window>
扩展对象
Messenger:
解决对象间的逻辑调用(使得VM可以调用View层面的对象)
注册(委托方法)、发布(主动请求执行这个委托方法)、反注册
注册:在主窗口或者APP.xaml.cs中写方法,主要是View层面的注册
 public MainWindow()
 {
     InitializeComponent();

     // MvvmLight基本的注册过程
     Messenger.Default.Register<string>(this, ExecuteMessage);

     // 如果需要区分这两个执行逻辑 两个方法:
     // 1、使用Token(Key)
     Messenger.Default.Register<string>(this,"SubWin", ExecuteMessageSubWin);
     // 2、使用类型区分 复杂的数据传参
     Messenger.Default.Register<Base.MessageBase>(this, ExecuteMessageType);
 }
private void ExecuteMessageType(Base.MessageBase obj)
{
    var result = new SubWindow { Owner = this }.ShowDialog() == true;

    obj.Action?.Invoke(result);
}

private void ExecuteMessageSubWin(string obj)
{
    new SubWindow { Owner = this }.ShowDialog();
}
复杂类型类:这里用了更加复杂的委托
 public class MessageBase
 {
     public string Value { get; set; }
     public Action<bool> Action { get; set; }
 }
发布(主动请求):
private void DoBtnParamCommand(object obj)
{
    // 主动 发布
    // 根据类型绑定、Key
    //Messenger.Default.Send<string>(Value);
    //Messenger.Default.Send<string>(Value, "SubWin");
    Messenger.Default.Send<Base.MessageBase>(new Base.MessageBase { Value = Value,
        Action = GetResult });
}
private void GetResult(bool obj)
{

}
顺序:
Register -->Send -->ExecuteMessageType-->GetResult
DispatcherHelper
跨线程、初始化、应用中任意地方调用
DispatcherHelper初始化:在APP中初始化
public partial class App : Application
{
    public App()
    {
        // DispatcherHelper 初始化
        DispatcherHelper.Initialize();
    }
}
使用:再需要跨线程使用的时候,使用此方法:
 Task.Run(async () =>
 {
     await Task.Delay(2000);
     while (true)
     {
         DispatcherHelper.CheckBeginInvokeOnUI(() =>
         {
             ValueList.Add($"Xiao Hai{ValueList.Count}");
         });
         // 和下方方法一样
         //Application.Current.Dispatcher.Invoke(() =>
         //{
         //    ValueList.Add($"Xiao Hai{ValueList.Count}");
         //});
     }
 });
注意:
DispatcherHelper.CheckBeginInvokeOnUI:异步执行
Application.Current.Dispatcher.Invoke:同步执行
SimpleIoC
在全局APP.xaml中使用
 <Application.Resources>
     <ResourceDictionary>
         <vm:ViewModelCenter x:Key="Center" />
     </ResourceDictionary>
 </Application.Resources>
ViewModelCenter中写法:
public class ViewModelCenter
{
    SimpleIoc _simpleIoc = SimpleIoc.Default;

    public ViewModelCenter()
    {
        // 注册一个Ioc实例
        _simpleIoc.Register<IDataAccess, MySqlDA>();
        _simpleIoc.Register<MainViewModel>();
        _simpleIoc.Register<SubViewModel>();

        // 创建多个实例 untiy  --  key
        // SimpleIoc:不可以重复创建实例
        //_simpleIoc.Register<IDataAccess,SqlServerDA>();

    }

    // GetInstance:获取一个实例
    public MainViewModel MainWin { get => _simpleIoc.GetInstance<MainViewModel>(); }
    public SubViewModel SubWin { get => _simpleIoc.GetInstance<SubViewModel>(); }
}
在页面xaml中,数据传达方式:
DataContext="{Binding Source={StaticResource Center},Path=MainWin}"总结:
IOC就当与是个容器,可以在全局中设置一些数据的初始化,可以直接在构造函数中进行传入已经实例化的全局对象,切记对象在IOC中已经实例化,并且只能实例化一次,不会重复实例化。
自定义IOC:
 public class XiaohaiIoc
 {
     private static XiaohaiIoc _default;
     private static readonly object _instanceLock = new object();
     // IOC初始化
     public static XiaohaiIoc Default
     {
         get
         {
             if (_default == null)
             {
                 lock (_instanceLock)
                 {
                     if (_default == null)
                     {
                         _default = new XiaohaiIoc();
                     }
                 }
             }
             return _default;
         }
     }
     // 防止被初始化new
     private XiaohaiIoc() { }

     Dictionary<string, Type> _objectDic = new Dictionary<string, Type>();

     public void Register<T>()
     {
         _objectDic.Add(typeof(T).FullName!, typeof(T));
     }
     // TTo 必须继承或引用 TFrom
     public void Register<TFrom, TTo>() where TTo : TFrom
     {
         _objectDic.Add(typeof(TFrom).FullName!, typeof(TTo));
     }
     public T Resolve<T>()
     {
         string key = typeof(T).FullName!;
         if (_objectDic.ContainsKey(key))
         {
             // 创建新的实例 并返回
             return (T)Activator.CreateInstance(_objectDic[key])!;
         }
         else
             return default(T)!;
     }
 }
缺点:每次掉用都是新的实例,每次都初始化,导致数据会丢失
优化:单例的IOC容器:
using GalaSoft.MvvmLight.Ioc;
using System;
using System.Collections.Generic;
using System.Linq;
using System.Reflection;
using System.Text;
using System.Threading.Tasks;

namespace XH.MvvmLightLesson.Base
{
    public class XiaohaiIoc
    {
        private static XiaohaiIoc _default;
        // 防止重复初始化new 对象,加个锁
        private static readonly object _instanceLock = new object();
        // 初始化 ioc
        public static XiaohaiIoc Default
        {
            get
            {
                if (_default == null)
                {
                    lock (_instanceLock)
                    {
                        if (_default == null)
                        {
                            _default = new XiaohaiIoc();
                        }
                    }
                }
                return _default;
            }
        }
        // 防止外面初始化此ioc
        private XiaohaiIoc() { }
        Dictionary<string, InstenceModel> _instenceDic = new Dictionary<string, InstenceModel>();

        public void RegisterSingle<T>()
        {
            _instenceDic.Add(typeof(T).FullName!,
                new InstenceModel
                {
                    ObjectType = typeof(T)
                });
        }

        public void RegisterSingle<TFrom, TTo>() where TTo : TFrom
        {
            _instenceDic.Add(typeof(TFrom).FullName!, new InstenceModel
            {
                ObjectType = typeof(TTo)
            });
        }

        public T ResolveSingle<T>()
        {
            string key = typeof(T).FullName!;
            if (_instenceDic.ContainsKey(key))
            {
                if (_instenceDic[key].Instence is null)
                {
                    // 获取所有的构造函数
                    ConstructorInfo[] cis = _instenceDic[key].ObjectType.GetConstructors();
                    // 获取所有的参数
                    ParameterInfo[] pis = cis[0].GetParameters();
                    // 创建args 参数列表
                    List<object> objects = new List<object>();
                    foreach (ParameterInfo pi in pis)
                    {
                        string paramTypeKey = pi.ParameterType.FullName!;
                        if (_instenceDic.ContainsKey(paramTypeKey!))
                        {
                            if (_instenceDic[paramTypeKey].Instence is null)
                                _instenceDic[paramTypeKey].Instence = Activator.CreateInstance(_instenceDic[paramTypeKey].ObjectType)!;
                            objects.Add(_instenceDic[paramTypeKey].Instence);
                        }
                        else
                            objects.Add(null!);
                    }
                    // 实例化对象
                    var obj = Activator.CreateInstance(_instenceDic[key].ObjectType, objects.ToArray());
                    _instenceDic[key].Instence = obj!;
                }
                return (T)_instenceDic[key].Instence;
            }
            else
                return default(T)!;
        }
    }

    // 单例的初始化对象
    class InstenceModel
    {
        public Type ObjectType { get; set; } // 类型
        public object Instence { get; set; } // 初始化的内容 如果存在证明已经初始化
    }
}
使用:和simpleIoc 使用方法一样:
public class ViewModelCenter
{
    // 自定义IOC容器
    XiaohaiIoc _xiaohaiIoc = XiaohaiIoc.Default;
    public ViewModelCenter()
    {
        // 注册一个Ioc实例
        _xiaohaiIoc.Register<MainViewModel>();

        var model = MainWin;
        MainWin.Value = "ABC";
        var model1 = MainWin;
    }

    public MainViewModel MainWin { get => _xiaohaiIoc.Resolve<MainViewModel>(); }
}
在app.xaml中调用是一样的,在页面中数据绑定也是一样的。
结合IoC模式下的资源释放问题
MainViewModel代码:
 public override void Cleanup()
 {
     base.Cleanup();
 }
ViewModelCenter代码:
参数T 必须继承于ViewModelBase
public static void Cleanup<T>() where T : ViewModelBase
{
    _xiaohaiIoc.Resolve<T>().Cleanup();
}
MainWindow.xaml.cs代码:
 protected override void OnClosed(EventArgs e)
 {
     base.OnClosed(e);

     // 拿到Center 中对应的VM
     ViewModelCenter.Cleanup<MainViewModel>();
 }


 409
409

 被折叠的 条评论
为什么被折叠?
被折叠的 条评论
为什么被折叠?
 到【灌水乐园】发言


