一、stm32CubeMx新建工程
1.打开stm32CubeMx软件后
2.选择需要开发的芯片:STM32G431RBT6
3.时钟配置:选择外部时钟

4.时钟树配置

3.外设配置
(1)KEY(原理图)

PA0、PB0、PB1、PB2这几个GPIO口配置为GPIO——InPut模式----No Pull up and pull down(默认)
(2)LED(原理图)

PC8 -----PC15-----> GPIO_output模式 ---->GPIO ---->Hight(灭);
PD2------>GPIO_output模式-------Low(使能端)
(3)生成工程


(4)生成的keil 工程

(6)添加自己的bsp文件夹(驱动代码)

(7)建立各个驱动子文件夹

(8新建各个驱动的头文件和源文件

(9)Keil中新建BSP文件夹

(10)Keil中添加源文件

注意:返回上一层后添加代码

(11)点击keil工具栏中的魔法棒添加头文件路径


注意:文件的目录添加存在头文件目录的上一级目录即可。
(12)在.c和.h文件中添加自己的代码

led.c代码:
#include "led.h"


//函数名:LED_Disp
//入口参数:ucLed
//出口参数:void
//函数功能:LD8-LD1对应ucLed的8个位
void LED_Disp(unsigned char ucLed)
{
	//**将所有的灯熄灭
	HAL_GPIO_WritePin(GPIOC, GPIO_PIN_13|GPIO_PIN_14|GPIO_PIN_15|GPIO_PIN_8
												|GPIO_PIN_9|GPIO_PIN_10|GPIO_PIN_11|GPIO_PIN_12, GPIO_PIN_SET);
	HAL_GPIO_WritePin(GPIOD, GPIO_PIN_2, GPIO_PIN_SET);
	HAL_GPIO_WritePin(GPIOD, GPIO_PIN_2, GPIO_PIN_RESET);

	//根据ucLed的数值点亮相应的灯
	HAL_GPIO_WritePin(GPIOC, ucLed<<8, GPIO_PIN_RESET);
	HAL_GPIO_WritePin(GPIOD, GPIO_PIN_2, GPIO_PIN_SET);
	HAL_GPIO_WritePin(GPIOD, GPIO_PIN_2, GPIO_PIN_RESET);

}
key.c代码:
#include "key.h"
#include "key.h"

unsigned char Key_Scan(void)
{
	unsigned char unKey_Val = 0;

	if(HAL_GPIO_ReadPin(GPIOB, GPIO_PIN_0) == GPIO_PIN_RESET)
		unKey_Val = 1;

	if(HAL_GPIO_ReadPin(GPIOB, GPIO_PIN_1) == GPIO_PIN_RESET)
		unKey_Val = 2;

	if(HAL_GPIO_ReadPin(GPIOB, GPIO_PIN_2) == GPIO_PIN_RESET)
		unKey_Val = 3;

	if(HAL_GPIO_ReadPin(GPIOA, GPIO_PIN_0) == GPIO_PIN_RESET)
		unKey_Val = 4;

	return unKey_Val;
}
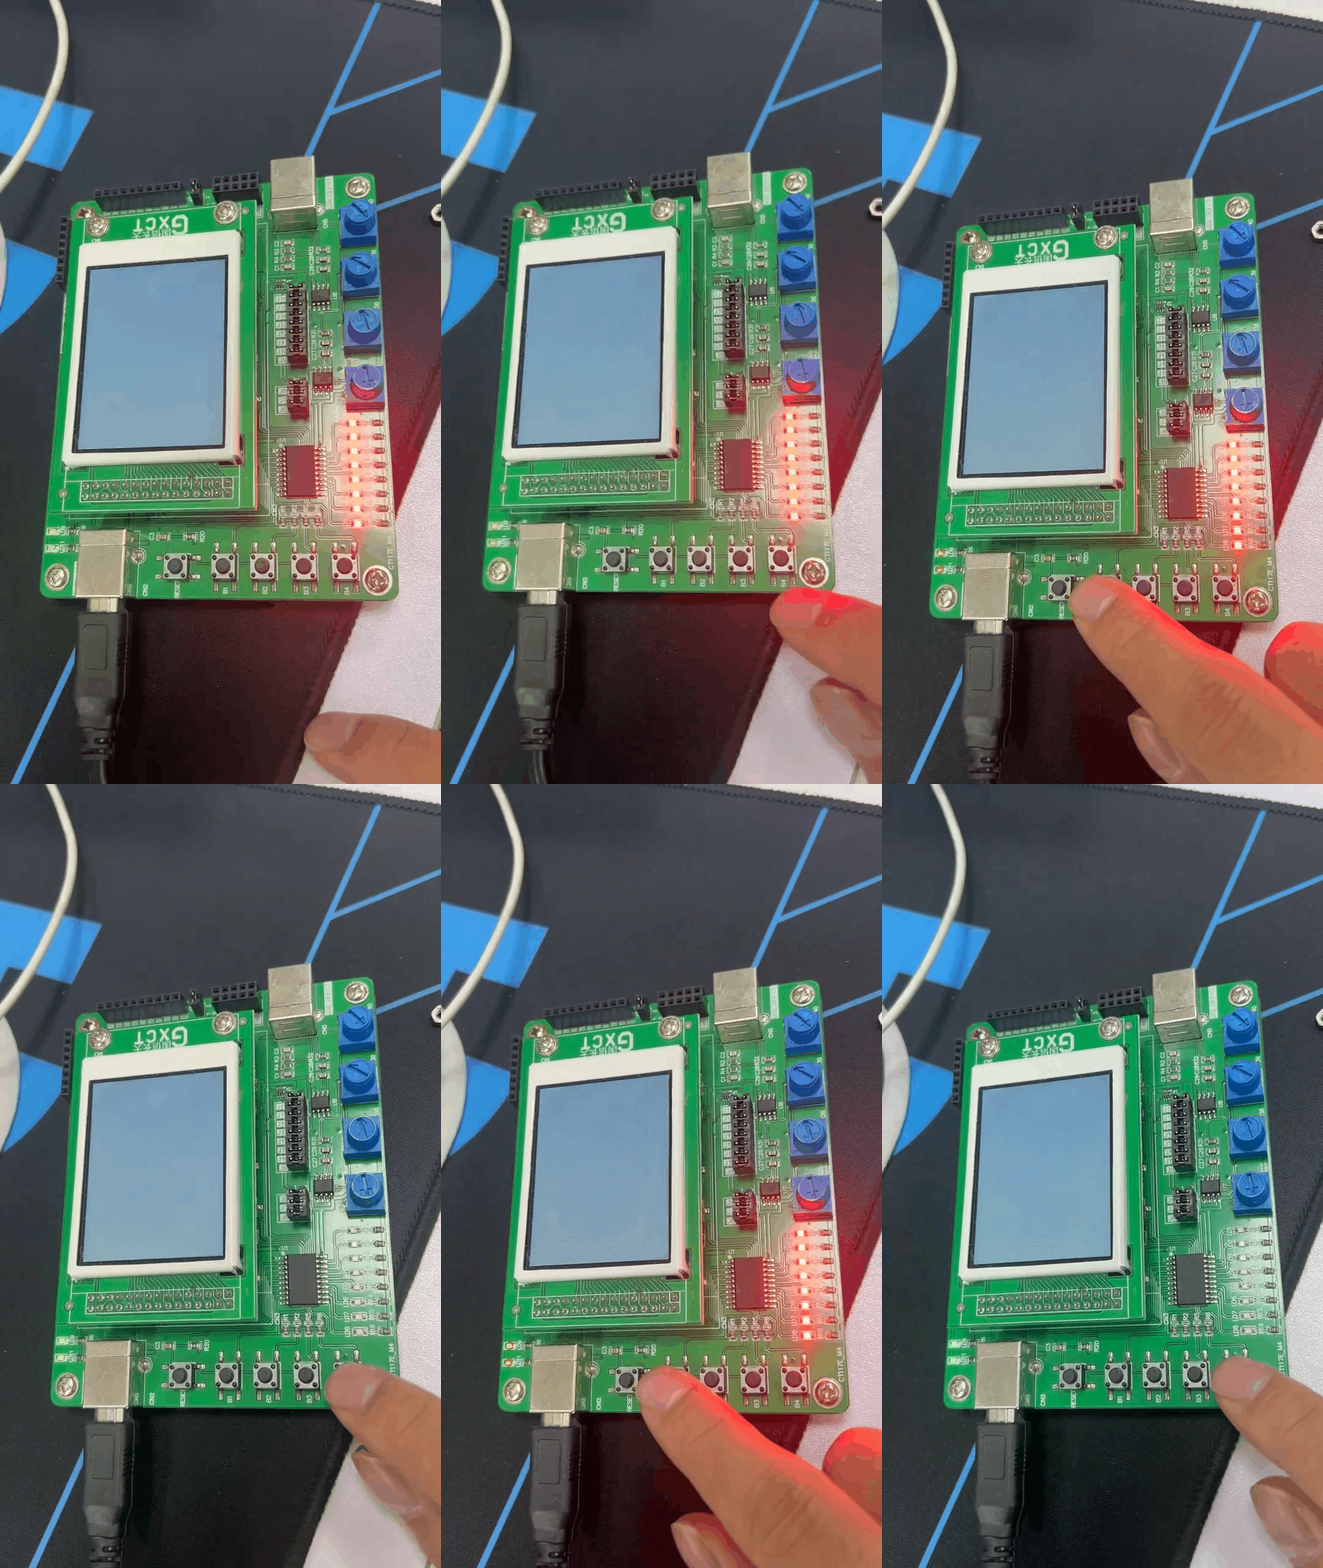
(13)在main函数中添加代码实现功能:key1按下8个LED灯全灭,key4按下8个LED灯全亮

实现功能的代码:
void Key_Proc()
{
	if((uwTick - uwTick_Set_Point) < 100) return;
	 uwTick_Set_Point = uwTick;
	ucKey_Val = Key_Scan();
//情况1: 100ms两次扫描,按键得到的结果从0 (都没按下)到B4按下,产生了下降沿。
//ucKey_Val = 4(0000 0100)
//unKey_Down = 0000 0100 & ( 0000 0000 ^ 0000 0100) = 0000 0100 & 0000 0100 = 0000 0100 (4)
//ucKey_Up = 1111 1011 & 0000 0100 = 0000 0000
//ucKey_Old = 4
//情况2: B4产生了下降沿后,按键一直按着
//ucKey_Val = 4(0000 0100)
//unKey_DownT= 0000 0100 & ( 0000 0100 ^ 0000 0100) = 0000 0100 & 0000 0000 = 0000 0000 (0)
//ucKey_Up = 1111 1011 & 0000 0000 = 0000 0000
//ucKey_0ld = 4
//情况3: B4按键一直按着随后弹起
//ucKey_Val = 0(0000 0000)
//unKey_Down = 0000 0000 & ( 0000 0100 ^ 00000000) = 0000 0000 & 0000 0100 = 0000 0000 (0)
//ucKey_Up = 1111 1111 & 0000 0100 = 0000 0100 (4)
//ucKey_Old = 0

	unKey_Down = ucKey_Val & (ucKey_Old ^ ucKey_Val);
	ucKey_Up = ~ucKey_Val & (ucKey_Old ^ ucKey_Val);
	ucKey_Old = ucKey_Val;
	if(unKey_Down == 4)
	{
		LED_Disp(0xff);


	}
	if(unKey_Down == 1)
	{
		LED_Disp(0x00);
	}

}
(14)在main函数的while循环中调用实现功能的代码
注意:不要忘记在main函数上面声明:void Key_Proc();

还要注意的是:

以上添加的话,以下这样包含:

另外一种包含:


(15)成功案例


 本文详细介绍了如何使用STM32CubeMX创建新工程,配置STM32G431RBT6的外设,包括GPIO输入输出模式设置,LED控制函数和键盘扫描函数的编写,以及在主函数中集成这些功能实现LED灯响应按键操作的示例。


 1657
1657

 被折叠的 条评论
为什么被折叠?


