


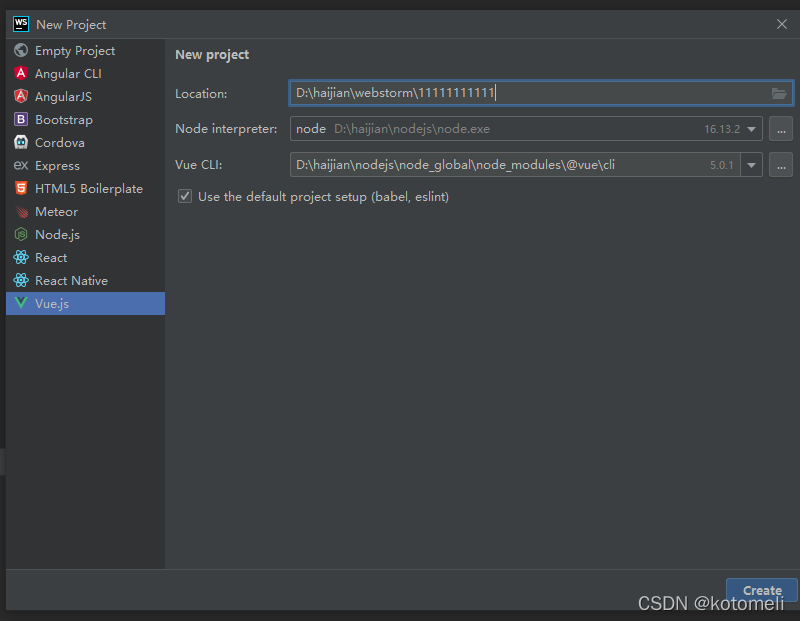
项目初始化
安装Vue
npm install -g @vue/cli等利用npm命令安装/搭建依赖失败解决办法:
1.cmd以管理员身份打开
2.cnpm命令代替npm
(现在版本按以上参考完成创建项目时没有webpack的选项
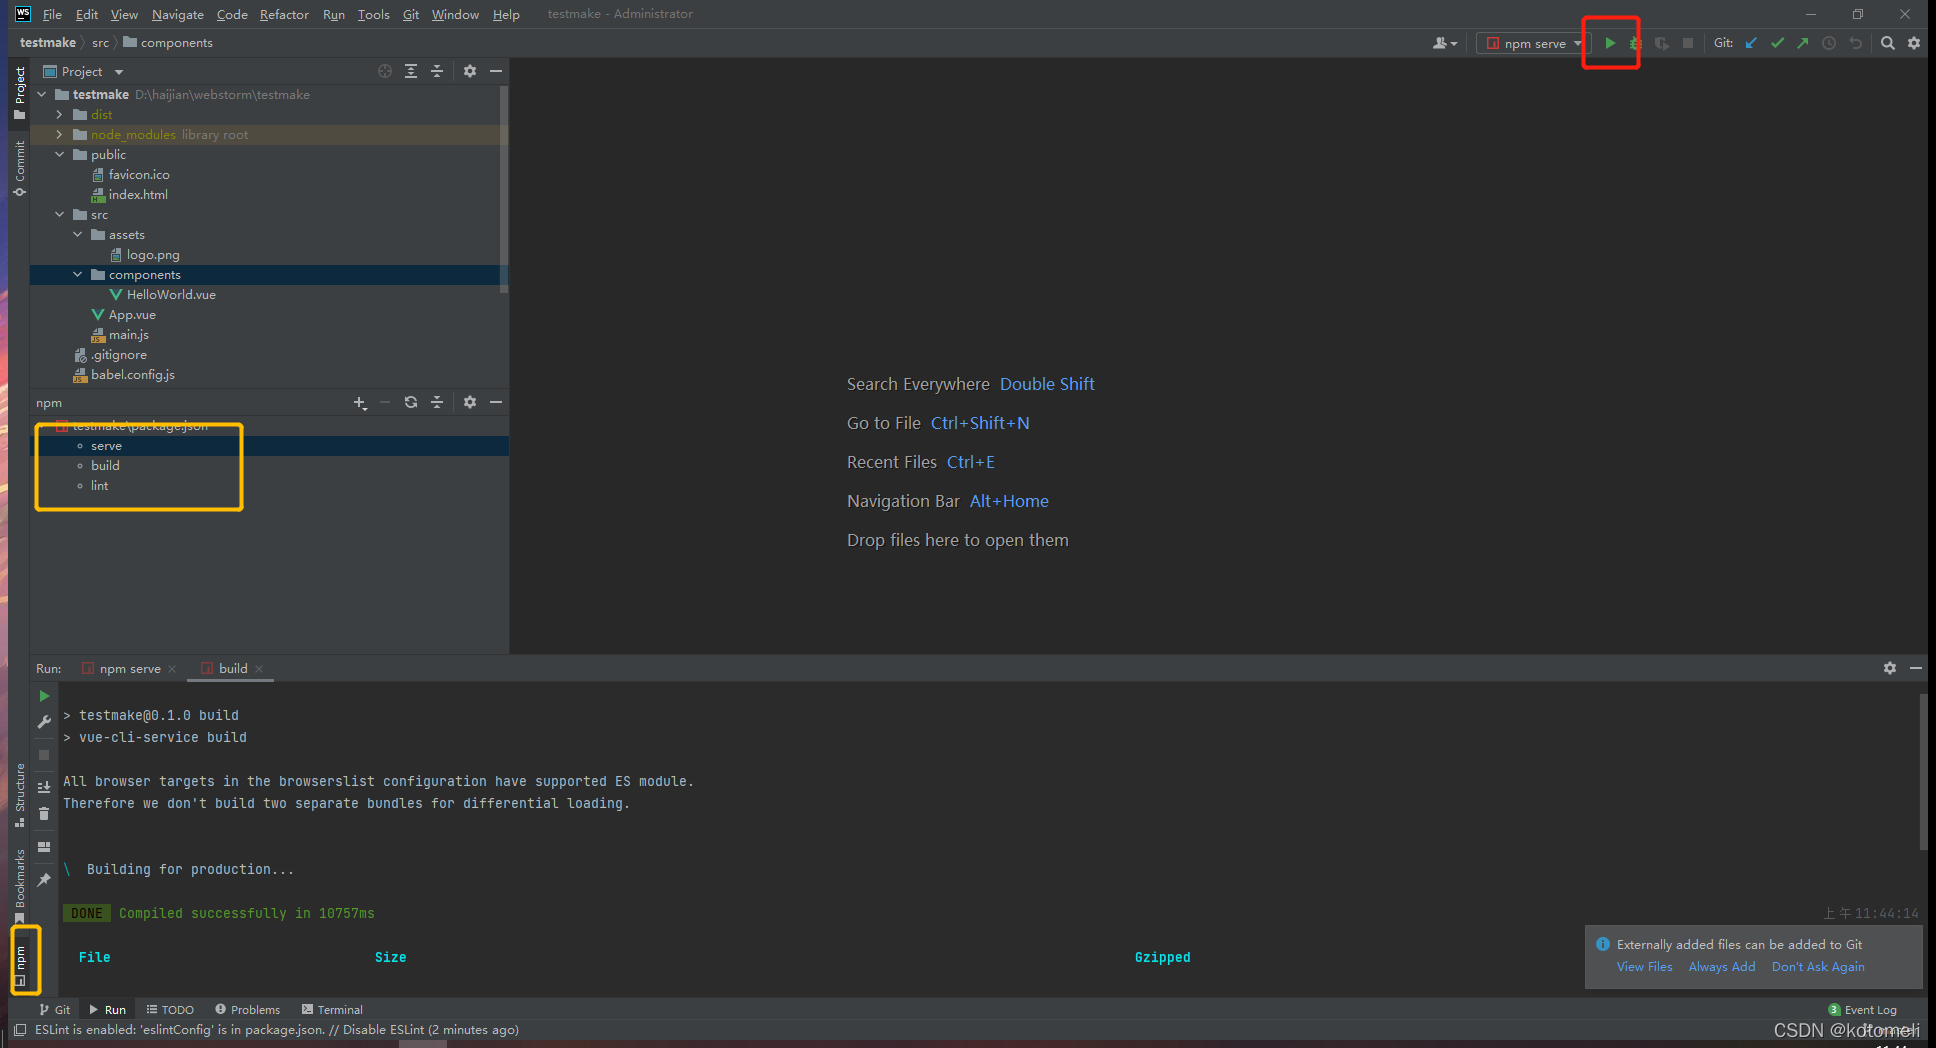
 创建时报错解决办法:以管理员身份打开Webstorm
两种运行方式:
安装git
了解
vue官方文档
Vue 项目结构分析,讲得好
以上链接的结构非该版本创建vue项目的结构,差不多。

项目初始化
删除无用内容
创建项目自带helloword等组件,删除
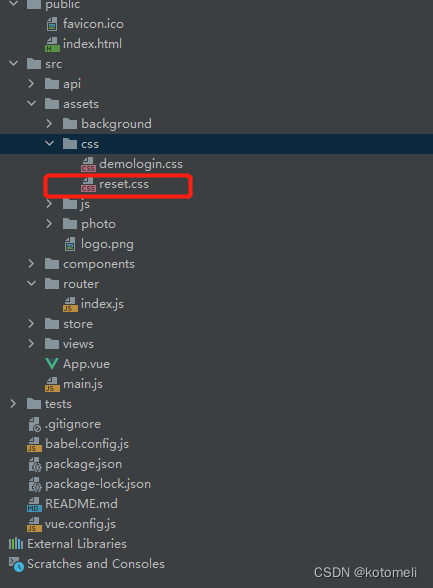
css初始化
创建文件
该css内容项目所有组件都会遵守,具体可看前面保姆级教程视频版
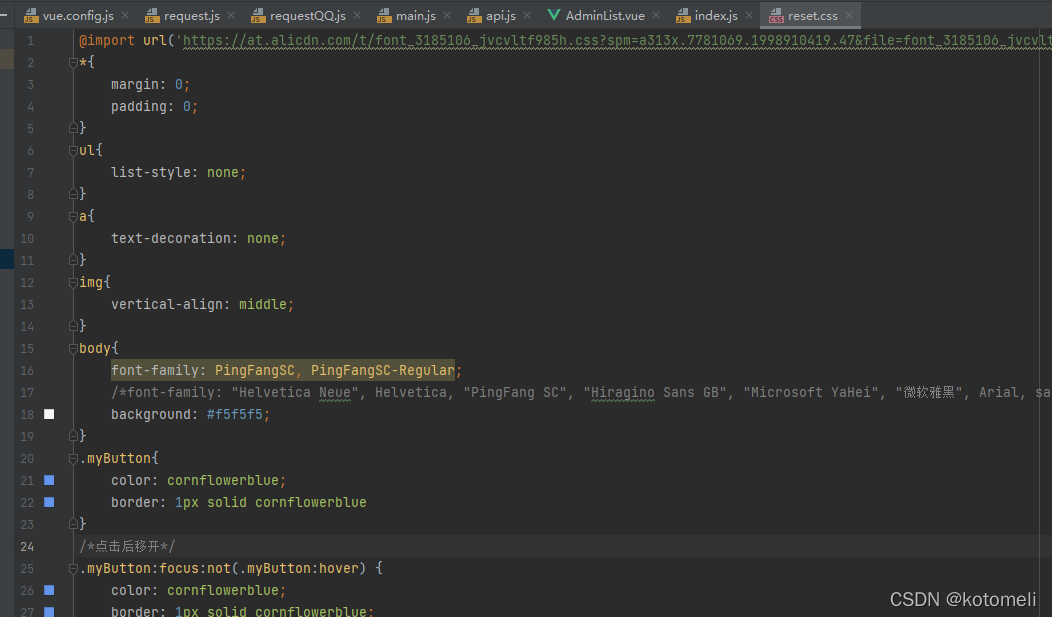
写入main
必备依赖
1.axios依赖
npm install axios
2.element依赖
element官方文档
vue3.0以上依赖为element-plus引入依赖element-plus参考
不知道当时百度了啥,我的最后结果,可正常使用elementUI: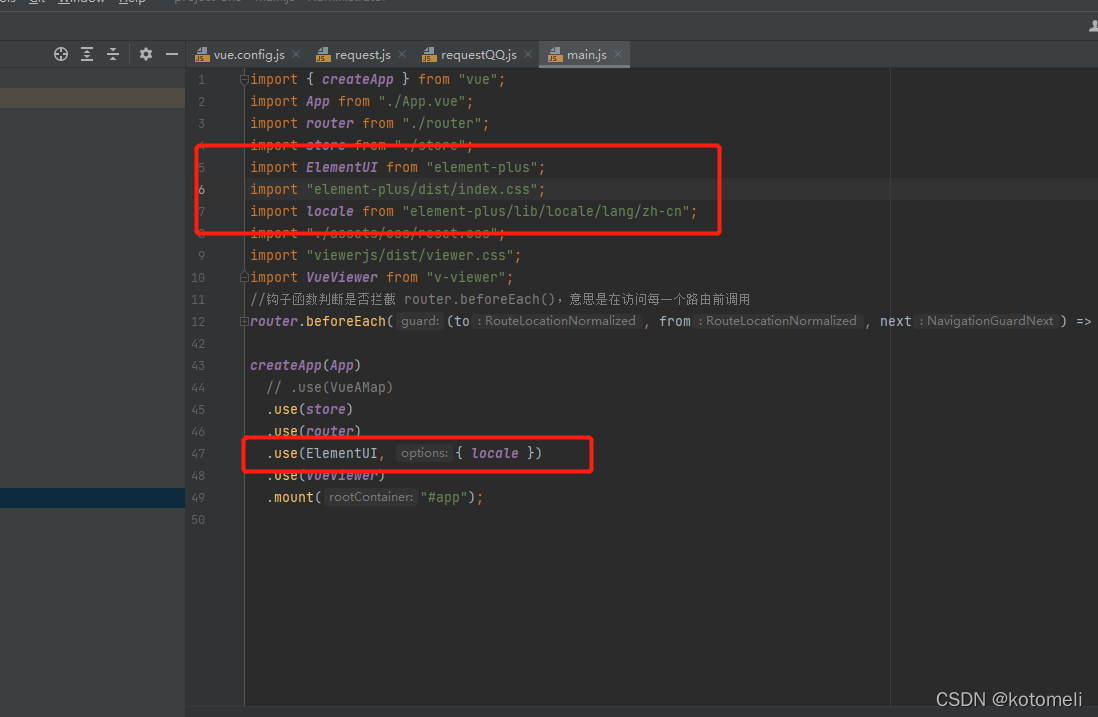
3.路由依赖
安装依赖:
npm install vue-router --save
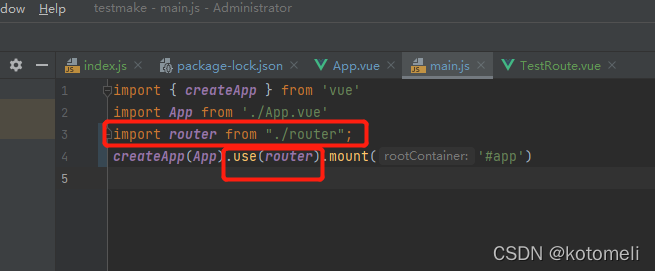
在main中引入:
接口请求格式化
统一管理发出的请求便于维护
第一步:引入axios依赖
上文有
第二步:打开vue.config.js(没有就创建
写入:
module.exports = {
  devServer: {
    proxy: {
    //这个是自己的后端请求时前缀
      "/api": {
        target: "http://host:端口号", //这里填入你要请求的接口的前缀
        ws: true, //代理websocked
        changeOrigin: true, //虚拟的站点需要更管origin
        pathRewrite: {
          "^/api": "", //重写路径
        },
      },
      //这个是腾讯地图请求的前缀 具体前缀看其开发文档
      "/qq": {
        target: "https://apis.map.qq.com",
        ws: true,
        changeOrigin: true,
        pathRewrite: {
          "^/qq": "",
        },
      },
    },
    //port可以设定该vue项目的端口
    port: 8011,
  },
};
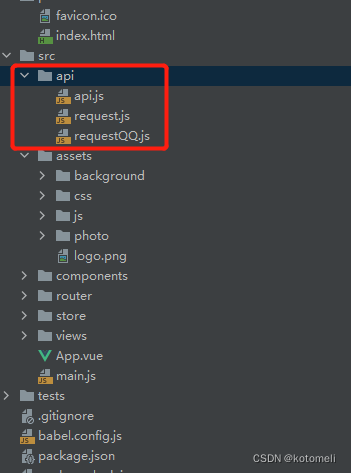
第三步:在src下创建api文件夹,并创建以下文件
request和requstQQ不同点:请求的前缀不同 一个是项目的后台,一个是腾讯
第三步:ruquest.js为例:
定义request
// eslint-disable-next-line no-unused-vars   =>这个在错误提示该变量没有被使用时可以在它上一行注释
import Axios from "axios";
const request = Axios.create({
  baseURL: "/api",  		//这个就是前缀 之前在vue.config.js设定的
  timeout: 300000,
  // 链接超时  当发送时间超过300秒就不再发送了
  // 若网速过慢发送不成功就会报错
  headers: {},
});
有的请求会需要带上token,可以在request请求的时候统一带上
// request请求拦截器——增加token
request.interceptors.request.use((config) => {
  config.headers["token"] =
    window.localStorage.getItem("user") == null
      ? ""
      : JSON.parse(window.localStorage.getItem("user")).token;
  return config;
  // window.localStorage.getItem("user")
  //这个是按照项目登录时获得的内容存储的,不同项目不同依据
});
响应的结果可以先进行处理,同理存在响应拦截器
(ElMessageBox需要安装依赖element-plus
在ruquest.js最前import
import { ElMessageBox } from "element-plus";
request.interceptors.response.use((response) => {
  const code = response.status;
  if (code == 504) {
    ElMessageBox.confirm("网络请求超时", "提示", {
      showCancelButton: false,
      type: "warning",
    });
  }
 else if (code < 200 || code > 300) {
    ElMessageBox.confirm(response.message, "提示", {
      showCancelButton: false,
      type: "warning",
    });
  } else {
    if (response.data.code == 1) {
      //正常情况且返回正常数据  这个code以后台接口返回为准
      return Promise.resolve(response);
    }
    else {
        //异常提示
        ElMessageBox.confirm(response.data.msg, "提示", {
          showCancelButton: false,
          type: "warning",
        });
    }
  }
  return Promise.reject("error");
});
最后在该js下方导出
export default request;
第四步:api.js
基本:引入刚刚写好的request,requestQQ同理
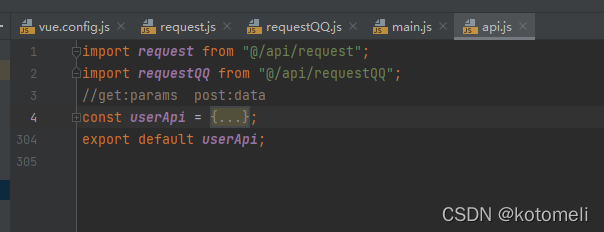
userApi中则为请求的实体
//get请求变量为:params  post请求变量为:data
const userApi = {
  /**
   * 逆地址解析 已知坐标得到地址
   * get
   * @param params
   * @returns {*}
   */
  getAddressByLocation: (params) => {
    return requestQQ({
      url: "/ws/geocoder/v1",
      method: "get",
      params: params,
    });
  },
  /**
   * 增加用户账号
   * post
   * @param data
   * @returns {*}
   */
  addAccount: (data) => {
    return request({
      url: "/addaccount",
      method: "post",
      data: data,
    });
  },
};
第五步:在vue中使用
1.在script内import上文写的api
import api from "@/api/api";
2.在method中定义的方法里使用:
无论是get还是post都是以下操作
      api.addAccount({ xx:xxx,xx1:xxxxx, }).then((res) => {
        if (res.data.code === 1) {
        //返回成功的操作
        }
      });
路由跳转
第一步:引入路由依赖
上文有
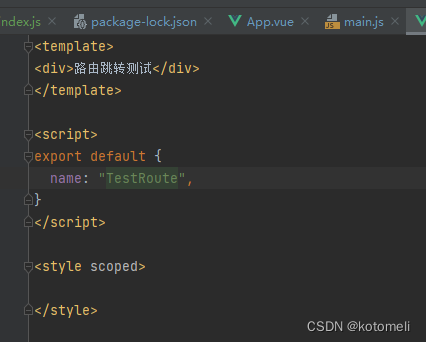
第二步:创建vue组件
在components中创建对应文件夹,创建vue component
第三步:在App.vue
删除多余内容,router-view写入
<template>
  <div>  <router-view /></div>
</template>
<script>
export default {
  name: 'App',
}
</script>
<style>
</style>
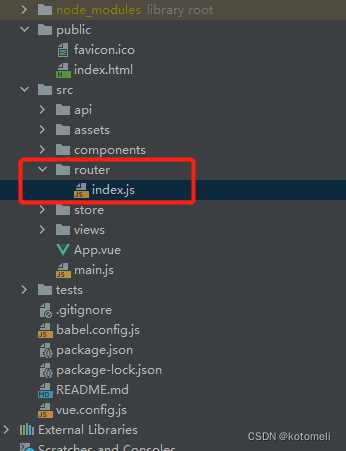
第四步:创建在src文件夹下创建router文件夹和index.js文件
第五步:index.js
import { createRouter, createWebHashHistory } from "vue-router";
const routes = [
    {
        path: "/test",
        name: "TestRoute",
        //component对应的是该界面对应的组件
        component: () => import("../components/TestRoute"),
    },
];

const router = createRouter({
    history: createWebHashHistory(),
    routes,
});

export default router;
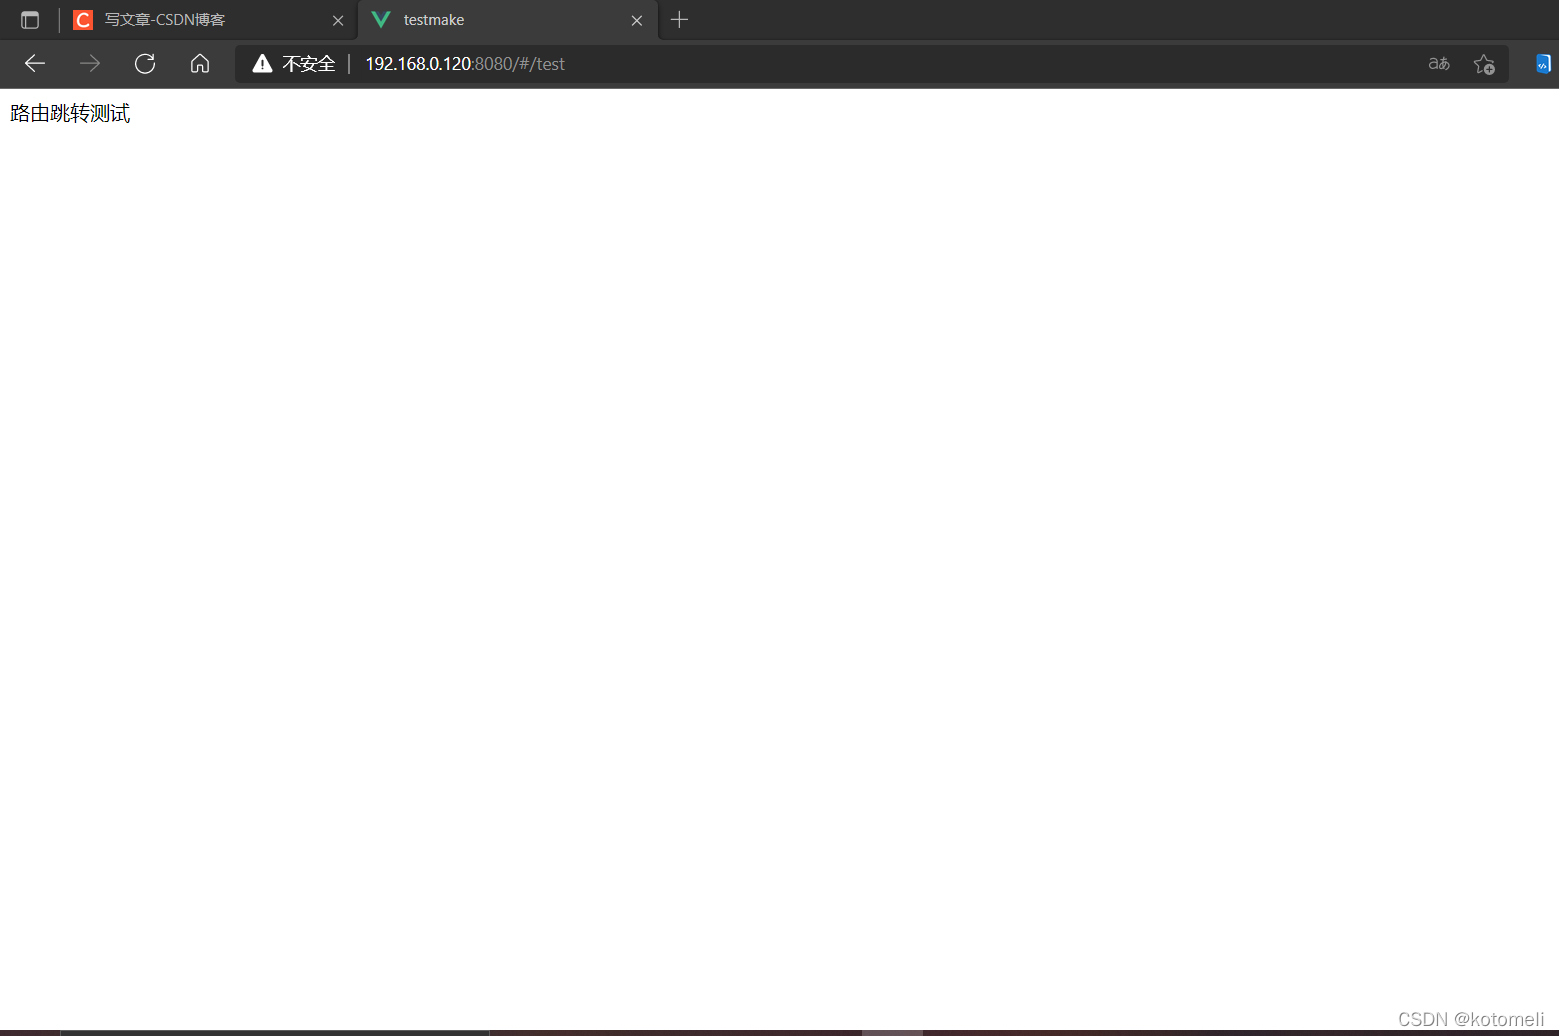
第六步:运行打开网址
路由跳转2.0
在有些页面,只有登录的账号才可以进入该页面,否则应跳转到login界面,因此在路由跳转的index.js中应增加一项属性
requireAuth: true 代表需要先判断是否登录

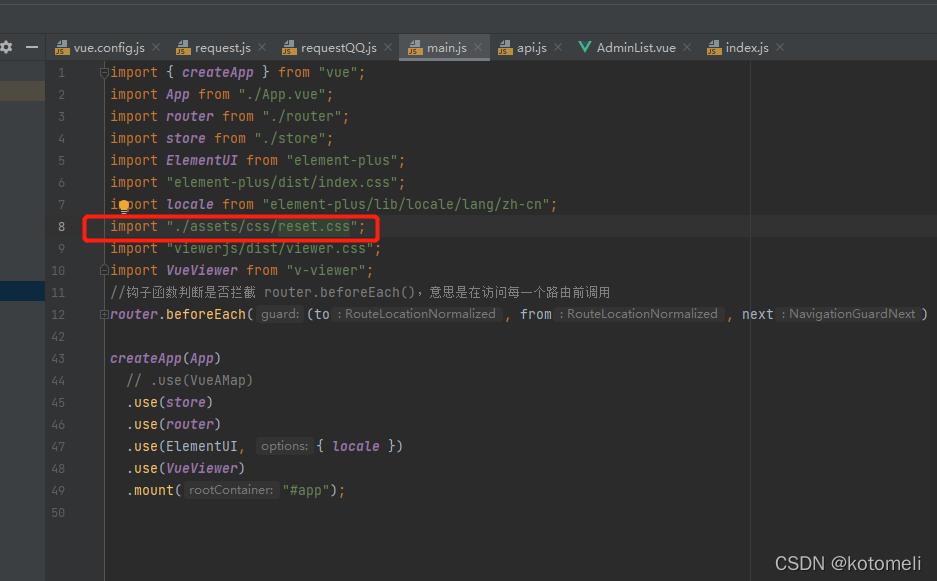
判断位置:main.js中利用钩子函数判断是否拦截 router.beforeEach(),意思是在访问每一个路由前调用
router.beforeEach((to, from, next) => {
  //访问需要查看是否登录的页面时
  if (to.meta.requireAuth) {
    //已登录了则访问该网页
    if (已登录了则访问该网页的条件) {
      next();
    } else {
      //没有登录的情况则跳转到登录界面
      next({
      //path是在路由的index设置好的路径
        path: "login",
        query: { redirect: to.fullPath },
      });
    }
  } else {
    //访问不需要查看是否登录的页面时
    if (to.path == "/login") {
      //访问login界面且已登录
      if (已登录了则访问该网页的条件) {
        next({
          path: "/",
        });
      } else {
        //访问login界面且未登录
        next();
      }
    } else {
      next();
    }
  }
});


 2866
2866


 被折叠的 条评论
为什么被折叠?
被折叠的 条评论
为什么被折叠?
 到【灌水乐园】发言


