


前言:
环境:QT6.4(MinGW64) CMake-GUI VTK9.3.0
一句话,版本是最近的就行。
*********有不懂可以私聊,大家一起探讨。如果遇到新的问题记得评论,有解决办法也请写博文并附上链接,以便能帮助其他人。
1.VTK源码下载
下载地址:https://vtk.org/download/ 从源码构建,所以下载红框内的压缩包即可。
2.安装CMake(cmake-gui)和QT (MinGW)
选择64位的安装器。下载地址:https://cmake.org/download/,安装时需要添加环境变量,安装器提示的时候选择添加给所有用户(Add CMake to the system PATH for all users)即可。

QT安装时需要勾选MinGW64。同时,需要将MinGW的目录添加到环境变量中,这是非常关键的步骤(如下图蓝色选项,根据自己的QT目录设置。如果是单独安装了MinGW,也应对应变化)。

3.下载完成后,解压VTK源码以及安装CMake。
放置目录如下:
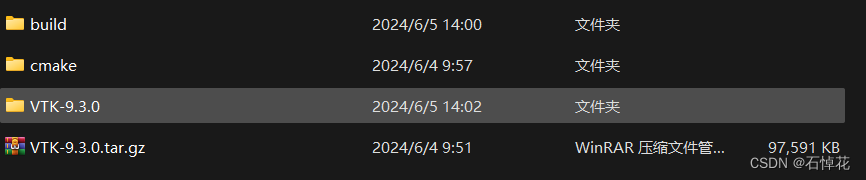
VTK-9.3.0.tar.gz 源码压缩包 (例如 D:/vtk/VTK-9.3.0.tar.gz)
VTK-9.3.0 解压后源码
cmake CMake安装目录
build 新建的构建目录
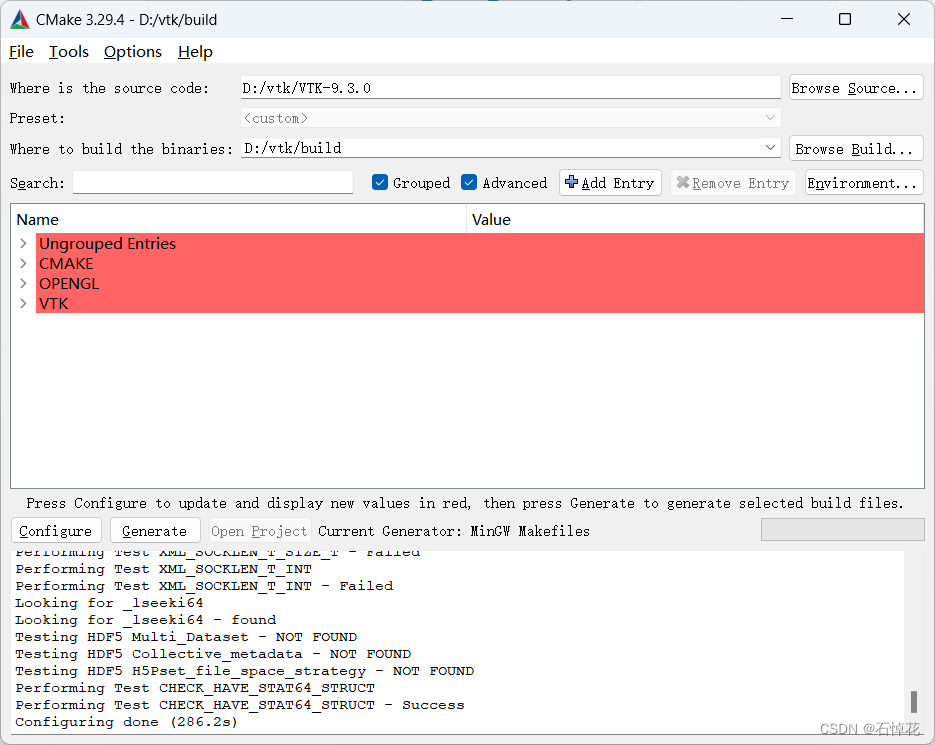
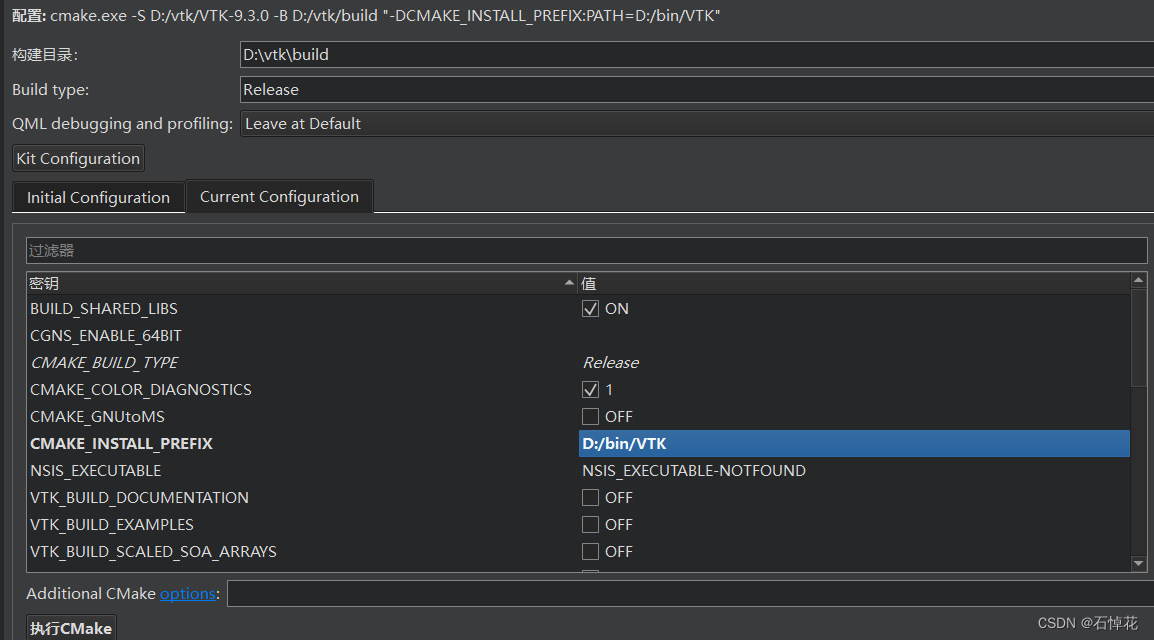
4.使用CMake生成MinGW项目

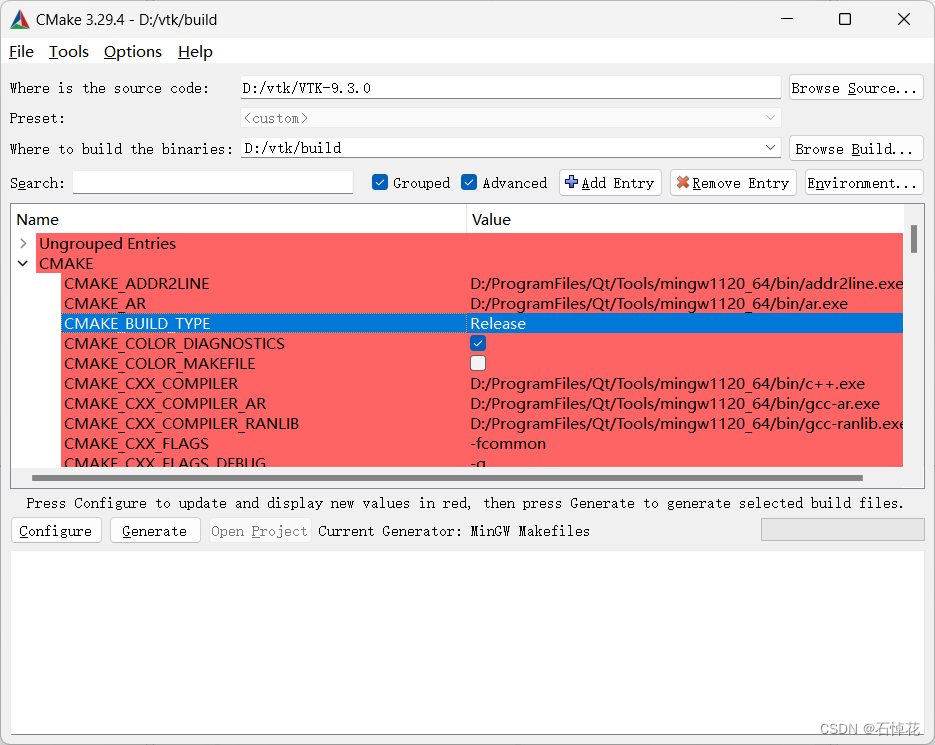
源码和构建目录设置如上图。
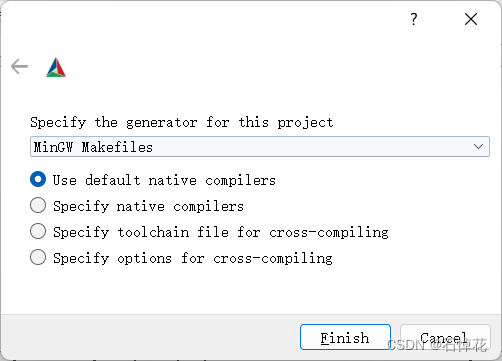
勾选Grouped和Advanced,设置完成点击Configure,此时需要选择编译器,选择MinGW Makefiles。如下图。
配置完成后结果如下:

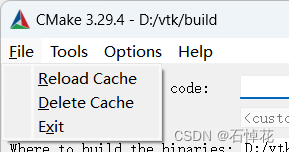
如果没提示选择编译器,可以尝试清除缓存:file >> delete cache
5.展开CMAKE,将下列的绿框中的值设置为-fcommon。如果不设置,QT编译时会报错,即VTK-9.3.0\ThirdParty\tiff\vtktiff\libtiff中重复定义。

CMAKE_BUILD_TYPE决定着QT项目的属性,根据自己的需求设置。
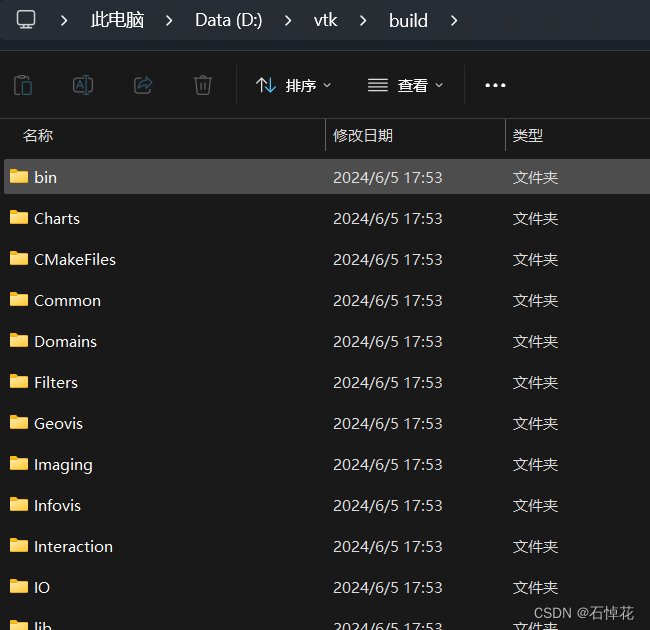
6.修改完再点击Configure,等配置完成,如果还有标红就再次点击,直到所有条目都不再标红。点击Generate生成项目。

此时,build目录大致如下。
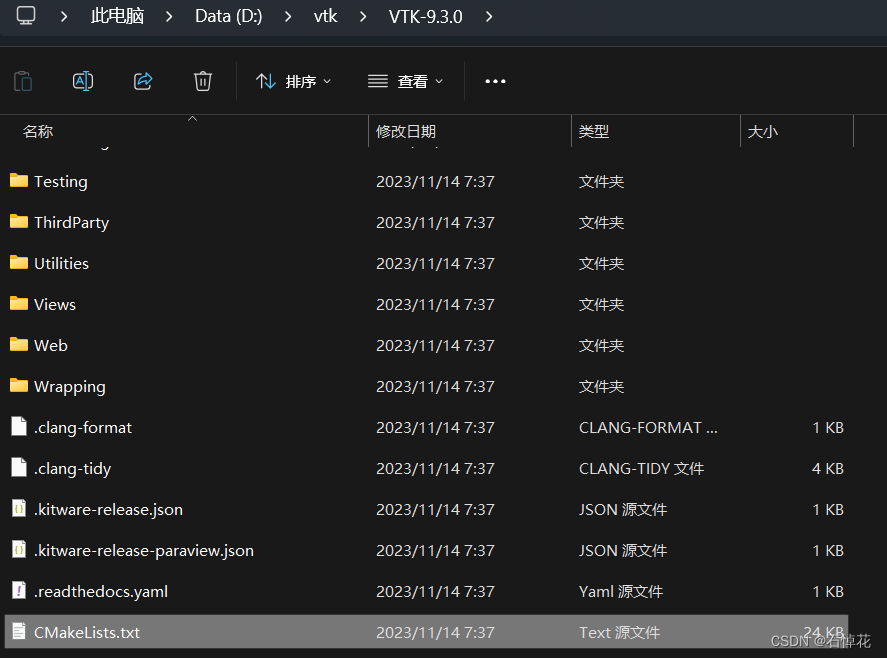
7.VTK-9.3.0目录下,右键选择用QT Creator打开CMakeLists.txt。或者用QT Creator打开项目。
打开后QT Creator界面如下:

8.QT Creator项目设置
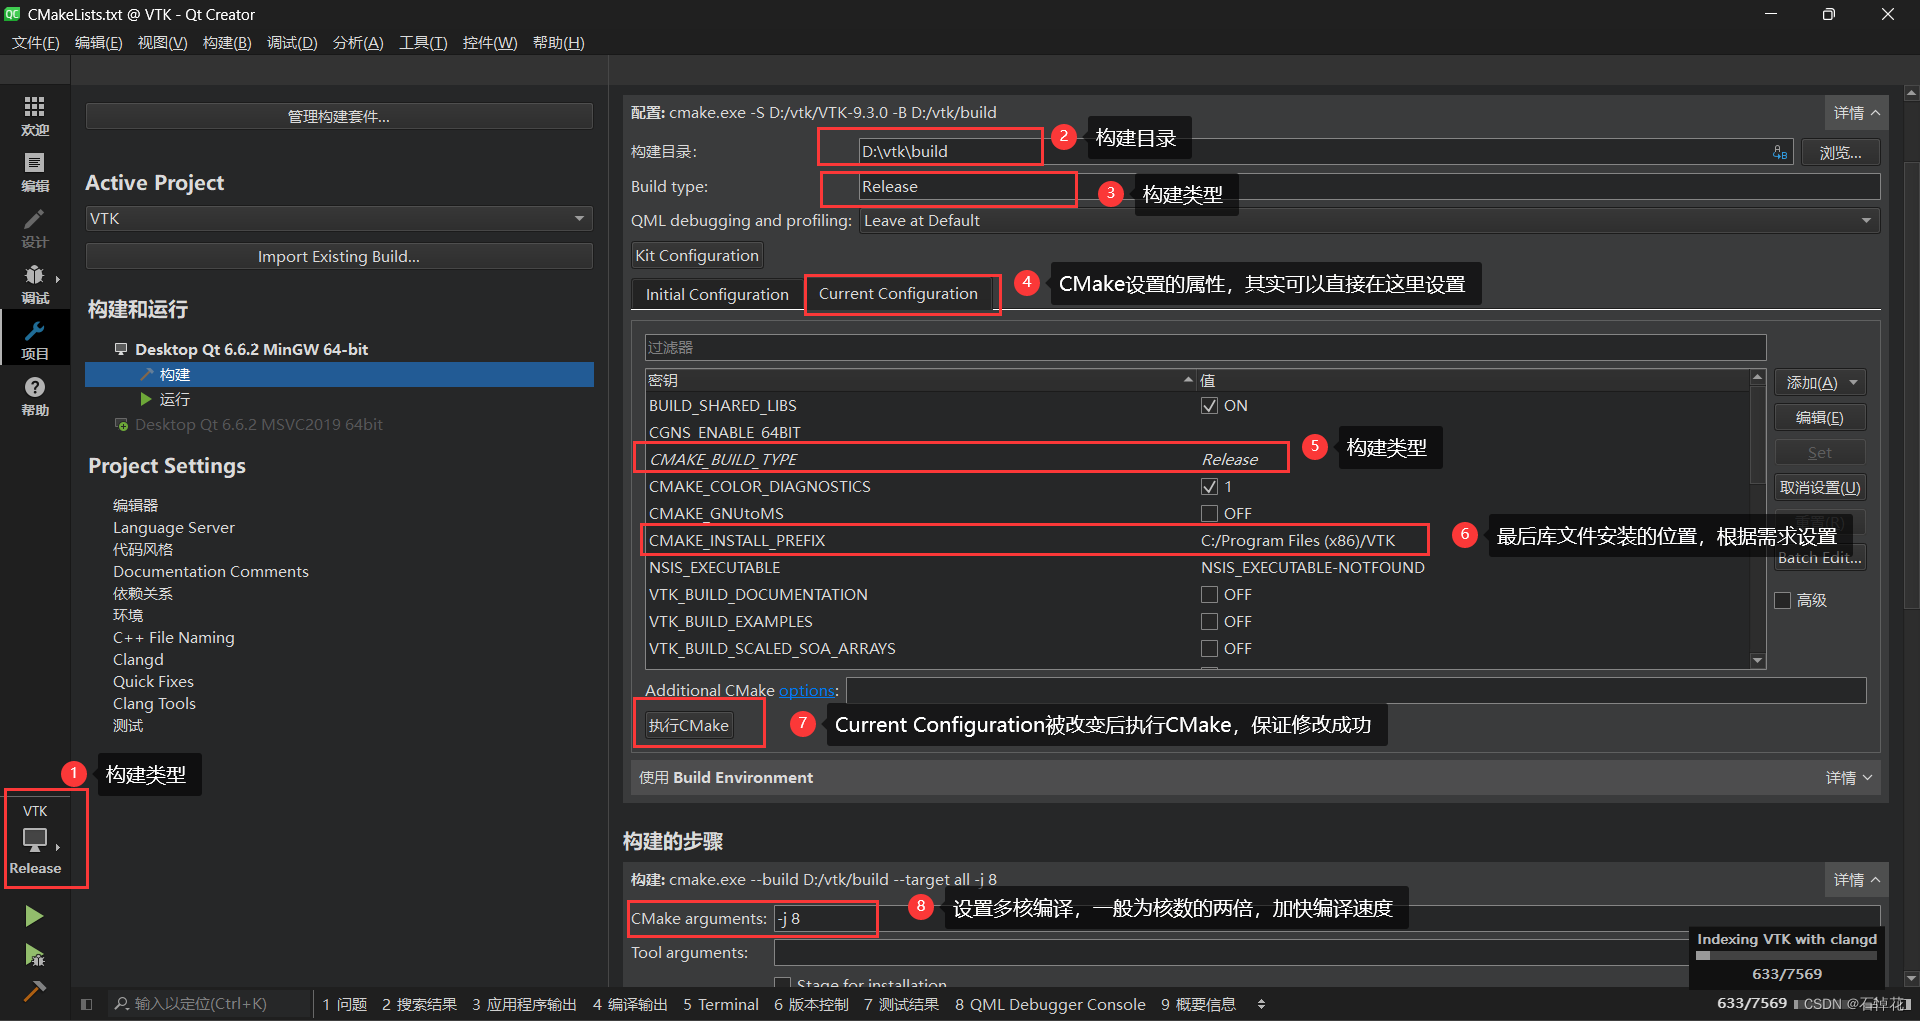
在<项目>界面,根据上图序号进行修改,其中1、3、5应该保持一致,debug或者release,否则无法编译。
序号2就是步骤3中CMake构建(build)的位置。
序号6是CMAKE_INSTALL_PREFIX,最后安装的位置。如果不想安装在C盘,就在这里设置。
修改后应该执行CMake更新修改。
序号8是设置多核编译,如果不设置需要编译6个小时左右,-j4能减少一半的时间。支持更高的就会更快。
如果要编译动态库,需要将下列选项设置为ON

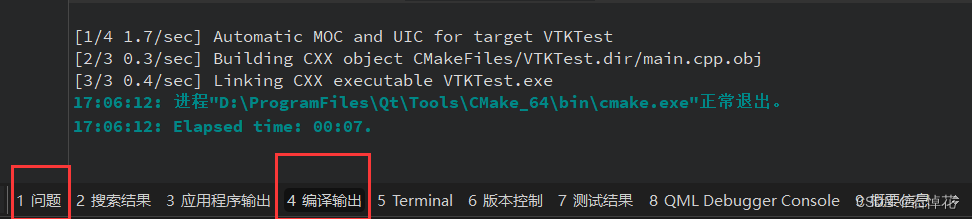
9.编译源码
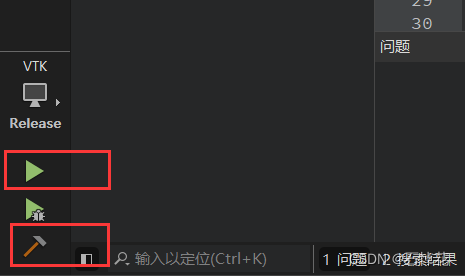
同时,可以在编译输出里查看编译进度,有红色提示是正常的,基本是重定义的提示。如果有致命错误,会在问题处显示。
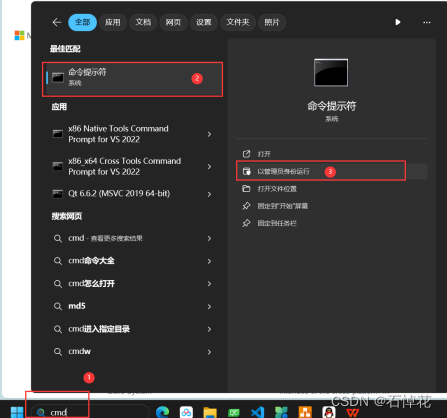
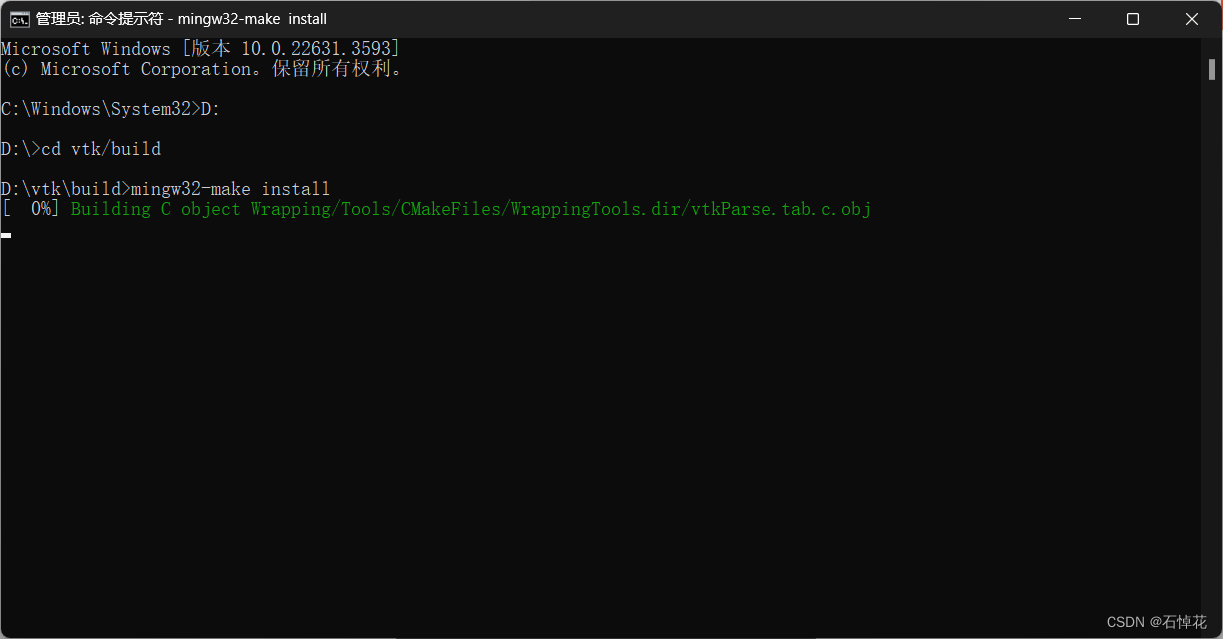
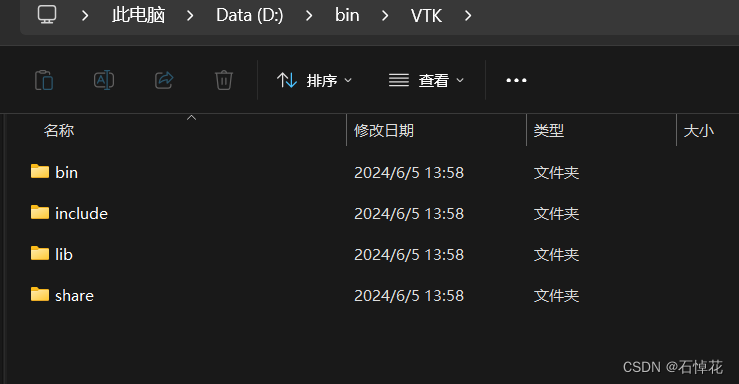
10.安装VTK
编译结束后,以管理员身份打开cmd,前往build目录,执行mingw32-make install进行安装。等待安装完成。
安装结束后,即可在CMAKE_INSTALL_PREFIX设置的目录下看到库文件。我设置的是D:/bin/VTK,如下:
安装成功后结果如下。
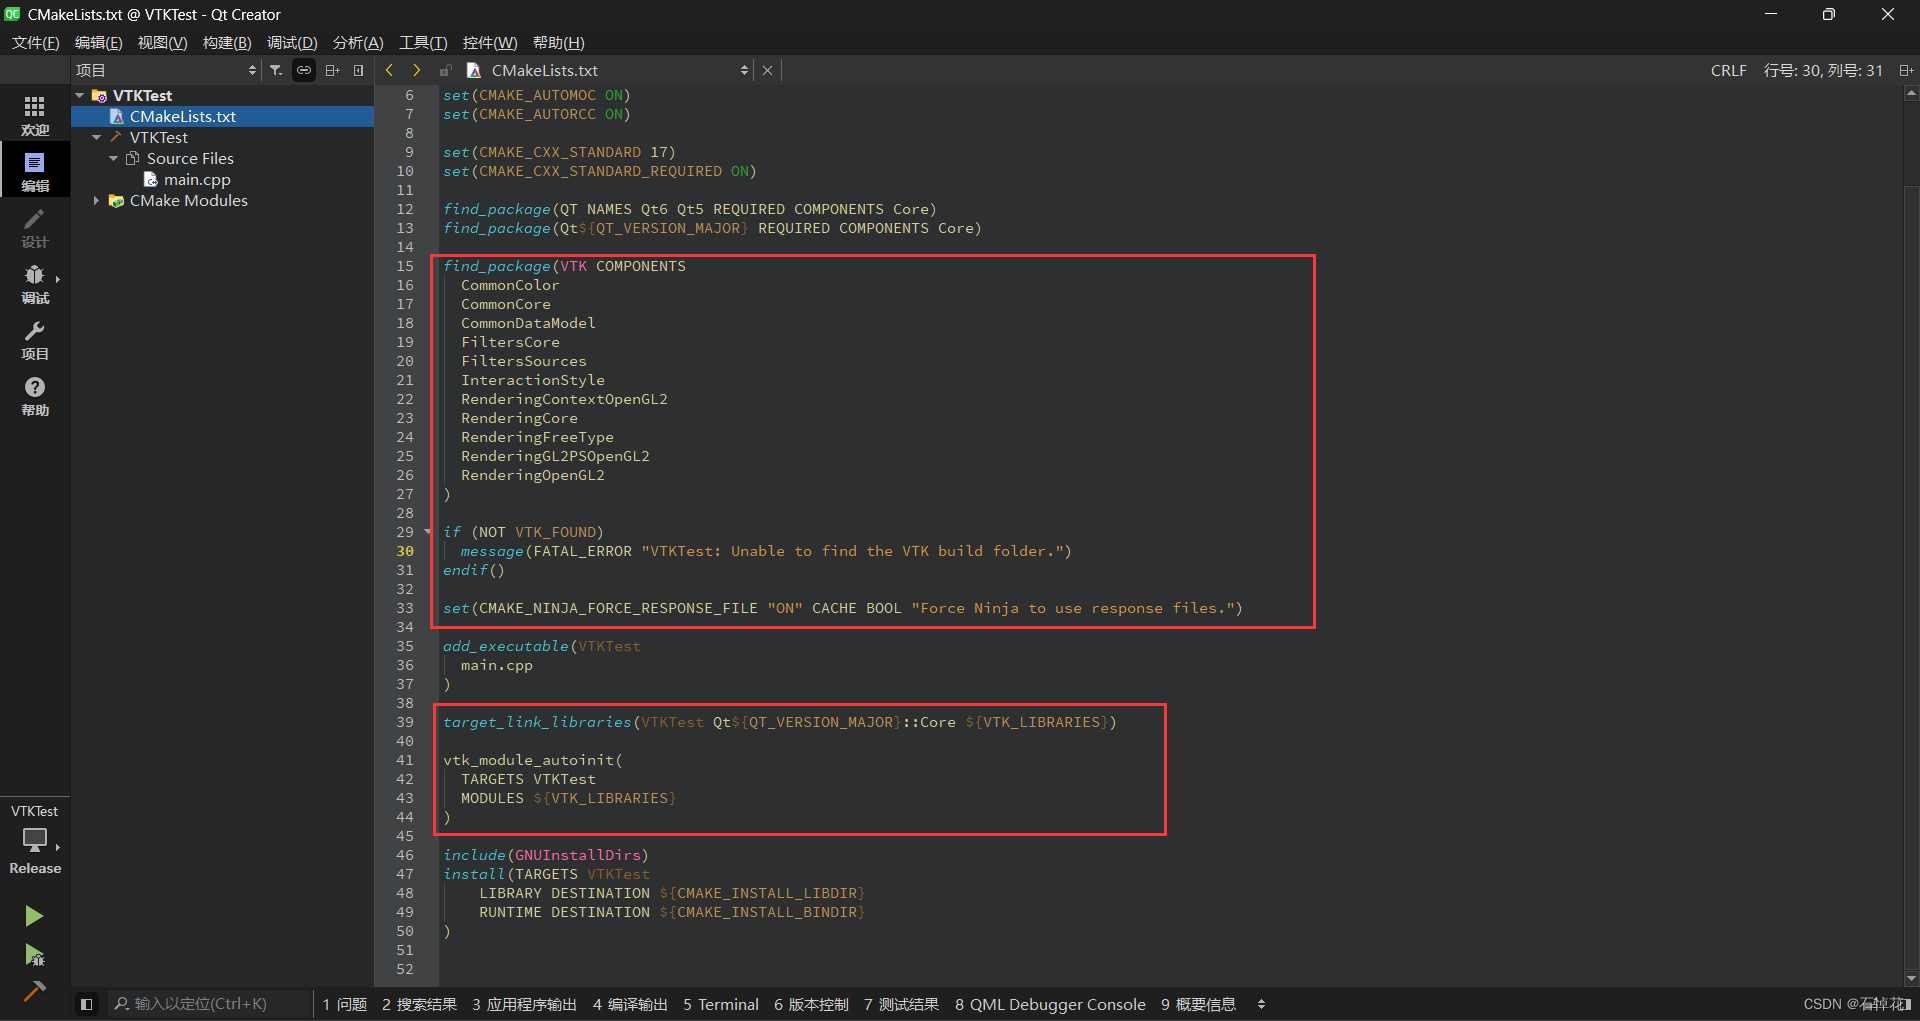
11.使用库文件。
这里我是用VTK官网的示例,有需要可以前往官网查看哦。里边的示例非常多,根据示例修改自己的CMakeLists.txt即可,网址:https://examples.vtk.org/site/Cxx/。我创建的是qt console项目,选的是德劳内三角化示例。红框是根据示例复制和修改的。其余部分是QT项目代码。
#include <QCoreApplication>
#include <vtkActor.h>
#include <vtkCamera.h>
#include <vtkDelaunay2D.h>
#include <vtkExtractEdges.h>
#include <vtkGlyph3D.h>
#include <vtkMinimalStandardRandomSequence.h>
#include <vtkNamedColors.h>
#include <vtkNew.h>
#include <vtkPoints.h>
#include <vtkPolyData.h>
#include <vtkPolyDataMapper.h>
#include <vtkProperty.h>
#include <vtkRenderWindow.h>
#include <vtkRenderWindowInteractor.h>
#include <vtkRenderer.h>
#include <vtkSphereSource.h>
#include <vtkTubeFilter.h>

int main(int argc, char *argv[])
{
    QCoreApplication a(argc, argv);
    vtkNew<vtkNamedColors> colors;

    // Generate some "random" points.
    vtkNew<vtkPoints> points;
    for (auto i = 0; i < 10; ++i)
    {
        for(auto j=0;j<10;++j){
            points->InsertPoint(i*10+j, i*1.5, j*1.5, 0.0);
        }
    }
    // Create a polydata with the points we just created.
    vtkNew<vtkPolyData> profile;
    profile->SetPoints(points);

    // Perform a 2D Delaunay triangulation on them.
    vtkNew<vtkDelaunay2D> delny;
    delny->SetInputData(profile);
    delny->SetTolerance(0.001);
    vtkNew<vtkPolyDataMapper> mapMesh;
    mapMesh->SetInputConnection(delny->GetOutputPort());
    vtkNew<vtkActor> meshActor;
    meshActor->SetMapper(mapMesh);
    meshActor->GetProperty()->SetColor(
        colors->GetColor3d("MidnightBlue").GetData());

    // We will now create a nice looking mesh by wrapping the edges in tubes,
    // and putting fat spheres at the points.
    vtkNew<vtkExtractEdges> extract;
    extract->SetInputConnection(delny->GetOutputPort());
    vtkNew<vtkTubeFilter> tubes;
    tubes->SetInputConnection(extract->GetOutputPort());
    tubes->SetRadius(0.01);
    tubes->SetNumberOfSides(6);
    vtkNew<vtkPolyDataMapper> mapEdges;
    mapEdges->SetInputConnection(tubes->GetOutputPort());
    vtkNew<vtkActor> edgeActor;
    edgeActor->SetMapper(mapEdges);
    edgeActor->GetProperty()->SetColor(colors->GetColor3d("peacock").GetData());
    edgeActor->GetProperty()->SetSpecularColor(1, 1, 1);
    edgeActor->GetProperty()->SetSpecular(0.3);
    edgeActor->GetProperty()->SetSpecularPower(20);
    edgeActor->GetProperty()->SetAmbient(0.2);
    edgeActor->GetProperty()->SetDiffuse(0.8);

    vtkNew<vtkSphereSource> ball;
    ball->SetRadius(0.025);
    ball->SetThetaResolution(12);
    ball->SetPhiResolution(12);
    vtkNew<vtkGlyph3D> balls;
    balls->SetInputConnection(delny->GetOutputPort());
    balls->SetSourceConnection(ball->GetOutputPort());
    vtkNew<vtkPolyDataMapper> mapBalls;
    mapBalls->SetInputConnection(balls->GetOutputPort());
    vtkNew<vtkActor> ballActor;
    ballActor->SetMapper(mapBalls);
    ballActor->GetProperty()->SetColor(colors->GetColor3d("hot_pink").GetData());
    ballActor->GetProperty()->SetSpecularColor(1, 1, 1);
    ballActor->GetProperty()->SetSpecular(0.3);
    ballActor->GetProperty()->SetSpecularPower(20);
    ballActor->GetProperty()->SetAmbient(0.2);
    ballActor->GetProperty()->SetDiffuse(0.8);

    // Create the rendering window, renderer, and interactive renderer.
    vtkNew<vtkRenderer> ren;
    vtkNew<vtkRenderWindow> renWin;
    renWin->AddRenderer(ren);
    vtkNew<vtkRenderWindowInteractor> iren;
    iren->SetRenderWindow(renWin);

    // Add the actors to the renderer, set the background and size.
    ren->AddActor(ballActor);
    ren->AddActor(edgeActor);
    ren->SetBackground(colors->GetColor3d("AliceBlue").GetData());
    renWin->SetSize(512, 512);
    renWin->SetWindowName("Main");

    ren->ResetCamera();
    ren->GetActiveCamera()->Zoom(1.3);

    // Interact with the data.
    iren->Initialize();
    renWin->Render();
    iren->Start();
    return a.exec();
}
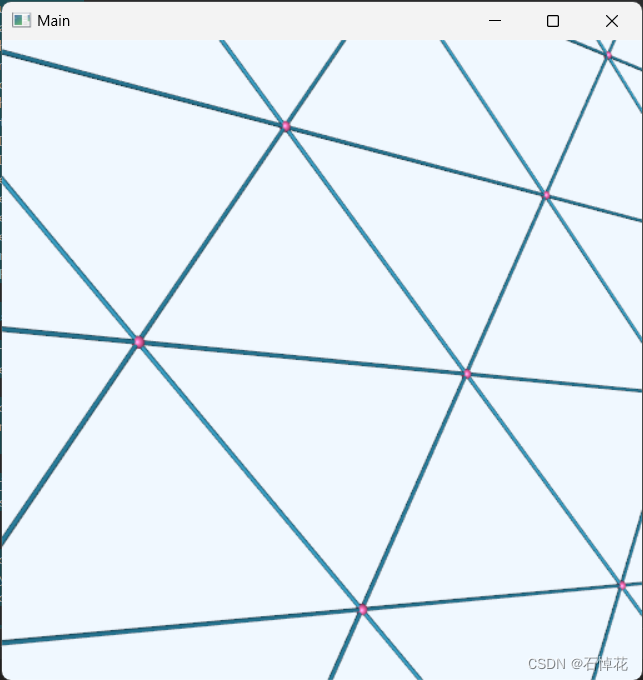
运行结果如下,这就完成了。


 2476
2476

 被折叠的 条评论
为什么被折叠?
被折叠的 条评论
为什么被折叠?
 到【灌水乐园】发言


