


一、先决条件
MMSegmentation 适用于 Linux、Windows 和 macOS。它需要 Python 3.6+、CUDA 9.2+ 和 PyTorch 1.3+。
Pytorch的配置教程可以参考我的另一篇文章。
Anaconda下载安装及配置pytorch环境_anaconda3 pytorch 安装-CSDN博客
二、最佳实践
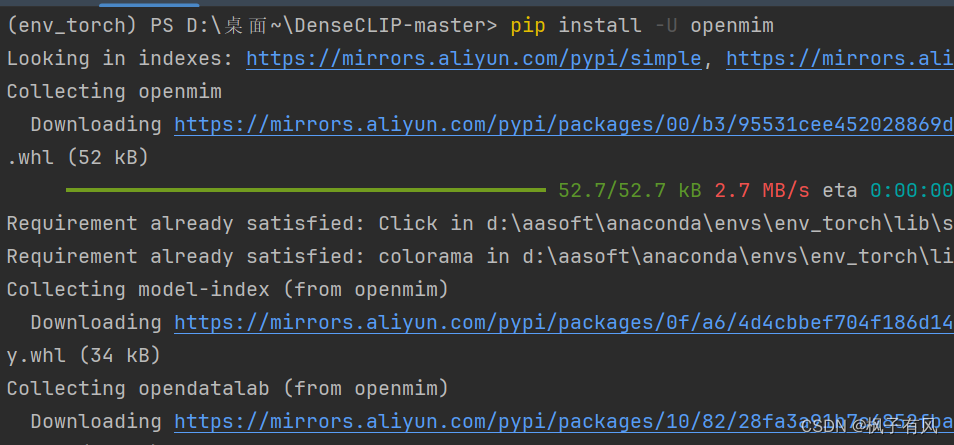
pip install -U openmim
mim install mmcv-full
即可安装 pip install -U openmim
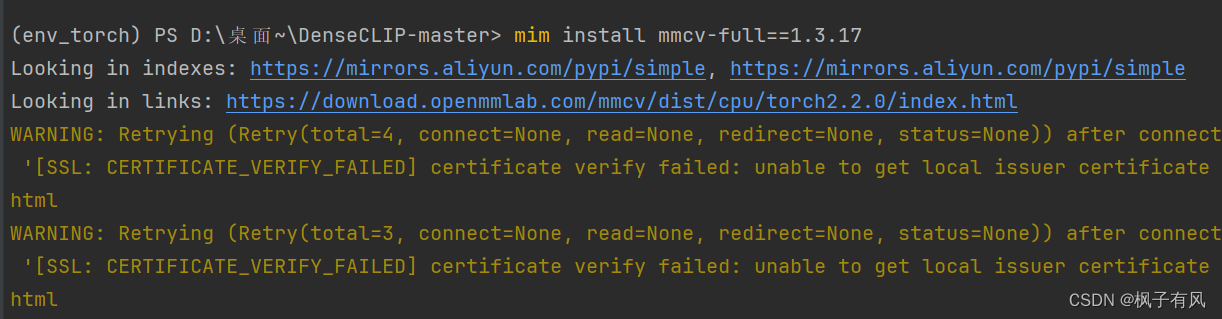
 可以安装自己需要的版本 mim install mmcv-full==1.3.17
步骤 1。安装 MMSegmentation。
案例 a:如果直接开发和运行 mmseg,请从源代码安装它:
git clone https://github.com/open-mmlab/mmsegmentation.git
cd mmsegmentation
pip install -v -e .
# "-v" means verbose, or more output
# "-e" means installing a project in editable mode,
# thus any local modifications made to the code will take effect without reinstallation.
案例 b:如果使用 mmsegmentation 作为依赖项或第三方包,请使用 pip 安装它:
pip install mmsegmentation注意:如果您想使用 albumentations,我们建议使用 pip install -U albumentations --no-binary qudida,albumentations。如果你只是使用 pip install albumentations>=0.3.2,它将同时安装 opencv-python-headless(即使你已经安装了 opencv-python)。我们建议在安装 albumentations 后检查环境,以确保 opencv-python 和 opencv-python-headless 不会同时安装,因为如果同时安装它们可能会导致意外问题。有关详细信息,请参阅官方文档。
三、验证安装
为了验证 MMSegmentation 是否正确安装,我们提供了一些示例代码来运行推理演示。
步骤 1。我们需要下载配置和检查点文件。
mim download mmsegmentation --config pspnet_r50-d8_512x1024_40k_cityscapes --dest .下载将需要几秒钟或更长时间,具体取决于您的网络环境。完成后,您将在当前文件夹中找到两个文件。pspnet_r50-d8_512x1024_40k_cityscapes.pypspnet_r50-d8_512x1024_40k_cityscapes_20200605_003338-2966598c.pth
第2步。验证推理演示。
选项(a)。如果从源代码安装 mmsegmentation,只需运行以下命令即可。
python demo/image_demo.py demo/demo.png configs/pspnet/pspnet_r50-d8_512x1024_40k_cityscapes.py pspnet_r50-d8_512x1024_40k_cityscapes_20200605_003338-2966598c.pth --device cuda:0 --out-file result.jpg您将在当前文件夹中看到一个新图像,其中所有对象都覆盖了分割蒙版。result.jpg
选项(b)。如果使用 pip 安装 mmsegmentation,请打开 python 解释器并复制粘贴以下代码。
from mmseg.apis import inference_segmentor, init_segmentor
import mmcv

config_file = 'pspnet_r50-d8_512x1024_40k_cityscapes.py'
checkpoint_file = 'pspnet_r50-d8_512x1024_40k_cityscapes_20200605_003338-2966598c.pth'

# build the model from a config file and a checkpoint file
model = init_segmentor(config_file, checkpoint_file, device='cuda:0')

# test a single image and show the results
img = 'test.jpg'  # or img = mmcv.imread(img), which will only load it once
result = inference_segmentor(model, img)
# visualize the results in a new window
model.show_result(img, result, show=True)
# or save the visualization results to image files
# you can change the opacity of the painted segmentation map in (0, 1].
model.show_result(img, result, out_file='result.jpg', opacity=0.5)

# test a video and show the results
video = mmcv.VideoReader('video.mp4')
for frame in video:
   result = inference_segmentor(model, frame)
   model.show_result(frame, result, wait_time=1)
您可以修改上面的代码来测试单个图像或视频,这两个选项都可以验证安装是否成功。


 1269
1269


 被折叠的 条评论
为什么被折叠?
被折叠的 条评论
为什么被折叠?
 到【灌水乐园】发言


