


目录
一、基础知识
GUI(Graphical User Interfa):用户图形界面编程
核心两大部分:awt 和 swing
优点:可以写出自己想要的工具
了解MVC和事件监听
实际工作中可能需要维护swing界面
缺点:界面不美观
需要jre环境
二、AWT
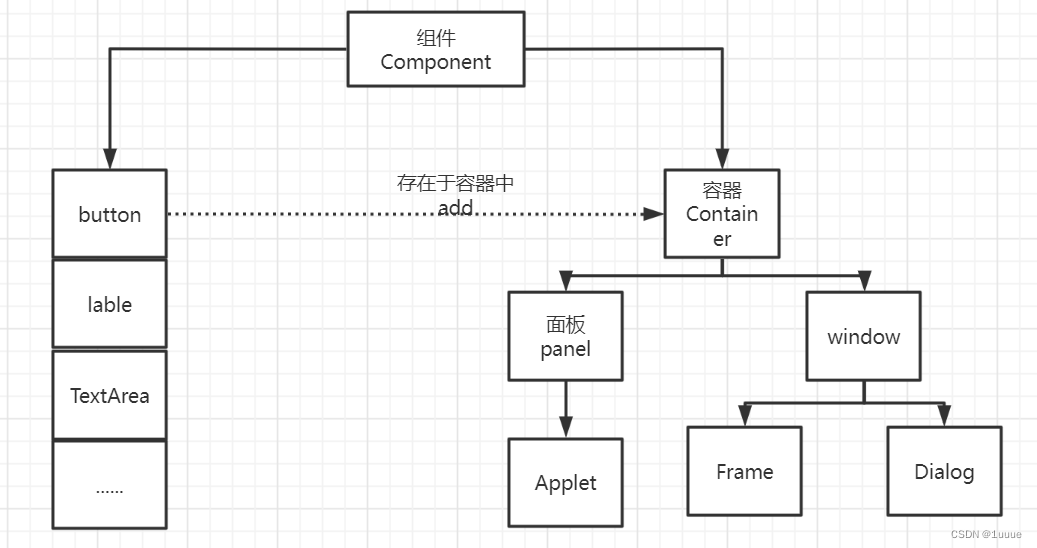
AWT是用于创建图形用户界面的一个工具包,它提供了一系列用于实现图形界面的组件,如窗口、按钮、文本框、对话框等。在JDK中针对每个组件都提供了对应的java类,这些类都位于java.awt包中。
Component类通常被称为组件,根据Component的不同作用,可将其分为基本组件类和容器类。基本组件类是诸如按钮、文本框之类的图形界面元素,而容器类则是通过Component的子类Contaier类表示容器,它是一种特殊的组件,可以用来容纳其他组件。
2.1 第一个Frame窗口
//GUI的第一个界面
public class TestFrame {
public static void main(String[] args) {
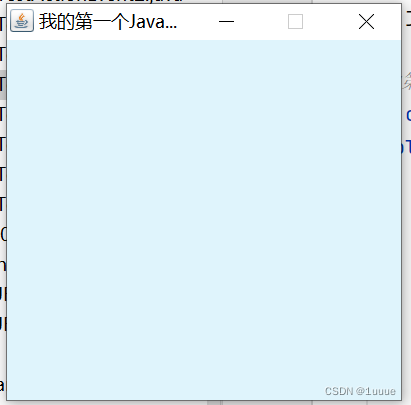
Frame frame = new Frame("我的第一个Java图形界面窗口");
//设置可见性
frame.setVisible(true);
//设置窗口大小
frame.setSize(400,400);
//设置背景颜色
frame.setBackground(new Color(223, 244, 252));
//弹出的初始位置
frame.setLocation(200,200);
//设置大小固定
frame.setResizable(false);
}
}运行结果:
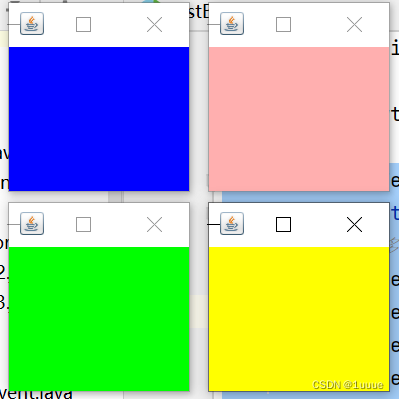
显示多个窗口:
public class TestFrame2 {
    public static void main(String[] args) {
        //展示多个窗口
        MyFrame myFrame1 = new MyFrame(100, 100, 200, 200, Color.blue);
        MyFrame myFrame2 = new MyFrame(300, 100, 200, 200, Color.pink);
        MyFrame myFrame3 = new MyFrame(100, 300, 200, 200, Color.green);
        MyFrame myFrame4 = new MyFrame(300, 300, 200, 200, Color.yellow);
    }
}

class MyFrame extends Frame{
    static int id=0;//可能存在多个窗口
    public MyFrame(int x,int y,int w,int h,Color color){
        super("MyFrame"+(++id));
        setBackground(color);
        setBounds(x,y,w,h);
        setVisible(true);
    }
}
运行结果:
问题:运行的窗口无法关闭,只能通过关闭java运行机制。
2.2 Panel面板
//panel可以看成是一个空间 但是不能单独存在
public class TestPanel {
    public static void main(String[] args) {
        Frame frame = new Frame();
        //面板中存在一个布局的概念
        Panel panel = new Panel();

        //设置布局
        frame.setLayout(null);

        //坐标
        frame.setBounds(300,300,500,500);
        frame.setBackground(new Color(252, 246, 223));

        //panel 设置坐标,相对于frame
        panel.setBounds(50,50,400,400);
        panel.setBackground(new Color(234, 211, 243, 255));

        //添加panel
        frame.add(panel);

        //可见性
        frame.setVisible(true);

        //监听事件,监听窗口关闭  System.exit(0)
        //适配器模式
        frame.addWindowListener(new WindowAdapter() {
            //窗口关闭的时候需要做的事情
            @Override
            public void windowClosing(WindowEvent e) {
                //结束程序
                System.exit(0);
            }
        });
    }
}
运行结果:

2.3 三种布局管理器
1)流式布局(从左至右)
public class TestFlowLayout {
    public static void main(String[] args) {
        Frame frame = new Frame();
        //组件——按钮
        Button button1 = new Button("button1");
        Button button2 = new Button("button2");
        Button button3 = new Button("button3");
        //设置为流式布局
        frame.setLayout(new FlowLayout());//默认居中
        //frame.setLayout(new FlowLayout(FlowLayout.LEFT));


        frame.setSize(200,200);

        //添加按钮
        frame.add(button1);
        frame.add(button2);
        frame.add(button3);

        //可见性
        frame.setVisible(true);
    }
}
运行结果:

2)东西南北中
public class TestBorderLayout {
    public static void main(String[] args) {
        Frame frame = new Frame("TestBorderLayout");
        Button east = new Button("East");
        Button west = new Button("West");
        Button south = new Button("South");
        Button north = new Button("North");
        Button center = new Button("Center");

        frame.add(east,BorderLayout.EAST);
        frame.add(west,BorderLayout.WEST);
        frame.add(south,BorderLayout.SOUTH);
        frame.add(north,BorderLayout.NORTH);
        frame.add(center,BorderLayout.CENTER);

        //可见性
        frame.setVisible(true);
        //大小
        frame.setSize(200,200);
    }
}
运行结果:

3)表格布局(从左至右,从上至下 依次填充)
public class TestGridLayout {
    public static void main(String[] args) {
        Frame frame = new Frame();

        Button btn1 = new Button("btn1");
        Button btn2 = new Button("btn2");
        Button btn3 = new Button("btn3");
        Button btn4 = new Button("btn4");
        Button btn5 = new Button("btn5");
        Button btn6 = new Button("btn6");

        frame.setLayout(new GridLayout(3,2));
        frame.add(btn1);
        frame.add(btn2);
        frame.add(btn3);
        frame.add(btn4);
        frame.add(btn5);
        frame.add(btn6);

        frame.pack();//java函数 自动填充大小
        frame.setVisible(true);
    }
}
运行结果:

2.4 事件监听
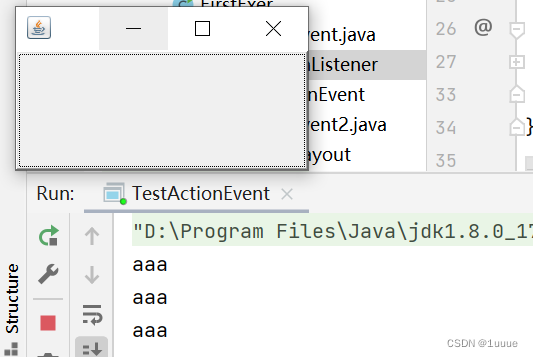
Demo01:
public class TestActionEvent {
    public static void main(String[] args) {
        //按下按钮触发一些事件
        Frame frame = new Frame();
        Button button = new Button();
        //因为addActionListener()需要一个ActionListener,所以需要构造一个ActionListener
        MyActionListener myActionListener = new MyActionListener();
        button.addActionListener(myActionListener);
        frame.add(button,BorderLayout.CENTER);
        frame.pack();
        frame.setVisible(true);
        //关闭窗口
        windoeClose(frame);

    }

    //关闭窗体的事件
    private static void windoeClose(Frame frame){
        frame.addWindowListener(new WindowAdapter() {
            @Override
            public void windowClosing(WindowEvent e) {
                System.exit(0);
            }
        });
    }
}

class MyActionListener implements ActionListener{

    @Override
    public void actionPerformed(ActionEvent e) {
        System.out.println("aaa");
    }
}
运行结果:
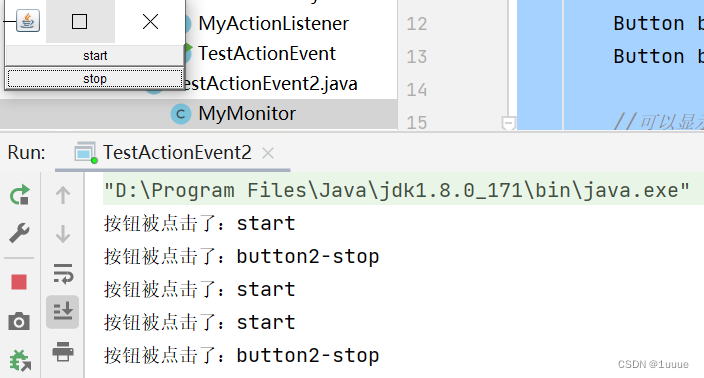
Demo02:
public class TestActionEvent2 {
    public static void main(String[] args) {
        //两个按钮实现同一个监听
        //开始    停止
        Frame frame = new Frame("start-stop");
        Button button1 = new Button("start");
        Button button2 = new Button("stop");

        //可以显示的定义出发会返回的命令,如果不显示定义就走默认的值
        //可以多个按钮只写一个监听类
        button2.setActionCommand("button2-stop");

        MyMonitor myMonitor = new MyMonitor();

        button1.addActionListener(myMonitor);
        button2.addActionListener(myMonitor);

        frame.add(button1,BorderLayout.NORTH);
        frame.add(button2,BorderLayout.SOUTH);
        frame.pack();
        frame.setVisible(true);
    }
}

//监听事件
class MyMonitor implements ActionListener{

    @Override
    public void actionPerformed(ActionEvent e) {
        //e.getActionCommand()获得按钮的信息
        System.out.println("按钮被点击了:"+e.getActionCommand());
    }
}
运行结果:
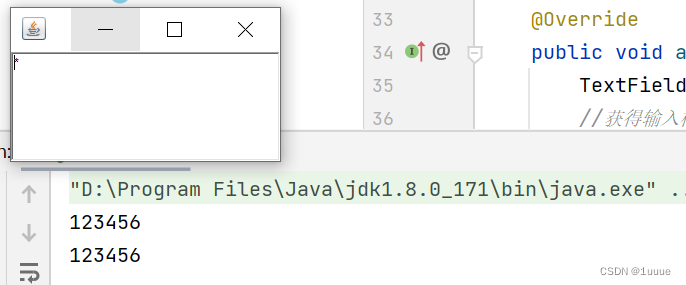
2.5 输入框事件监听
public class TestText1 {
    //main方法中只存饭启动部分
    public static void main(String[] args) {
        new MyFrame02();
    }
}

class MyFrame02 extends Frame {
    public MyFrame02(){
        TextField textField = new TextField();
        add(textField);

        //监听文本框输入的东西
        MyActionListener02 myActionListener02 = new MyActionListener02();
        //按下回车触发事件
        textField.addActionListener(myActionListener02);
        //设置字符编码
        textField.setEchoChar('*');

        pack();
        setVisible(true);
    }
}

class MyActionListener02 implements ActionListener{

    @Override
    public void actionPerformed(ActionEvent e) {
        TextField textField=(TextField) e.getSource();//获得资源
        //获得输入框中的文本
        System.out.println(textField.getText());
        //每次回车都自动清除上一次的内容
        textField.setText(" ");
    }
}
运行结果:
2.6 画笔Paint
public class TestPaint {
    public static void main(String[] args) {
        new MyPaint().load();

    }
}

class MyPaint extends Frame {
    public void load(){
        setBounds(200,200,600,500);
        setVisible(true);
    }

    @Override
    public void paint(Graphics g) {
        //设置颜色
        g.setColor(Color.pink);
        //空心圆
        //g.drawOval(100,100,100,100);
        //实心圆
        g.fillOval(100,100,100,100);

        g.setColor(Color.blue);
        g.fillRect(150,200,200,200);
    }
}
运行结果:

2.7 鼠标监听事件、模拟画图工具
//测试鼠标监听事件
public class TestMouseListener {
    public static void main(String[] args) {
        new MyFrame("画图");
    }
}

//自己的类
class  MyFrame extends Frame{
    //使用集合存储这些点
    ArrayList points;

    public MyFrame(String title){
        super(title);
        setBounds(200,200,400,300);
        //存点
        points=new ArrayList<>();

        //鼠标监听器是针对于窗口的(因为是在窗口上点击鼠标)
        this.addMouseListener(new MyMouseListener());

        setVisible(true);
    }

    @Override
    public void paint(Graphics g) {
        //画画 监听鼠标的事件 (迭代器)
        Iterator iterator = points.iterator();
        while(iterator.hasNext()){
            Point point = (Point)iterator.next();
            g.setColor(Color.pink);
            g.fillOval(point.x,point.y,10,10);
        }
    }

    //添加一个点到界面上
    public void addPoint(Point point){
        points.add(point);
    }

    //内部类  适配器模式
    private class MyMouseListener extends MouseAdapter{
        //按下 弹起 按住不放

        @Override
        public void mousePressed(MouseEvent e) {
            MyFrame myFrame =(MyFrame) e.getSource();
            //点击时就会在界面上产生一个点
            //这个点就是鼠标的点 e表示当前的鼠标
            myFrame.addPoint(new Point(e.getX(),e.getY()));

            //每次点击鼠标都需要重新画一遍
            myFrame.repaint();
        }
    }
}
运行结果:

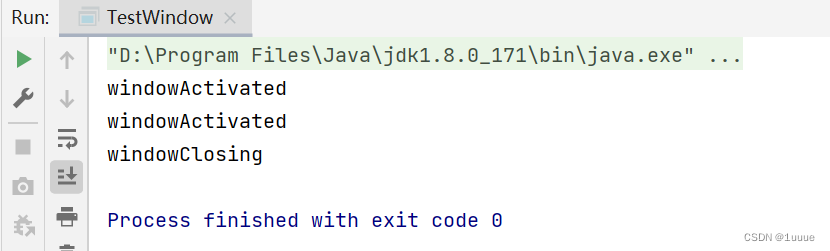
2.8 窗口监听事件
public class TestWindow {
    public static void main(String[] args) {
        new WindowFrame();
    }
}

//自己的类
class WindowFrame extends Frame{
    public WindowFrame(){
        setBackground(Color.pink);
        setBounds(100,100,200,200);
        setVisible(true);
        //addWindowListener(new MyWindowListener());
        //匿名内部类
        this.addWindowListener(new WindowAdapter() {

            @Override
            public void windowClosing(WindowEvent e) {
                System.out.println("windowClosing");
                System.exit(0);
            }

            @Override
            public void windowActivated(WindowEvent e) {
                WindowFrame source = (WindowFrame)e.getSource();
                source.setTitle("被激活了");
                System.out.println("windowActivated");
            }
        });
    }
}
运行结果:
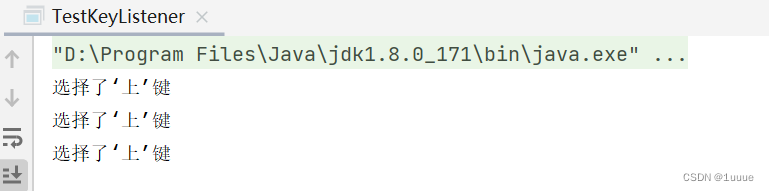
2.9 键盘监听事件
//键盘监听
public class TestKeyListener {
    public static void main(String[] args) {
        new KeyFrame();
    }
}

class KeyFrame extends Frame{
    public KeyFrame(){
        setBounds(1,2,300,400);
        setVisible(true);

        this.addKeyListener(new KeyAdapter() {
            //键盘按下
            @Override
            public void keyPressed(KeyEvent e) {
                //获取键
                int keyCode=e.getKeyCode();
                if(keyCode==KeyEvent.VK_UP){
                    System.out.println("选择了‘上’键");
                }
            }
        });
    }
}
运行结果:


 1772
1772


 被折叠的 条评论
为什么被折叠?
被折叠的 条评论
为什么被折叠?
 到【灌水乐园】发言


