


基于RAG技术的心理健康大模型的开发及应用
本次任务重新设计主页面内容,将其变得比之前好看一些些,为之后进行连接大模型做好准备。
还是在之前主页面的Vue进行修改。本次实现的是主页的推送音乐功能。
一、前端最终页面展示
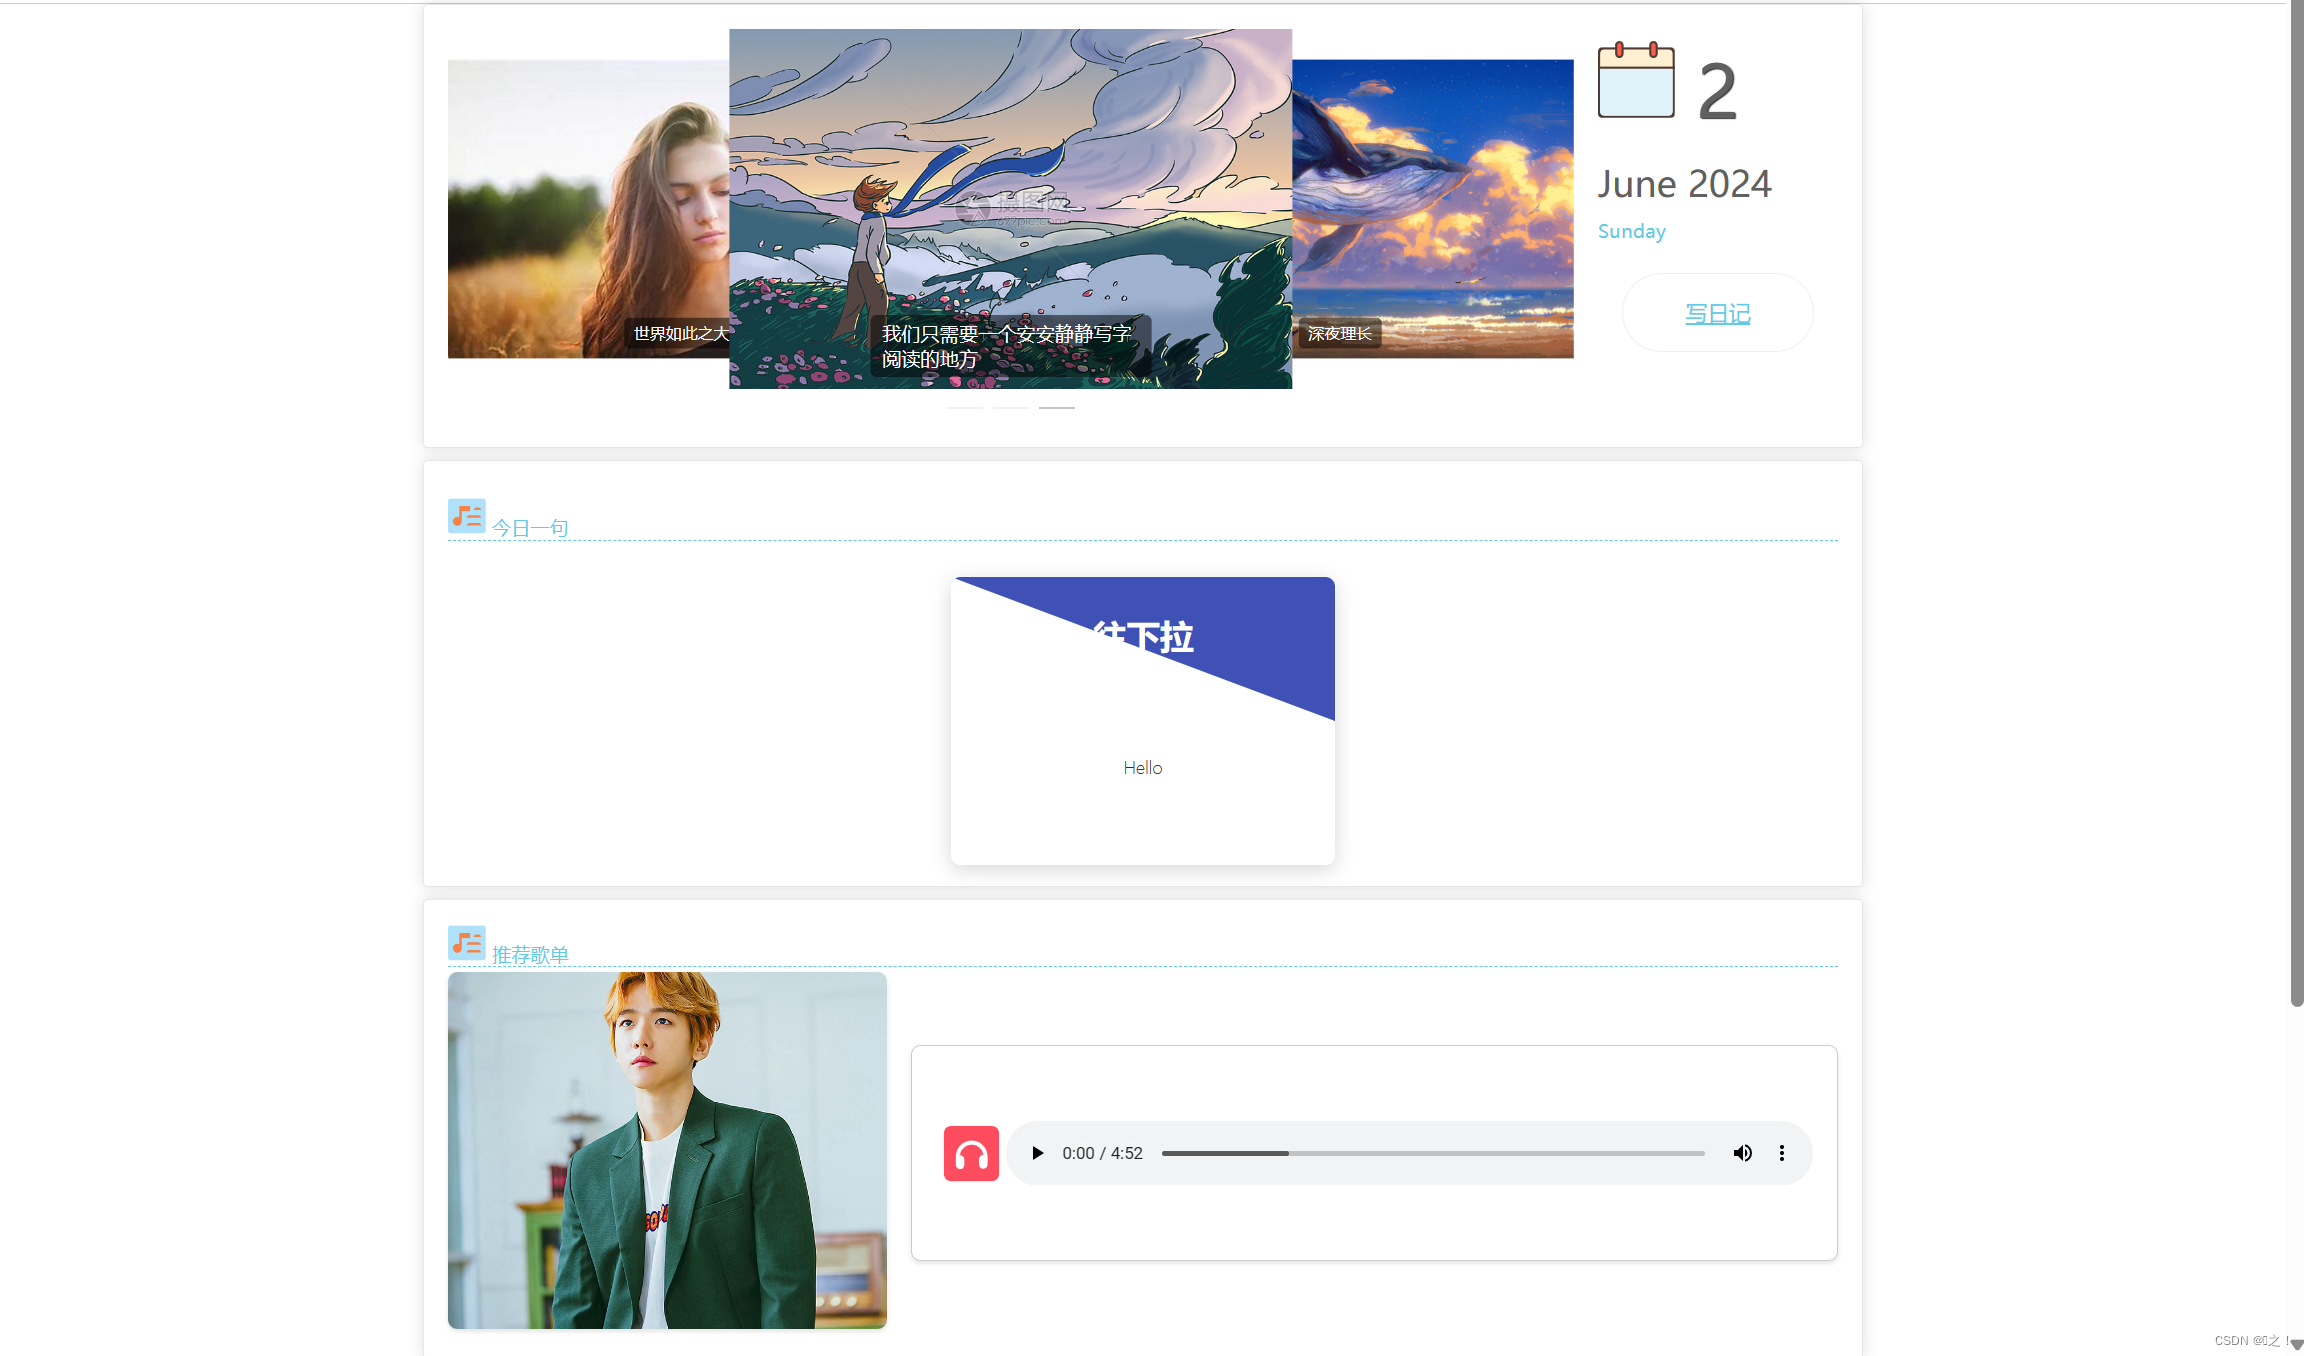
二、推荐歌曲部分实现
依然使用element-ui和阿里矢量库进行设计开发。
<el-card style="margin-top: 10px">


    <section>
      <h2 class="h2">
        <i class="iconfont icon-rili">
          <svg t="1717255554915" class="icon" viewBox="0 0 1118 1024" version="1.1" xmlns="http://www.w3.org/2000/svg" p-id="1852" width="32" height="32"><path d="M0 0m74.640492 0l951.666272 0q74.640492 0 74.640492 74.640492l0 858.365657q0 74.640492-74.640492 74.640492l-951.666272 0q-74.640492 0-74.640492-74.640492l0-858.365657q0-74.640492 74.640492-74.640492Z" fill="#AFE1FA" p-id="1853"></path><path d="M620.449089 482.830682H886.355842a74.640492 74.640492 0 0 1 74.640492 74.640492v0.839706H545.808597v-0.839706a74.640492 74.640492 0 0 1 74.640492-74.640492zM620.449089 709.084674H886.355842a74.640492 74.640492 0 0 1 74.640492 74.640492H545.808597a74.640492 74.640492 0 0 1 74.640492-74.640492zM828.042958 257.043194H886.355842a74.640492 74.640492 0 0 1 74.640492 74.640492v0.839706H753.402466v-0.839706a74.640492 74.640492 0 0 1 74.640492-74.640492zM643.774243 214.591414H326.552152v330.004275a130.620861 130.620861 0 1 0-37.320246 247.24663A132.393573 132.393573 0 0 0 401.192644 659.635348V363.872398h242.581599z" fill="#F5834A" p-id="1854"></path></svg>
        </i> 推荐歌单
        <span class="more">
      </span>
      </h2>

      <div class="song-container">
        <!-- 左侧歌曲照片 -->
        <div class="song-photo">
          <img :src="songPhotoUrl" alt="歌曲封面">
        </div>

        <!-- 右侧音频播放器 -->
        <div class="audio-player">

          <svg t="1717327313878" class="icon" viewBox="0 0 1024 1024" version="1.1" xmlns="http://www.w3.org/2000/svg" p-id="3244" width="64" height="64"><path d="M814.933333 914.666667H214.4c-54.933333 0-99.733333-44.8-99.733333-99.733334V214.4c0-54.933333 44.8-99.733333 99.733333-99.733333h600.533333c54.933333 0 99.733333 44.8 99.733334 99.733333v600.533333c0 54.933333-44.8 99.733333-99.733334 99.733334z" fill="#FF4C5E" p-id="3245"></path><path d="M349.866667 741.333333h-0.533334c-33.6 0-60.8-27.2-60.8-60.8v-80.533333c0-33.6 27.2-60.8 60.8-60.8h0.533334c33.6 0 60.8 27.2 60.8 60.8v80.533333c0 33.6-27.2 60.8-60.8 60.8zM685.866667 736h-0.533334c-33.6 0-60.8-27.2-60.8-60.8v-80.533333c0-33.6 27.2-60.8 60.8-60.8h0.533334c33.6 0 60.8 27.2 60.8 60.8v80.533333c0 33.6-27.2 60.8-60.8 60.8z" fill="#FDFDFD" p-id="3246"></path><path d="M347.2 538.666667C355.733333 451.733333 428.266667 384 517.333333 384s161.6 67.733333 170.133334 154.666667h58.666666c-8-118.933333-107.2-213.333333-228.8-213.333334s-220.266667 94.4-228.8 213.333334h58.666667zM704 538.666667h42.666667v96h-42.666667zM288 538.666667h53.333333v96H288z" fill="#FDFDFD" p-id="3247"></path></svg>
          <audio controls :src="url"></audio>
        </div>
      </div>


    </section>
    </el-card>
三、歌曲引入
这里找了很多组件,但是因为node版本不兼容,还是使用
<audio controls :src="url"></audio>
这个传统的方法进行实现。这里的音乐是存储在本地,之后会根据用户当天的心情进行推送合适的歌曲。
 data() {
    return {
url: require('@/assets/test.mp3'),}
四、css设计
.song-container {
display: flex;
align-items: center;
}
.song-photo {
flex: 1;
padding-right: 20px;
}
.song-photo img {
width: 100%;
height: auto;
border-radius: 8px;
box-shadow: 0 2px 4px rgba(0, 0, 0, 0.1);
}
.audio-player {
flex: 2;
height: 180px;
border: 1px solid #ccc;
border-radius: 8px;
padding: 20px;
display: flex;
justify-content: center;
align-items: center;
background-color: #fff;
box-shadow: 0 2px 4px rgba(0, 0, 0, 0.1);
}
audio {
width: 100%;
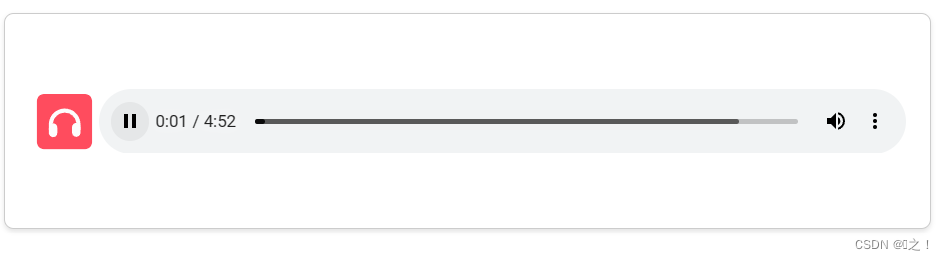
}五、检验结果
播放成功。
六、后端连接大模型
这里使用flask进行实现。
(一)在pycharm中安装相关库进行实现
在flask项目的环境中安装以下四个库


之后修改相关文件:
找到\Lib\site-packages\huggingface_hub\constants.py文件,打开
把ENDPOINT = os.getenv("HF_ENDPOINT") or (_HF_DEFAULT_STAGING_ENDPOINT if _staging_mode else _HF_DEFAULT_ENDPOINT)这行替换成ENDPOINT = " https://hf-mirror.com"。
之后运行main文件即可。
(二)java后端连接
这里书写一个springboot的controller实现连接功能。
package com.example.studentms.controller;
import cn.hutool.http.HttpUtil;
import com.example.studentms.Utils.Result;
import io.swagger.annotations.ApiOperation;
import org.springframework.web.bind.annotation.GetMapping;
import org.springframework.web.bind.annotation.RequestMapping;
import org.springframework.web.bind.annotation.RestController;

//这是和
@RestController
@RequestMapping("/chat")
public class chatController {

    @ApiOperation("前端传过来的数据")
    @GetMapping("/sentence")
    public Result findByUid(String sentence){
        String content = sentence;
        String url = "http://localhost:5000/connectToAPI?content=" + content;
        String answer = HttpUtil.get(url);//answer就是大模型返回的回答
        return Result.success(answer);
    }

}
这里先将sentence变成你好,运行后端后进行以下测试;

连接大模型成功!
七、往后工作
修改chat,将实现与大模型进行对话。


 478
478

 被折叠的 条评论
为什么被折叠?
被折叠的 条评论
为什么被折叠?
 到【灌水乐园】发言


