


1. 介绍
除了我们的模拟面试,我们还做了一个聊天机器人,有什么问题你都可以随时问他。
这个机器人在整个网站都是有效的,不管你在模拟面试,还是在浏览公司数据,都可以随时拉出来,想问什么就问什么,非常地方便。
2. 前端实现
使用elementUI的抽屉组件实现,因为是全局有效的,所以我把它放在NaV.vue里面,触发也是从导航栏触发的。

抽屉代码:
<el-drawer
        title="机器人助手"
        :visible.sync="drawer"
        :with-header="false"
        :close-on-click-modal="false"
        :wrapper-closable="true"
        :modal-append-to-body="false"
        ref="drawer_el"
    >

      <div class="chat-container">
        <div style="height: 50px">

        </div>
        <div class="chat-messages">
          <div class="message"
               v-for="(message, index) in messages"
               :key="index"
               :class="{ 'sent': message.sentBy === 'user', 'received': message.sentBy === 'bot' }">
            {{ message.text }}
          </div>
        </div>
        <div class="chat-input-area">
          <el-input v-model="question" placeholder="请输入问题..."></el-input>
          <el-button type="primary" @click="askQuestion">发送</el-button>
        </div>
      </div>
    </el-drawer>
这里的抽屉就是个容器,在这里面同样实现了一个聊天的界面,这和外面的模拟面试原理相似,这里不再赘述,这里详细说明点击发送时触发的函数:
    askQuestion() {
      if (this.question) {
        // 假设这里有一个处理问题的函数,返回回答
        this.messages.push({text: this.question, sentBy: 'user'});
        let que = this.question
        // 清空输入框
        this.question = '';
        this.processQuestion(que);
      }
    },
    processQuestion(question) {
      // 这里只是一个模拟,实际中你可能需要调用API或其他逻辑
      request.post("/answer", {
        question: question
      }).then(res => {
        if (res.code == 200) {
          console.log(res.result)
          // 将问题和回答添加到消息列表中
          this.messages.push({text: res.result, sentBy: 'bot'});
          // 滚动到消息列表的底部
          this.$nextTick(() => {
            const chatMessages = this.$refs.chatMessages;
            if (chatMessages) {
              chatMessages.scrollTop = chatMessages.scrollHeight;
            }
          });
          this.low()
        } else {
          return "抱歉,我也不知道"
        }
      })
    },
这段两个函数实现了一个简单的聊天应用,可以让用户输入问题,并通过调用接口获取相应的答案,并将问题和答案显示在聊天界面上。
askQuestion() 函数:用户在输入框中输入问题并按下回车时,会触发这个函数,首先检查是否有问题输入,如果有就将该问题添加到消息列表中,并将其标记为'user'发送,然后清空输入框,并调用 processQuestion() 函数来处理这个问题。
processQuestion(question) 函数负责处理用户提出的问题,这里有一个 /answer 接口,可以传递问题并获取回答。如果接口返回成功,则将问题和回答添加到消息列表中,并滚动到消息列表的底部。如果接口返回错误,则返回一个默认的错误消息。
具体的回答问题的逻辑在后端
整体代码:
<template>
  <div class="nav">
    <div class="nav-menu-wrapper">
      <ul class="menu-list">
        <li
            v-for="(item, index) in menuList"
            :key="index"
            :class="{ activeNav: index == current }"
            @click="changeMenu(index)"
        >
          <div class="block"></div>
          <span class="iconfont" :class="item"></span>
        </li>
      </ul>
    </div>

    <div class="own-pic" @click="drawer = true">
      <HeadPortrait :imgUrl="imgUrl"></HeadPortrait>
      <div style="color:white;margin-top: 10px">  面试助手</div>

    </div>
    <el-drawer
        title="我是标题"
        :visible.sync="drawer"
        :with-header="false"
        :close-on-click-modal="false"
        :wrapper-closable="true"
        :modal-append-to-body="false"
        ref="drawer_el"
    >

      <div class="chat-container">
        <div style="height: 50px">

        </div>
        <div class="chat-messages">
          <div class="message"
               v-for="(message, index) in messages"
               :key="index"
               :class="{ 'sent': message.sentBy === 'user', 'received': message.sentBy === 'bot' }">
            {{ message.text }}
          </div>
        </div>
        <div class="chat-input-area">
          <el-input v-model="question" placeholder="请输入问题..."></el-input>
          <el-button type="primary" @click="askQuestion">发送</el-button>
        </div>
      </div>
    </el-drawer>

  </div>
</template>

<script>
import HeadPortrait from "./HeadPortrait.vue";
import request from "@/utils/request";
export default {
  components: {
    HeadPortrait,
  },
  data() {
    return {
      drawer: false,
      question: '',
      messages: [],
      direction: 'rtl',
      menuList: [
        "icon-xinxi",
        // "icon-shipin",
        "icon-shu",
        "icon-shandian",
        // "icon-shezhi",
      ],
      current: 0,
      imgUrl: require("@/assets/img/robot.jpg"),
    };
  },
  methods: {

    changeMenu(index) {
      switch (index) {
        case 0:
          this.$router.push(
              {
                name: "ChatHome",
              },
              () => {
              }
          );
          break;
        case 1:
          this.$router.push(
              {
                name: "DataVisulization",
              },
              () => {
              }
          );
          break;
        case 2:
          this.$router.push(
              {
                name: "InterviewExperience",
              },
              () => {
              }
          );
          break;
        case 3:
          this.$router.push(
              {
                name: "InterviewExperience",
              },
              () => {
              }
          );
          break;
        case 4:
          this.$message("该功能还没有开发哦,敬请期待一下吧~🥳");
          break;
        default:
          this.$router.push({
            name: "ChatHome",
          });
      }

      this.current = index;
    },
    askQuestion() {
      if (this.question) {
        // 假设这里有一个处理问题的函数,返回回答
        this.messages.push({text: this.question, sentBy: 'user'});
        let que = this.question
        // 清空输入框
        this.question = '';
        this.processQuestion(que);


        // 将问题和回答添加到消息列表中
        // this.messages.push({text: this.question, sentBy: 'user'});
        // this.messages.push({text: answer, sentBy: 'bot'});

      }
    },
    processQuestion(question) {
      // 这里只是一个模拟,实际中你可能需要调用API或其他逻辑
      request.post("/answer",{
        question: question
      }).then(res=>{
        if (res.code == 200){
          console.log(res.result)
          // 将问题和回答添加到消息列表中
          this.messages.push({text: res.result, sentBy: 'bot'});
          // 滚动到消息列表的底部
          this.$nextTick(() => {
            const chatMessages = this.$refs.chatMessages;
            if (chatMessages) {
              chatMessages.scrollTop = chatMessages.scrollHeight;
            }
          });
          this.low()
        }
        else{
          return "抱歉,我也不知道"
        }
      })
      // 这里只是一个模拟,实际中你可能需要调用API或其他逻辑
      // if (question === '你好吗?') {
      //   return '我很好,谢谢!';
      // } else {
      //   return '对不起,我不明白你的问题。';
      // }
    },
    low(){
      this.$nextTick(() => {
        const chatMessages = this.$refs.chatMessages;
        if (chatMessages) {
          chatMessages.scrollTop = chatMessages.scrollHeight;
        }
      });
    }
  },
};
</script>

<style lang="scss" scoped>
.nav {
  width: 100%;
  height: 90vh;
  position: relative;
  border-radius: 20px 0 0 20px;

  .nav-menu-wrapper {
    position: absolute;
    top: 40%;
    transform: translate(0, -50%);

    .menu-list {
      margin-left: 10px;

      li {
        margin: 40px 0 0 30px;
        list-style: none;
        cursor: pointer;
        position: relative;

        .block {
          background-color: rgb(29, 144, 245);
          position: absolute;
          left: -40px;
          width: 6px;
          height: 25px;
          transition: 0.5s;
          border-top-right-radius: 4px;
          border-bottom-right-radius: 4px;
          opacity: 0;
        }

        &:hover {
          span {
            color: rgb(29, 144, 245);
          }

          .block {
            opacity: 1;
          }
        }
      }
    }
  }

  .own-pic {
    position: absolute;
    bottom: 10%;
    margin-left: 25px;
  }
}

.activeNav {
  span {
    color: rgb(29, 144, 245);
  }

  .block {
    opacity: 1 !important;
  }
}

.open-drawer-btn {
  margin: 20px auto;
  display: block;
}

.chat-container {
  display: flex;
  flex-direction: column;
  height: 100%;
  background-color: #afafb6;
}

.chat-messages {
  flex: 1;
  overflow-y: auto;
  padding: 10px;
}

.message {
  padding: 10px;
  margin-bottom: 15px;
  border-radius: 5px;
  max-width: 60%;
}

.sent {
  background-color: #f0f0f0;
  margin-left: auto; /* 使发送的消息靠右显示,留出左侧空白 */
  margin-right: 5%; /* 留出右侧10%的空白,可以根据需要调整 */
}

.received {
  background-color: #e0eaff;
  /* 接收的消息保持靠左,不需要额外设置 */
  margin-right: auto; /* 使发送的消息靠右显示,留出左侧空白 */
  margin-left: 5%; /* 留出右侧10%的空白,可以根据需要调整 */
}

.chat-input-area {
  padding: 10px;
  display: flex;
  align-items: center;
}


</style>
3. 后端实现
接下来实现后端的处理逻辑,这就比较简单了,其他的接口不需要改动,只要新加一个接口,专门负责向大模型发送请求,而且由于这是一个泛用机器人,所以不要调用知识库问答的接口,只要用普通的模型对话接口,代码如下:
@app.route('/answer', methods=['POST'])
def answer():
    data = request.json.get('question')
    result = Turing(data)
    if result == "":
        return jsonify({
            'code': 0,
            'result': result
        })
    return jsonify({
        'code': 200,
        'result': result
    })
实现一个简单的问答服务,接受用户的问题,然后调用 Turing 函数来获取答案,最后以 JSON 格式返回给客户端。客户端代码中的 processQuestion() 函数就是调用这个接口来获取答案的。
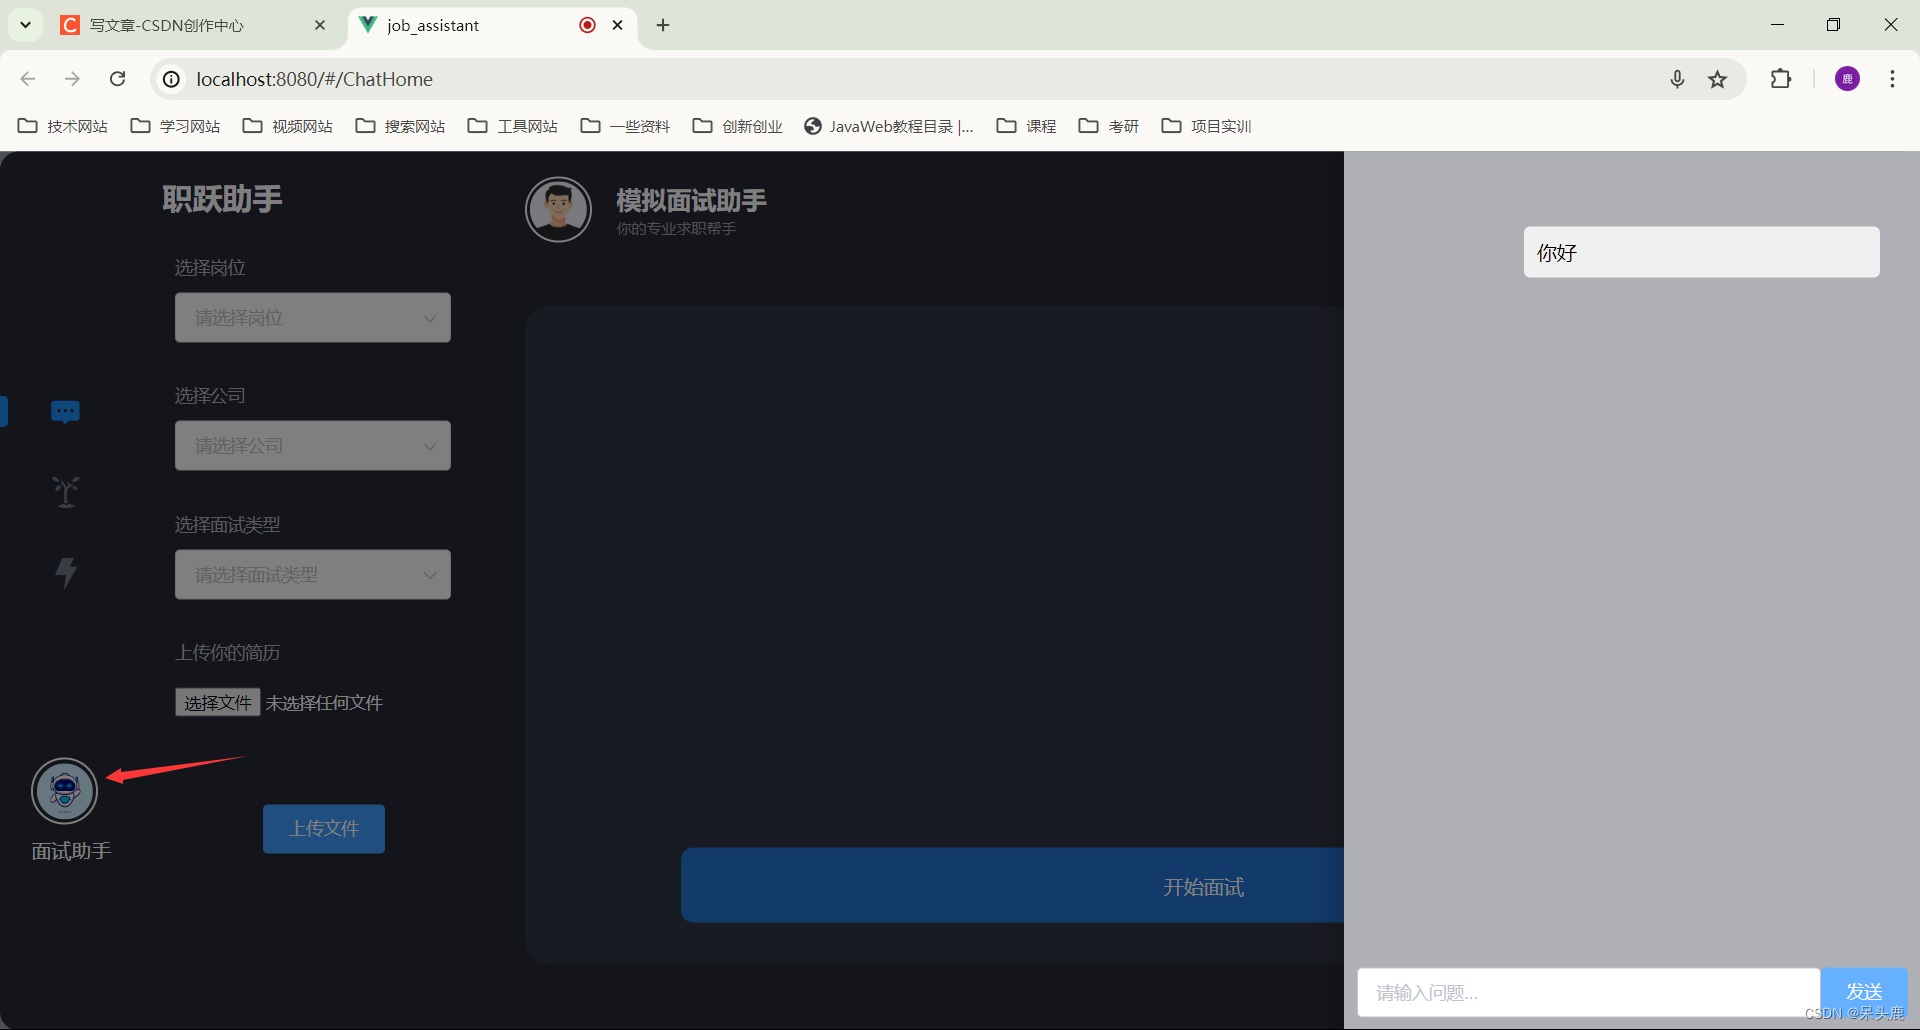
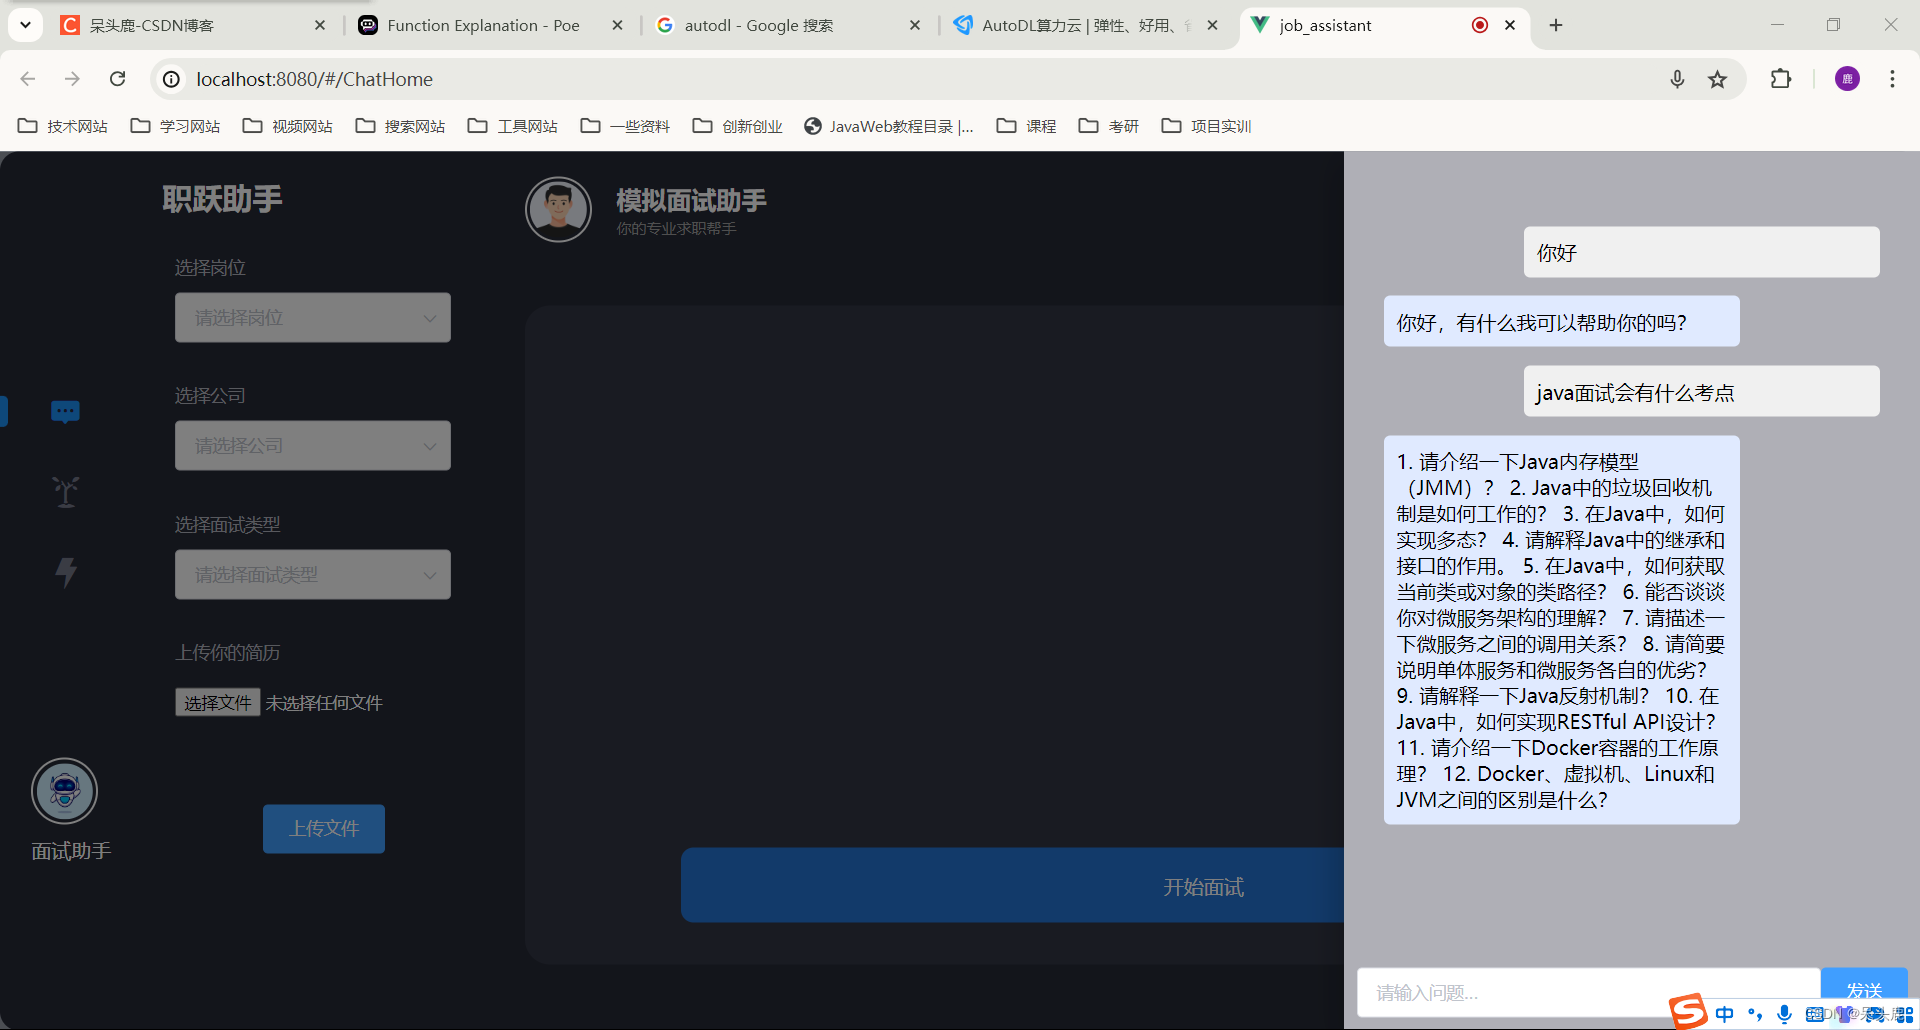
4. 效果展示


 4506
4506

 被折叠的 条评论
为什么被折叠?
被折叠的 条评论
为什么被折叠?
 到【灌水乐园】发言


