


目录
前言
前期准备
动态菜单
动态路由
前言
本文章旨在从零搭建一个动态菜单,动态路由的中后台管理系统的初始环境,可能有些地方不会那么完美,请多多指教
前期准备
本文需要使用路由,安装element-plus ,数据我都是mock的,并且是基于vue3的js而并非ts,环境的搭建我们在这里不做过多的描述,需要自己手动完成
1、首先我们先安装一下element-plus
1) 根据官网上的描述
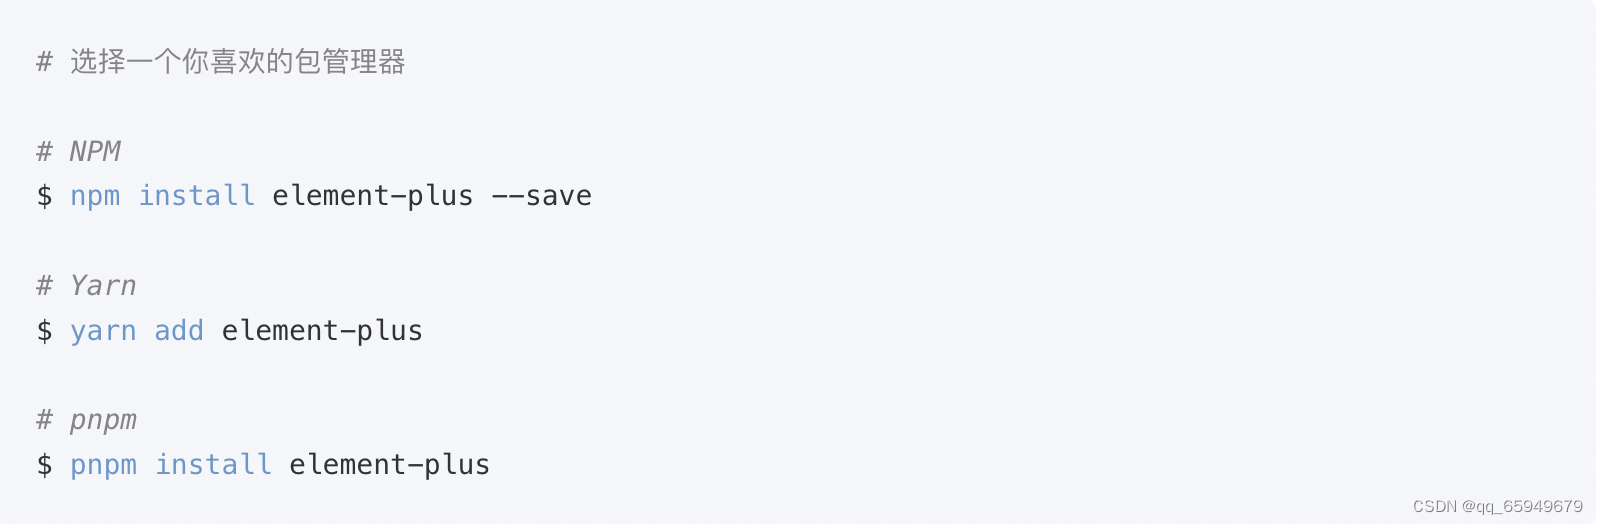
如果您的网络环境不太好的话,建议您使用cnpm来进行安装
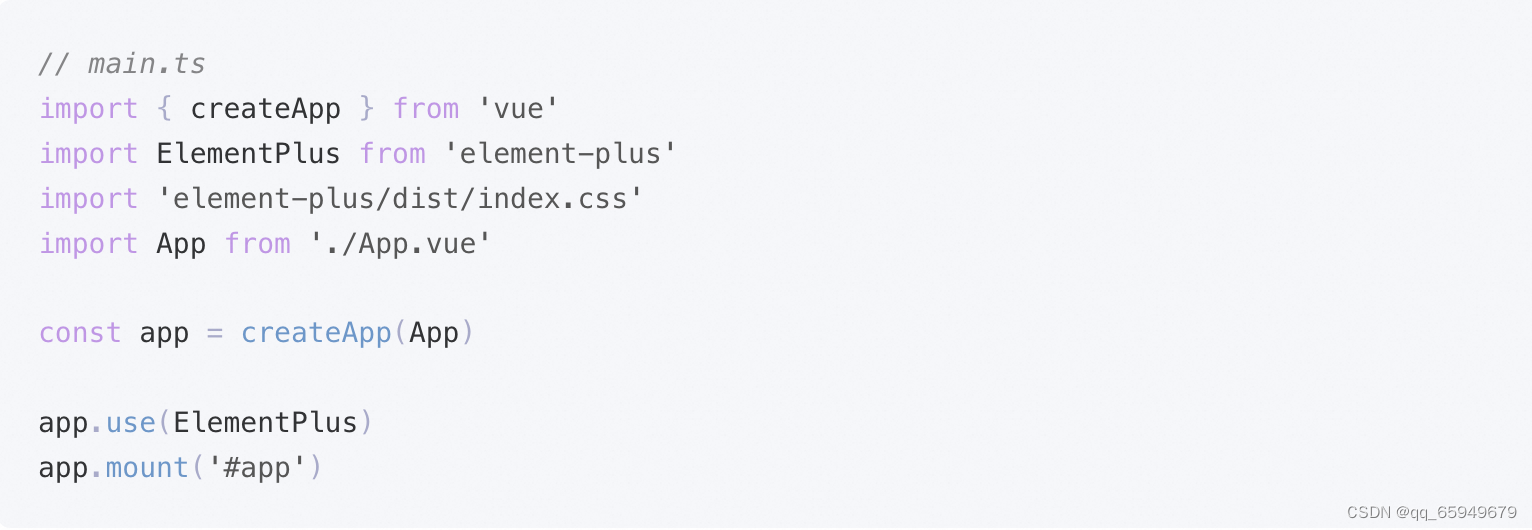
完整引入:
如果您对您的打包体积无所谓的话,可以使用完整引入的方法
按需导入:
建议您使用按需引入的方法来完成,打包体积小,速度快
需要您安装两个插件
npm install -D unplugin-vue-components unplugin-auto-import
注:如果启动的时候爆出错误:
- ERROR TypeError: AutoImport is not a function
原因是:unplugin-auto-import插件版本问题 查看unplugin-auto-import插件版本
-
ERROR TypeError: components is not a function 原因是:unplugin-auto-import插件版本问题 查看unplugin-components-import插件版本
版本回退:
npm install unplugin-auto-import@0.16.1
npm install unplugin-components-import@0.20.1
然后再vue.config.js中进行配置
const { defineConfig } = require("@vue/cli-service");
// webpack.config.js
const AutoImport = require("unplugin-auto-import/webpack");
const Components = require("unplugin-vue-components/webpack");
const { ElementPlusResolver } = require("unplugin-vue-components/resolvers");
module.exports = defineConfig({
  transpileDependencies: true,
  lintOnSave: false, //关闭语法检查器
  configureWebpack: {
    plugins: [
      AutoImport({
        resolvers: [ElementPlusResolver()],
      }),
      Components({
        resolvers: [ElementPlusResolver()],
      }),
    ],
  },
});
重新启动即可
动态菜单
在这之前我们需要一个布局,我这里使用的是element-plus的container布局容器进行的布局

假设我们的App.vue组件如下

下面正片开始
功能:
1、根据不同的角色来显示不同的菜单,菜单的数据一般都是由后端来提供,前端负责渲染即可,但是我这里的菜单是自己mock的,只用来演示
2、获取菜单->缓存到localstorage里面->渲染菜单
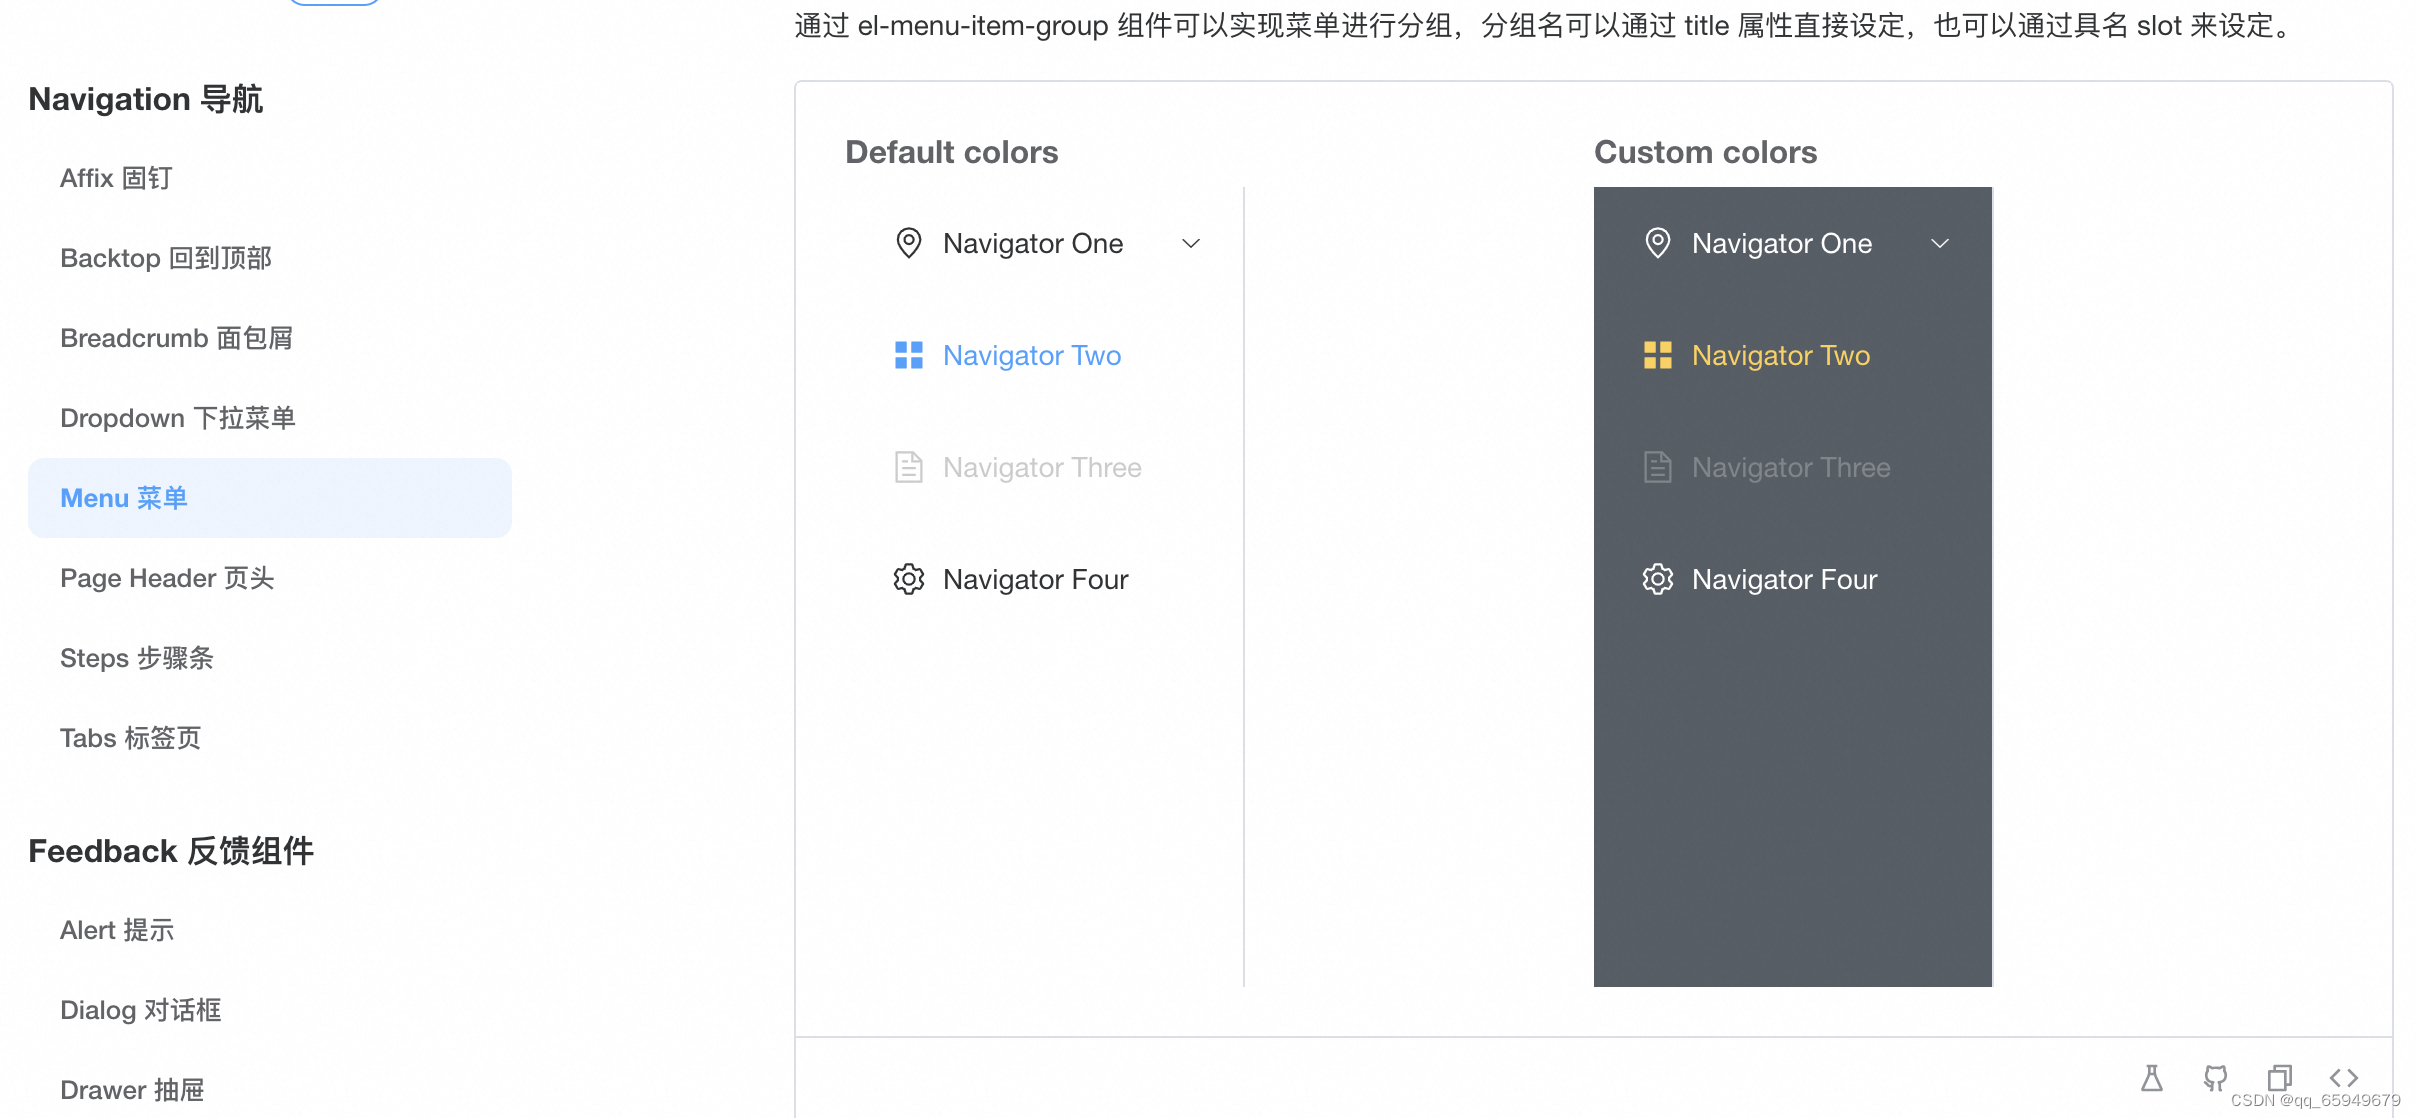
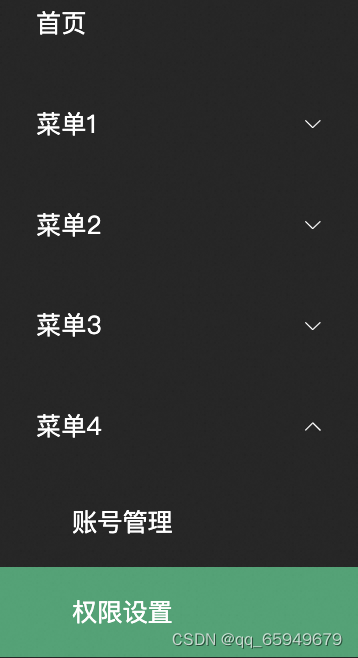
我们使用element-plus的menu菜单来进行渲染:
获取菜单
首先我们需要先获取到菜单,一般都是在登录的时候获取,然后根据自己的情况来自定义,但是我是自己mock的所以跳过请求的的一部分 我只在初始化的时候获取到菜单
如有需要,请联系我哦

生成菜单
获取到了菜单之后,我们就需要在首页中渲染菜单啦
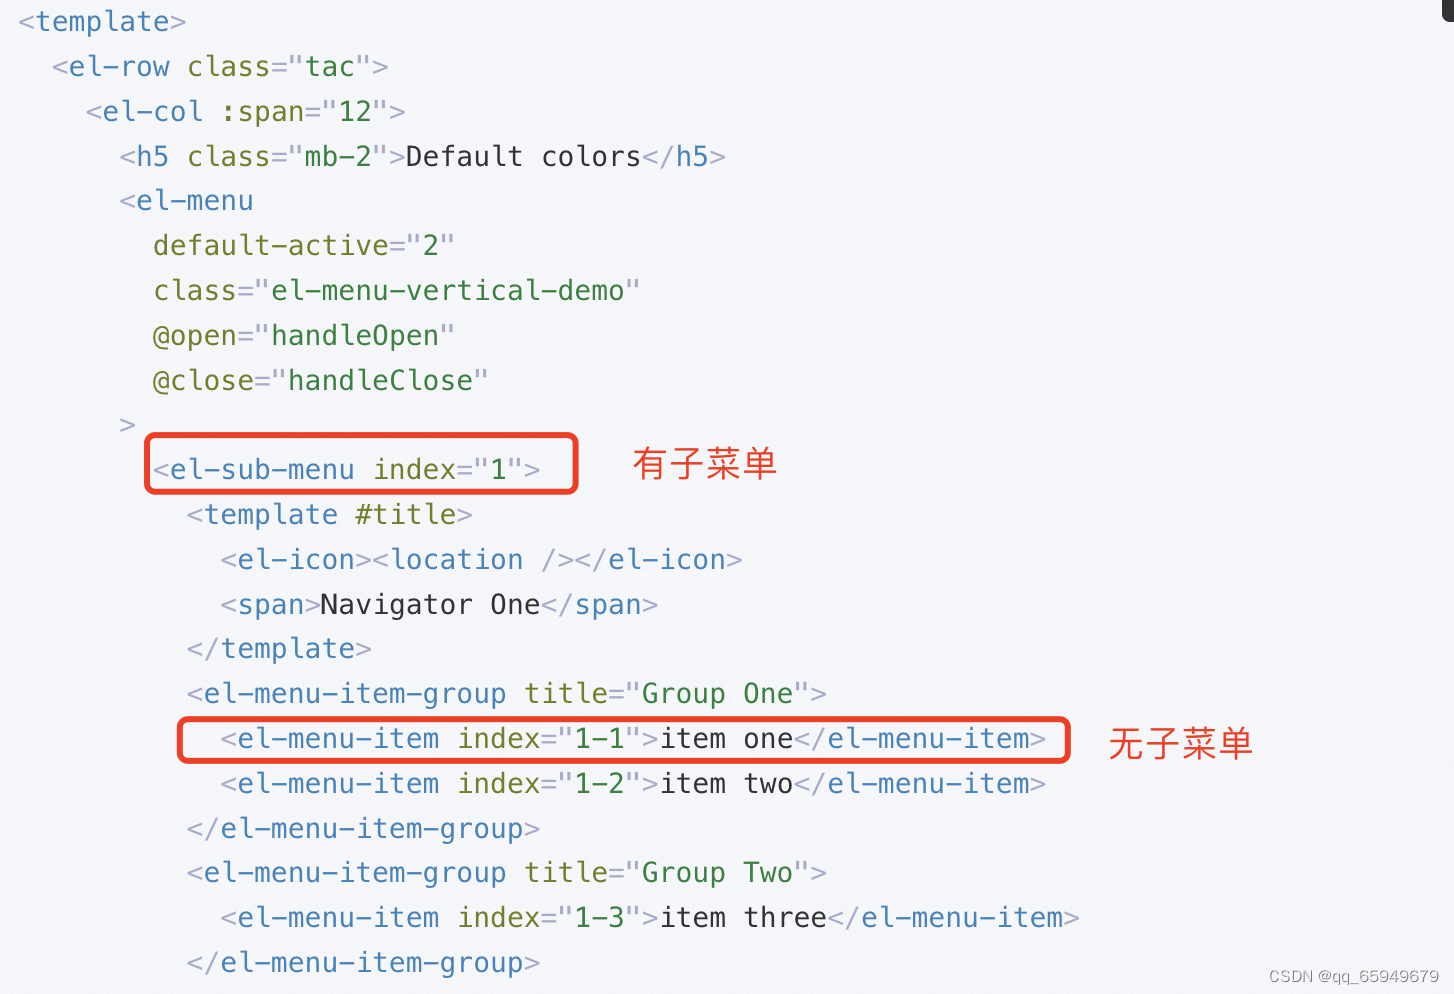
使用明确:element-plus中menu主要分为两个状态:有子菜单(目录)和没有子菜单,我们需要根据这两种情况分别去渲染
新建一个vue文件,我们假设这个组件是SideMenu
<template>
    <div>
        <!-- 标题logo -->
        <span class="demo">
            <!-- <img src="../../assets/image/jdtitle.png" alt="" /> -->
            标题logo
        </span>
        <el-menu
         active-text-color="#ffd04b"
          background-color="#242424"
           class="el-menu-vertical-demo"
            default-active="0"
            text-color="#fff"
             router="true">
            <MenuTree :menuList="subchildren"></MenuTree>
        </el-menu>

    </div>
</template>


<script setup>
import { ref, onMounted } from 'vue'
import children from "@/utils/index";
import MenuTree from './MenuTree'

const subchildren = ref([])
onMounted(() => {
    subchildren.value = children()
})

</script>
我们写到这里,可能会有小伙伴会疑惑了,诶怎么代码这么少?而且只有<el-menu>标签?渲染菜单的<el-sub-menu>和<el-menu-item>标签呢?
由于我们会采用地柜,如果把所有的代码都写在一个组件里面,那么所有元素都会重复了,比如说这个logo标题也会重复了,那肯定是不行的,所以我们需要将渲染菜单的具体操作写在另一个vue文件里面,具体的代码就在MenuTree组件里面
下面我们看看这个MenuTree里面
<script setup >
import { defineProps } from 'vue'
const props = defineProps(['menuList'])
</script>


<template>
    <div>
        <template v-for="item in props.menuList" :key="item.path">
            <!-- {{ item }} -->
            <!--      分为两种方式渲染:有子菜单和没有子菜单-->
            <el-sub-menu :index="item.path" v-if="item.children">
                <template #title>
                    <span>{{ item.title }}</span>
                </template>
                <!--        有子菜单的继续遍历(递归)-->
                <MenuTree :menuList="item.children"></MenuTree>
            </el-sub-menu>
            <!--      没有子菜单-->
            <el-menu-item :index="item.path" v-if="!item.children">
                <span>{{ item.title }}</span>
            </el-menu-item>
        </template>
    </div>
</template>


<style></style>
下面是渲染出来的结果
在上面的代码中
1、我使用children来判断是否存在子菜单
2、然后采用父子组件的传递数据的方法把菜单数据唇乳带渲染菜单的子组件中
写到这里我们的动态菜单的效果就已经结束了,但是这还不行,我们需要通过动态路由来进行页面的访问
动态路由:
首先我们先安装vue-router,如果你的vue的版本是3的话,那么我们安装的vue-router的版本要在4
npm install vue-router@4
创建路由:
我们需要在src里面创建一个router文件,首先定义一些静态路由何必要的路由配置创建
import { createRouter, createWebHistory } from "vue-router";
import Home from "../views/home/Home.vue";
import Processcenter from "../views/processcenter/Processcenter";
const constRoutes = [
  {
    path: "/",
    redirect: "/content/home",
  },
  {
    path: "/content/home",
    component: Home,
  },
  {
    path: "/basicdata/processcenter",
    component: Processcenter,
  },
];

const routerHistory = createWebHistory();
const router = createRouter({
  history: routerHistory,
  routes: constRoutes,
});

export default router;
然后再main.js里面引入并使用
import { createApp } from "vue";
import ElementPlus from "element-plus";
import "element-plus/dist/index.css";
import router from "./router/router";
import App from "./App.vue";

const app = createApp(App);

app.use(ElementPlus);
app.use(router);  //使用路由
app.mount("#app");
最后在content组件里面使用 router-view来进行渲染
<template>
    <div>
        <router-view></router-view>
    </div>
</template>
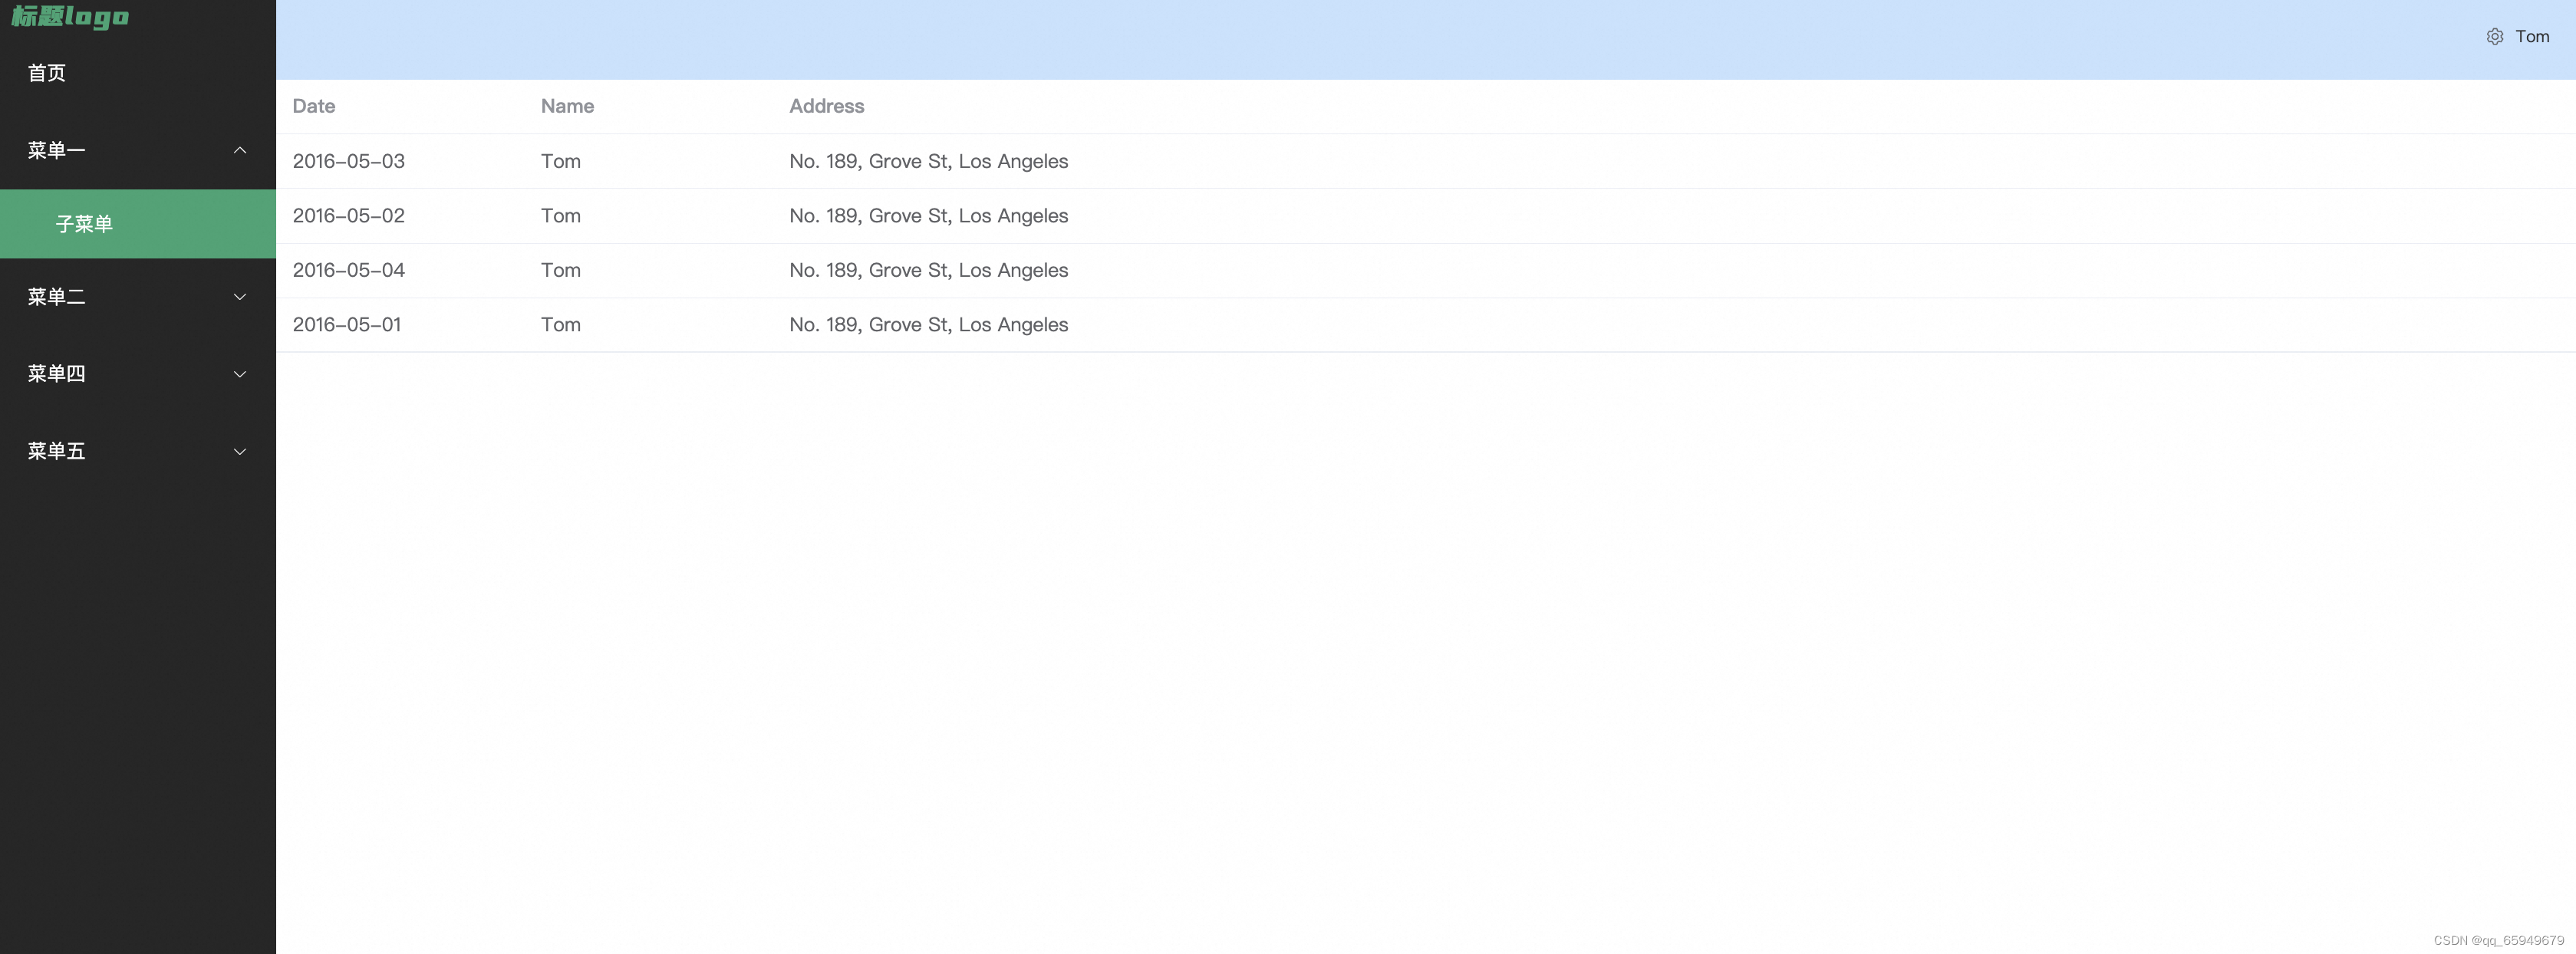
截止到这,我们后台管理系统的基本环境已经搭建好了,我们来看一下效果:
欢迎小伙伴来进行批评和指正,如果喜欢的话给博主一个小红心吧😘


 537
537


 被折叠的 条评论
为什么被折叠?
被折叠的 条评论
为什么被折叠?
 到【灌水乐园】发言


