


背景需求:
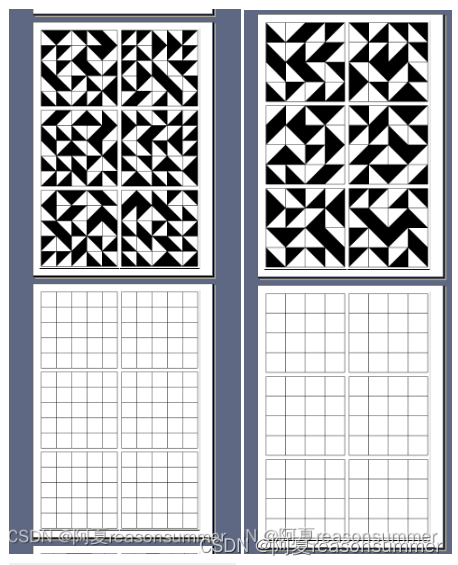
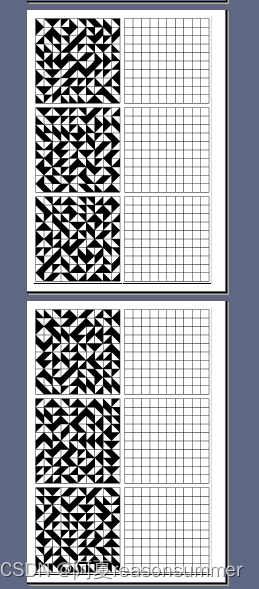
原来是6张图卡一页,6张白卡一页
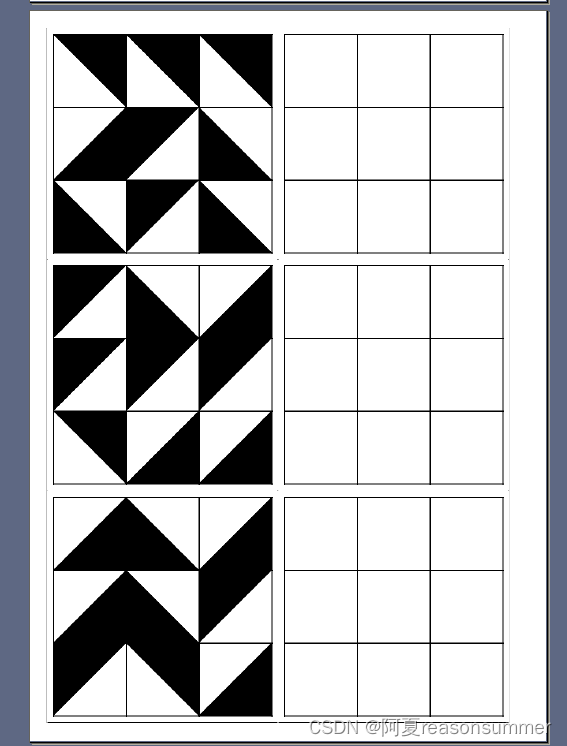
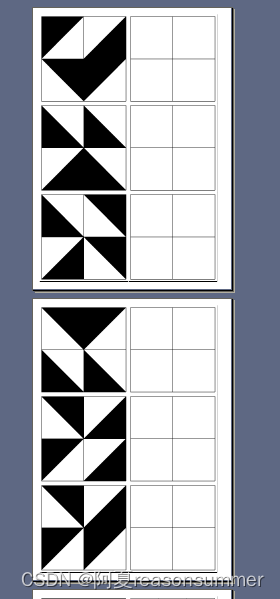
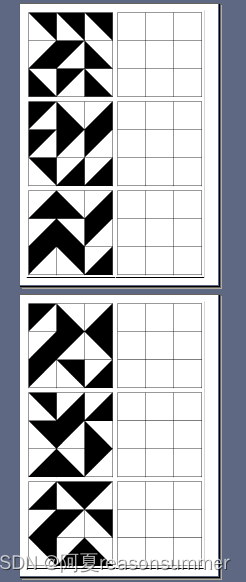
现在我想要一页上“左侧3张图卡,右侧3张白卡”,这样便于切割成三张,便于幼儿涂色。
代码展示
'''
黑白三角2宫格-6宫格,每个宫格1分6图-6份36图1图1空
随机图片
AI对话大师,阿夏
2024年5月24日

'''
import os
from PIL import Image, ImageDraw


for ys in range(7,13):     # 每个宫格提供几张(1张6页

    path = r'C:\Users\jg2yXRZ\OneDrive\桌面\黑白三角'
    new = path + fr'\1-10宫格组合图片'
    os.makedirs(new, exist_ok=True)
        # ys=6 # 一种2页
    f=6*ys # 一页6张

    b=400 # 画布大小
    # g=5 # 宫格数
    by=10 # 边距

    # for a in range(1,ys+1):
    for g in range(2,11):
        for c in range(1,f+1):

            # 创建bxb的画布
            canvas = Image.new('RGB', (b,b), (255, 255, 255))
            draw = ImageDraw.Draw(canvas)

            # 定义表格的行数和列数、边距
            rows = g
            cols = g
            margin = by

            # 计算单元格的宽度和高度
            cell_width = (b - 2 * margin) // cols
            cell_height = (b - 2 * margin) // rows

            # 绘制表格的竖直线
            for i in range(cols + 1):
                x = margin + i * cell_width
                draw.line([(x, margin), (x, b - margin)], fill=(0, 0, 0), width=2)

            # 绘制表格的水平线
            for i in range(rows + 1):
                y = margin + i * cell_height
                draw.line([(margin, y), (b - margin, y)], fill=(0, 0, 0), width=2)

            # 保存画布
            mb =f'{g:05d}格{c:05d}02模板{c:05d}.png'
            canvas.save(new + fr'\{mb}')


            print('---2、计算三个坐标点的黑色三角形不重复图案有几个-------')

            # 创建一个空列表用于存储单元格的坐标
            cell_coordinates = []

            # 计算每个单元格的四个顶点坐标
            for row in range(rows):
                for col in range(cols):
                    top_left = (margin + col * cell_width, margin + row * cell_height)
                    top_right = (margin + (col + 1) * cell_width, margin + row * cell_height)
                    bottom_left = (margin + col * cell_width, margin + (row + 1) * cell_height)
                    bottom_right = (margin + (col + 1) * cell_width, margin + (row + 1) * cell_height)


                    # 将四个顶点坐标添加到列表中
                    cell_coordinates.append([top_left, top_right, bottom_left, bottom_right])
            # print(cell_coordinates)
            # print(len(cell_coordinates))
            # 16
            # [[(0, 0), (400, 0), (0, 400), (400, 400)], [(400, 0), (b, 0), (400, 400), (b, 400)], [(0, 400), (400, 400), (0, b), (400, b)], [(400, 400), (b, 400), (400, b), (b, b)]]

            import random
            import os

            combinations=[]
            # 存储选取的点,随机生成坐标(样式)排除重复,生成10份样式不同的模版
            while len(combinations) < f:
                selected_points = []
                for points in cell_coordinates:
                    selected_points.append(tuple(random.sample(points, 3)))
                combinations.append(tuple(selected_points))

            print(combinations)
            print(len(combinations))
            #  10

            print('---3、制作三个坐标点的黑色三角形(4个)-------')
            from PIL import Image, ImageDraw


            # 定义要绘制的坐标点组合

            for point_combination in combinations:
                print(point_combination)

                # 清空selected_points列表
                selected_points = []
                h=1
                # 遍历每个坐标点组合
                for combination in point_combination:
                    # 从每个列表中随机选取三个点,并加入到selected_points中
                    selected_points.append(tuple(random.sample(combination, 3)))

                        # 读取图像文件
#                创建bxb的画布
                canvas = Image.new('RGB', (b,b), (255, 255, 255))
                draw = ImageDraw.Draw(canvas)

                # 定义表格的行数和列数、边距
                rows = g
                cols = g
                margin = by

                # 计算单元格的宽度和高度
                cell_width = (b - 2 * margin) // cols
                cell_height = (b - 2 * margin) // rows

                # 绘制表格的竖直线
                for i in range(cols + 1):
                    x = margin + i * cell_width
                    draw.line([(x, margin), (x, b - margin)], fill=(0, 0, 0), width=2)

                # 绘制表格的水平线
                for i in range(rows + 1):
                    y = margin + i * cell_height
                    draw.line([(margin, y), (b - margin, y)], fill=(0, 0, 0), width=2)

                # 遍历每个坐标点组合
                for combination in selected_points:
                    # 绘制填充为黑色的多边形
                    draw.polygon(combination, fill="black")


                # 保存结果图像
                canvas.save(new + fr'\{g:05d}格{c:05d}01图纸{c:05d}.png')

                canvas.close()  # 关闭图像文件


    # print('---4合并打印------')


    # 第3步,读取图片写入docx,合并PDF

    import os,time
    from docx import Document
    from reportlab.lib.pagesizes import letter
    from reportlab.pdfgen import canvas
    from PyPDF2 import PdfMerger
    from docx.shared import Cm

    # 读取123文件夹中的所有图片地址
    image_folder = new
    new_folder = path+r'\零时文件夹'
    os.makedirs(new_folder, exist_ok=True)
    image_files = [os.path.join(image_folder, file) for file in os.listdir(image_folder) if file.endswith('.png')]

    # 每8个图片一组进行处理
    grouped_files = [image_files[i:i+6] for i in range(0, len(image_files), 6)]
    print(grouped_files)

    # 处理每一组图片
    for group_index, group in enumerate(grouped_files):
        # 创建新的Word文档
        doc = Document(path+r'\模板6格.docx')
        print(group)

        # 遍历每个单元格,并插入图片
        for cell_index, image_file in enumerate(group):
            # 计算图片长宽(单位:厘米)


            # 插入图片到单元格
            table = doc.tables[0]
            cell = table.cell(int(cell_index / 2), cell_index % 2)
            # 6列两个都是6
            cell_paragraph = cell.paragraphs[0]
            cell_paragraph.clear()
            run = cell_paragraph.add_run()
            run.add_picture(image_file, width=Cm(9.4), height=Cm(9.4))

        # 保存Word文档
        doc.save(os.path.join(new_folder, f'{group_index + 1:03d}.docx'))


    # 所有docx合并成PDF

    # 将10个docx转为PDF
    import os
    from docx2pdf import convert
    from PyPDF2 import PdfFileMerger
    # from PyPDF4 import PdfMerger

    # output_folder = output_folder

    pdf_output_path = path+fr'\黑白三角1-10宫格随机每款{f*ys}图共{ys}张一黑一白.pdf'

    # 将所有DOCX文件转换为PDF
    for docx_file in os.listdir(new_folder):
        if docx_file.endswith('.docx'):
            docx_path = os.path.join(new_folder, docx_file)
            convert(docx_path, docx_path.replace('.docx', '.pdf'))


    # 合并零时文件里所有PDF文件
    merger = PdfFileMerger()
    for pdf_file in os.listdir(new_folder):
        if pdf_file.endswith('.pdf'):
            pdf_path = os.path.join(new_folder, pdf_file)
            merger.append(pdf_path)
    time.sleep(2)

    # 保存合并后的PDF文件
    merger.write(pdf_output_path)
    merger.close()

    import shutil
    # 删除输出文件夹
    import time
    shutil.rmtree(new_folder)
    shutil.rmtree(new)
    time.sleep(2)
虽然调整了代码,但是从1份到12分(2-10宫格)生成自来还是挺慢的。
教学实践:
时间:2024年5月27日
班级:中4班
人数:5人
内容:3宫格-5宫格

幼儿操作情况
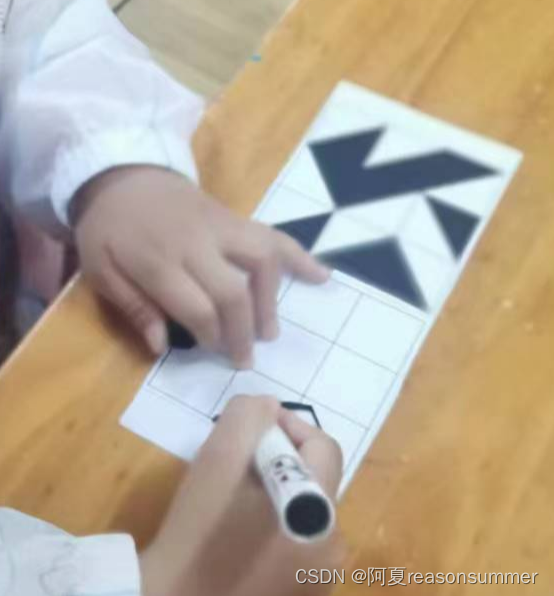


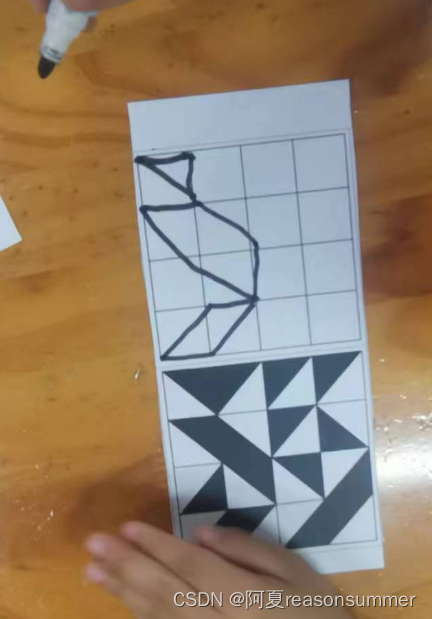
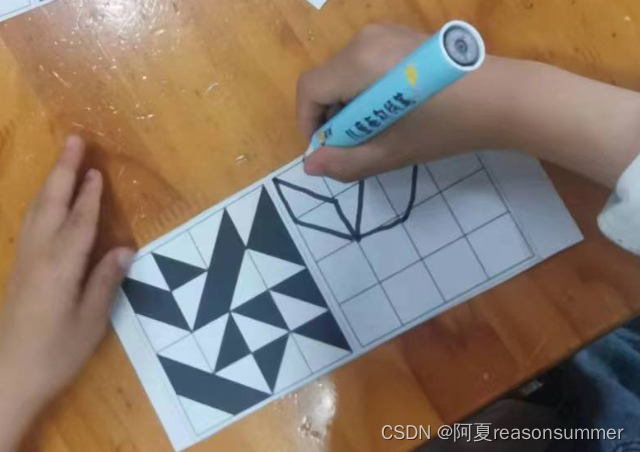


学具分析:
1、拿到纸片后,孩子都表示:“不会做!”
2、老师提示他们先画每个单元格的对角线,然后圈出三角形,再涂色
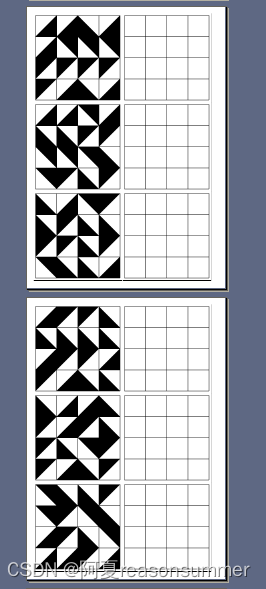
3、由于中间包含了平行四边形、菱形、大三角形等多种相连的造型,幼儿搞不懂。
4、最后我把所有直角三角形的黑边圈好,然后幼儿用记号笔、铅笔涂色。
5、幼儿表示没有兴趣画第二张。
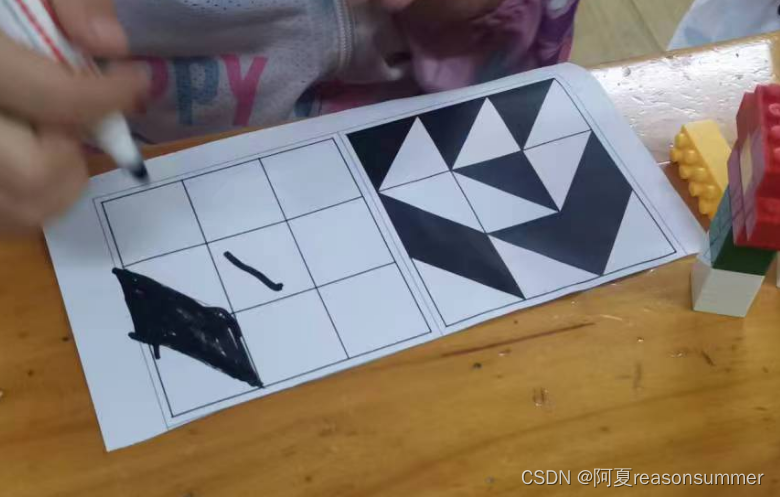
改良思路:
1、黑色三角格子外面套白色的边框,让每个三角形都能凸显出来
2、每个单元格四个角坐标上添加黑色圆点,便于幼儿找到连线的位置
3、黑色三角变成彩色三角,吸引幼儿兴趣。
4、考虑到有些孩子无法模仿绘画三角边黑色线条,可以直接用程序生成一份有黑色线条的答案,幼儿照着左侧的黑白三角图案或彩色三角图案,在相应的三角形黑框内涂黑色或彩色


 3983
3983


 被折叠的 条评论
为什么被折叠?
被折叠的 条评论
为什么被折叠?
 到【灌水乐园】发言


