


MMSegmentation 环境配置
1. 创建python 环境
conda create --name openmmlab python=3.8 -y
conda activate openmmlab
2. 安装pytorch
On GPU platforms:
conda install pytorch torchvision -c pytorch
On CPU platforms:
conda install pytorch torchvision cpuonly -c pytorch
感觉慢的可以通过清华镜像离线下载进行安装,
下载的时候下载对应的torch,torchvision,torchaudio
download.pytorch.org/whl/torch_stable.html
3. 安装MMCV
pip install -U openmim
mim install mmengine
mim install "mmcv>=2.0.0"
4. 安装 MMSegmentation.
git clone -b main https://github.com/open-mmlab/mmsegmentation.git
cd mmsegmentation
pip install -v -e .
# '-v' means verbose, or more output
# '-e' means installing a project in editable mode,
# thus any local modifications made to the code will take effect without reinstallati
如果不从源码编译可以直接安装:
pip install "mmsegmentation>=1.0.0"
5. 测试是否安装成功
mim download mmsegmentation --config pspnet_r50-d8_4xb2-40k_cityscapes-512x1024 --dest .
python demo/image_demo.py demo/demo.png configs/pspnet/pspnet_r50-d8_4xb2-40k_cityscapes-512x1024.py pspnet_r50-d8_512x1024_40k_cityscapes_20200605_003338-2966598c.pth --device cuda:0 --out-file result.jpg
如果报numpy版本高,需要对numpy降版本
pip install numpy==1.26.4
出现AssertionError: MMCV==2.2.0 is used but incompatible. Please install mmcv>=2.0.0rc4.
安装对应的提示版本即可:
pip install mmcv==2.0.0rc4 -f https://download.openmmlab.com/mmcv/dist/cu117/torch1.13/index.html
安装其他依赖
pip install ftfy
pip install regex
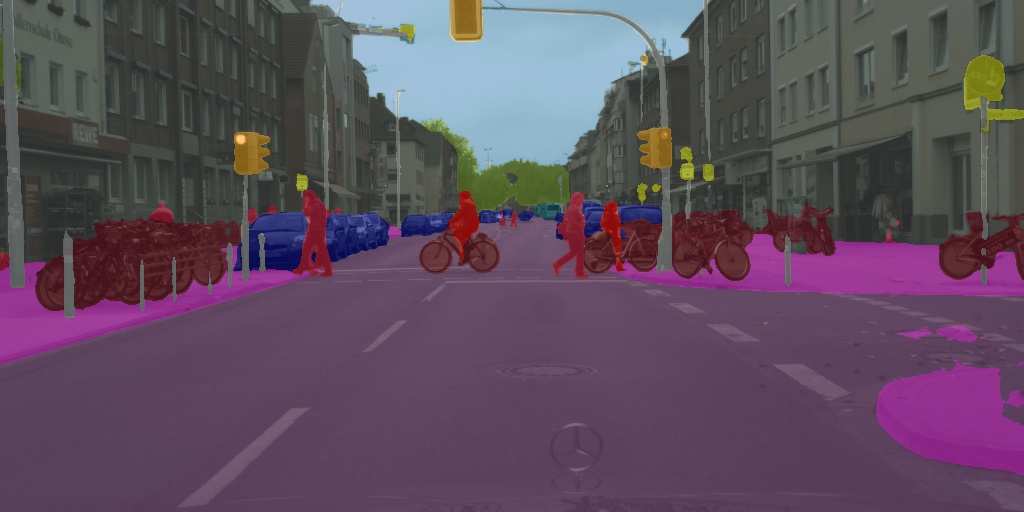
测试代码
from mmseg.apis import inference_model, init_model, show_result_pyplot
import mmcv

config_file = 'pspnet_r50-d8_4xb2-40k_cityscapes-512x1024.py'
checkpoint_file = 'pspnet_r50-d8_512x1024_40k_cityscapes_20200605_003338-2966598c.pth'

# build the model from a config file and a checkpoint file
model = init_model(config_file, checkpoint_file, device='cuda:0')

# test a single image and show the results
img = 'demo/demo.png'  # or img = mmcv.imread(img), which will only load it once
result = inference_model(model, img)
# visualize the results in a new window
show_result_pyplot(model, img, result, show=True)
# or save the visualization results to image files
# you can change the opacity of the painted segmentation map in (0, 1].
show_result_pyplot(model, img, result, show=True, out_file='result.jpg', opacity=0.5)
# test a video and show the results
video = mmcv.VideoReader('video.mp4')
for frame in video:
   result = inference_model(model, frame)
   show_result_pyplot(model, frame, result, wait_time=1)


 761
761

 被折叠的 条评论
为什么被折叠?
被折叠的 条评论
为什么被折叠?
 到【灌水乐园】发言


