


视频地址:https://www.bilibili.com/video/BV1Pm41127jU/
课程文档:https://github.com/InternLM/Tutorial/blob/camp2/opencompass/readme.md
课程作业:https://github.com/InternLM/Tutorial/blob/camp2/opencompass/homework.md
1. 配置
1.1 环境配置
对比官方操作,我新增了cd /root命令,在这个目录下拉取 opencompass
studio-conda -o internlm-base -t opencompass
source activate opencompass
cd /root
git clone -b 0.2.4 https://github.com/open-compass/opencompass
cd opencompass
pip install -e . # 或 pip install -r requirements.txt
1.2 数据准备
cp /share/temp/datasets/OpenCompassData-core-20231110.zip /root/opencompass/
unzip OpenCompassData-core-20231110.zip
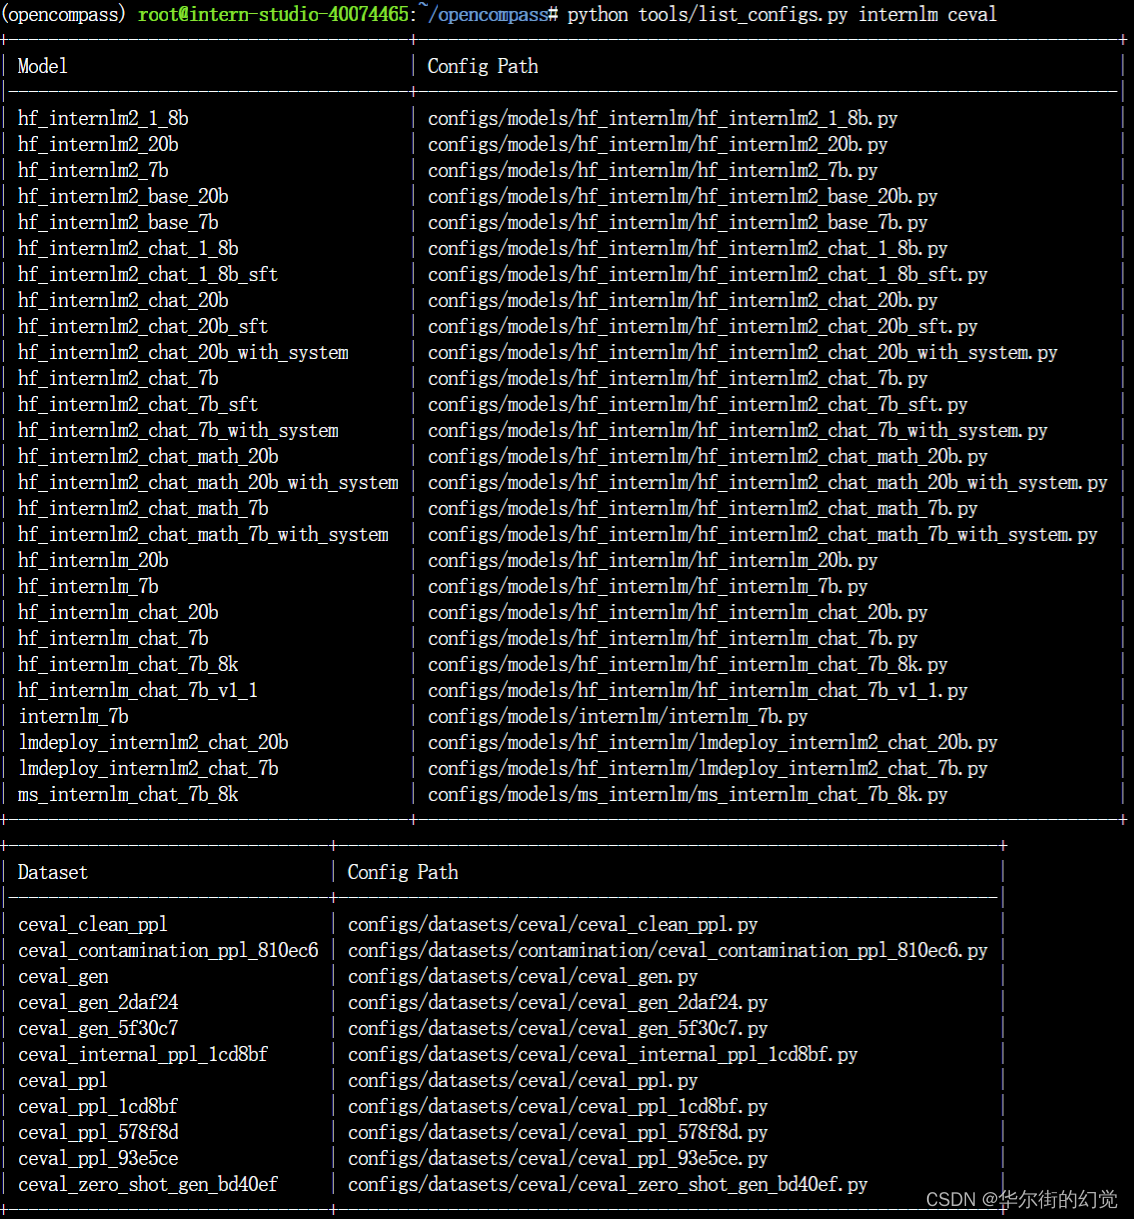
1.3 查看支持的数据集和模型
列出所有跟 InternLM 及 C-Eval 相关的配置
python tools/list_configs.py internlm ceval
2. 启动评测
python run.py --datasets ceval_gen --hf-path /share/new_models/Shanghai_AI_Laboratory/internlm2-chat-1_8b --tokenizer-path /share/new_models/Shanghai_AI_Laboratory/internlm2-chat-1_8b --tokenizer-kwargs padding_side='left' truncation='left' trust_remote_code=True --model-kwargs trust_remote_code=True device_map='auto' --max-seq-len 1024 --max-out-len 16 --batch-size 2 --num-gpus 1 --debug
执行了以下3种方法,才成功启动评测
-
解决方案1
pip install protobuf -
解决方案2
export MKL_SERVICE_FORCE_INTEL=1 #或 export MKL_THREADING_LAYER=GNU -
解决方案3:科学上网


命令解析
python run.py
--datasets ceval_gen \
--hf-path /share/new_models/Shanghai_AI_Laboratory/internlm2-chat-1_8b \  # HuggingFace 模型路径
--tokenizer-path /share/new_models/Shanghai_AI_Laboratory/internlm2-chat-1_8b \  # HuggingFace tokenizer 路径(如果与模型路径相同,可以省略)
--tokenizer-kwargs padding_side='left' truncation='left' trust_remote_code=True \  # 构建 tokenizer 的参数
--model-kwargs device_map='auto' trust_remote_code=True \  # 构建模型的参数
--max-seq-len 1024 \  # 模型可以接受的最大序列长度
--max-out-len 16 \  # 生成的最大 token 数
--batch-size 2  \  # 批量大小
--num-gpus 1  # 运行模型所需的 GPU 数量
--debug


 1042
1042


 被折叠的 条评论
为什么被折叠?
被折叠的 条评论
为什么被折叠?
 到【灌水乐园】发言


