


文章目录
配置中心,顾名思义,集中管理和提供配置的服务中心。
对于以前传统的应用服务方式,有了配置中心,那真的是省心很多。
0.准备
0.1 git仓库的配置文件
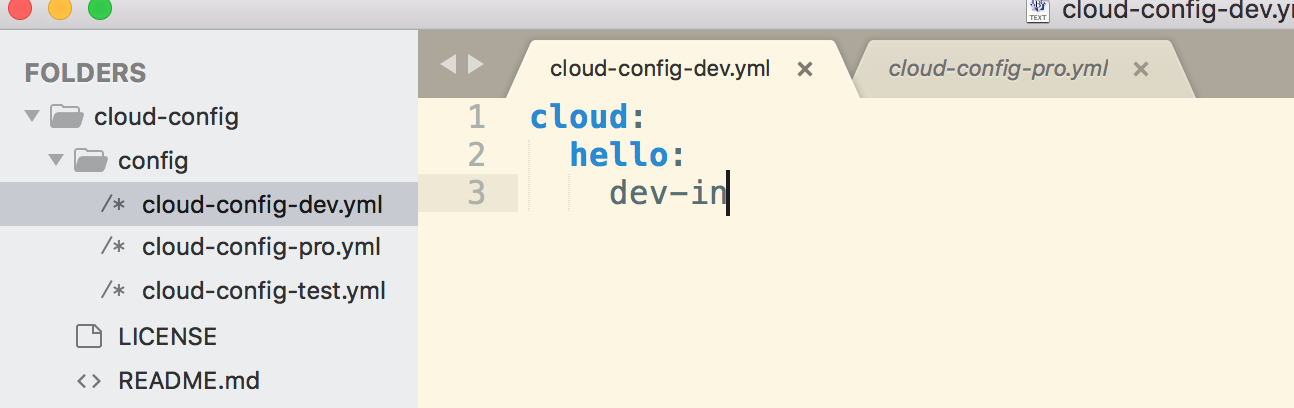
在git创建一个项目,并新建一个config文件夹和三个配置文件

其中cloud-config-dev.yml里有cloud.hello=dev-in参数,其余几个分别是pro、test
0.2 服务中心(可选)
使用原先的服务中心
1. Config Server
1.1 pom.xml
新建项目,勾选config server和eureka discovery(可选)
		<dependency>
			<groupId>org.springframework.cloud</groupId>
			<artifactId>spring-cloud-config-server</artifactId>
		</dependency>
		<dependency>
			<groupId>org.springframework.cloud</groupId>
			<artifactId>spring-cloud-starter-netflix-eureka-client</artifactId>
		</dependency>
1.2 application配置
server:
  port: 8810
spring:
  application:
    name: cloud-config
  cloud:
    config:
      server:
        git:
          # 配置git仓库的地址
          uri: https://gitee.com/lostinwind/cloud-config/
          # git仓库地址下的相对地址,可以配置多个,用,分割。
          search-paths: config
          #公开的仓库不需要填写
          username:
          password:
eureka:
  client:
    serviceUrl:
      defaultZone: http://localhost:8800/eureka/
1.3 application注解
@SpringBootApplication
@EnableConfigServer
@EnableDiscoveryClient
public class SevenCloudConfigApplication {

	public static void main(String[] args) {
		SpringApplication.run(SevenCloudConfigApplication.class, args);
	}
}
1.4 启动

访问 http://localhost:8810/cloud-config/dev
{“name”:“cloud-config”,“profiles”:[“dev”],“label”:null,“version”:“1a4b1d09fd7ecd5dae3b5cf8e4a0f8904f94452a”,“state”:null,“propertySources”:[{“name”:“https://gitee.com/lostinwind/cloud-config//config/cloud-config-dev.yml",“source”:{“cloud.hello”:"dev-in”}}]}
可以看到https://gitee.com/lostinwind/cloud-config//config/cloud-config-dev.yml,多了一个/。虽然不影响使用,但强迫症患了咋办。修改配置那里,uri: https://gitee.com/lostinwind/cloud-config/改成https://gitee.com/lostinwind/cloud-config
访问 http://localhost:8810/cloud-config-dev.yml
cloud:
hello: dev-in
1.5 补充
仓库中的配置文件会被转换成web接口,访问可以参照以下的规则:
/{application}/{profile}[/{label}]
/{application}-{profile}.yml
/{label}/{application}-{profile}.yml
/{application}-{profile}.properties
/{label}/{application}-{profile}.properties
所以,创建的配置文件都是cloud-config-打头,后面跟上profile
2. Config Client
2.1 pom.xml
新建项目,勾选eureka discovery和config client
		<dependency>
			<groupId>org.springframework.boot</groupId>
			<artifactId>spring-boot-starter-web</artifactId>
		</dependency>
		<dependency>
			<groupId>org.springframework.cloud</groupId>
			<artifactId>spring-cloud-starter-netflix-eureka-client</artifactId>
		</dependency>
		<dependency>
			<groupId>org.springframework.cloud</groupId>
			<artifactId>spring-cloud-starter-config</artifactId>
		</dependency>
2.2 application配置
因为cloud config相关配置会先于application配置,bootstrap配置加载也是先于application配置加载。所以这里需要创建两个配置文件。
2.2.1 application.yml
spring:
  application:
    name: config-client
server:
  port: 8811

eureka:
  client:
    serviceUrl:
      defaultZone: http://localhost:8800/eureka/
2.2.2 bootstrap.yml
spring:
  cloud:
    config:
      #对应{application}部分
      name: cloud-config
      #对应{profile}部分
      profile: dev
      #配置中心的具体地址
      uri: http://localhost:8810/
      #对应git的分支。如果配置中心使用的是本地存储,则该参数无用
      label: master
2.3 application注解
@SpringBootApplication
@EnableDiscoveryClient
public class SevenConfigClientApplication {

	public static void main(String[] args) {
		SpringApplication.run(SevenConfigClientApplication.class, args);
	}
}
2.4测试接口
@RestController
public class HelloController {

    @Value("${cloud.hello}")
    private String hello;

    @RequestMapping("/hello")
    public String from() {
        return hello;
    }
}
同本地读取,通过@Value读取配置信息。
2.5启动

访问 http://localhost:8811/hello
dev-in


 6081
6081


 被折叠的 条评论
为什么被折叠?
被折叠的 条评论
为什么被折叠?
 到【灌水乐园】发言


