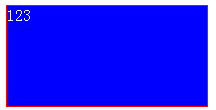
【01DOM操作样式】
代码:
<!DOCTYPE html>
<html xmlns="http://www.w3.org/1999/xhtml">
<head>
<meta http-equiv="Content-Type" content="text/html; charset=utf-8"/>
    <title></title>
    <style>
        .d1 {
            color: white;
        }
        </style>
    <script>
        //对于纯js的代码,不需要考虑加载顺序问题
        //需要考虑加载顺序的情况:使用js操作html时,要看对应的html是否已经存在
        onload = function() {
            var div1 = document.getElementById('div1');
            div1.style.width = '200px';//使用js操作样式
            //特例:background-color,因为命名中不允许使用-,所以改为:去掉-,将-后面的单词的首字母大写,格式如:backgroundColor
            div1.style.backgroundColor = 'blue';
            div1.className = 'd1';//将类样式应用到dom上
            //特例:float->cssFloat
            div1.style.cssFloat = 'right';
        };
        var p1 = 1;
    </script>
</head>
<body>
    <div id="div1" style="width:100px;height:100px;border:1px solid red;">
        123
    </div>
</body>
</html>
【02超链接点击】
代码:
<!DOCTYPE html>
<html xmlns="http://www.w3.org/1999/xhtml">
<head>
<meta http-equiv="Content-Type" content="text/html; charset=utf-8"/>
    <title></title>
    <script>
        onload = function () {
            //获取容器
            var div1 = document.getElementById('div1');

            //循环创建5个超链接
            for (var i = 0; i < 5; i++) {
                //创建a对象
                var a1 = document.createElement('a');
                //为属性赋值
                a1.href = 'http://www.baidu.com';
                a1.innerHTML = '链接' + i;
                a1.onclick = function() {
                    //设置背景色为红色
                    this.style.backgroundColor = 'red';
                    return false;
                };
                //追加到容器中
                div1.appendChild(a1);
            }
        };
    </script>
</head>
<body>
    <div id="div1">

    </div>
</body>
</html>

【03透视图】
代码:
<!DOCTYPE html>
<html xmlns="http://www.w3.org/1999/xhtml">
<head>
<meta http-equiv="Content-Type" content="text/html; charset=utf-8"/>
    <title></title>
    <script>
        onload = function () {
            //根据标签获取body元素
            var body = document.getElementsByTagName('body')[0];
            //规定初始值
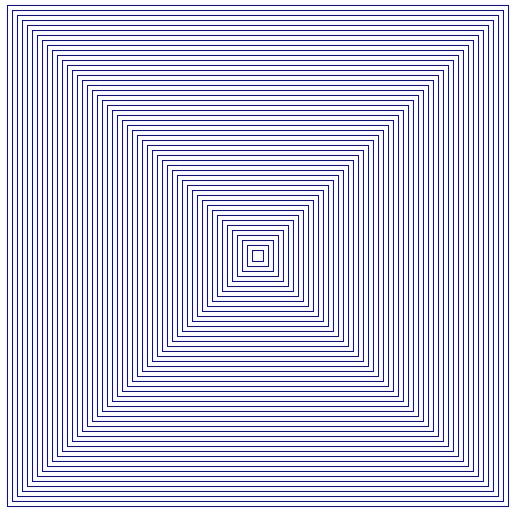
            var width = 500, height = 500, left = 10, top = 10;
            //循环创建div
            while (true) {
                //创建div加入body中
                var div1 = document.createElement('div');
                div1.style.position = 'absolute';
                div1.style.left = left + 'px';
                div1.style.top = top + 'px';
                div1.style.border = '1px solid blue';
                div1.style.width = width + 'px';
                div1.style.height = height + 'px';
                body.appendChild(div1);

                //改写数值
                left += 5;
                top += 5;
                width -= 10;
                height -= 10;

                //当div的宽度<=0时,在页面上不会显示,所以退出循环
                if (width <= 0) {
                    break;
                }
            }
        };
    </script>
</head>
<body>
    <div style="position: absolute;left:10px;top:10px;width:500px;height:500px; border: 1px solid red;">

    </div>
</body>
</html>

【04控制div的显示与隐藏】
代码:
<!DOCTYPE html>
<html xmlns="http://www.w3.org/1999/xhtml">
<head>
<meta http-equiv="Content-Type" content="text/html; charset=utf-8"/>
    <title></title>
    <style>
        div {
            width: 100px;height: 100px;
            border: 1px solid red;
        }
    </style>
    <script>
        onload = function() {
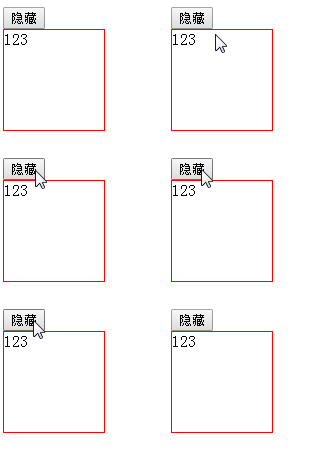
            document.getElementById('btnShow').onclick = function () {
                var divShow = document.getElementById('divShow');
                if (this.value == '隐藏') {
                    this.value = '显示';
                    divShow.style.display = 'none';//控制层隐藏
                } else {
                    this.value = '隐藏';
                    divShow.style.display = 'block';//控制层显示
                }
            };
        };
    </script>
</head>
    <body>
        <input type="button" id="btnShow" value="隐藏"/>
        <div id="divShow">
            123
        </div>
    </body>
</html>

【05图片跟着鼠标走】
代码:
<!DOCTYPE html>
<html xmlns="http://www.w3.org/1999/xhtml">
<head>
<meta http-equiv="Content-Type" content="text/html; charset=utf-8"/>
    <title></title>
    <style>
        #img1 {
            position: absolute;
            border: 1px solid red;
            width: 63px;
            height: 75px;
        }
    </style>
    <script>
        //强调:window对象在浏览器打开时,就被创建了
        //加载完成指:页面中的html都被加载了
        onload = function() {
            //鼠标移动:mousemove
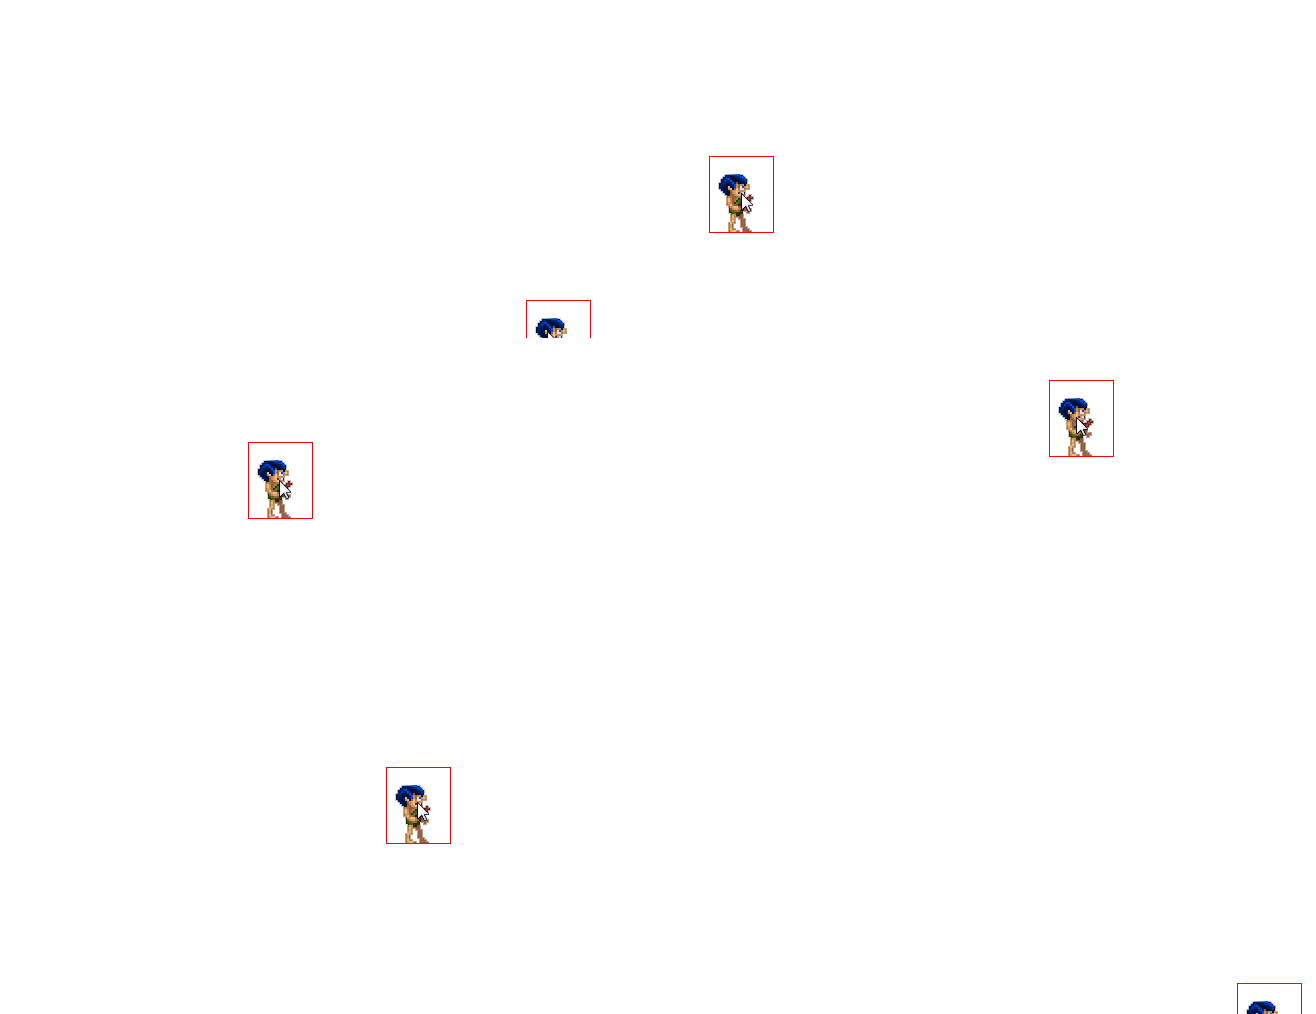
            window.onmousemove = function (e) {
                //获取图片对象
                var img1 = document.getElementById('img1');
                //设置x坐标
                img1.style.left = e.clientX - parseInt(img1.width) / 2 + 'px';
                //设置y坐标
                img1.style.top = e.clientY - parseInt(img1.height) / 2 + 'px';
            };
        };
    </script>
</head>
<body>
    <img id="img1" src="images/idle.png" />
</body>
</html>

【06按钮显示与隐藏提示】
代码:
<!DOCTYPE html>
<html xmlns="http://www.w3.org/1999/xhtml">
<head>
<meta http-equiv="Content-Type" content="text/html; charset=utf-8"/>
    <title></title>
    <style>
        #divShowId {
            position: absolute;display: none;
            width: 100px;height: 100px;
            background-color: blue;color: white;
        }
    </style>
    <script>
        onload = function () {
            //获取所有按钮
            var btns = document.getElementsByTagName('input');
            //遍历按钮,绑定事件
            for (var i = 0; i < btns.length; i++) {
                btns[i].onmouseover = function(e) {
                    //显示div,内容是id
                    //获取div
                    var divShowId = document.getElementById('divShowId');
                    divShowId.textContent = this.id;
                    //显示
                    divShowId.style.display = 'block';
                    //定义位置
                    divShowId.style.left = e.clientX + 'px';
                    divShowId.style.top = e.clientY + 'px';
                };
                btns[i].onmouseout = function() {
                    //隐藏div
                    //获取div
                    var divShowId = document.getElementById('divShowId');
                    //隐藏
                    divShowId.style.display = 'none';
                };
            }
        };
    </script>
</head>
<body>
    <input type="button" id="btn1" value="按钮1"/>
    <input type="button" id="btn2" value="按钮2"/>
    <input type="button" id="btn3" value="按钮3"/>
    <input type="button" id="btn4" value="按钮4"/>
    <input type="button" id="btn5" value="按钮5"/>
    <div id="divShowId"></div>
</body>
</html>


 7714
7714

 被折叠的 条评论
为什么被折叠?


