


linux下 pyskl环境的配置–从配置anaconda开始的保姆级教程
使用清华镜像装个anaconda,xxx是版本
wget https://mirrors.tuna.tsinghua.edu.cn/anaconda/archive/xxx
我这里选用https://mirrors.tuna.tsinghua.edu.cn/anaconda/archive/Anaconda3-2022.05-Linux-x86_64.sh
下载好后安装anaconda:
bash Anaconda3-2022.05-Linux-x86_64.sh
装好后把anaconda加入环境变量后激活bashrc文件
source ~/.bashrc
之后添加镜像(可加可不加)
参考如下两篇文章
Anaconda 添加清华镜像源_不要焦绿的博客-CSDN博客_添加清华镜像源
修改pip install镜像源_xupeng1644的博客-CSDN博客_pip 镜像修改
创建个新环境,我用python版本3.9的失败了,换成3.8成功
conda create --name pyskl python=3.8
conda activate pyskl
参考官方的installation,要先安装个pytorch并且version smaller than 1.11.0 and larger (or equal) than 1.5.0
我这里服务器的版本是cuda11.1,去pytorch官网找旧版本
最后使用1.9.1版本的torch
pip install torch==1.9.1+cu111 torchvision==0.10.1+cu111 torchaudio==0.9.1 -f https://download.pytorch.org/whl/torch_stable.html
把项目克隆到本地
git clone https://github.com/kennymckormick/pyskl.git
cd pyskl
直接装太慢了,加个镜像,如下:
pip install -r requirements.txt  -i https://pypi.tuna.tsinghua.edu.cn/simple
pip install -e .  -i https://pypi.tuna.tsinghua.edu.cn/simple
安装mmmmcv-full参考如下文章,找到对应的版本
我这里选用的是mmcv_full-1.5.0-cp38-cp38-manylinux1_x86_64.whl
安装mmcv-full_大笨钟47的博客-CSDN博客_mmcv-full安装
安装mmpose和mmdet
参考如下博文:
open-mmlab / mmpose安装、使用教程_Charms@的博客-CSDN博客_mmpose安装
另外,如果安装poseval失败,参考以上博文使用其他方法安装后还要把requirements.txt里的poseval这一项删除,重新运行一次
pip install -r requirements.txt
至此,环境配置完成。
按照官方提示运行demo
# Before running the demo, make sure you have installed mmcv-full, mmpose and mmdet. You should first install mmcv-full, and then install mmpose, mmdet.
# You should run the following scripts under the directory `$PYSKL`
# Running the demo with PoseC3D trained on NTURGB+D 120 (Joint Modality), which is the default option. The input file is demo/ntu_sample.avi, the output file is demo/demo.mp4
python demo/demo_skeleton.py demo/ntu_sample.avi demo/demo.mp4
# Running the demo with STGCN++ trained on NTURGB+D 120 (Joint Modality). The input file is demo/ntu_sample.avi, the output file is demo/demo.mp4
python demo/demo_skeleton.py demo/ntu_sample.avi demo/demo.mp4 --config configs/stgcn++/stgcn++_ntu120_xsub_hrnet/j.py --checkpoint http://download.openmmlab.com/mmaction/pyskl/ckpt/stgcnpp/stgcnpp_ntu120_xsub_hrnet/j.pth
跑到一半报错,发现作者把一个函数删了,问题不大。
接下来开始Training & Testing
参考官方的命令:
# Training
bash tools/dist_train.sh {config_name} {num_gpus} {other_options}
# Testing
bash tools/dist_test.sh {config_name} {checkpoint} {num_gpus} --out {output_file} --eval top_k_accuracy mean_class_accuracy
我这里选用最PoseConv3D以及数据集light_gym,打开pyskl/configs/posec3d/c3d_light_gym/joint.py
修改
ann_file = 'data/gym/gym_hrnet.pkl'
这一行改成自己按照官方提示下载的gym_hrnet.pkl文件的路径
运行:
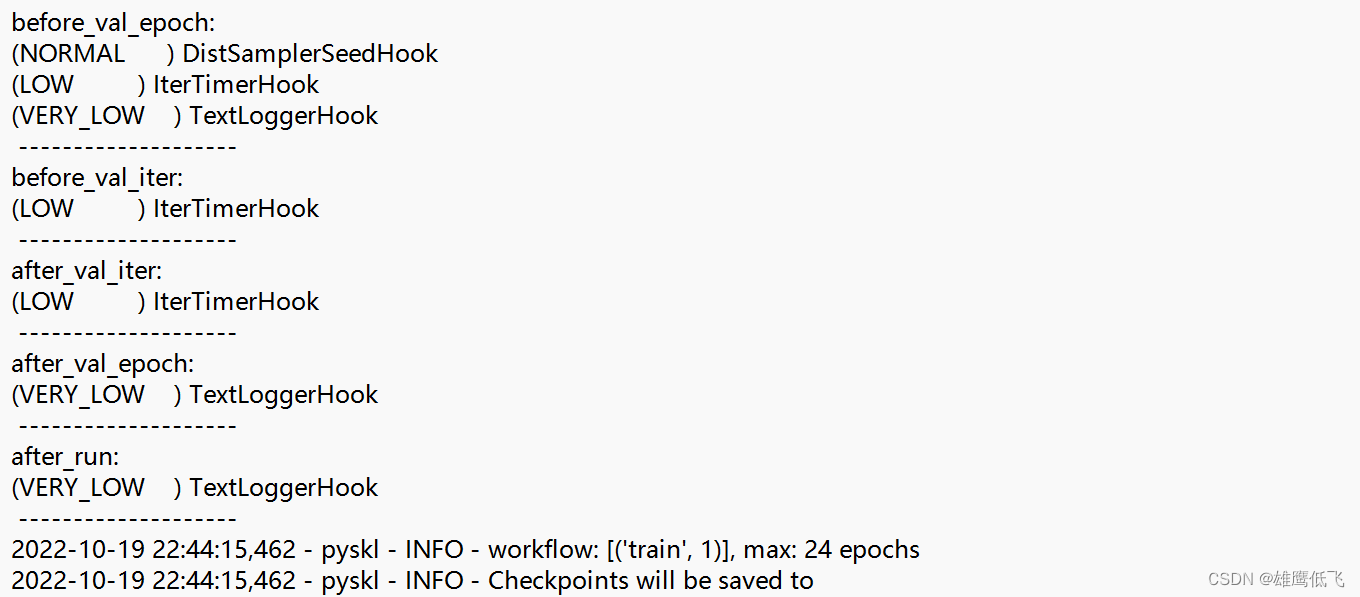
bash tools/dist_train.sh configs/posec3d/c3d_light_gym/joint.py 2
可以看到运行成功
最后结果: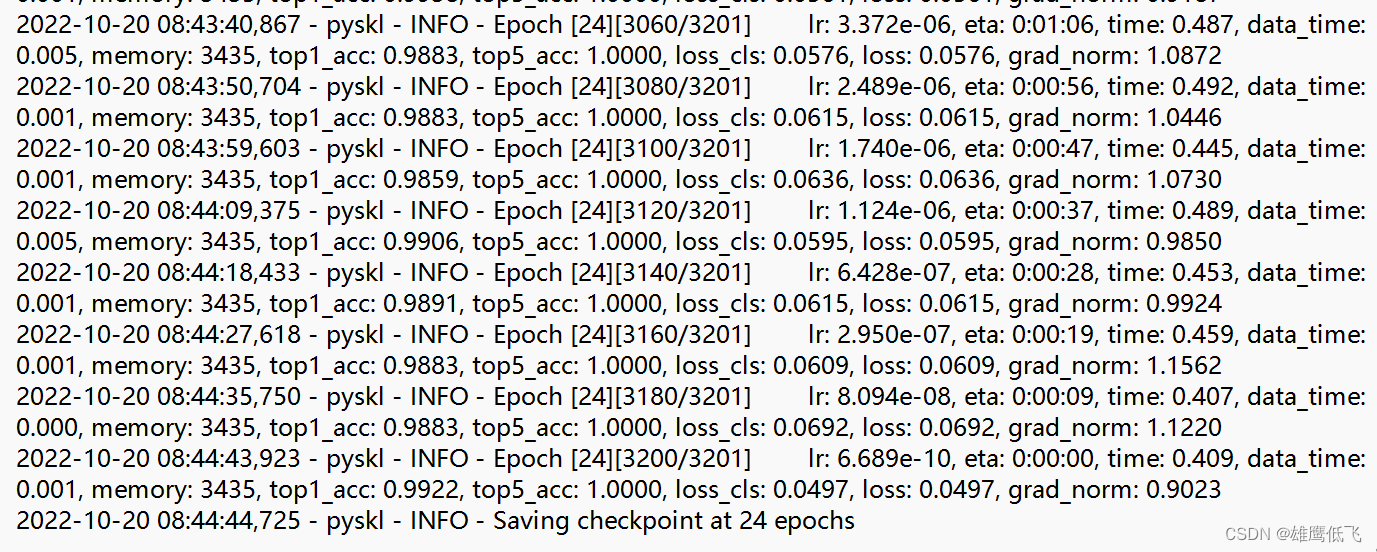


 1563
1563


 被折叠的 条评论
为什么被折叠?
被折叠的 条评论
为什么被折叠?
 到【灌水乐园】发言


