


UIPickerView
UIPickerView就是一个滑动选择控件,下面我们学习如何使用它
1. UIPickerView的创建
let pickerView = UIPickerView(frame: CGRect(x: 0, y: 0, width: self.view.frame.width, height: 500))
self.view.addSubview(pickerView)
运行程序
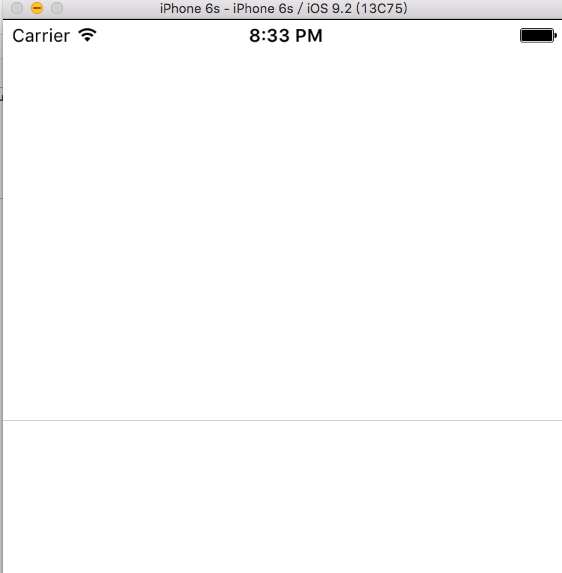
我们发现,就一条横线,什么都没有, UIPickerView和前面学习的控件有那么不一样,它的数据是在dataSource中设置的
2. UIPickerView的dataSource
我们设置pickerView的dataSource为自身
pickerView.dataSource = self我们在Xcode会发现一个提示,说我们的ViewController没有实现UIPickerViewDataSource,那么我们实现它
class ViewController: UIViewController, UIPickerViewDataSource {
    ...
}
然后Xcode又报错,说我们没有实现UIPickerViewDataSource的方法
我们查看一下UIPickerViewDataSource的定义
public protocol UIPickerViewDataSource : NSObjectProtocol {

    // returns the number of 'columns' to display.
    @available(iOS 2.0, *)
    public func numberOfComponentsInPickerView(pickerView: UIPickerView) -> Int // UIPickerView的列数

    // returns the # of rows in each component..
    @available(iOS 2.0, *)
    public func pickerView(pickerView: UIPickerView, numberOfRowsInComponent component: Int) -> Int // UIPickerView的行数
}
我们实现这两个方法:
// MARK: - UIPickerViewDataSource

// MARK: 列数
func numberOfComponentsInPickerView(pickerView: UIPickerView) -> Int {
    return 3
}

// MARK: 行数
func pickerView(pickerView: UIPickerView, numberOfRowsInComponent component: Int) -> Int {
    return 3
}
运行程序:

我们发现确实出现了3行3列的数据, 但是全是问号, 这说明我们还没有给UIPickerView设置数据,它是在delegate中设置的
3. UIPickerView的delegate
有了上面的dataSource的经验, 我们给UIPickerView实现UIPickerViewDelegate代理
class ViewController: UIViewController, UIPickerViewDataSource, UIPickerViewDelegate {
    override func viewDidLoad() {
        ...
        pickerView.delegate = self
    }
    ...
}
然后我们查看UIPickerViewDelegate的定义:
public protocol UIPickerViewDelegate : NSObjectProtocol {

    // 下面的两个方法设置一个内容的宽高
    @available(iOS 2.0, *)
    optional public func pickerView(pickerView: UIPickerView, widthForComponent component: Int) -> CGFloat
    @available(iOS 2.0, *)
    optional public func pickerView(pickerView: UIPickerView, rowHeightForComponent component: Int) -> CGFloat

    // 设置内容
    @available(iOS 2.0, *)
    optional public func pickerView(pickerView: UIPickerView, titleForRow row: Int, forComponent component: Int) -> String?
    @available(iOS 6.0, *)
    optional public func pickerView(pickerView: UIPickerView, attributedTitleForRow row: Int, forComponent component: Int) -> NSAttributedString? // attributed title is favored if both methods are implemented
    @available(iOS 2.0, *)
    optional public func pickerView(pickerView: UIPickerView, viewForRow row: Int, forComponent component: Int, reusingView view: UIView?) -> UIView // 设置的内容可以是UIView

    // 获取选中的行列的值
    @available(iOS 2.0, *)
    optional public func pickerView(pickerView: UIPickerView, didSelectRow row: Int, inComponent component: Int)
}
我们发现UIPickerViewDelegate中的方法都是可选的
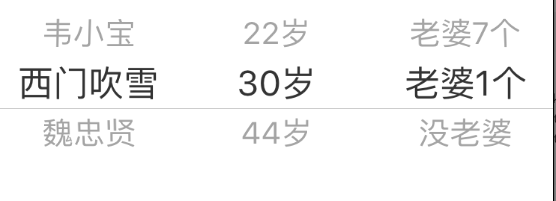
下面我们实现一个需求:
韦小宝 22岁 老婆7个
西门吹雪 30岁 老婆1个
魏忠贤 44岁 没老婆
let contents = [
    ["韦小宝", "西门吹雪", "魏忠贤"],
    ["22岁", "30岁", "44岁"],
    ["老婆7个", "老婆1个", "没老婆"]
]

// MARK: - UIPickerViewDelegate

// MARK: 内容
func pickerView(pickerView: UIPickerView, titleForRow row: Int, forComponent component: Int) -> String? {
    return self.contents[component][row]
}
现在我们希望默认选中的是中间的西门吹雪 30岁 老婆1个
pickerView.selectRow(1, inComponent: 0, animated: true)
pickerView.selectRow(1, inComponent: 1, animated: true)
pickerView.selectRow(1, inComponent: 2, animated: true)
运行程序:
我们再实现一个需求, 将选中的内容在控制台打印出来
// MARK: 选中行列
func pickerView(pickerView: UIPickerView, didSelectRow row: Int, inComponent component: Int) {
    print(self.contents[component][row])
}
由此,我们发现: 实力很重要,但还得能说会道,要不然,没老婆!
4. 完整代码
import UIKit

class ViewController: UIViewController, UIPickerViewDataSource, UIPickerViewDelegate {

    let contents = [
        ["韦小宝", "西门吹雪", "魏忠贤"],
        ["22岁", "30岁", "44岁"],
        ["老婆7个", "老婆1个", "没老婆"]
    ]

    override func viewDidLoad() {
        super.viewDidLoad()

        let pickerView = UIPickerView(frame: CGRect(x: 0, y: 0, width: self.view.frame.width, height: 500))
        self.view.addSubview(pickerView)

        pickerView.dataSource = self
        pickerView.delegate = self
        pickerView.selectRow(1, inComponent: 0, animated: true)
        pickerView.selectRow(1, inComponent: 1, animated: true)
        pickerView.selectRow(1, inComponent: 2, animated: true)
    }

    override func didReceiveMemoryWarning() {
        super.didReceiveMemoryWarning()
        // Dispose of any resources that can be recreated.
    }

    // MARK: - UIPickerViewDataSource

    // MARK: 列数
    func numberOfComponentsInPickerView(pickerView: UIPickerView) -> Int {
        return 3
    }

    // MARK: 行数
    func pickerView(pickerView: UIPickerView, numberOfRowsInComponent component: Int) -> Int {
        return 3
    }

    // MARK: - UIPickerViewDelegate

    // MARK: 内容
    func pickerView(pickerView: UIPickerView, titleForRow row: Int, forComponent component: Int) -> String? {
        return self.contents[component][row]
    }

    // MARK: 选中行列
    func pickerView(pickerView: UIPickerView, didSelectRow row: Int, inComponent component: Int) {
        print(self.contents[component][row])
    }
}


 2007
2007

 被折叠的 条评论
为什么被折叠?
被折叠的 条评论
为什么被折叠?
 到【灌水乐园】发言


