知识点
https:
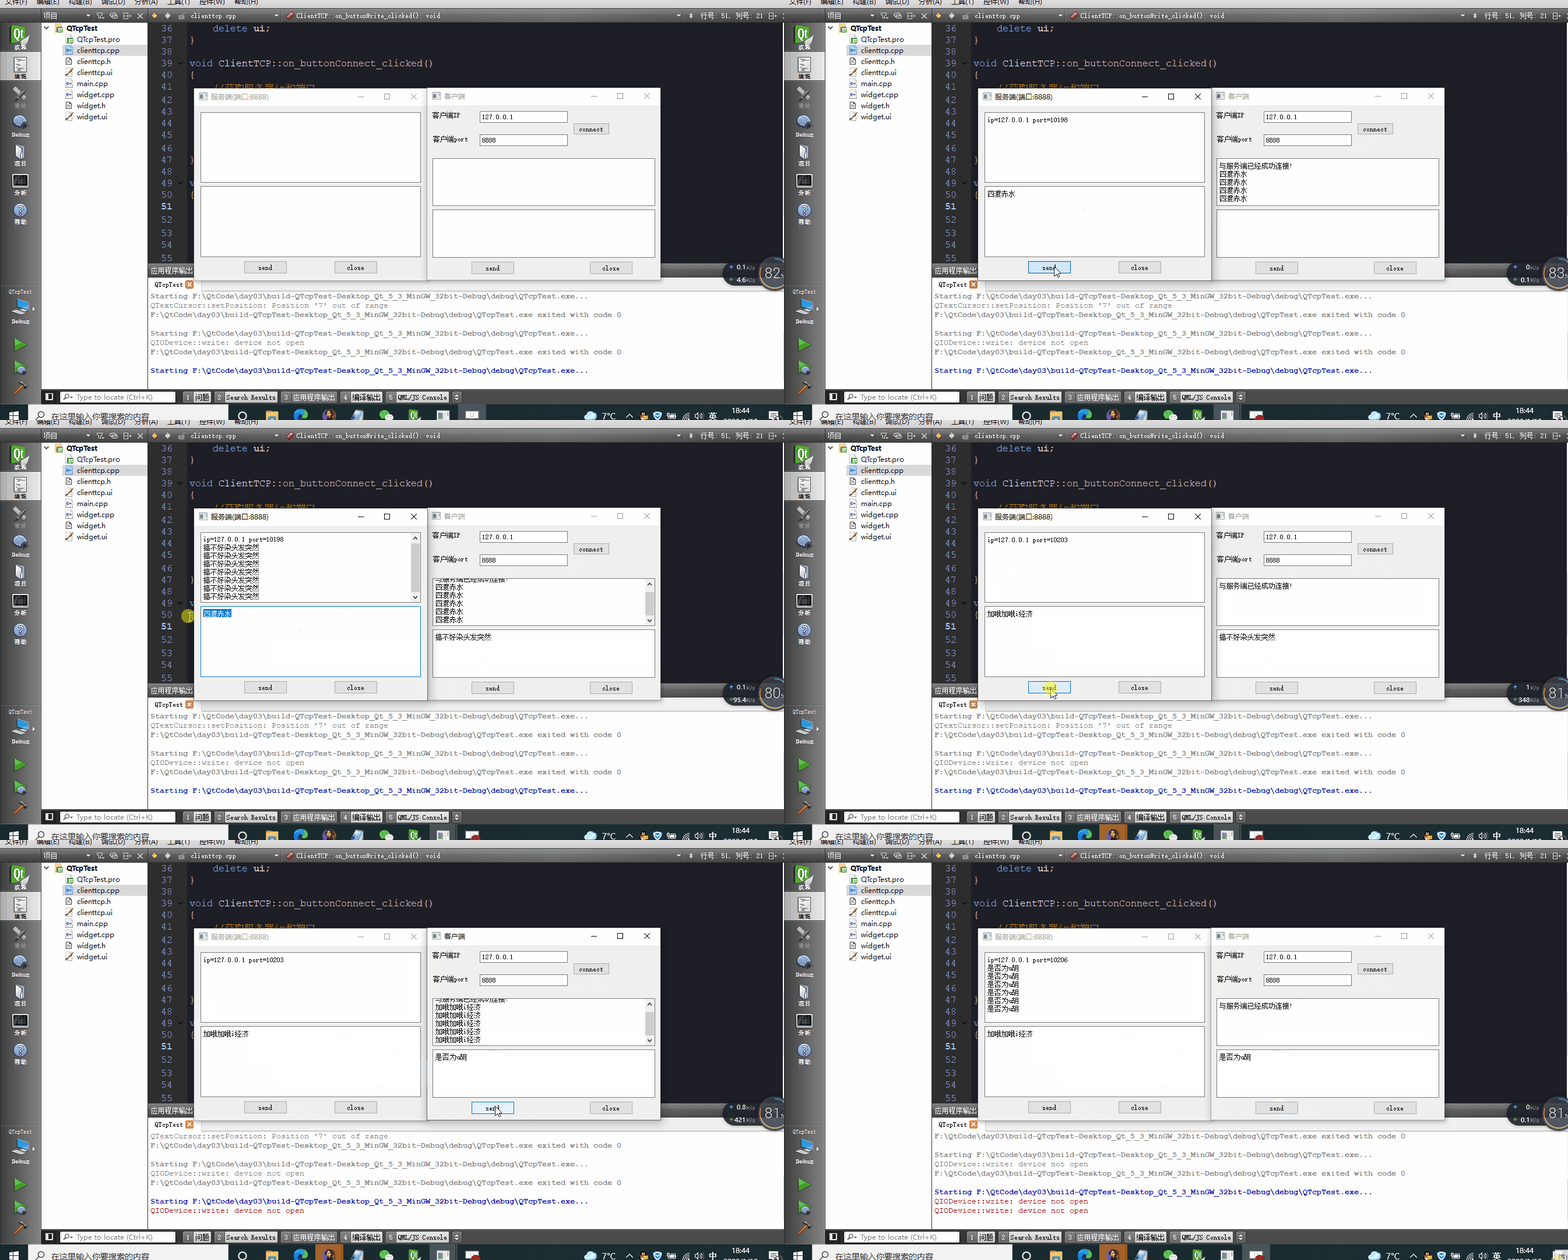
结果演示

widget.cpp
#include "widget.h"
#include "ui_widget.h"
Widget::Widget(QWidget *parent) :
QWidget(parent),
ui(new Ui::Widget)
{
ui->setupUi(this);
tcpServer = NULL;
tcpSocket = NULL;
setWindowTitle("服务端(端口:8888)");
tcpServer = new QTcpServer(this);
tcpServer->listen(QHostAddress::Any,8888);
connect(tcpServer,&QTcpServer::newConnection,
[=](){
tcpSocket=tcpServer->nextPendingConnection();
QString ip=tcpSocket->peerAddress().toString();
qint16 port =tcpSocket->peerPort();
QString ipDate=QString("ip=%1 port=%2").arg(ip).arg(port);
ui->showEdit->setText(ipDate);
connect(tcpSocket,&QTcpSocket::readyRead,
[=](){
QByteArray array=tcpSocket->readAll();
ui->showEdit->append(array);
}
);
}
);
}
Widget::~Widget()
{
delete ui;
}
void Widget::on_buttonSend_clicked()
{
if(NULL == tcpSocket)
{
return;
}
QString str=ui->sendEdit->toPlainText();
tcpSocket->write(str.toUtf8().data());
}
void Widget::on_buttonClose_clicked()
{
if(NULL == tcpSocket)
{
return;
}
tcpSocket->disconnectFromHost();
tcpSocket->close();
tcpSocket = NULL;
}
widget.h
#ifndef WIDGET_H
#define WIDGET_H
#include <QWidget>
#include <QTcpServer>
#include <QTcpSocket>
namespace Ui {
class Widget;
}
class Widget : public QWidget
{
Q_OBJECT
public:
explicit Widget(QWidget *parent = 0);
~Widget();
private slots:
void on_buttonSend_clicked();
void on_buttonClose_clicked();
private:
Ui::Widget *ui;
QTcpServer *tcpServer;
QTcpSocket *tcpSocket;
};
#endif
clienttcp.cpp
#include "clienttcp.h"
#include "ui_clienttcp.h"
#include <QHostAddress>
ClientTCP::ClientTCP(QWidget *parent) :
QWidget(parent),
ui(new Ui::ClientTCP)
{
ui->setupUi(this);
setWindowTitle("客户端");
tcpSocket=new QTcpSocket(this);
connect(tcpSocket,&QTcpSocket::connected,
[=](){
ui->textEditRead->setText("与服务端已经成功连接!");
}
);
connect(tcpSocket,&QTcpSocket::readyRead,
[=](){
QByteArray array = tcpSocket->readAll();
ui->textEditRead->append(array);
}
);
}
ClientTCP::~ClientTCP()
{
delete ui;
}
void ClientTCP::on_buttonConnect_clicked()
{
QString ip=ui->lineEditIP->text();
qint16 port=ui->lineEditPort->text().toInt();
tcpSocket->connectToHost(QHostAddress(ip),port);
}
void ClientTCP::on_buttonWrite_clicked()
{
QString str=ui->textEditWrite->toPlainText();
tcpSocket->write(str.toUtf8().data());
}
void ClientTCP::on_buttonClose_clicked()
{
tcpSocket->disconnectFromHost();
tcpSocket->close();
}
clienttcp.h
#ifndef CLIENTTCP_H
#define CLIENTTCP_H
#include <QWidget>
#include <QTcpSocket>
namespace Ui {
class ClientTCP;
}
class ClientTCP : public QWidget
{
Q_OBJECT
public:
explicit ClientTCP(QWidget *parent = 0);
~ClientTCP();
private slots:
void on_buttonConnect_clicked();
void on_buttonWrite_clicked();
void on_buttonClose_clicked();
private:
Ui::ClientTCP *ui;
QTcpSocket *tcpSocket;
};
#endif


 1515
1515

 被折叠的 条评论
为什么被折叠?


