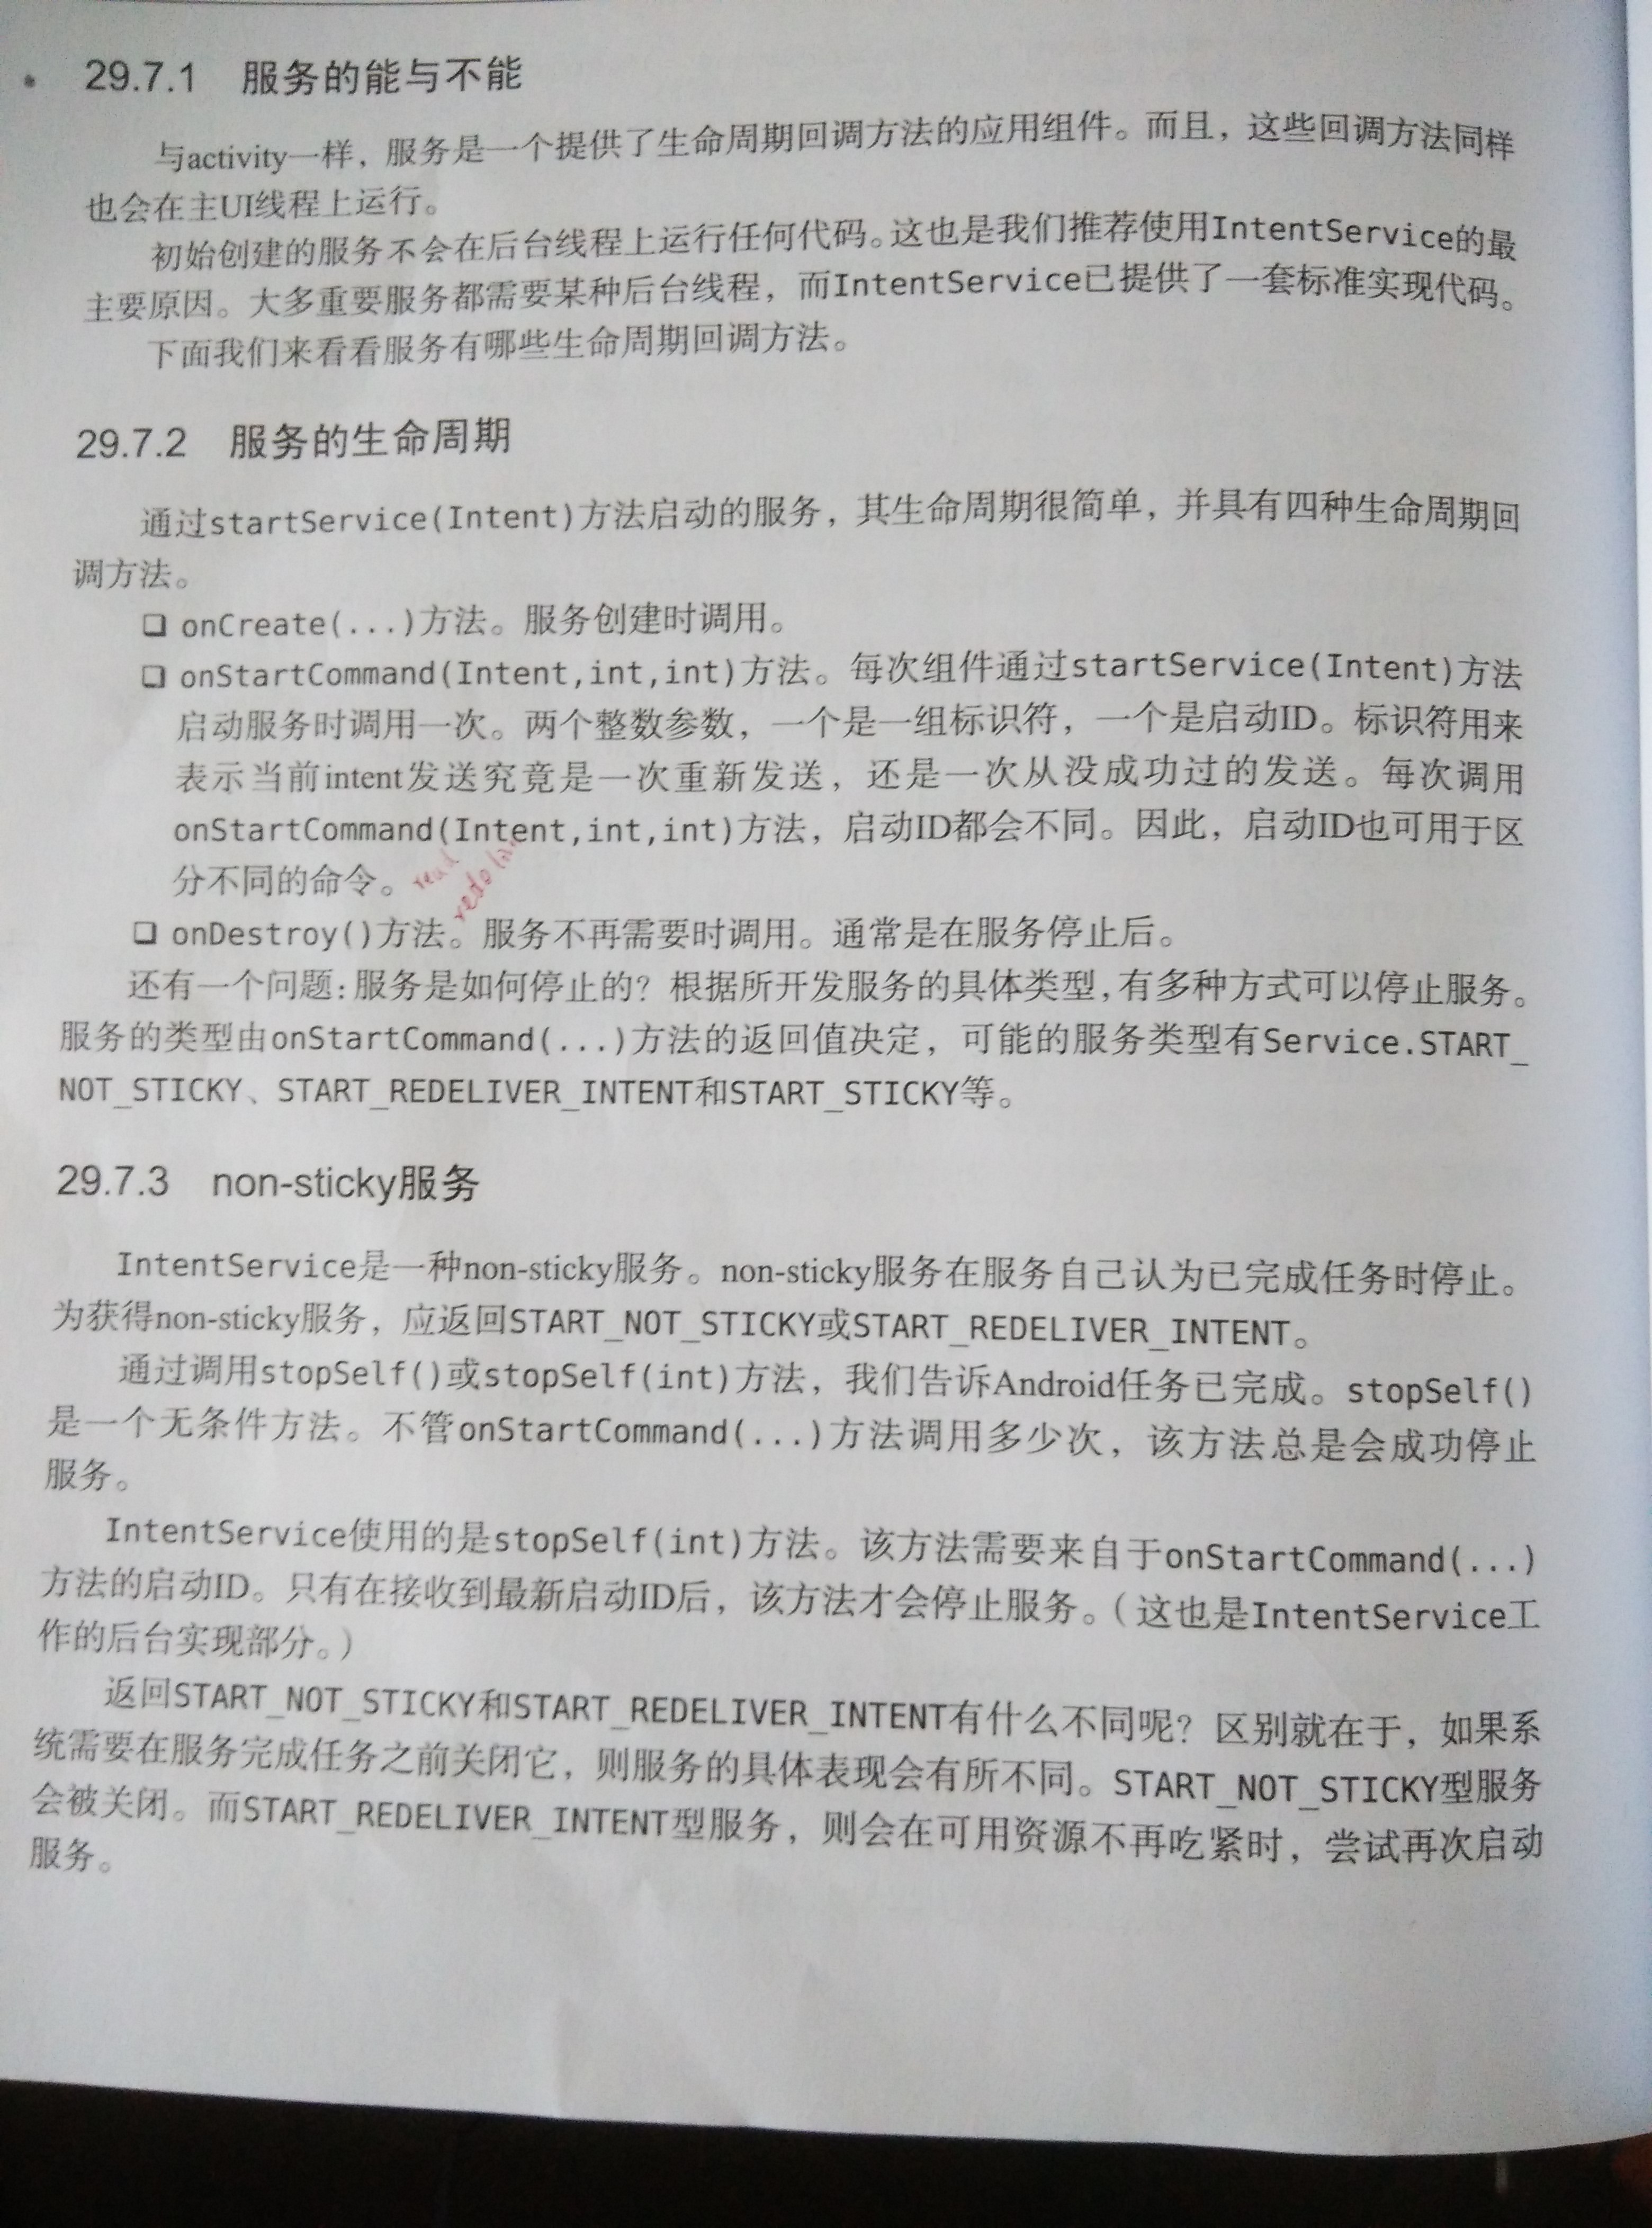
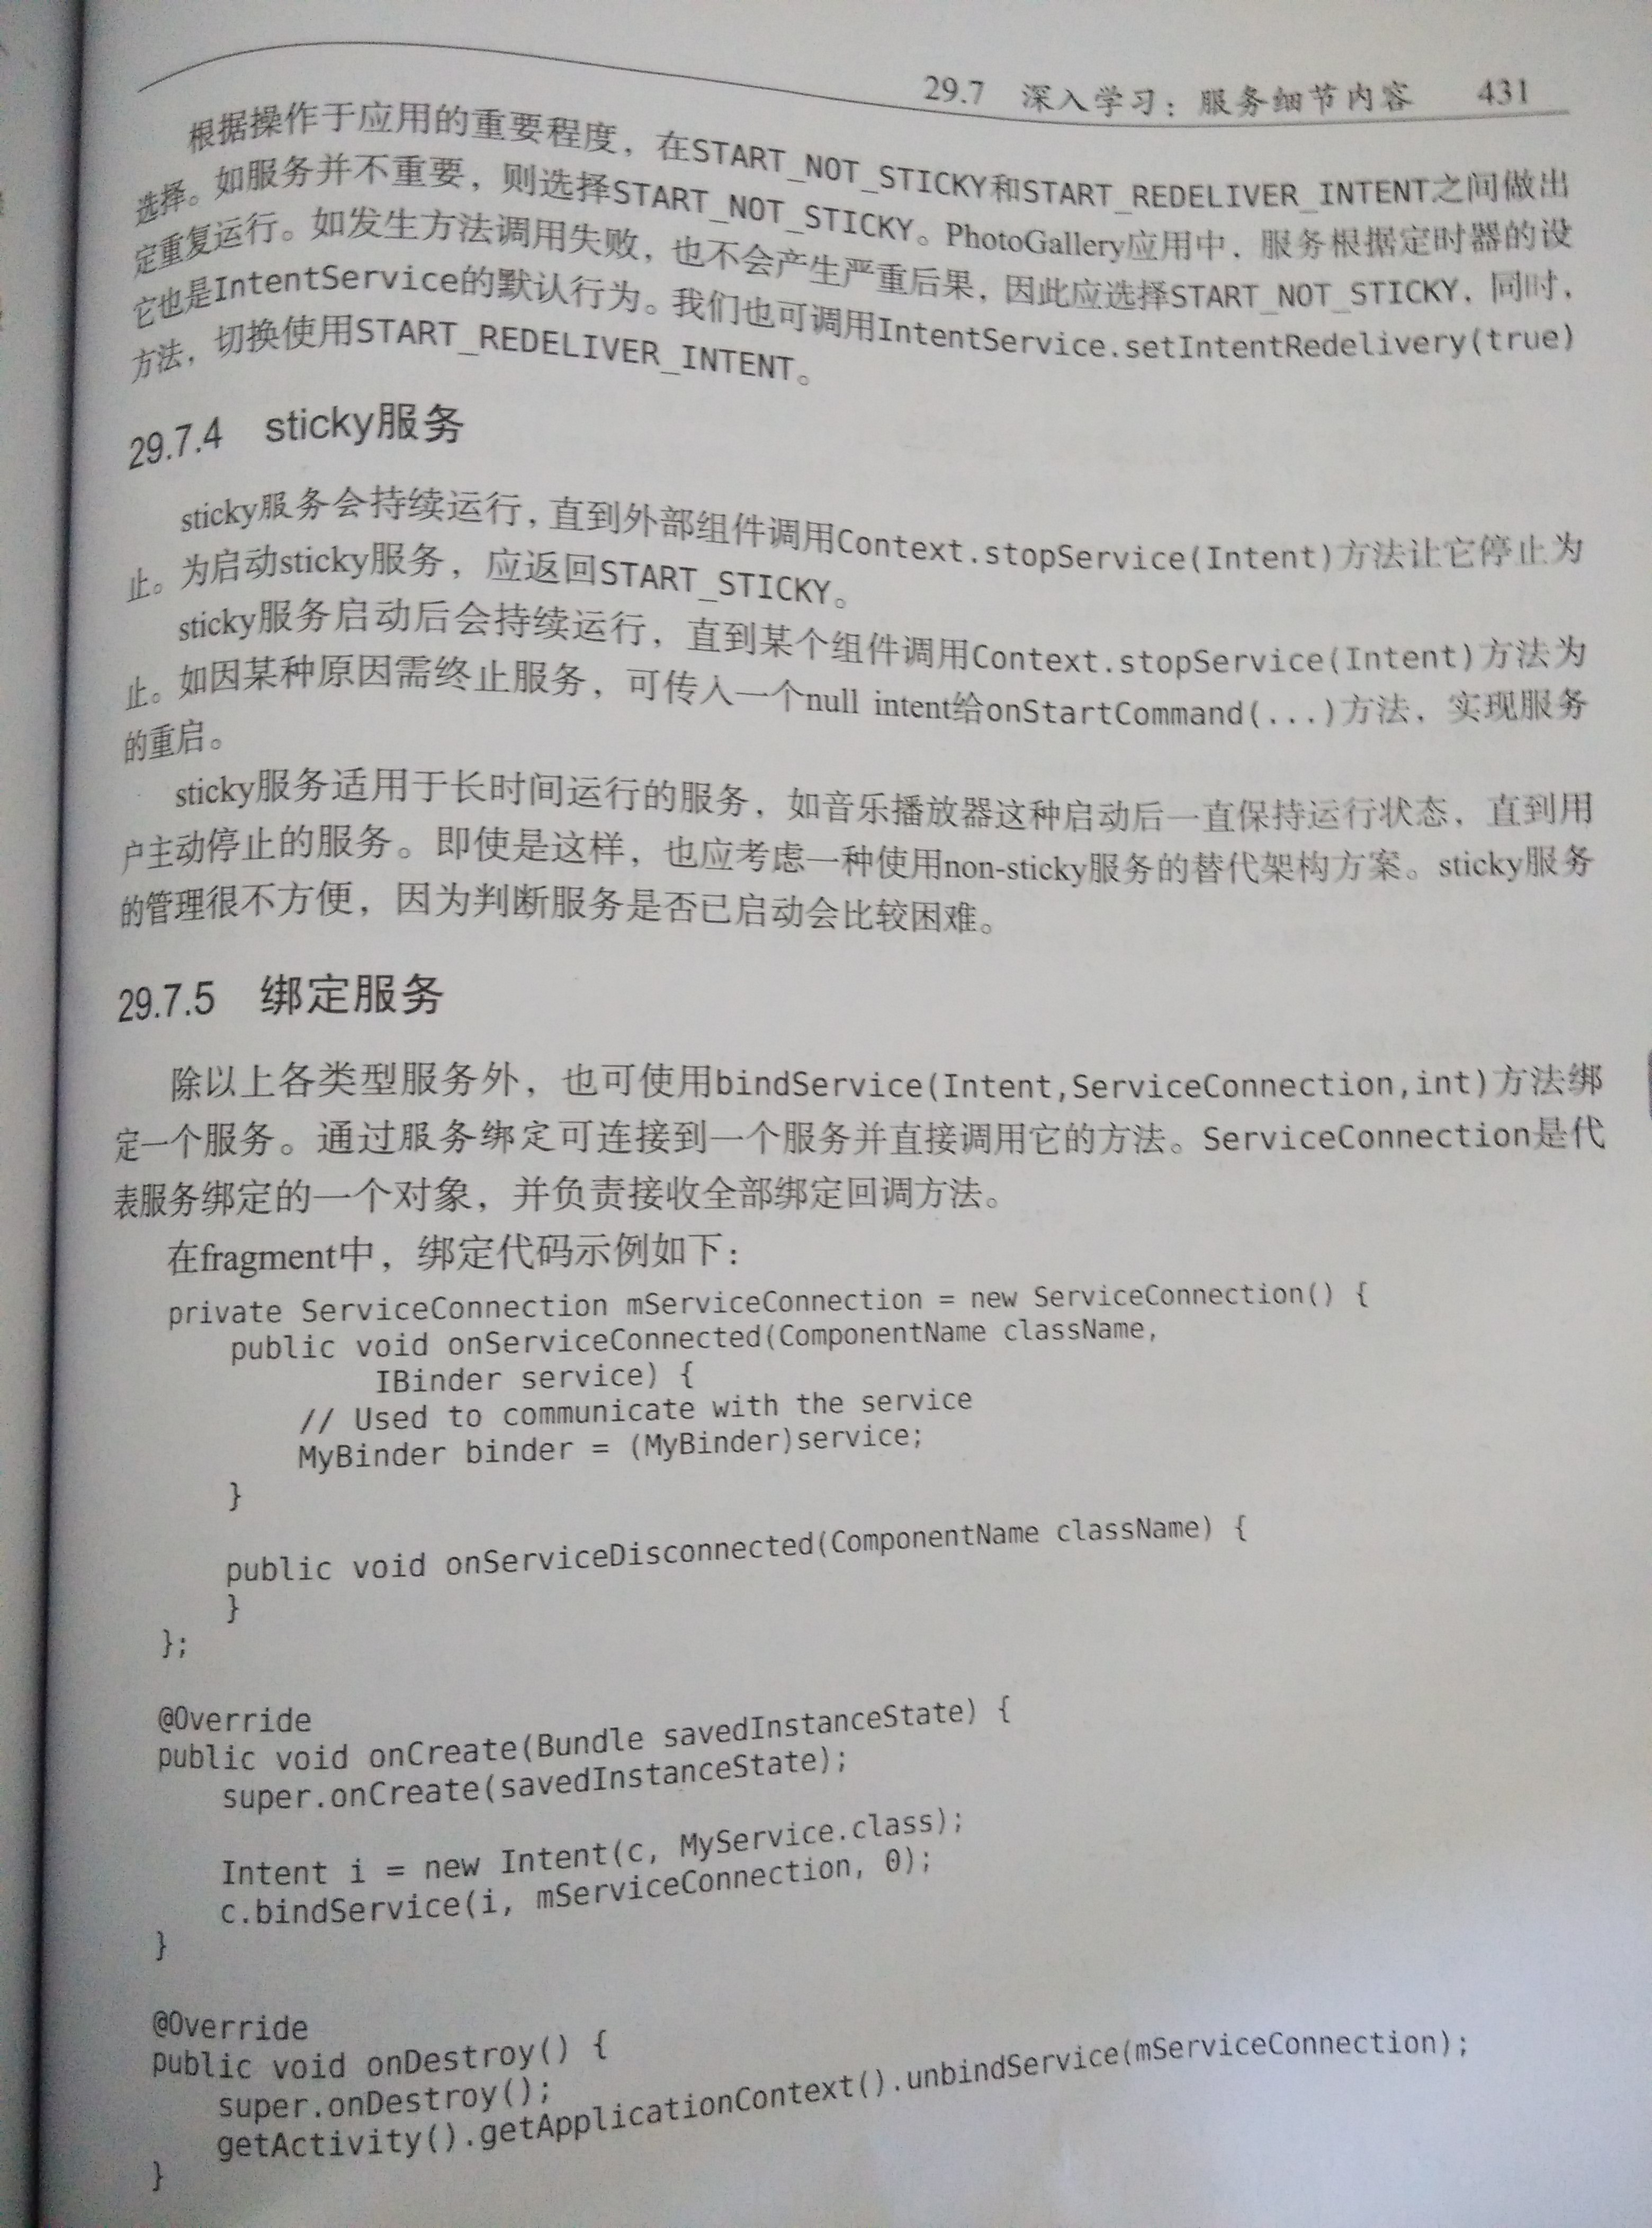
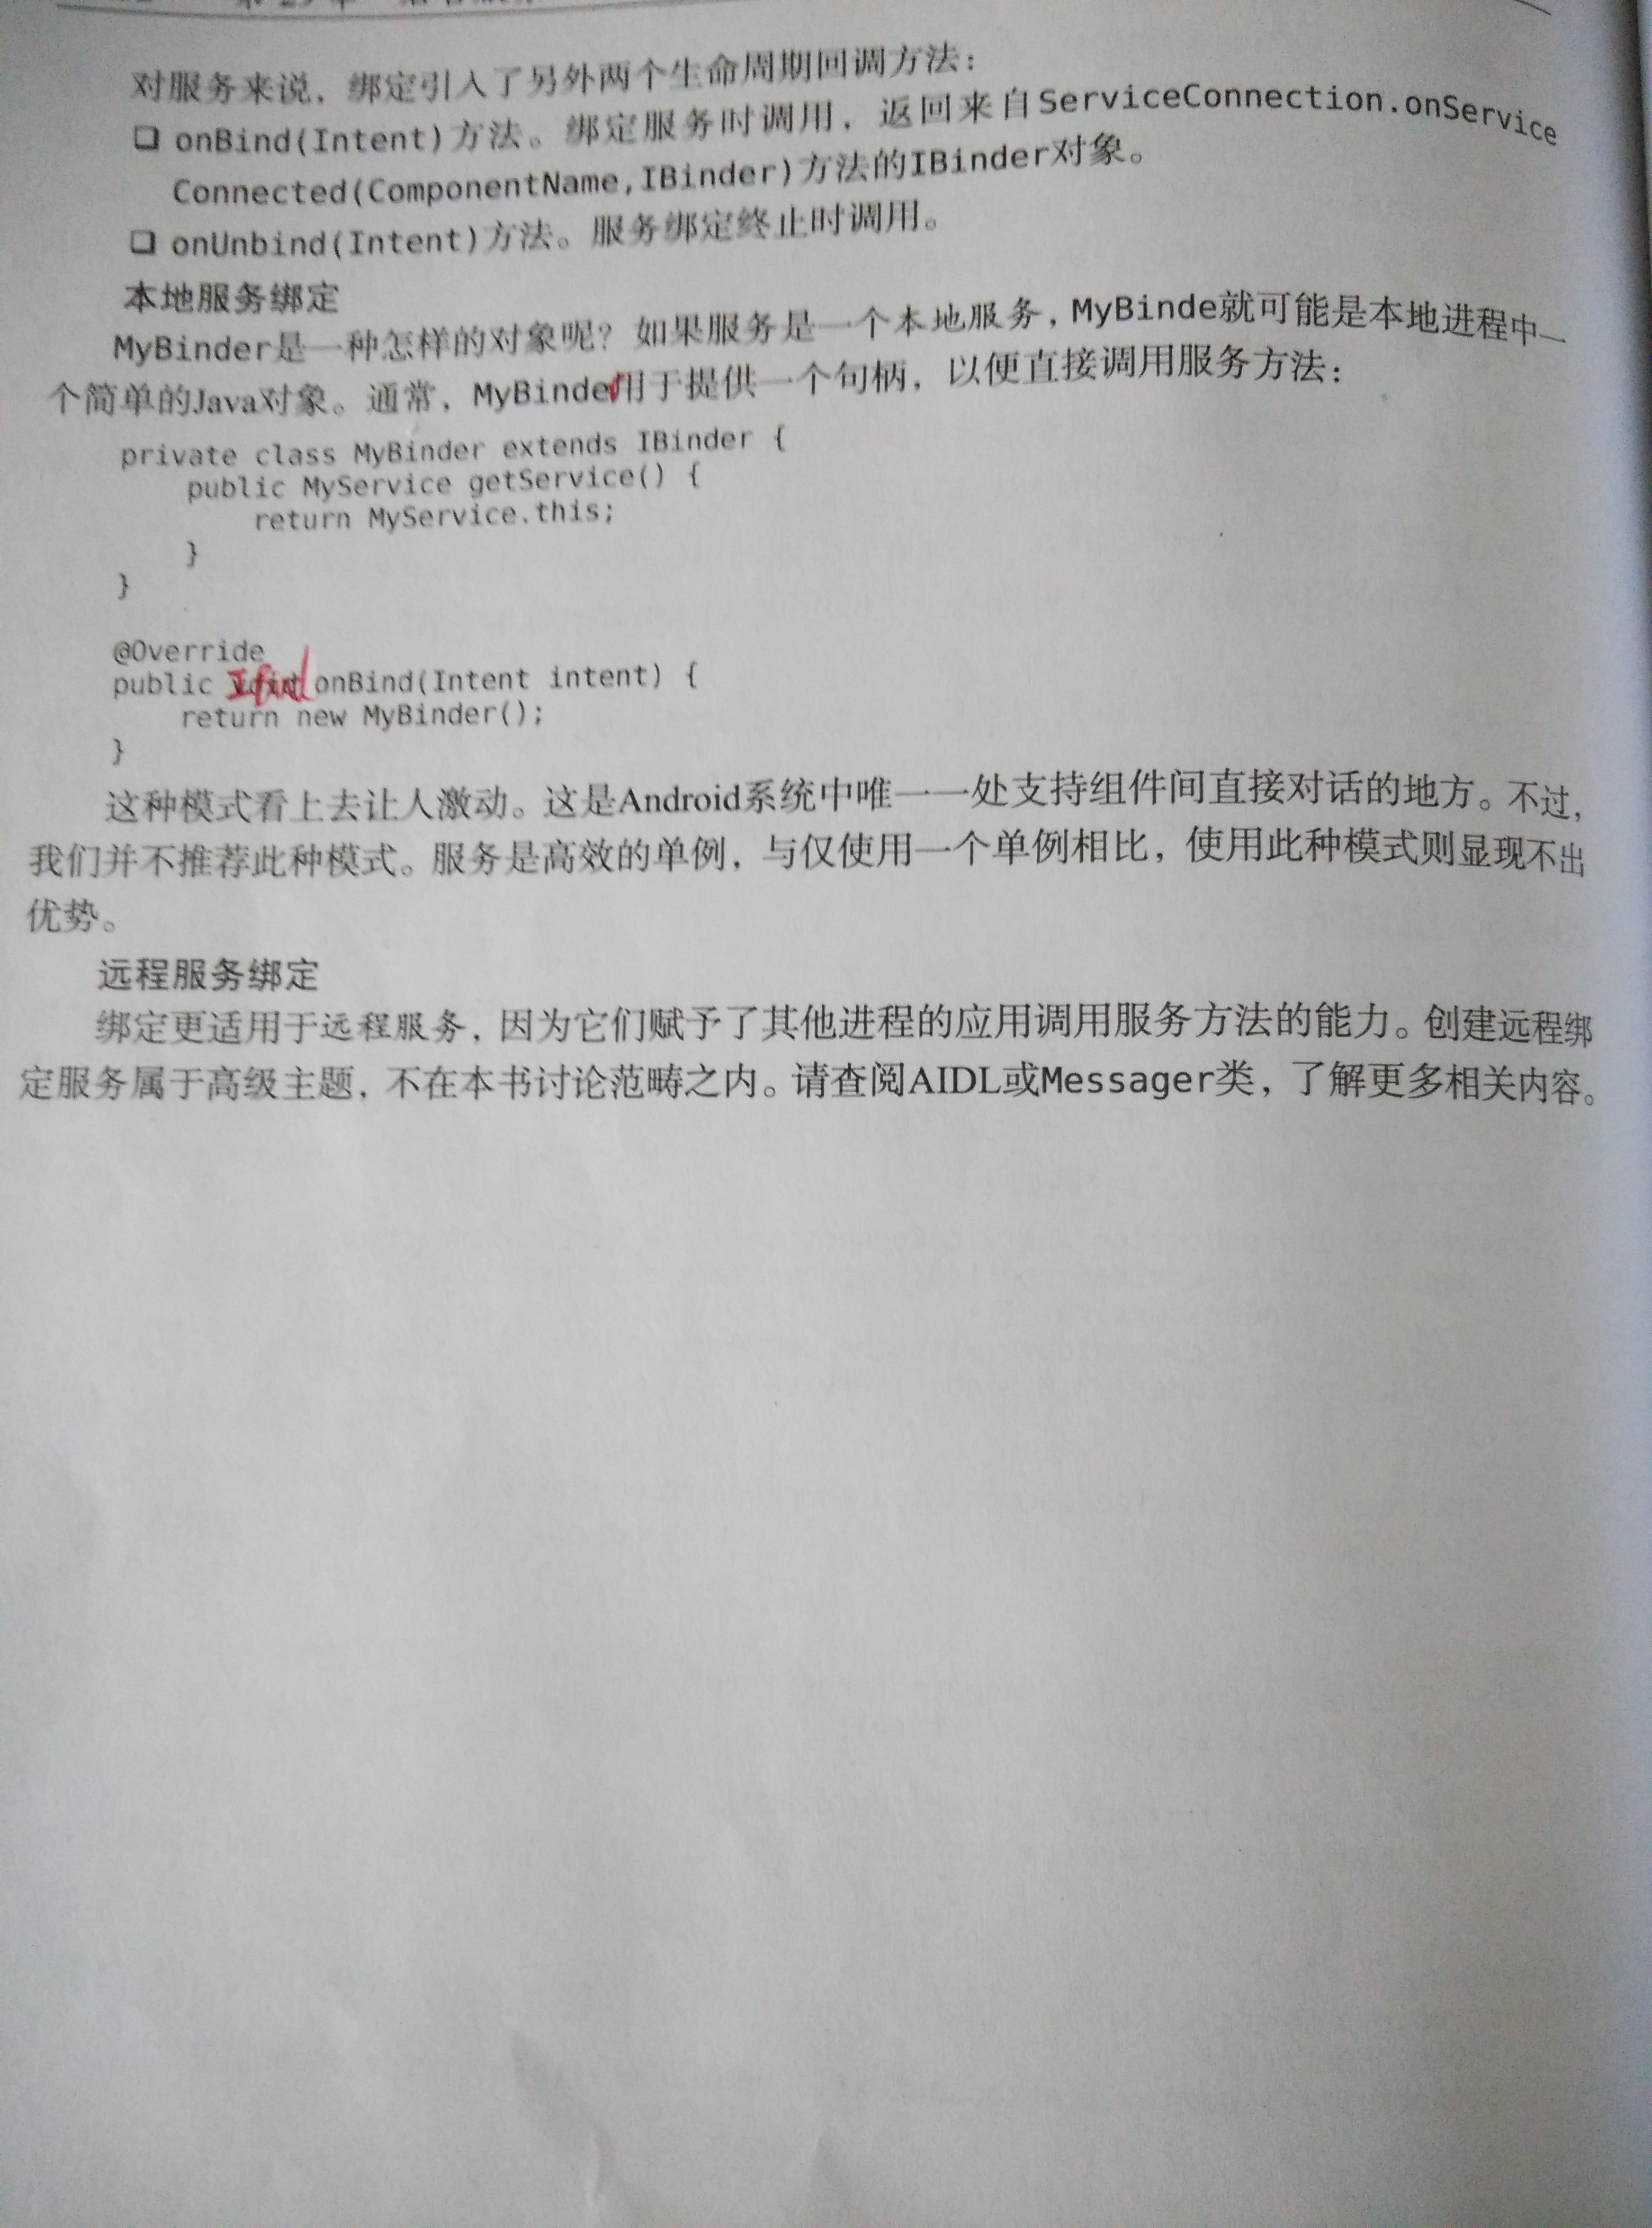
Service类似于Activity,也是一个context,并能够响应intent。其中最常用的是IntentService。
创建IntentService
public class PollService extends IntentService {
    private static final String TAG = "PollService";

    public PollService() {
        super(TAG);
    }

    @Override
    protected void onHandleIntent(Intent intent) {
        Log.i(TAG, "new intent : " + intent)
    }

}
服务的intent又称命令(command)。每一条命令都要求服务完成某项具体的任务。根据服务的种类不同,服务执行命令的方式也不尽相同。
IntentService逐个执行命令队列里的命令,接收到首个命令时,IntentService即完成启动,并触发一个后台线程,然后将命令放入队列。
随后,IntentService继续按顺序执行每一条命令,并同时为每一条命令在后台线程上调用onHandleIntent(Intent)方法。新进命令总是放在队列末尾。最后,执行完队列中全部命令后,服务也随即停止并被销毁。以上描述仅适用于IntentService。
服务的作用
在用户离开当前应用,服务依然可以在后台运行。
Android为用户提供了关闭后台应用网络连接的功能。对于非常耗电的应用而言,这项功能极大的改善手机的续航能力。这也就意味着在后台连接网络时,需检查后台网络的可用性。
    @Override
    protected void onHandleIntent(Intent intent) {
        ConnectivityManager cm = (ConnectivityManager) getSystemService(Context.CONNECTIVITY_SERVICE);
        @SuppressWarnings("deprecation")
        boolean isNetworkAvailable = cm.getBackgroundDataSetting()
                && cm.getActiveNetworkInfo() != null;
        if (!isNetworkAvailable)
            return;

        SharedPreferences prefs = PreferenceManager
                .getDefaultSharedPreferences(this);
        String query = prefs.getString(FlickrFetchr.PREF_SEARCH_QUERY, null);
        //使用SharedPreferences保存最近一次获取的结果
        String lastResultId = prefs.getString(FlickrFetchr.PREF_LAST_RESULT_ID,
                null);

        ArrayList<GalleryItem> items;
        if (query != null) {
            items = new FlickrFetchr().search(query);
        } else {
            items = new FlickrFetchr().fetchItems();
        }

        if (items.size() == 0)
            return;

        String resultId = items.get(0).getId();
        if (!resultId.equals(lastResultId)) {
            Log.i(TAG, "Got a new result: " + resultId);
        }

        prefs.edit().putString(FlickrFetchr.PREF_LAST_RESULT_ID, resultId)
                .commit();
    }
为什么需要两处检查呢?在Android旧版本系统中,应检查getBackgroundDataSetting()方法的返回结果,如果返回结果为false,表示不允许使用后台数据,那我们就解脱了。当然,如果不去检查,也能随意使用后台数据。但这样做很可能会出问题(电量耗光或应用运行缓慢)。
而在Android 4.0 中,后台数据设置直接会禁用网络。这也是为什么需要检查getActiveNetworkInfo()方法是否返回空值的原因。如果返回空值,则网络不可用。对用户来说,这是好事,因为这意味着后台数据设置总是按用户的预期行事。当然,对开发者来说,还有一些额外的工作要做。
要使用getActiveNetworkInfo()方法。还需获取ACCESS_NETWORK_STATE权限。
使用AlarmManager延迟运行服务
为保证服务在后台的切实可行,当没有activity在运行时,需要通过某种方式在后台执行一些任务。比方说,设置一个5分钟间隔的定时器。
一种方式是调用Handler的sendMessageDelayed(…)或者postDelayed(…)方法。但如果用户离开当前应用,进程就会停止,handler消息也会随之消亡,因此该解决方案并不可靠。
因此,我们应转而使用AlarmManager。AlarmManager是可以发送Intent的系统服务。
如何告诉AlarmManager发送什么样的intent呢?使用PendingIntent。我们可以使用PendingIntent打包intent:“我想启动PollService服务。”然后,将其发送给系统中的其他部件,如AlarmManager。
    public static void setServiceAlarm(Context context, boolean isOn) {
        Intent intent = new Intent(context, PollService.class);
        PendingIntent pi = PendingIntent.getService(context, 0, intent, 0);

        AlarmManager alarmManager = (AlarmManager) context
                .getSystemService(Context.ALARM_SERVICE);

        if (isOn) {
            alarmManager.setRepeating(AlarmManager.RTC,
                    System.currentTimeMillis(), POLL_INTERVAL, pi);
        } else {
            alarmManager.cancel(pi);
            pi.cancel();
        }
    }
PendingIntent.getService(…)方法打包了一个Context.startService(Intent)方法的调用。它有四个参数:一个用来发送intent的Context、一个区分PendingIntent来源的请求代码,待发的Intent对象以及一组用来决定如何创建PendingIntent的标识符。
设置定时器可调用AlarmManager.setRepeating(…)方法。该方法同样具有四个参数:一个描述定时器时间基准的常量、定时器运行的开始时间、定时器循环的时间以及一个到时要发送的PendingIntent。
取消定时器可调用AlarmManager.cancel(PendingIntent)方法。通常,也需同步取消PendingIntent。
PendingIntent
PendingIntent是一种token对象。调用PendingIntent.getService(…)方法获取PendingIntent时,我们告诉操作系统:”请记住,我需要使用startService(Intent)方法发送这个intent“。随后,调用PendingIntent对象的send()方法时,操作系统会按照我们的要求发送原来封装的intent。
PendingIntent真正精妙的地方在于,将PendingIntent token 交给其他应用使用时,它代表当前应用发送token对象。另外,PendingIntent本身存在于操作系统而不是token里,因此实际上我们控制着它。如果不顾及别人感受的话,也可以交给别人一个PendingIntent对象后,立即撤销它,让send()方法啥也做不了。
如果使用同一个intent请求PendingIntent两次,得到的PendingIntent仍会是同一个。我们可借此测试某个PendingIntent是否已经存在,或撤销已发出的PendingIntent。
使用PendingIntent管理定时器
一个PendingIntent只能登记一个定时器。这也是isOn值为false时,setServiceAlarm(Context context, boolean isOn)方法的工作原理:调用AlarmManager.cancel(PendingIntent)方法取消定时器,然后同步取消PendingIntent。
既然撤销定时器也即撤销了PendingIntent,可通过检查PendingIntent是否存在,确认定时器激活与否。传入PendingIntent.FLAG_NO_CREATE标志给PendingIntent.getService(…)方法即可。该标志表示如果PendingIntent不存在,则返回null值,而不是创建它。
public static boolean isServiceAlarmOn(Context context) {
        Intent intent = new Intent(context, PollService.class);
        PendingIntent pi = PendingIntent.getService(context, 0, intent,
                PendingIntent.FLAG_NO_CREATE);
        return pi != null;
    }
控制定时器的开启与停止
添加服务开关
<menu xmlns:android="http://schemas.android.com/apk/res/android" >

    <item
        android:id="@+id/menu_item_search"
        android:actionViewClass="android.widget.SearchView"
        android:icon="@android:drawable/ic_menu_search"
        android:showAsAction="ifRoom"
        android:title="@string/search"/>

    <item
        android:id="@+id/menu_item_clear"
        android:icon="@android:drawable/ic_menu_close_clear_cancel"
        android:showAsAction="ifRoom"
        android:title="@string/clear_search"/>

    <item
        android:id="@+id/menu_item_toggle_polling"
        android:showAsAction="ifRoom"
        android:title="@string/start_polling"/>

</menu>
菜单切换实现
    @Override
    public boolean onOptionsItemSelected(MenuItem item) {
        switch (item.getItemId()) {

        .....

        case R.id.menu_item_toggle_polling://开启或停止服务
            boolean shouldStartAlarm = !PollService.isServiceAlarmOn(getActivity());
            PollService.setServiceAlarm(getActivity(), shouldStartAlarm);

            if (Build.VERSION.SDK_INT >= Build.VERSION_CODES.HONEYCOMB)
                getActivity().invalidateOptionsMenu();
            return true;
        default:
            return super.onOptionsItemSelected(item);
        }
    }
更新选项菜单项
即使是旧式选项菜单,也不会在每次使用时重新实例化生成。如需更新某个选项菜单项的内容,我们应在onPrepareOptionsMenu(Menu menu)方法添加代码实现。除了菜单的首次创建外,每次菜单需要配置都会调用该方法。
@Override
    public void onPrepareOptionsMenu(Menu menu) {
        super.onPrepareOptionsMenu(menu);

        MenuItem menuItem = menu.findItem(R.id.menu_item_toggle_polling);
        if(PollService.isServiceAlarmOn(getActivity())){
            menuItem.setTitle(R.string.stop_polling);
        }else {
            menuItem.setTitle(R.string.start_polling);
        }
    }
在3.0以前版本的设备中,每次显示菜单时都会调用该方法,这保证了菜单项总能显示正确的文字信息。而在3.0版本以后的设备中,操作栏无法自动更新自己,因此,需通过Activity.invalidateOptionsMenu()方法回调onPrepareOptionsMenu(menu)方法并刷新新菜单项。
通知信息
如果服务需要与用户进行信息沟通,通知信息(notification)永远是个不错的选择。通知信息是指显示在通知抽屉上的消息条目,用户可向下滑动屏幕读取。
为发送通知信息,首先需创建一个Notification对象。Notification需使用构造对象完成创建。Notification应至少具备:
1、首次显示通知信息时,在状态栏上显示的ticker text;
2、ticker text消失后,在状态栏上显示的图标;
3、代表通知信息自身,在通知抽屉显示的视图;
4、用户点击抽屉中的通知信息,触发PendingIntent。
Resources resources = getResources();
PendingIntent pi = PendingIntent.getActivity(this, 0, new Intent(
    this, PhotoGalleryActivity.class), 0);

Notification notification = new NotificationCompat.Builder(this)
//配置ticker text                 .setTicker(resources.getString(R.string.new_pictures_title))
//配置小图标                 .setSmallIcon(android.R.drawable.ic_menu_report_image)
//配置Notification在下拉抽屉中的外观,图标值来自于setSmallIcon(int)方法                 .setContentTitle(resources.getString(R.string.new_pictures_title))                  .setContentText(resources.getString(R.string.new_pictures_text))
//定义点击Notification时所触发的动作
.setContentIntent(pi)
//用户点击Notification后,该消息从消息抽屉中删除
.setAutoCancel(true)
.build();

NotificationManager notificationManager = (NotificationManager) getSystemService(NOTIFICATION_SERVICE);
            /**
             * 传入的整数参数是通知消息的标识的标识符,在整个应用中该值是唯一的。如使用同一ID发送两条消息,则第二条消息会替换掉第一条消息。
             * 这也是进度条或其他动态视觉效果的实现方式。
             */
notificationManager.notify(0, notification);
其他类型服务


 2183
2183

 被折叠的 条评论
为什么被折叠?


