


——通过wxauto库,调用AI模型实现微信自动回复。
前期准备
1.安装python,配置环境变量:
懒得写了,参考他人文章,方法都一样:Python安装与环境配置全程详细教学(包含Windows版和Mac版)_windows python环境配置-CSDN博客
2.安装必要的第三方库:
pip install request wxauto
1.wxauto基础
学习参考:https://github.com/cluic/wxauto 项目介绍 | wxauto
只展示一些wxauto基本用法示例:
# 基本用法
wx = WeChat()   # 获取微信对象

# 1.发送简单文字消息
wx.SendMsg("Hello World","人名")  # 指定发送对象

# 3.发送文件消息
wx.SendFiles(file_name,"name")   # 发送文件给指定的用户

# 2.获取会话列表
wx.GetSessionList()

# 3.获取当前会话的所有消息
wx.GetAllMessage()

# 4.指定消息类型
 msg.type == 'friend':    # 为指定类型时,则发送消息。
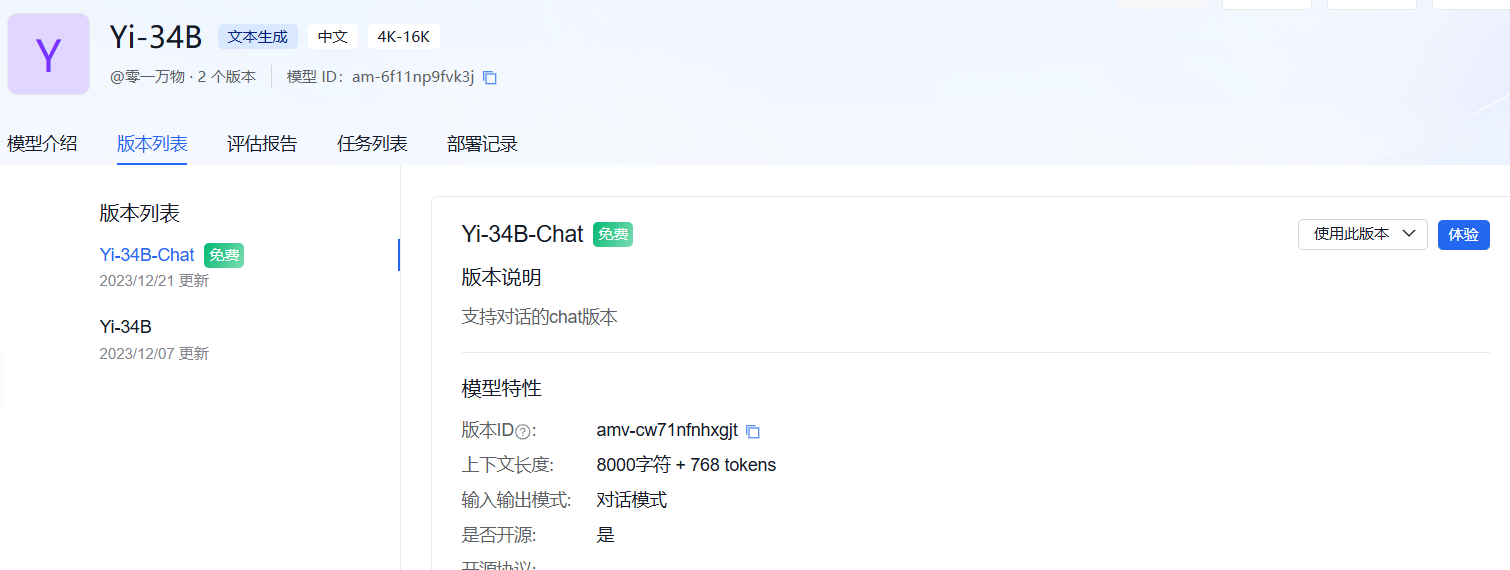
2.获取AI大模型
推荐:1.DeepSeek Platform 2.千帆大模型平台-百度智能云千帆
获取千帆大模型:
1.注册登录账户:千帆大模型平台-百度智能云千帆
2.进入模型广场——选择免费——文本生成模型——API文档参考
3.创建应用获取API密钥
1.创建应用:
点击应用接入——创建应用——搜索模型名称——确定以创建
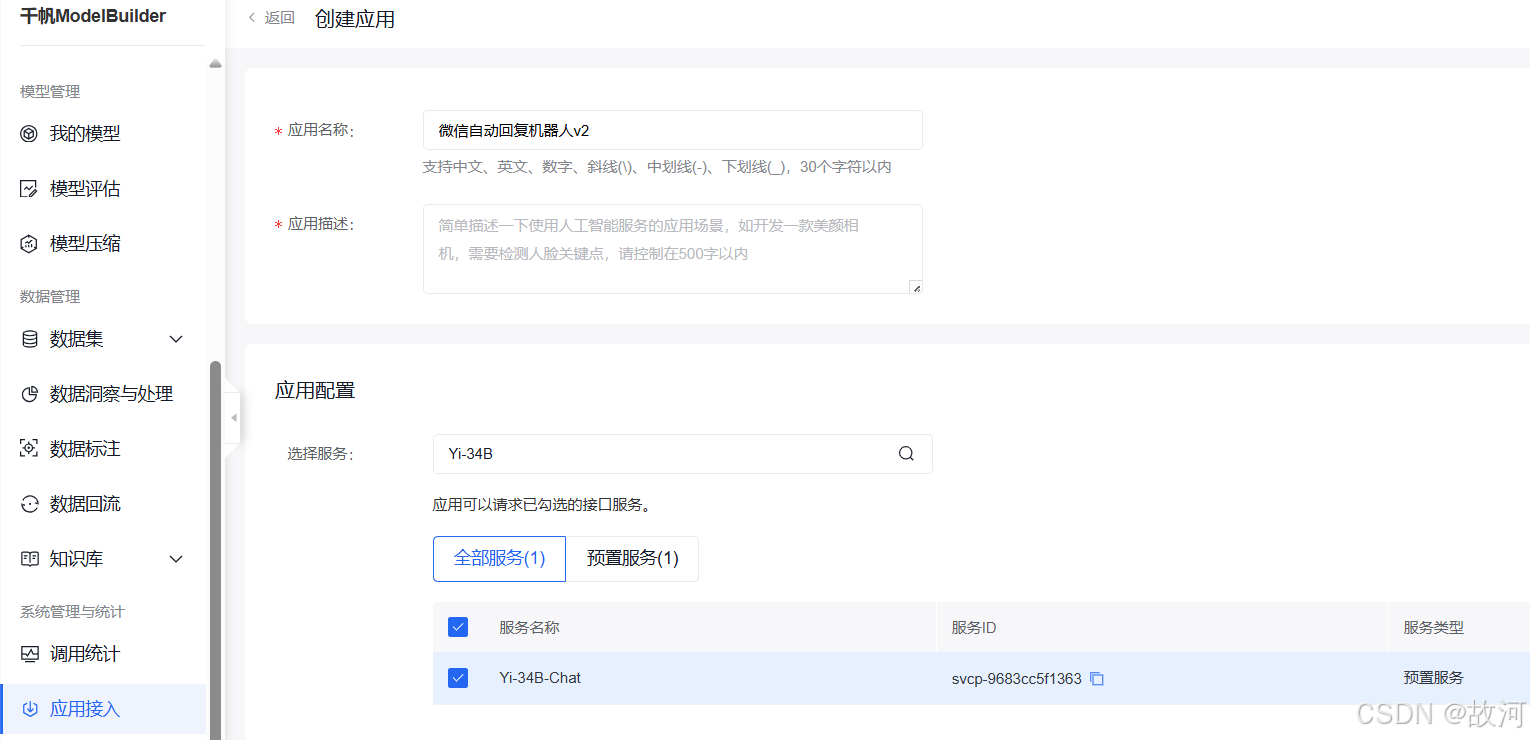
2.获取API密钥:
点击刚刚创建好的应用,获对应API。

4.编写AI回复测试代码
1.根据对应的AI模型如Yi-34B的API文档,获取API调用方法:
import requests
import json

def get_access_token():
    """
    使用 API Key,Secret Key 获取access_token,替换下列示例中的应用API Key、应用Secret Key
    """

    url = "https://aip.baidubce.com/oauth/2.0/token?grant_type=client_credentials&client_id=[应用API Key]&client_secret=[应用Secret Key]"

    payload = json.dumps("")
    headers = {
        'Content-Type': 'application/json',
        'Accept': 'application/json'
    }

    response = requests.request("POST", url, headers=headers, data=payload)
    return response.json().get("access_token")


def main():

    url = "https://aip.baidubce.com/rpc/2.0/ai_custom/v1/wenxinworkshop/chat/yi_34b_chat?access_token=" + get_access_token()

    payload = json.dumps({
         "messages": [
            {
                "role": "user",
                "content": "你好!"
            }
        ]
    })
    headers = {
        'Content-Type': 'application/json'
    }

    response = requests.request("POST", url, headers=headers, data=payload)

    print(response.text)


if __name__ == '__main__':
    main()
2.编写代码实现AI自动回复:
代码1:监听单个朋友的消息,进行自动回复(用于单个消息回复):
import requests
import json
from wxauto import WeChat

'''
测试AI自动回复微信消息
'''

# 调用AI模型API
def get_access_token():
    """
    使用 API Key,Secret Key 获取access_token,替换下列示例中的应用API Key、应用Secret Key
    """

    url = "https://aip.baidubce.com/oauth/2.0/token?grant_type=client_credentials&client_id=H3zFhrpWtWesitn3s4HgKuKk&client_secret=Zf39d1i6lysBnZQ5MvdD967MmmM7nyUg"

    payload = json.dumps("")
    headers = {
        'Content-Type': 'application/json',
        'Accept': 'application/json'
    }

    response = requests.request("POST", url, headers=headers, data=payload)
    return response.json().get("access_token")


def main(wx, msg1):
    url = "https://aip.baidubce.com/rpc/2.0/ai_custom/v1/wenxinworkshop/chat/yi_34b_chat?access_token=" + get_access_token()

    payload = json.dumps({
        "messages": [
            {
                "role": "user",
                "content": msg1
            }
        ]
    })
    headers = {
        'Content-Type': 'application/json'
    }

    response = requests.request("POST", url, headers=headers, data=payload)
    json_result = json.loads(response.text)
    print(json_result)
    print(response.text)

    # 发送消息
    wx.SendMsg(msg=json_result['result'], who="00000110")   # who: 朋友昵称


if __name__ == '__main__':
    wx = WeChat()
    while True:
        msgs = wx.GetAllMessage()
        if msgs:
            if msgs[-1].type == "friend":
                main(wx, msgs[-1].content)
代码2:鼠标点击进入消息窗口,获取人名,进行AI自动回复(用于多个消息回复):
# 微信聊天机器人

from wxauto import *
import requests
import json
import time


# 官网API调用方法
def get_access_token():
    """
    使用 API Key,Secret Key 获取access_token,替换下列示例中的应用API Key、应用Secret Key
    """
    url = "https://aip.baidubce.com/oauth/2.0/token?grant_type=client_credentials&client_id=[应用API key]&client_secret=[应用Secret key]"
    headers = {
        'Content-Type': 'application/json',
        'Accept': 'application/json'
    }
    response = requests.post(url, headers=headers)
    return response.json().get("access_token")

# AI处理主函数
def main(wxs, msgs, whos):
    url = "https://aip.baidubce.com/rpc/2.0/ai_custom/v1/wenxinworkshop/chat/yi_34b_chat?access_token=" + get_access_token()
    payload = json.dumps({
        "messages": [
            {
                "role": "user",
                "content": msgs
            }
        ]
    })
    headers = {
        'Content-Type': 'application/json'
    }
    try:
        response = requests.post(url, headers=headers, data=payload)
        ai_response = response.json().get("result", "")
        print(response.text)
        wxs.SendMsg(ai_response, whos)
    except Exception as e:
        print(f"Error occurred: {e}")

# 程序按钮
def running():
    wx = WeChat()
    while True:
        msgs = wx.GetAllMessage()
        if msgs:
            last_msg = msgs[-1]
            #print(last_msg.__dict__)  # 打印消息对象的所有属性,用于调试
            if last_msg.type == "friend":  # 假设消息类型为 "friend"

                # 通过鼠标点击,获取发送者名称
                whos = last_msg.sender  # 使用 sender 属性
                main(wx, last_msg.content, whos)
        time.sleep(1)  # 避免频繁轮询


if __name__ == '__main__':
    # 运行程序
    running()
5.测试


 1077
1077

 被折叠的 条评论
为什么被折叠?
被折叠的 条评论
为什么被折叠?
 到【灌水乐园】发言


